Ever wondered how to make campfire ice cream that’ll wow your friends on your next outdoor adventure? This delightful treat combines the nostalgia of camping with the irresistible allure of homemade ice cream.
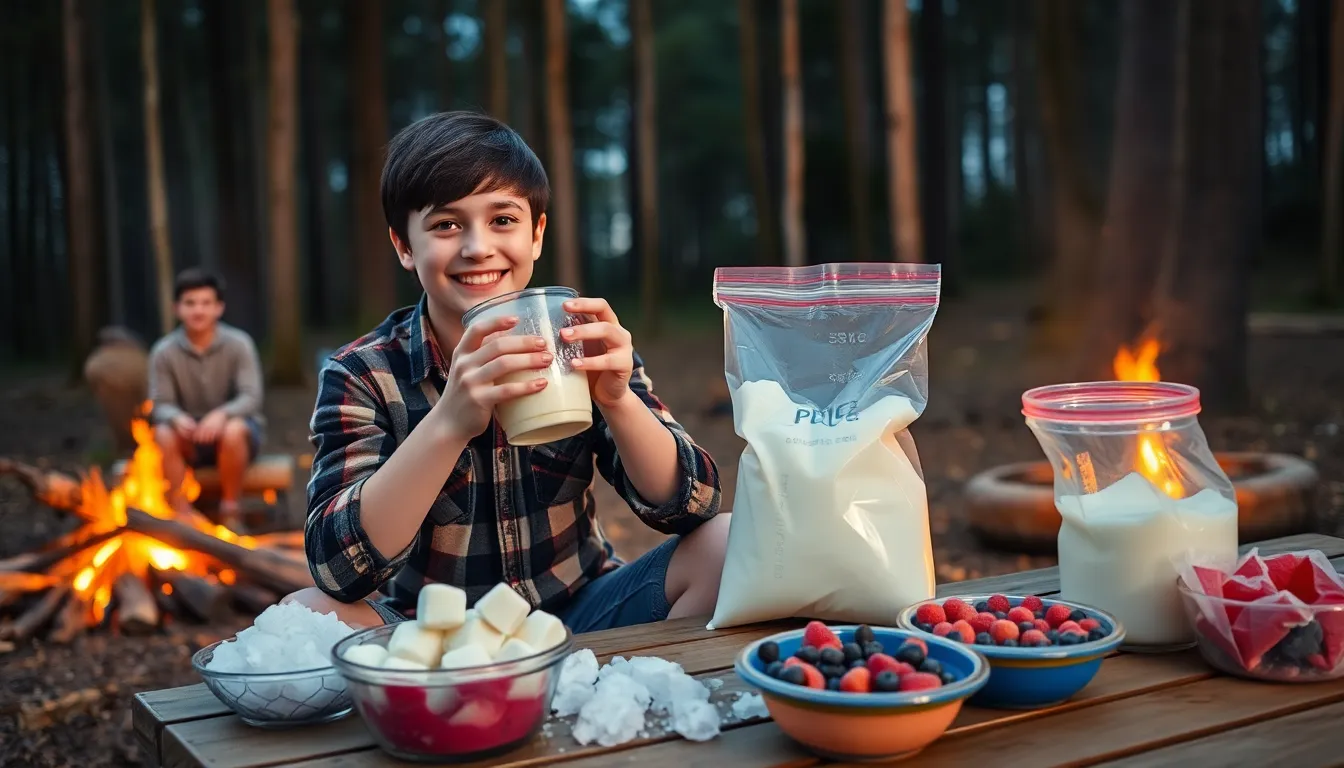
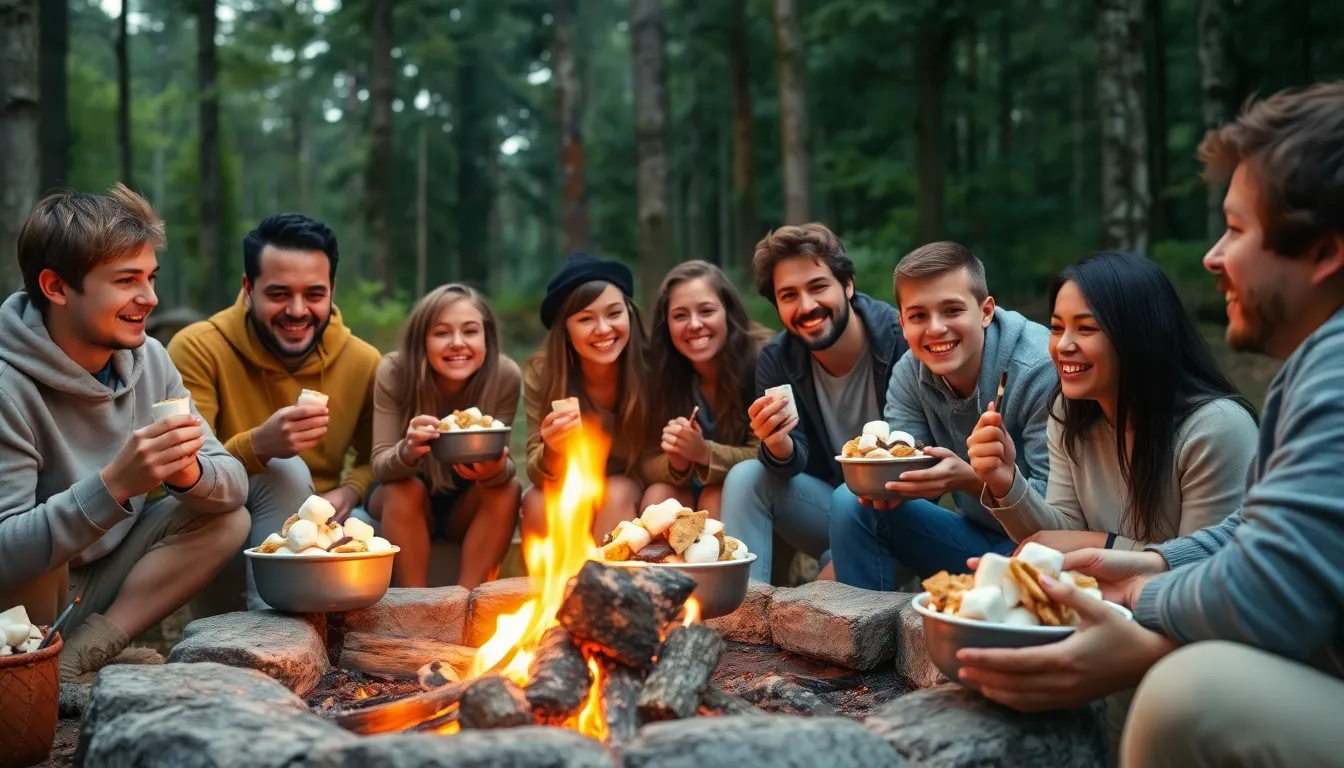
Imagine the scene: you’re gathered around a crackling fire, stars twinkling overhead, when you pull out the ingredients for this magical dessert. Campfire ice cream doesn’t require an ice cream maker or electricity—just some basic ingredients, a little muscle power, and the great outdoors. It’s the perfect culmination to a day of hiking, fishing, or simply enjoying nature.
You’ll be amazed at how this simple technique creates creamy, delicious ice cream right at your campsite. The recipe works by using ice and salt to create a freezing environment around your cream mixture, resulting in a treat that’s as fun to make as it is to eat.
What Is Campfire Ice Cream?
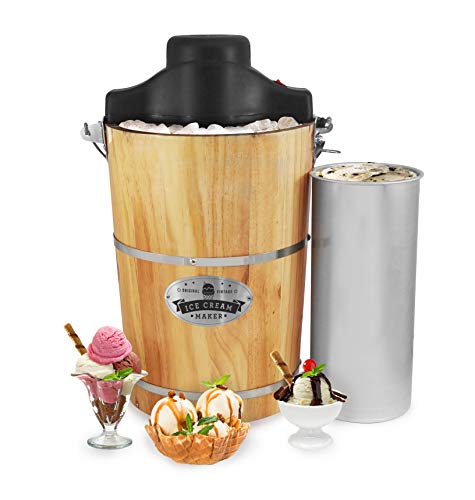
Campfire ice cream represents the perfect blend of outdoor adventure and sweet indulgence. This rustic dessert involves making real ice cream from scratch while gathered around a campfire using simple ingredients and manual freezing techniques. Unlike store-bought varieties or those made with electric ice cream makers, campfire ice cream relies on the scientific principle of salt lowering the freezing point of ice to create a frigid environment for freezing cream.
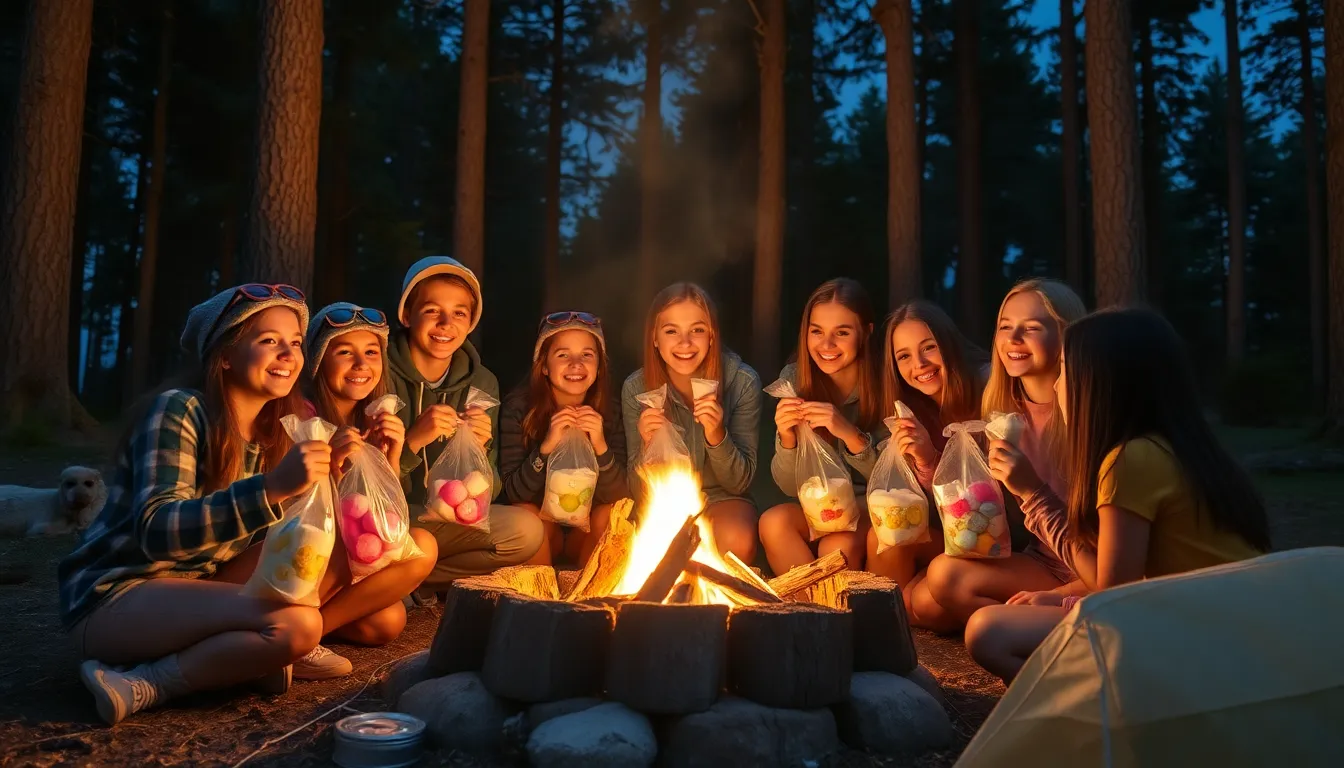
The process typically involves two containers—one smaller container holding your cream mixture nestled inside a larger container filled with ice and salt. Through vigorous shaking or rolling for 15-20 minutes, the cream mixture gradually freezes into a smooth, creamy consistency. The physical exertion required becomes part of the camping experience, often turning into a group activity where everyone takes turns shaking the container.
Traditional campfire ice cream recipes feature basic ingredients including heavy cream, sugar, and vanilla extract, though countless variations exist. Many outdoor enthusiasts enhance their creations with mix-ins like chocolate chips, crushed cookies, or foraged berries. The beauty of this dessert lies in its simplicity and the satisfaction of creating something delicious with minimal equipment in the wilderness.
This camping tradition dates back generations, often becoming a cherished memory for families who spend time outdoors. The combination of physical effort, anticipation, and reward makes campfire ice cream more than just a dessert—it transforms into an experience that enhances your connection with nature and fellow campers while satisfying your sweet tooth under the stars.
Recommended Products
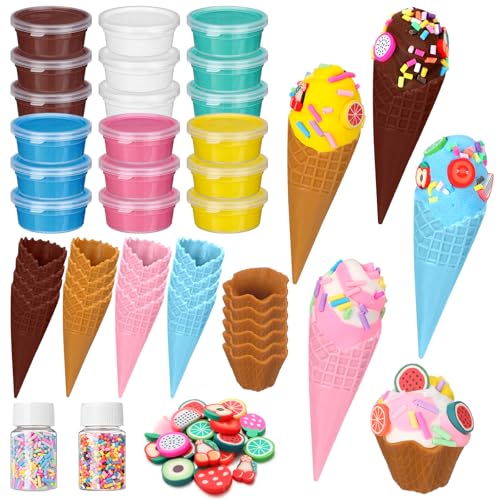
All-in-one Ice Cream Craft Kit: this ice cream craft kit includes 24 realistic ice cream cones, 24 packs of air dry clay in 6 bright colors, and 3 decorative sets with colorful sprinkles and fruit slices; It's a complete craft kit for designing, sculpting, and decorating faux ice cream desserts, suitable for pretend ice cream shop play and creative fun

STEM Meets Sweet Treats – Kids discover the science of ice cream while making their own delicious creations. A perfect blend of education + fun for ages 5–12.

All-in-one Ice Cream Party Kit for 30 Guests: this 120 pcs ice cream bar party decorations kit includes everything needed to set up a fun dessert station for up to 30 guests; The set contains 30 disposable 4 oz ice cream cups with tasting spoons, 52 ice cream stickers, 2 zinc alloy ice cream scoops, 1 toppings seasoning box, 1 mini chalkboard and 4 liquid chalk markers; Please check the dimensions in the product images before ordering to ensure the size meets your needs
Ingredients You’ll Need
Creating delicious campfire ice cream requires surprisingly few ingredients. The beauty lies in their simplicity and how they transform through the freezing process into a creamy wilderness dessert.
Recommended Products

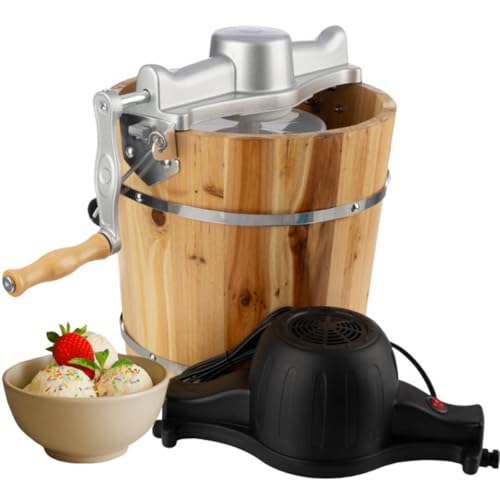
4-QUART CAPACITY: Freeze up to 4 Quarts of cold and creamy ice cream, gelato, frozen yogurt or sorbet. Perfect for party time, snack time, barbeques, picnics and big events - enough to feed everyone!

SUPERIOR FUNCTION: This Cuisinart Ice Cream Maker Machine features a mixing paddle that makes frozen treats in 20 minutes or less.
6-QUART CAPACITY: Freeze up to 6 Quarts of cold and creamy ice cream, gelato, frozen yogurt or sorbet. Perfect for party time, snack time, barbeques, picnics and big events - enough to feed everyone!
For The Ice Cream Base
- 2 cups heavy cream (or 1 cup heavy cream and 1 cup half-and-half for a lighter version)
- ½ cup granulated sugar
- 1 tablespoon pure vanilla extract
- ⅛ teaspoon salt
- 4-5 cups of ice cubes
- ½ cup rock salt or kosher salt (for the freezing process)
- 1 gallon-sized zip-top freezer bag
- 1 quart-sized zip-top freezer bag
For The Campfire Mix-Ins
- ¼ cup mini chocolate chips
- ¼ cup crushed graham crackers
- ¼ cup mini marshmallows (for s’mores ice cream)
- ¼ cup chopped nuts (walnuts or pecans work great)
- 2 tablespoons caramel sauce
- 2 tablespoons chocolate sauce
- ¼ cup fresh berries (if available while foraging)
- 2 tablespoons cookie crumbles
- 2 tablespoons toasted coconut flakes
Equipment Required
Creating campfire ice cream requires minimal equipment making it perfect for outdoor adventures. You’ll need these essential items to transform simple ingredients into a delicious frozen treat:
- 1 gallon-sized zip-top freezer bag (for the ice and salt mixture)
- 1 quart-sized zip-top freezer bag (for the ice cream mixture)
- Measuring cups and spoons
- Mixing bowl or container
- Spoon for stirring
- Towel or oven mitts (to protect hands from the cold during shaking)
- Optional: food thermometer to monitor temperature
- Optional: wooden spoon for breaking up ice chunks
The double-bag system is crucial for this recipe as it creates an effective freezing chamber while preventing salt from contaminating your ice cream. Your outer gallon bag holds the ice and salt mixture which generates the freezing environment while the inner quart bag contains your cream mixture that will transform into ice cream.
Ensure your freezer bags are high-quality with secure seals to prevent leakage during the vigorous shaking process. Double-checking the seals before you begin can save you from a messy situation at your campsite.
For serving your freshly made campfire ice cream you might also want to bring:
- Bowls or cups for serving
- Spoons
- Storage container if you plan to make extra
- Small containers for mix-ins
This simple equipment list makes campfire ice cream an accessible dessert option even when camping in remote locations without electricity or specialized kitchen tools.
Recommended Products

Includes two dual-compartment ice packs

Easy to Release: WIBIMEN Ice cube tray with lid and bin is made of durable plastic, making it a breeze to pop out perfectly round ice cubes compared to silicone molds. After taking the mold out of the freezer, give it a gentle twist for instant release

30 colorful ice cubes
How To Make Campfire Ice Cream
Creating delicious ice cream around a campfire involves a simple process requiring minimal ingredients and basic equipment. Follow these steps to transform basic ingredients into a creamy frozen treat that will delight everyone at your campsite.
Recommended Products

Talenti Madagascan Vanilla Bean Gelato is slow cooked, creamy vanilla gelato with Madagascan vanilla beans and a hint of lemon zest for a unique Talenti twist.

Item Package Dimension:9.652 cm L X9.779 cm W X10.16 cm H

Breyers Homemade Vanilla Ice Cream is made with fresh cream, sugar, milk, and egg yolks for a thick and smooth homemade taste!
Preparing The Ice Cream Base
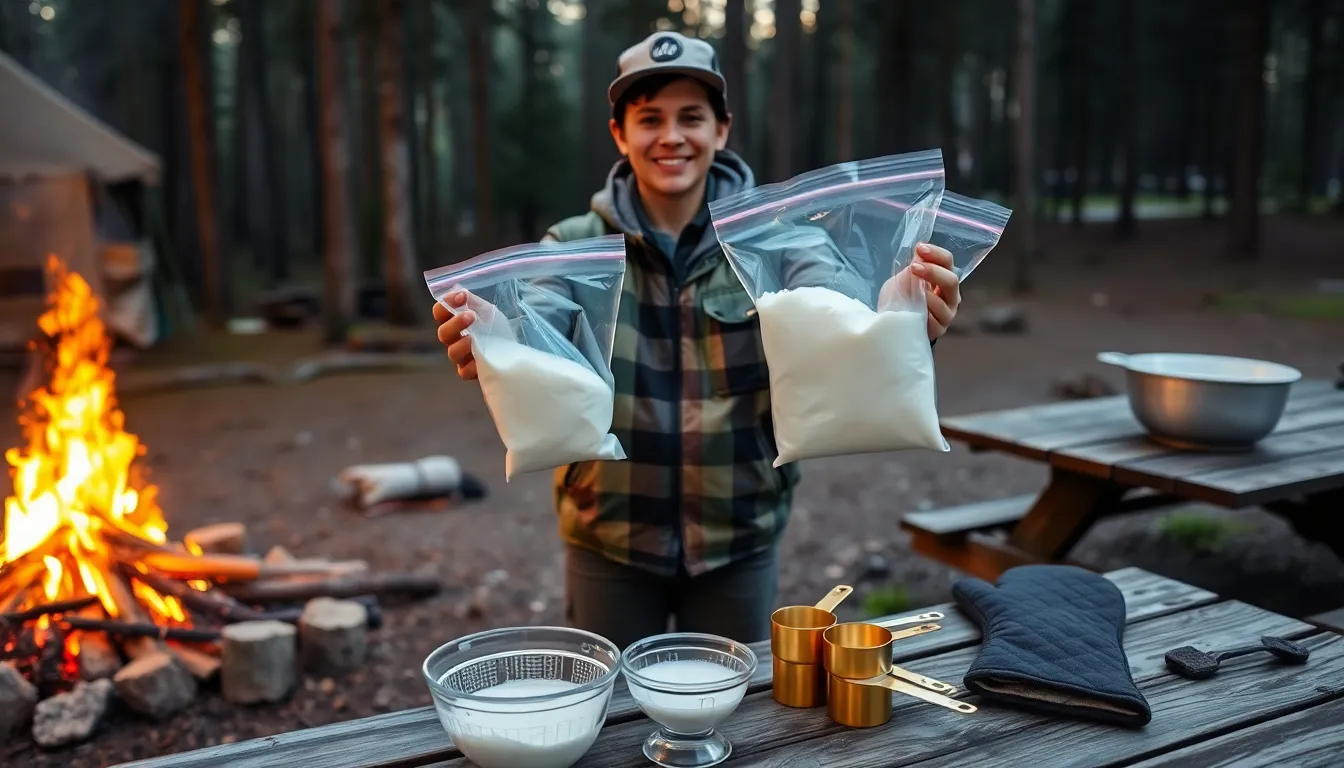
Start by combining 2 cups of heavy cream with ½ cup of granulated sugar in your quart-sized zip-top freezer bag. Add 1 tablespoon of pure vanilla extract and a pinch of salt to enhance the flavor profile. Seal the bag tightly, removing as much air as possible to prevent leaks during the shaking process. Double-check that the seal is secure by gently pressing on the bag to test for any openings. Place this smaller bag temporarily in your cooler while you prepare the freezing mechanism.
Creating The Campfire Flavor
Enhance your ice cream with campfire-inspired mix-ins that capture the essence of outdoor cooking. Consider adding mini marshmallows that have been lightly toasted over the campfire for an authentic s’mores flavor. Crushed graham crackers provide a delightful crunch while chocolate chips melt slightly into the mixture creating rich pockets of sweetness. For a smoky variation, incorporate a drop of liquid smoke or stir in some maple syrup that has been briefly warmed near the fire. These additions should be gently folded into your cream mixture before sealing the bag for freezing.
Freezing Your Ice Cream
Fill your gallon-sized zip-top freezer bag halfway with ice cubes, approximately 4-5 cups. Sprinkle ½ cup of rock salt or kosher salt evenly over the ice – this crucial ingredient lowers the freezing temperature of the ice to create the cold environment needed for freezing cream. Place your sealed cream mixture bag into this larger ice-filled bag, ensuring it’s surrounded by the ice-salt mixture. Seal the outer bag securely, removing excess air. Begin shaking or rolling the bag vigorously for 15-20 minutes, passing it around your campfire circle to share the effort. The mixture will gradually thicken as it freezes. Your ice cream is ready when it reaches a soft-serve consistency that holds its shape when the bag is squeezed. Carefully remove the inner bag, wipe off any salt water, and serve your freshly made campfire ice cream in bowls or cups.
Serving Suggestions
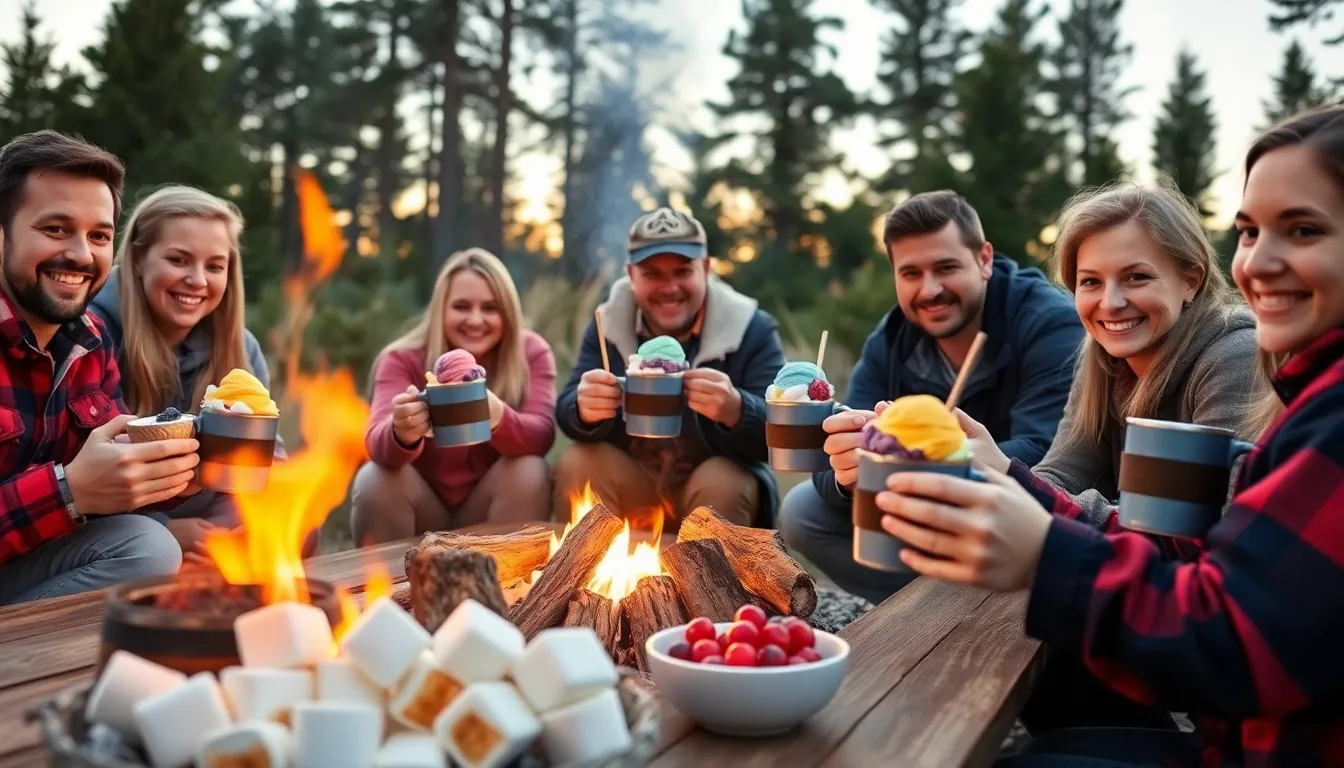
Transform your campfire ice cream experience with these creative serving options that elevate this wilderness treat from simple to spectacular. Scoop your freshly made ice cream into insulated mugs or camping bowls to slow melting while you enjoy every bite under the stars. Mason jars also make excellent serving vessels that keep your dessert cold longer and add a rustic touch to your outdoor dining experience.
Create an interactive campfire ice cream bar by setting out various toppings in small containers. Arrange options like toasted marshmallows chocolate sauce crunchy granola and foraged berries so everyone can customize their dessert. This approach turns a simple dessert into a memorable camping activity that everyone will enjoy participating in.
For a truly authentic campfire experience serve your homemade ice cream in cones toasted briefly over the fire. The slight warmth of the cone against the cold ice cream creates a delightful temperature contrast. Alternatively sandwich your ice cream between two graham crackers for an elevated s’mores experience that combines two classic camping desserts.
Pair your campfire ice cream with other wilderness favorites for maximum enjoyment. Serve alongside warm fruit cobblers made in a Dutch oven or pair with freshly roasted banana boats for a complementary hot-and-cold dessert combination. The contrast between warm campfire treats and your cold homemade ice cream creates an unforgettable dessert experience.
Enhance presentation by garnishing with elements from your surroundings. Sprinkle with toasted pine nuts mint leaves from your campsite or edible flowers for a visually appealing dessert that celebrates your natural environment. These thoughtful touches make your wilderness dessert feel special even though the rustic setting.
Recommended Products

All-in-one Ice Cream Party Supplies Kit: this 85-piece set includes 30 x 4 oz ice cream cups with spoons, 6 x salad bowls with tongs for toppings, 2 x zinc alloy scoops, a chalkboard, 6 x wooden tags, and 4 x liquid chalk markers for labeling; Ideal for ice cream bars, dessert tables, candy buffets, coffee stations, and food labeling; Please check the dimensions in the product images before ordering to ensure the size meets your needs

Ice Cream Sccop Hardware Kit: Elevate your ice cream scooping experience with the Rockler ice cream scoop stainless steel hardware kit. These ice scoops kit has an attractive, polished look and hefty feel making this scoop a hot commodity for dishing up cold treats. It has the heft to cut through the hardest freeze.
Creative Ice Cream Fun: Discover the Original Stationery Ice Cream Sundae Slime Kit, offering a unique slime making experience with vibrant colors and textures. Perfect for kids aged 7 and up, this kit enhances creativity with every slime creation
Variations To Try
Once you’ve mastered the basic campfire ice cream recipe, it’s time to experiment with creative variations that elevate your outdoor dessert experience. These unique flavor combinations will impress your fellow campers and make your wilderness adventures even more memorable.
Recommended Products

DOUBLE-INSULATED FREEZER BOWL: This Cuisinart Cuisinart Ice Cream Maker Machine with double-insulated freezer bowl holds a generous 2 quarts of your favorite frozen dessert treats, including ice cream, frozen yogurt, sorbet, sherbet, and frozen drinks.
2-IN-1 ICECREAM MAKER MACHINE - This soft serve ice cream machine makes delicious homemade ice cream, frozen yogurt, gelato, and sorbet the old fashioned way with a mild assist from technology, using an included 38 RPM motorized attachment.

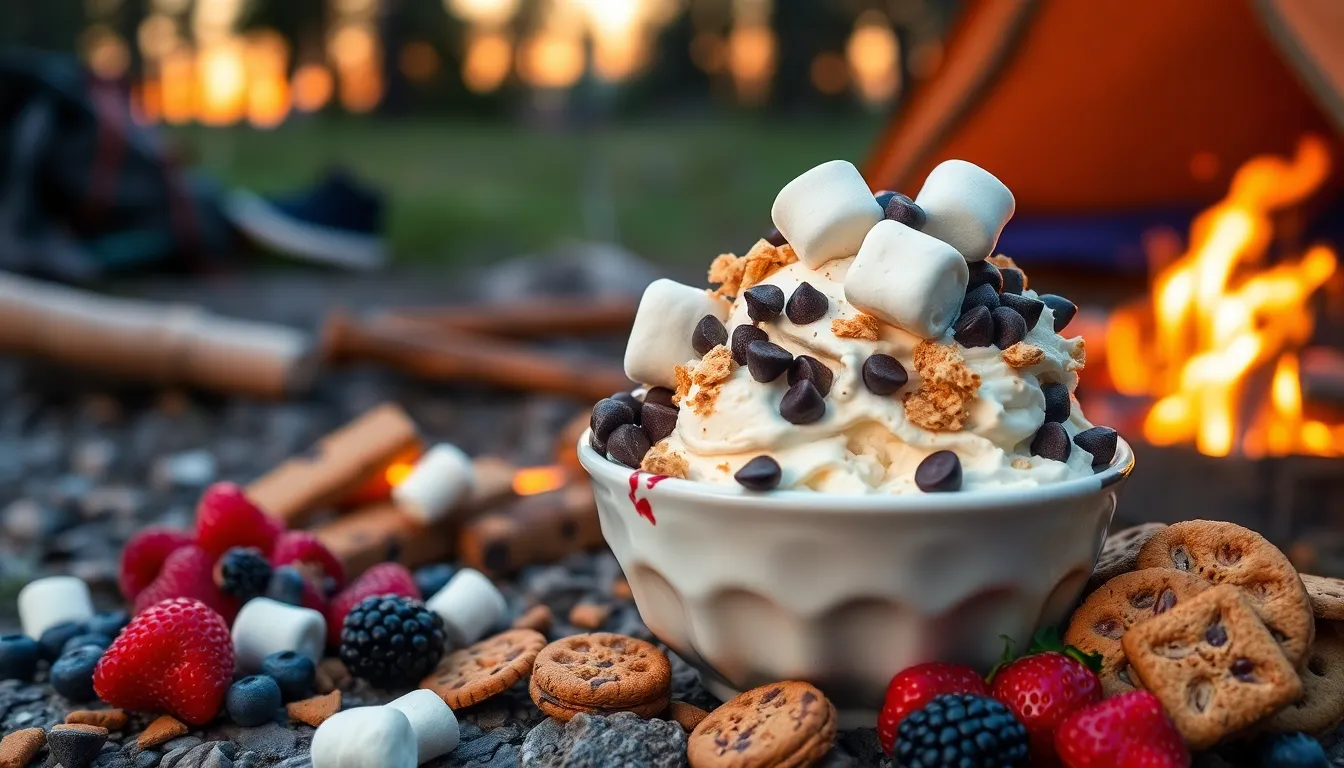
S’mores Campfire Ice Cream
Transform your campfire ice cream into the ultimate s’mores-inspired treat by incorporating the classic flavors of this beloved camping dessert. Add 2 tablespoons of cocoa powder to your base mixture for a chocolate foundation. Before sealing your ice cream bag, fold in ¼ cup of crushed graham crackers and ¼ cup of mini marshmallows. For an authentic experience, toast some extra marshmallows over the campfire until golden brown and slightly melted, then fold these into your ice cream during the final minute of shaking. Serve your creation with additional graham cracker pieces on top and a drizzle of chocolate sauce for an indulgent dessert that perfectly captures the essence of camping traditions.
Smoky Maple Campfire Ice Cream
Create a sophisticated flavor profile that celebrates rustic wilderness flavors with this smoky maple variation. Replace the granulated sugar in your base recipe with ⅓ cup of pure maple syrup (preferably Grade B for stronger flavor). Add ½ teaspoon of smoked salt instead of regular salt to introduce a subtle smokiness that complements the maple sweetness. For texture and additional flavor complexity, mix in ¼ cup of chopped toasted pecans or walnuts after the ice cream has partially frozen. A brilliant serving suggestion involves warming 2 tablespoons of additional maple syrup in a small pot near the campfire and drizzling it over your finished ice cream. This variation offers a perfect balance of sweet, smoky, and nutty flavors that beautifully reflects the woodland camping experience.
Storage Tips
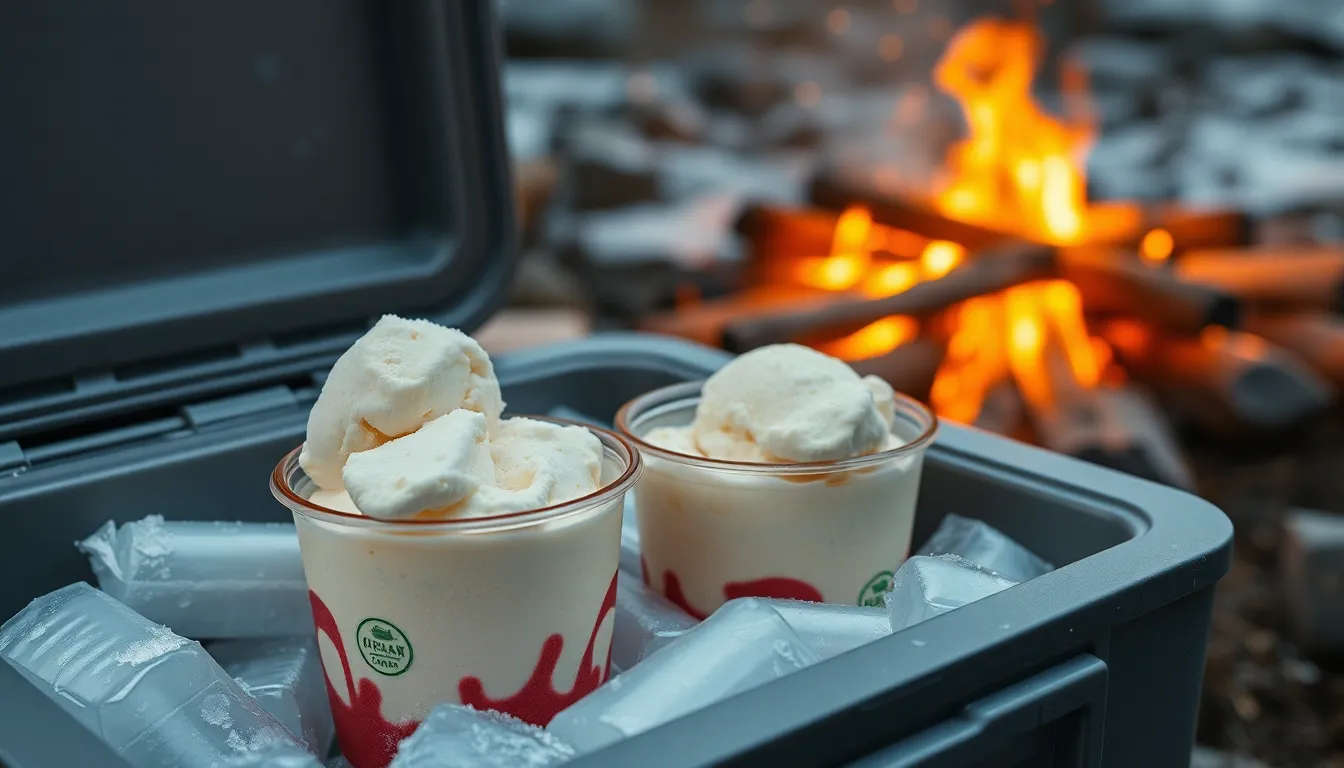
While campfire ice cream is best enjoyed fresh from the freezing process it’s still possible to store any leftovers for later enjoyment. Store your homemade campfire ice cream in airtight containers with minimal headspace to prevent ice crystals from forming. These containers should be pre-chilled if possible before transferring your freshly made ice cream.
If you’re still at your campsite place the sealed containers in a cooler packed with plenty of ice. The ice cream will stay relatively firm for 2-3 hours this way making it perfect for enjoying later in the evening. For longer camping trips consider burying your sealed container in a deep snow bank if camping in winter conditions or keeping it in a portable camping freezer if you have access to one.
Upon returning home transfer any remaining campfire ice cream to freezer-safe containers. Your homemade creation will maintain optimal quality for about 1 week when stored at 0°F (-18°C) or below. The texture may become slightly icier over time due to the lack of commercial stabilizers but the flavor will remain delicious.
Before serving stored campfire ice cream let it sit at room temperature for 5-10 minutes to soften slightly. This brief thawing period restores some of the creamy texture that develops during the initial freezing process. Avoid repeatedly thawing and refreezing your ice cream as this significantly degrades both texture and flavor.
Remember that homemade ice cream typically has a shorter shelf life than store-bought varieties since it lacks preservatives and stabilizers. Consume within 7-10 days for the best experience and always check for any signs of freezer burn before serving.
Recommended Products

3 PIECE SET WITH ICE PACK - Features a removable ice pack that clips in under the lids, ensuring your food stays fresh. 3 separate compartments designed to keep food organized. An ideal bento box for kids. Measures 7.5” x 5.25” x 4.75”.

28 GALLON DECK BOX: The Suncast 28 Gallon outside storage box features multi-wall resin panels, designed for superior strength and durability to withstand the toughest outdoor conditions

Large Capacity: Holds up to 6, 50 pound bags of sand, salt, or ice melter, ensuring a clear, safe driveway this winter; Convenient and accessible storage solution
The Perfect Campfire Ice Cream Experience
Campfire ice cream transforms ordinary outdoor adventures into memorable culinary experiences. The magic happens when you combine simple ingredients with a bit of wilderness innovation to create a dessert that tastes even better under starlit skies.
The rhythmic shaking of those ice-filled bags becomes part of your camping soundtrack while bringing everyone together in anticipation of the sweet reward. It’s these moments—laughing as you pass around the bag for another round of shaking—that create lasting memories.
Next time you’re planning a camping trip don’t forget to pack your ice cream ingredients. This delightful treat offers the perfect balance of outdoor adventure and sweet indulgence while celebrating the joy of creating something delicious in the wilderness. Your camping desserts will never be the same again!
Recommended Products

HÄAGEN-DAZS Vanilla Bean Ice Cream is the essence of elegance and sophistication in one perfectly portioned 14-oz. container

Breyers rich and creamy No Sugar Added Vanilla frozen dairy dessert is made with the real vanilla you love and expect from Breyers. It’s a no sugar added indulgence, so enjoy

One 48 fluid ounce box of Vanilla Bean Ice Cream
Frequently Asked Questions
Recommended Products
Memories Made Easy - Skip the measuring chaos. Our kids baking kit includes pre-measured ingredients and simple instructions that transform kitchen time into quality...
What is campfire ice cream?
Campfire ice cream is a handmade frozen dessert created outdoors without electricity or an ice cream maker. It uses the scientific principle of salt lowering ice’s freezing point to create real ice cream from scratch while camping. The process involves basic ingredients like heavy cream, sugar, and vanilla, combined in a bag surrounded by ice and salt, then shaken or rolled until frozen.
What ingredients do I need for campfire ice cream?
You’ll need 2 cups heavy cream (or part half-and-half), ½ cup granulated sugar, 1 tablespoon vanilla extract, and a pinch of salt for the base. For freezing, gather 4-5 cups of ice cubes and ½ cup rock or kosher salt. Equipment includes gallon and quart-sized zip-top freezer bags, measuring tools, and a mixing bowl. Optional mix-ins like chocolate chips or berries add variety.
How long does it take to make campfire ice cream?
The entire process takes about 20-25 minutes. Preparing the ice cream base mixture takes about 5 minutes. The freezing process, which involves shaking or rolling the bag, requires 15-20 minutes of continuous movement. This physical effort is often shared among campers, turning the ice cream-making into a fun group activity.
Can I make campfire ice cream ahead of time?
Yes, you can make campfire ice cream ahead of time. Store it in airtight containers with minimal headspace to prevent ice crystals. At the campsite, keep it in a cooler with ice. If bringing it home, transfer to freezer-safe containers. For best quality, consume within 7-10 days and allow it to thaw briefly before serving to restore its creamy texture.
What variations can I try with campfire ice cream?
Try a s’mores version by adding cocoa powder, crushed graham crackers, and toasted marshmallows to the base. For a smoky maple variation, substitute maple syrup for sugar and add smoked salt. Other mix-ins include mini chocolate chips, crushed cookies, fresh berries, chopped nuts, caramel sauce, and toasted coconut flakes. Each variation creates a unique wilderness dessert experience.
Is making campfire ice cream child-friendly?
Absolutely! Making campfire ice cream is perfect for children. Kids love the hands-on shaking process, which feels like a game. They can help measure ingredients, customize with their favorite mix-ins, and take turns shaking the bag. The activity teaches basic scientific principles while creating a delicious reward. Just ensure adult supervision when handling the salt and potentially cold bags.
Why do you need salt to make the ice cream?
Salt is crucial because it lowers the freezing point of ice, creating a super-cold environment (below 32°F/0°C) necessary to freeze the cream mixture. This scientific principle, called freezing point depression, allows the ice-salt mixture to get cold enough to transform the liquid cream into solid ice cream. Without salt, the ice wouldn’t get cold enough to freeze the cream properly.
What if my ice cream doesn’t freeze properly?
If your ice cream isn’t freezing, you might need more salt in your ice mixture, as salt is essential for creating temperatures cold enough to freeze cream. Ensure you’re using enough ice and that your bags are sealed tightly to prevent leaking. Continue shaking vigorously for the full 15-20 minutes. If it’s still not freezing, try adding more ice and salt or moving to a cooler location.