Why Cook Turkey Breast in a Convection Oven
Convection ovens represent the gold standard for cooking turkey breast to perfection. Unlike conventional ovens that rely on stationary heat sources, convection ovens use fans to circulate hot air throughout the cooking chamber. This circulation creates a consistent temperature environment that delivers multiple advantages when preparing your holiday centerpiece.
Even Cooking
The fan-forced air in a convection oven eliminates hot spots and ensures heat reaches your turkey breast from all angles. Traditional ovens often cook unevenly, resulting in some portions being overdone while others remain undercooked. Your convection oven solves this problem by maintaining uniform heat distribution throughout the cooking process. The result is a turkey breast that cooks consistently from edge to center.
Faster Cooking Times
You will appreciate the important time savings when using a convection oven for your turkey breast. The circulating hot air transfers heat more efficiently to the meat, reducing overall cooking time by approximately 25% compared to conventional ovens. This efficiency means your 6-pound turkey breast might finish cooking in just 90 minutes instead of the typical 2 hours. The time saved allows you to focus on preparing other dishes or spending time with your guests.
Superior Browning
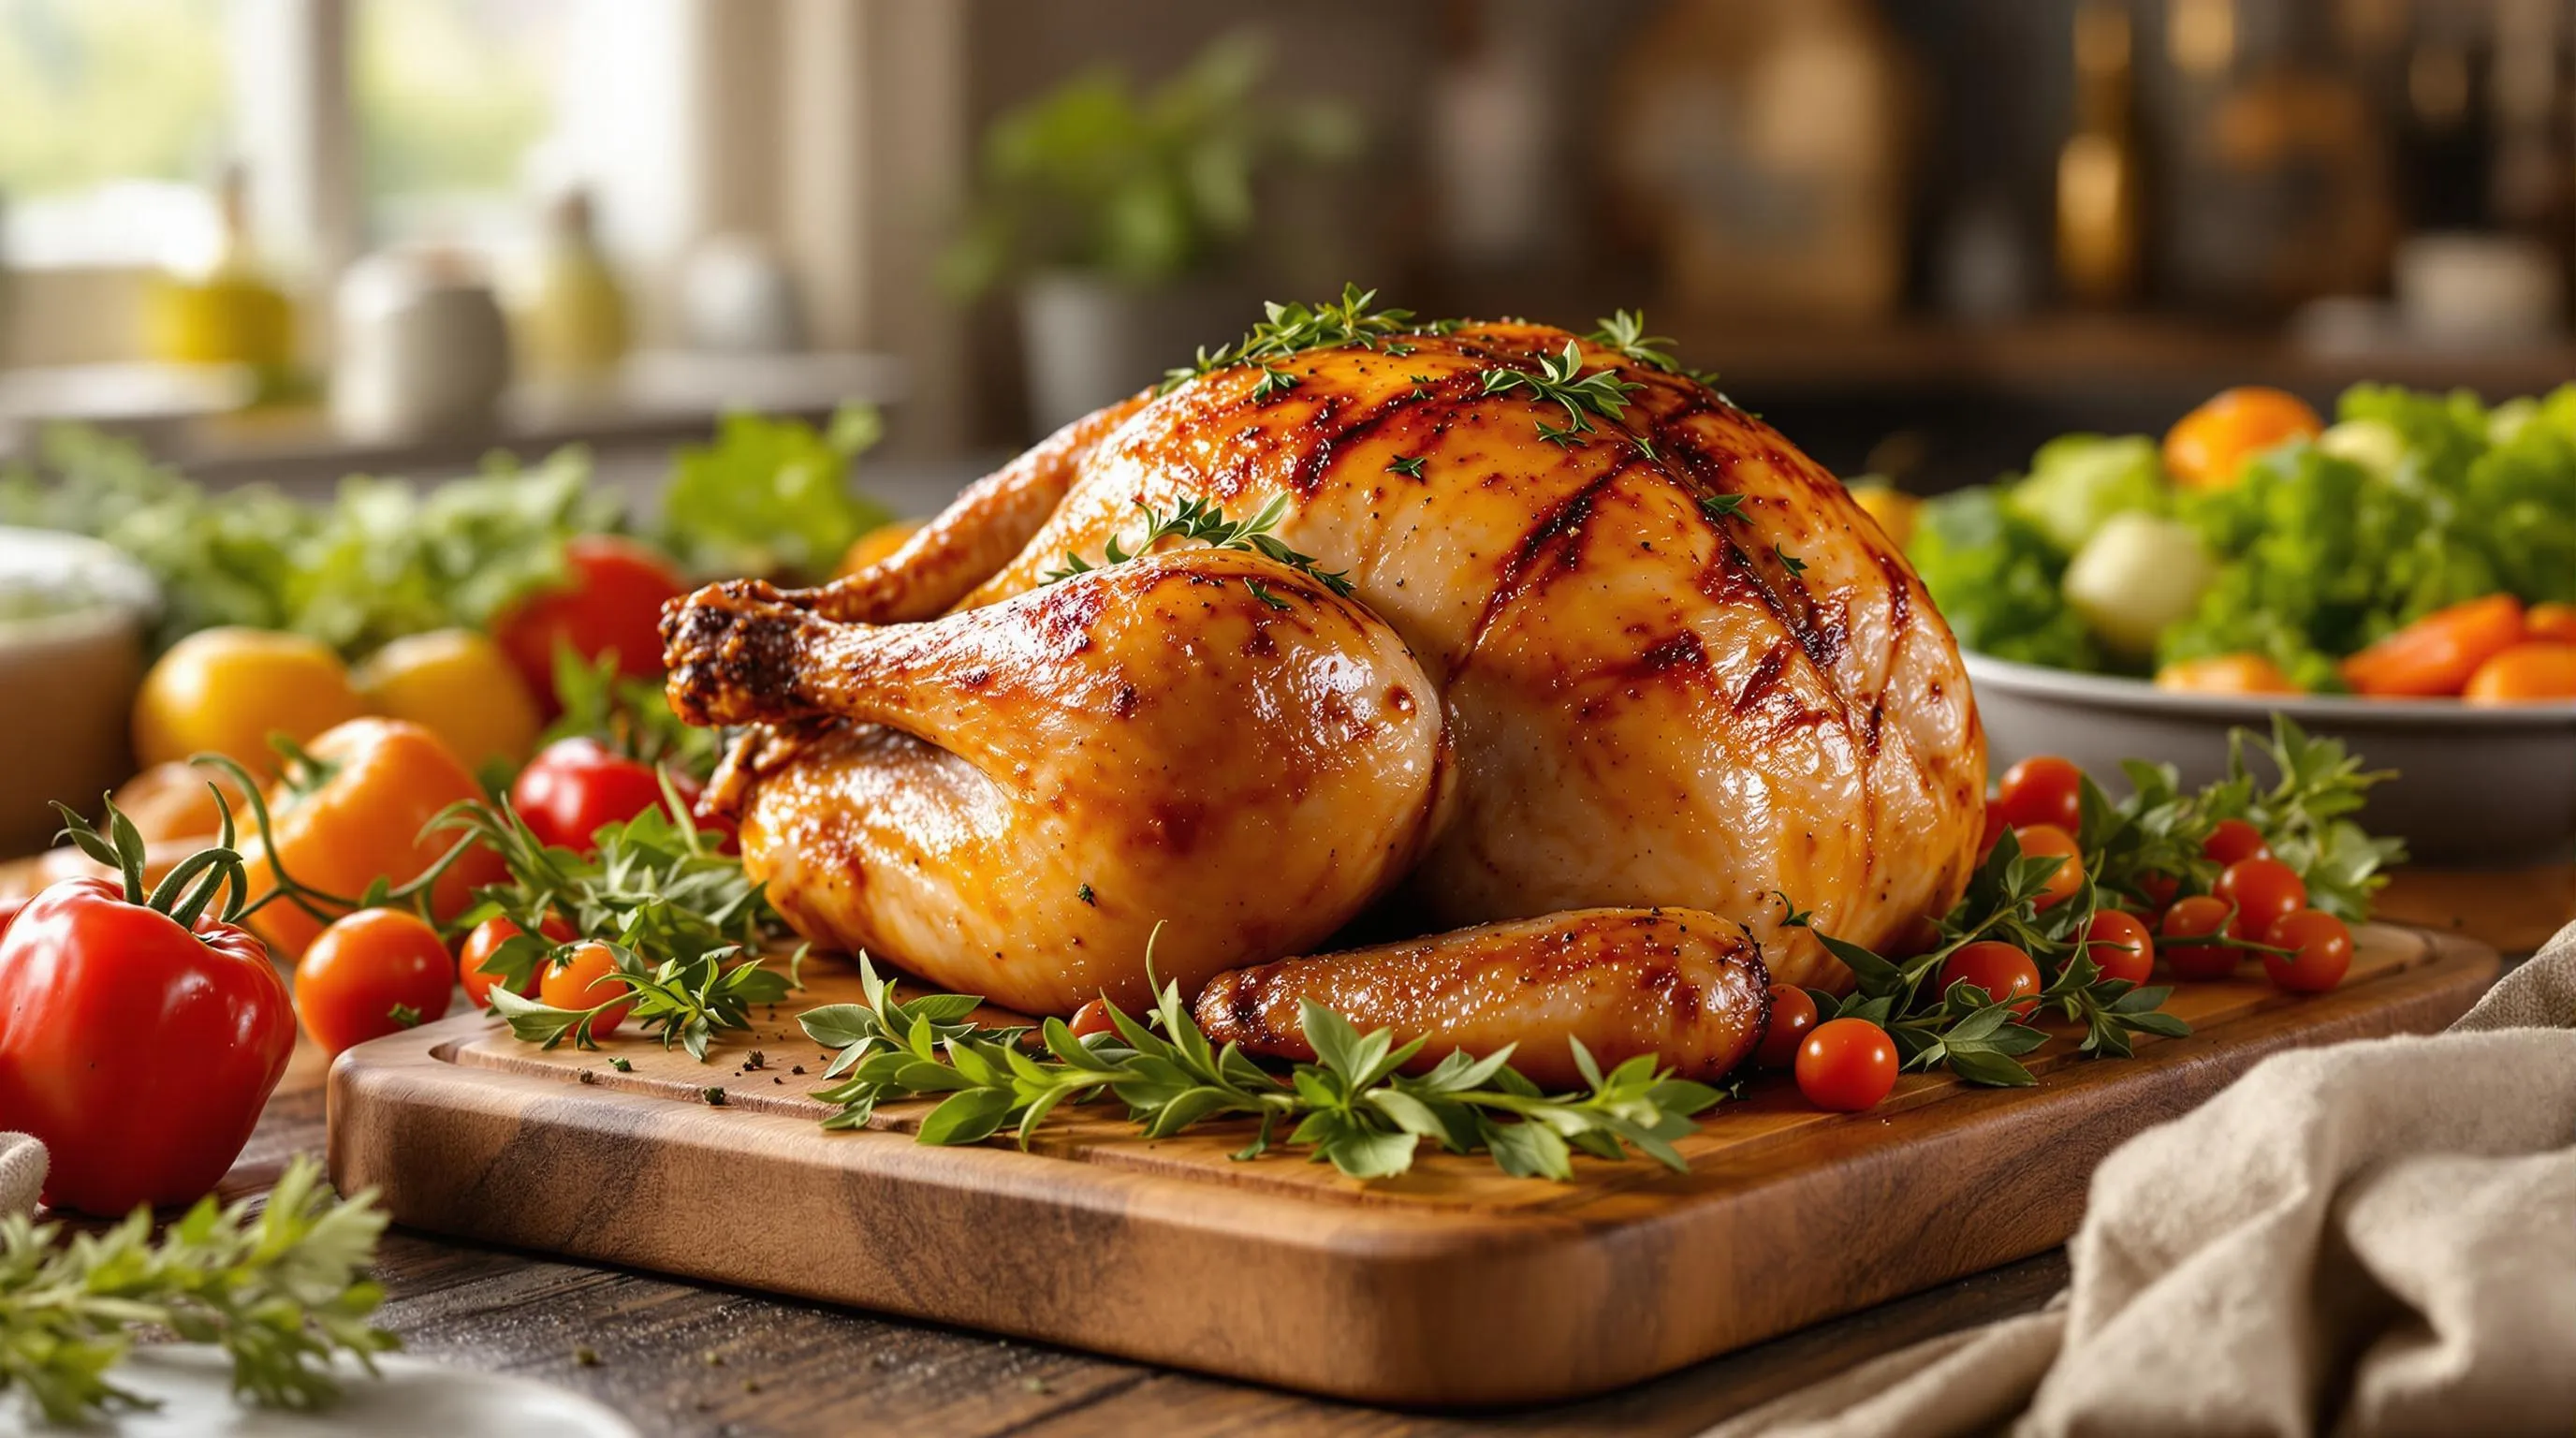
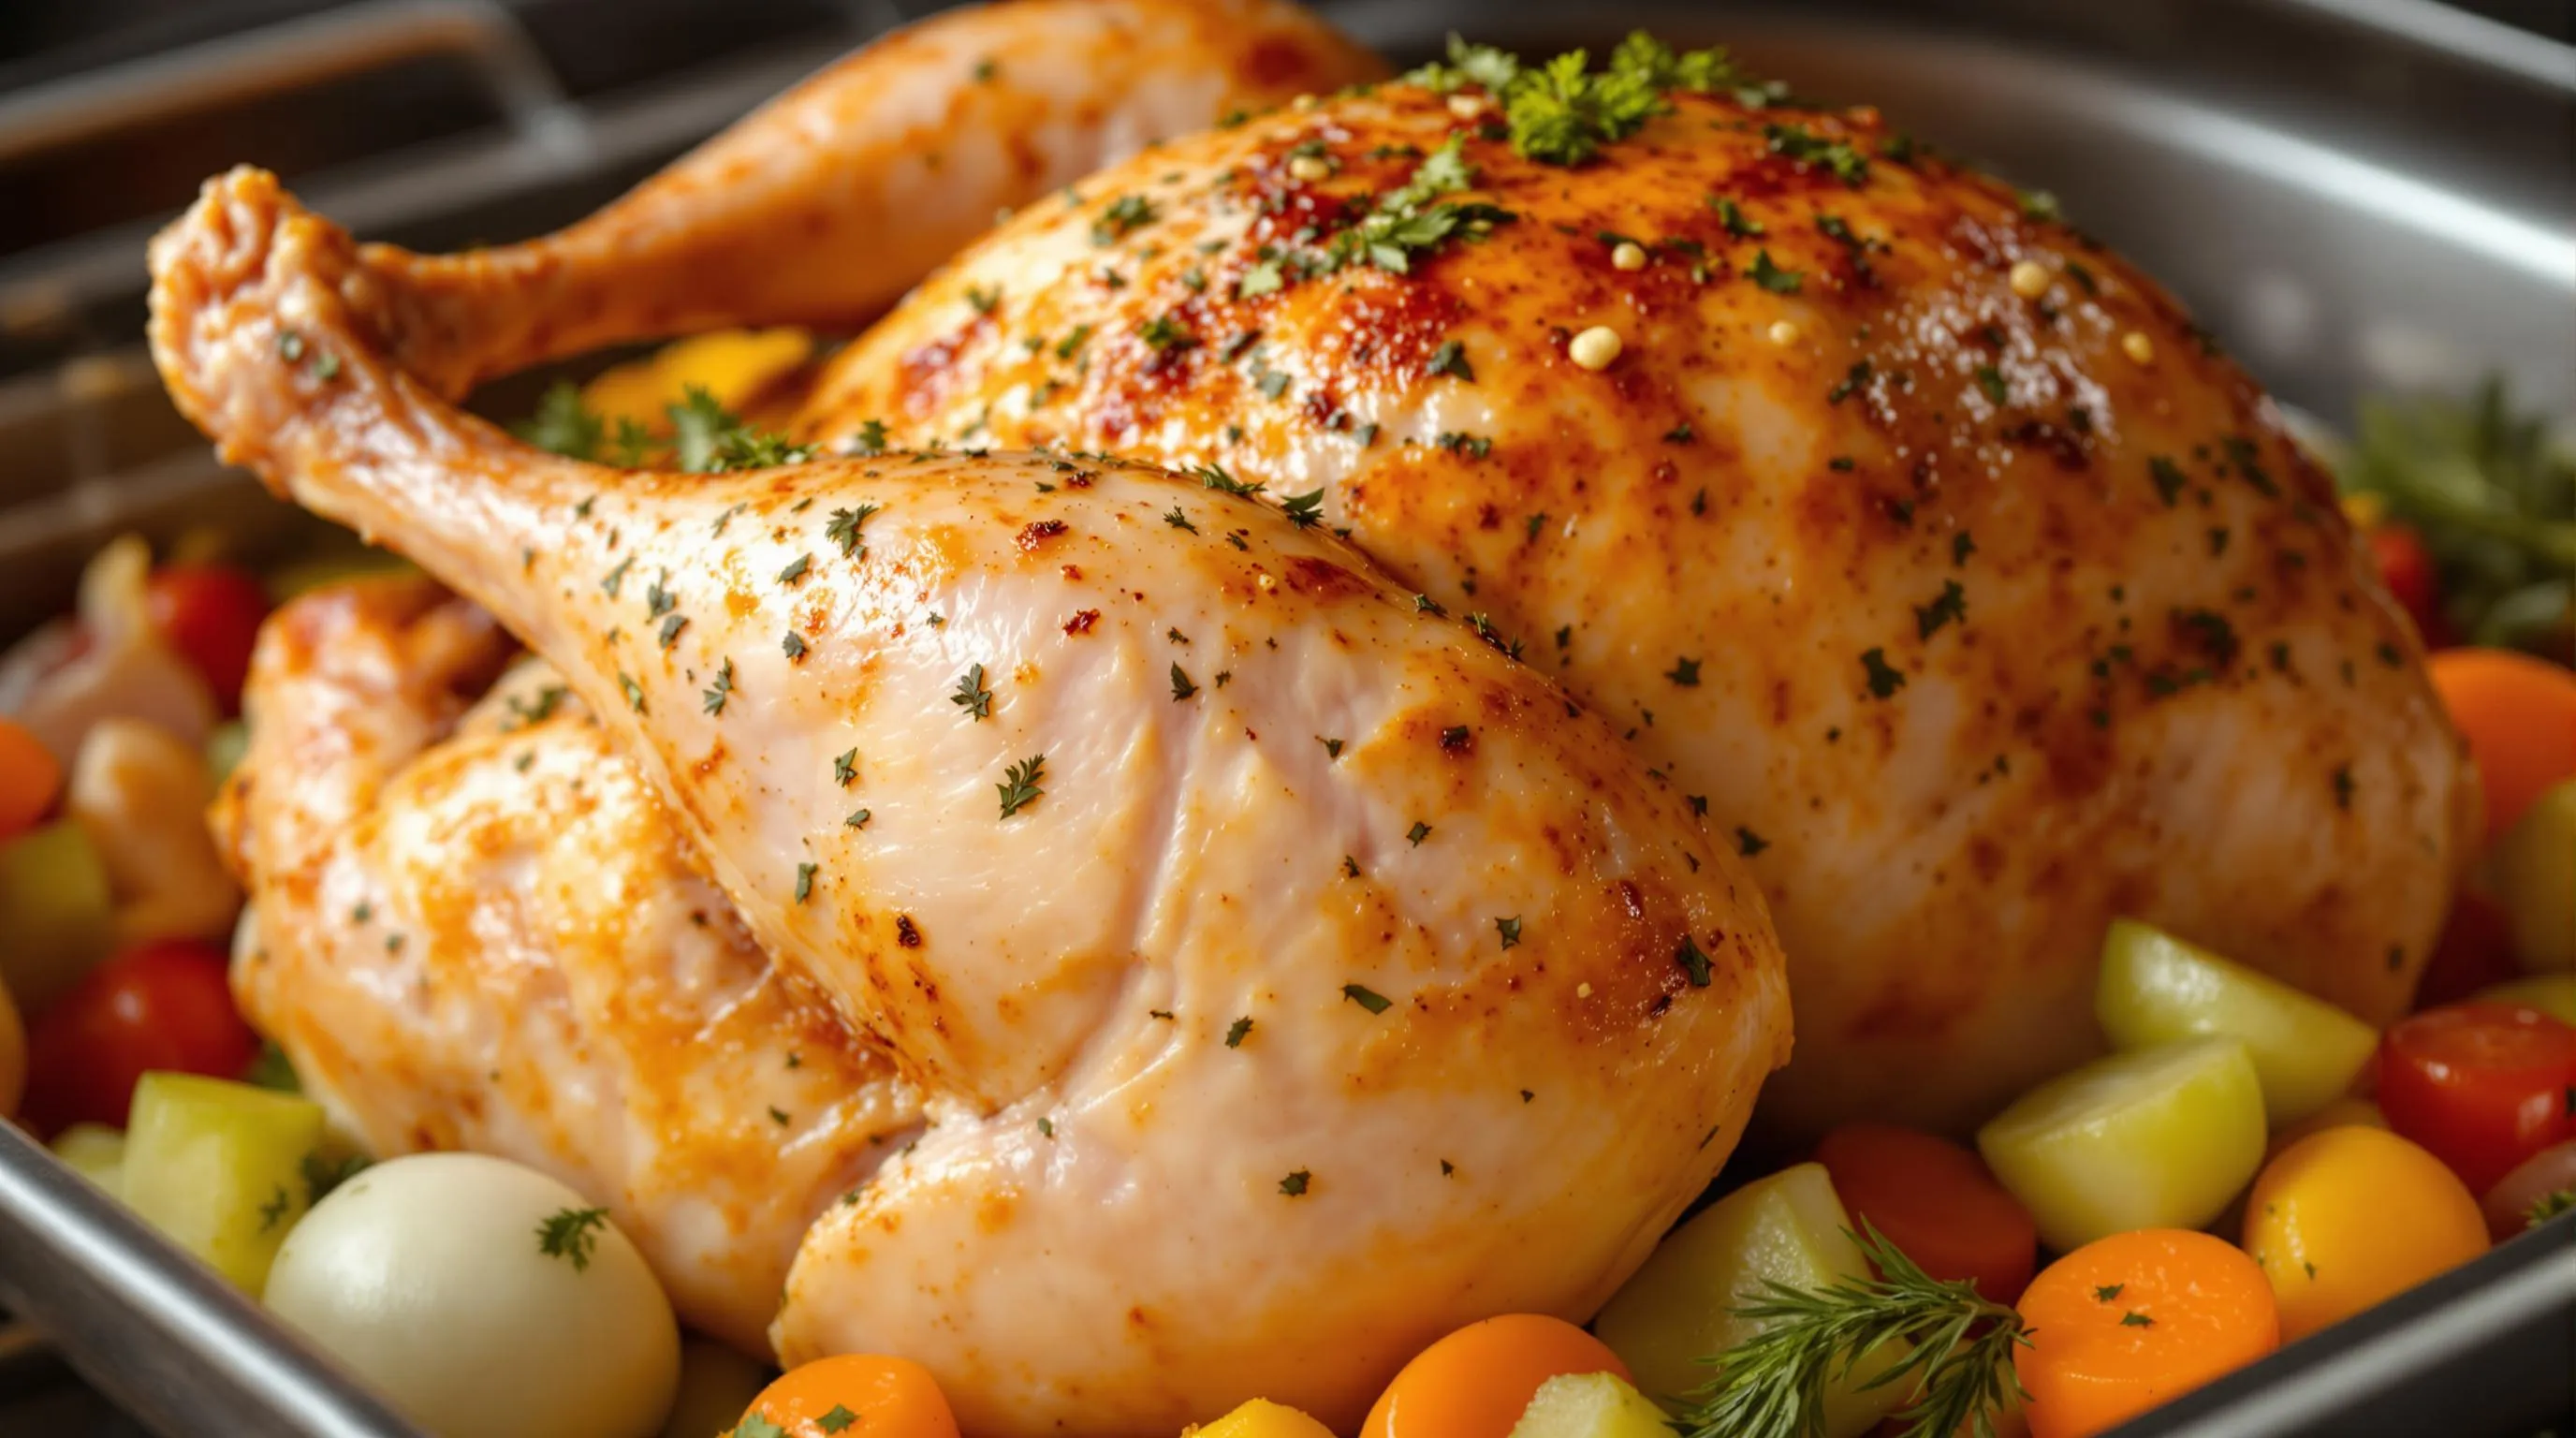
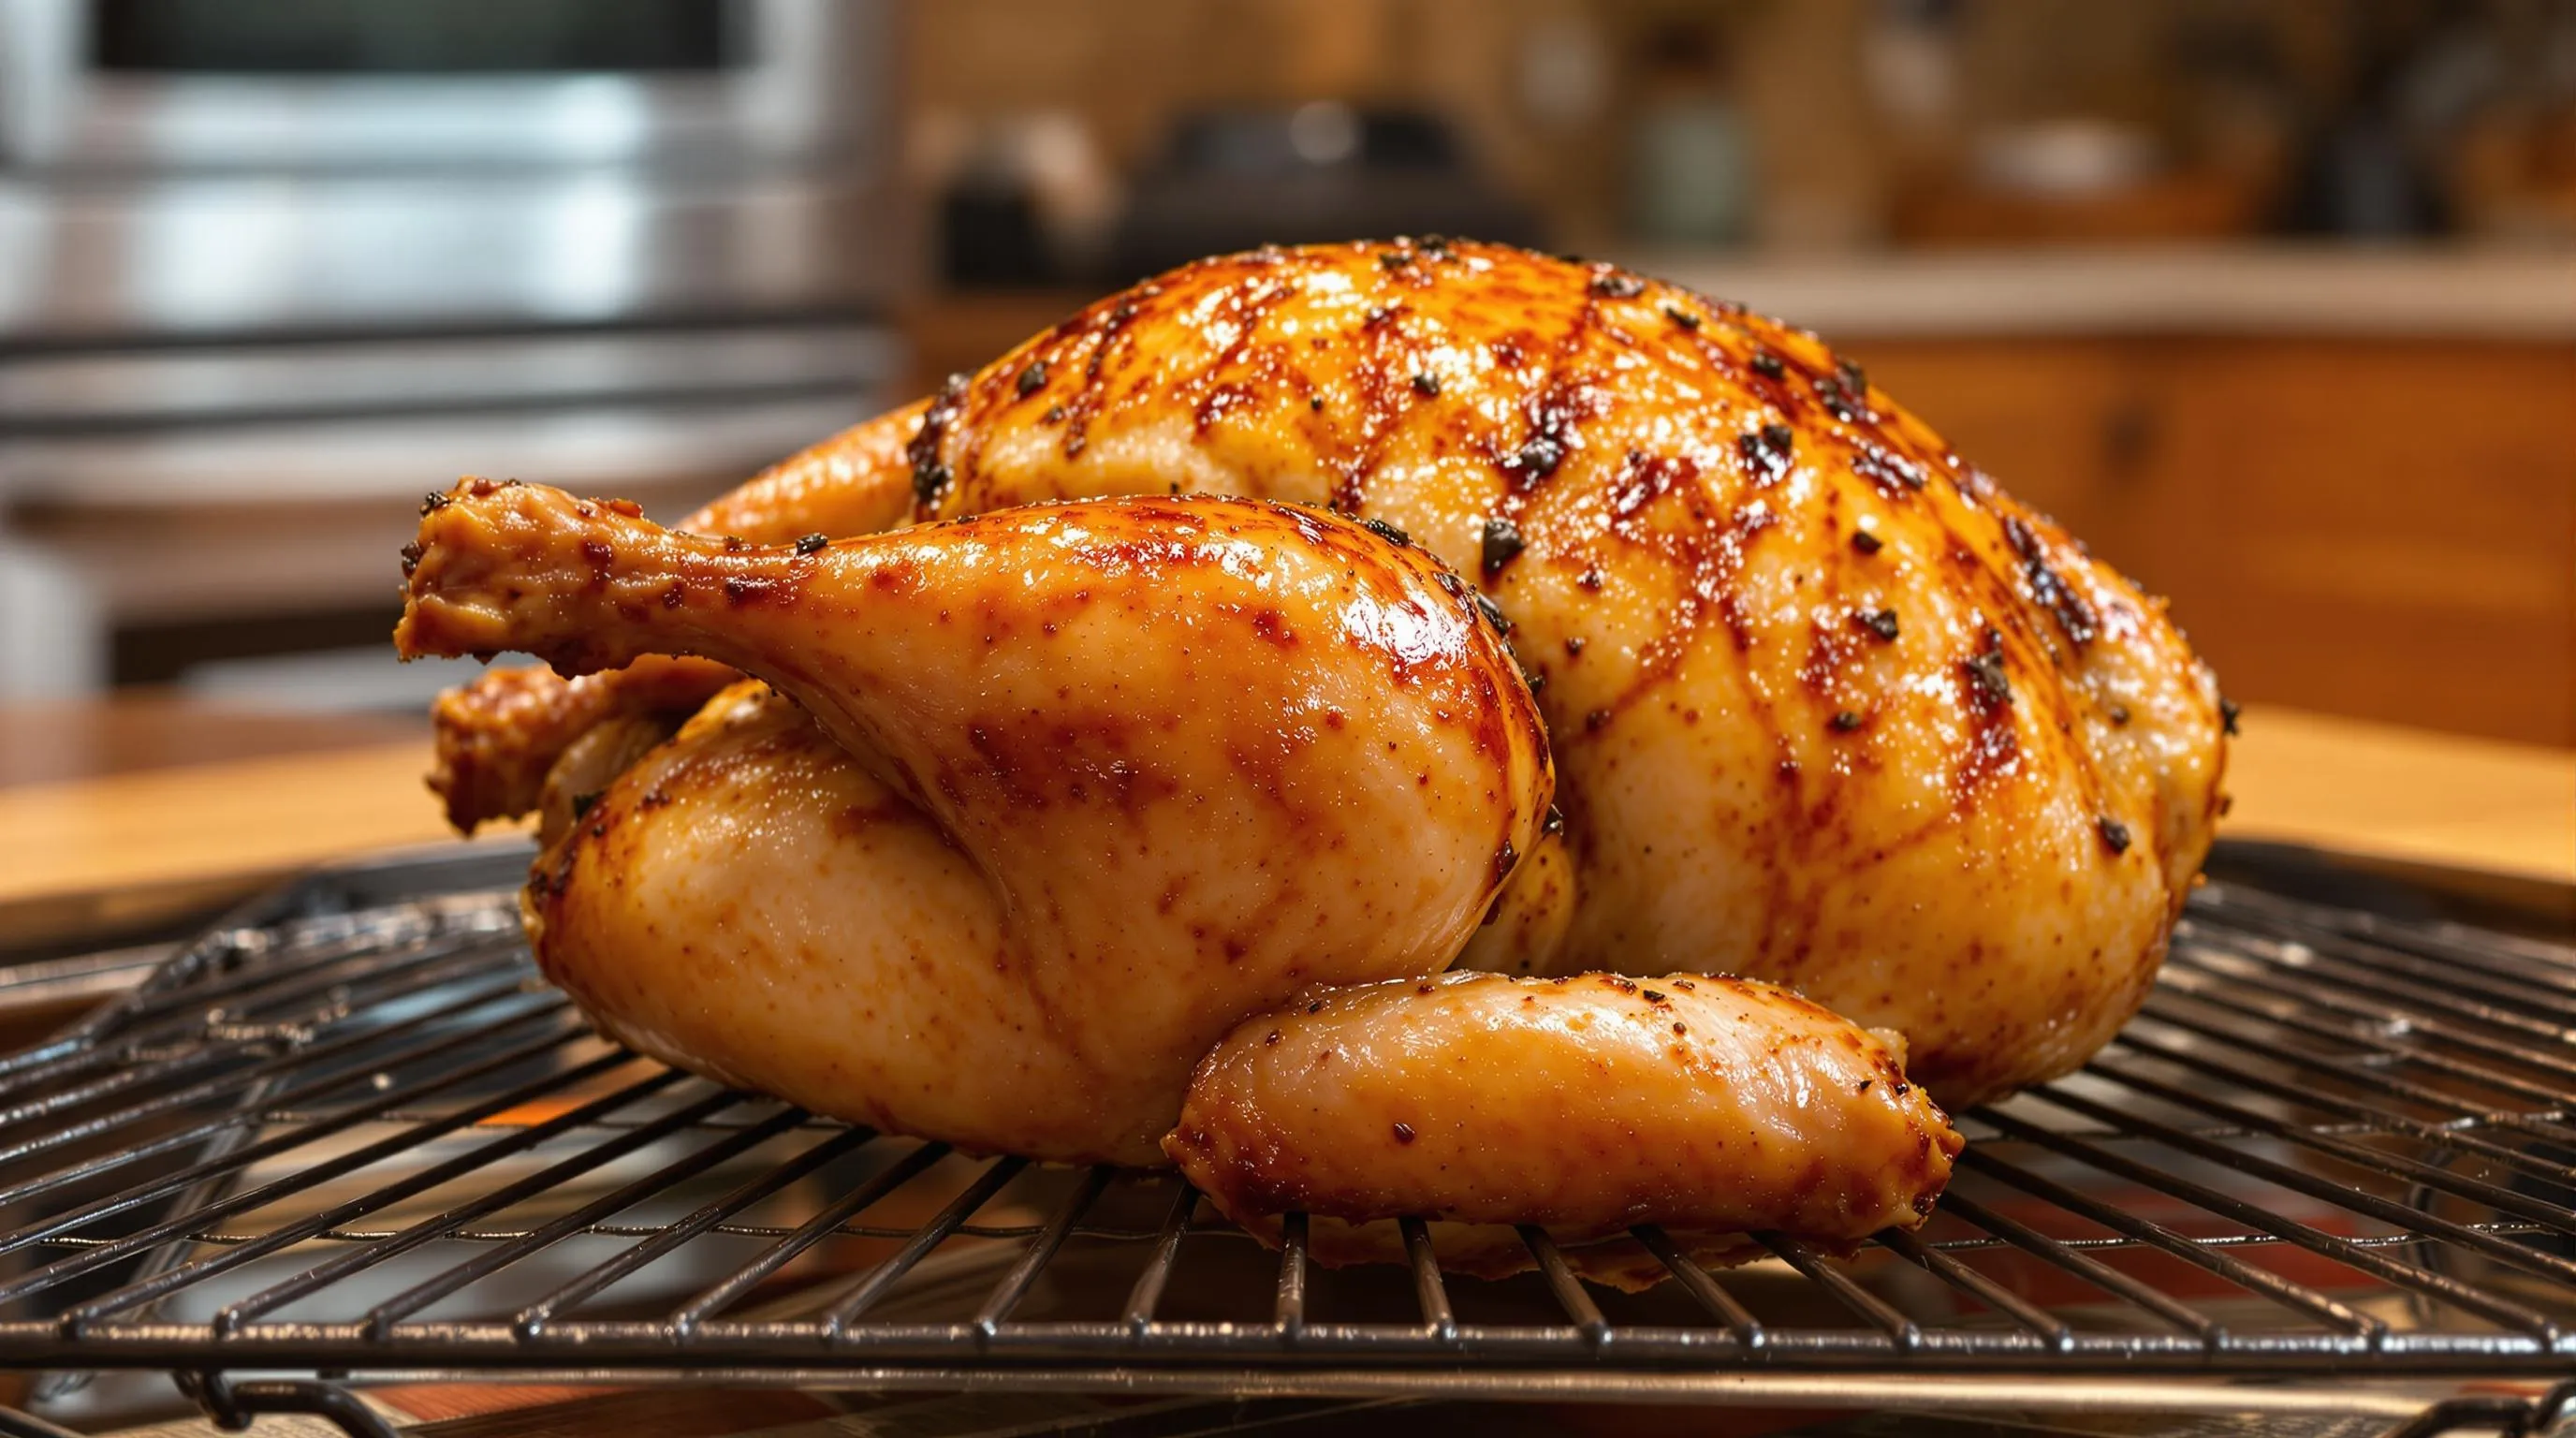
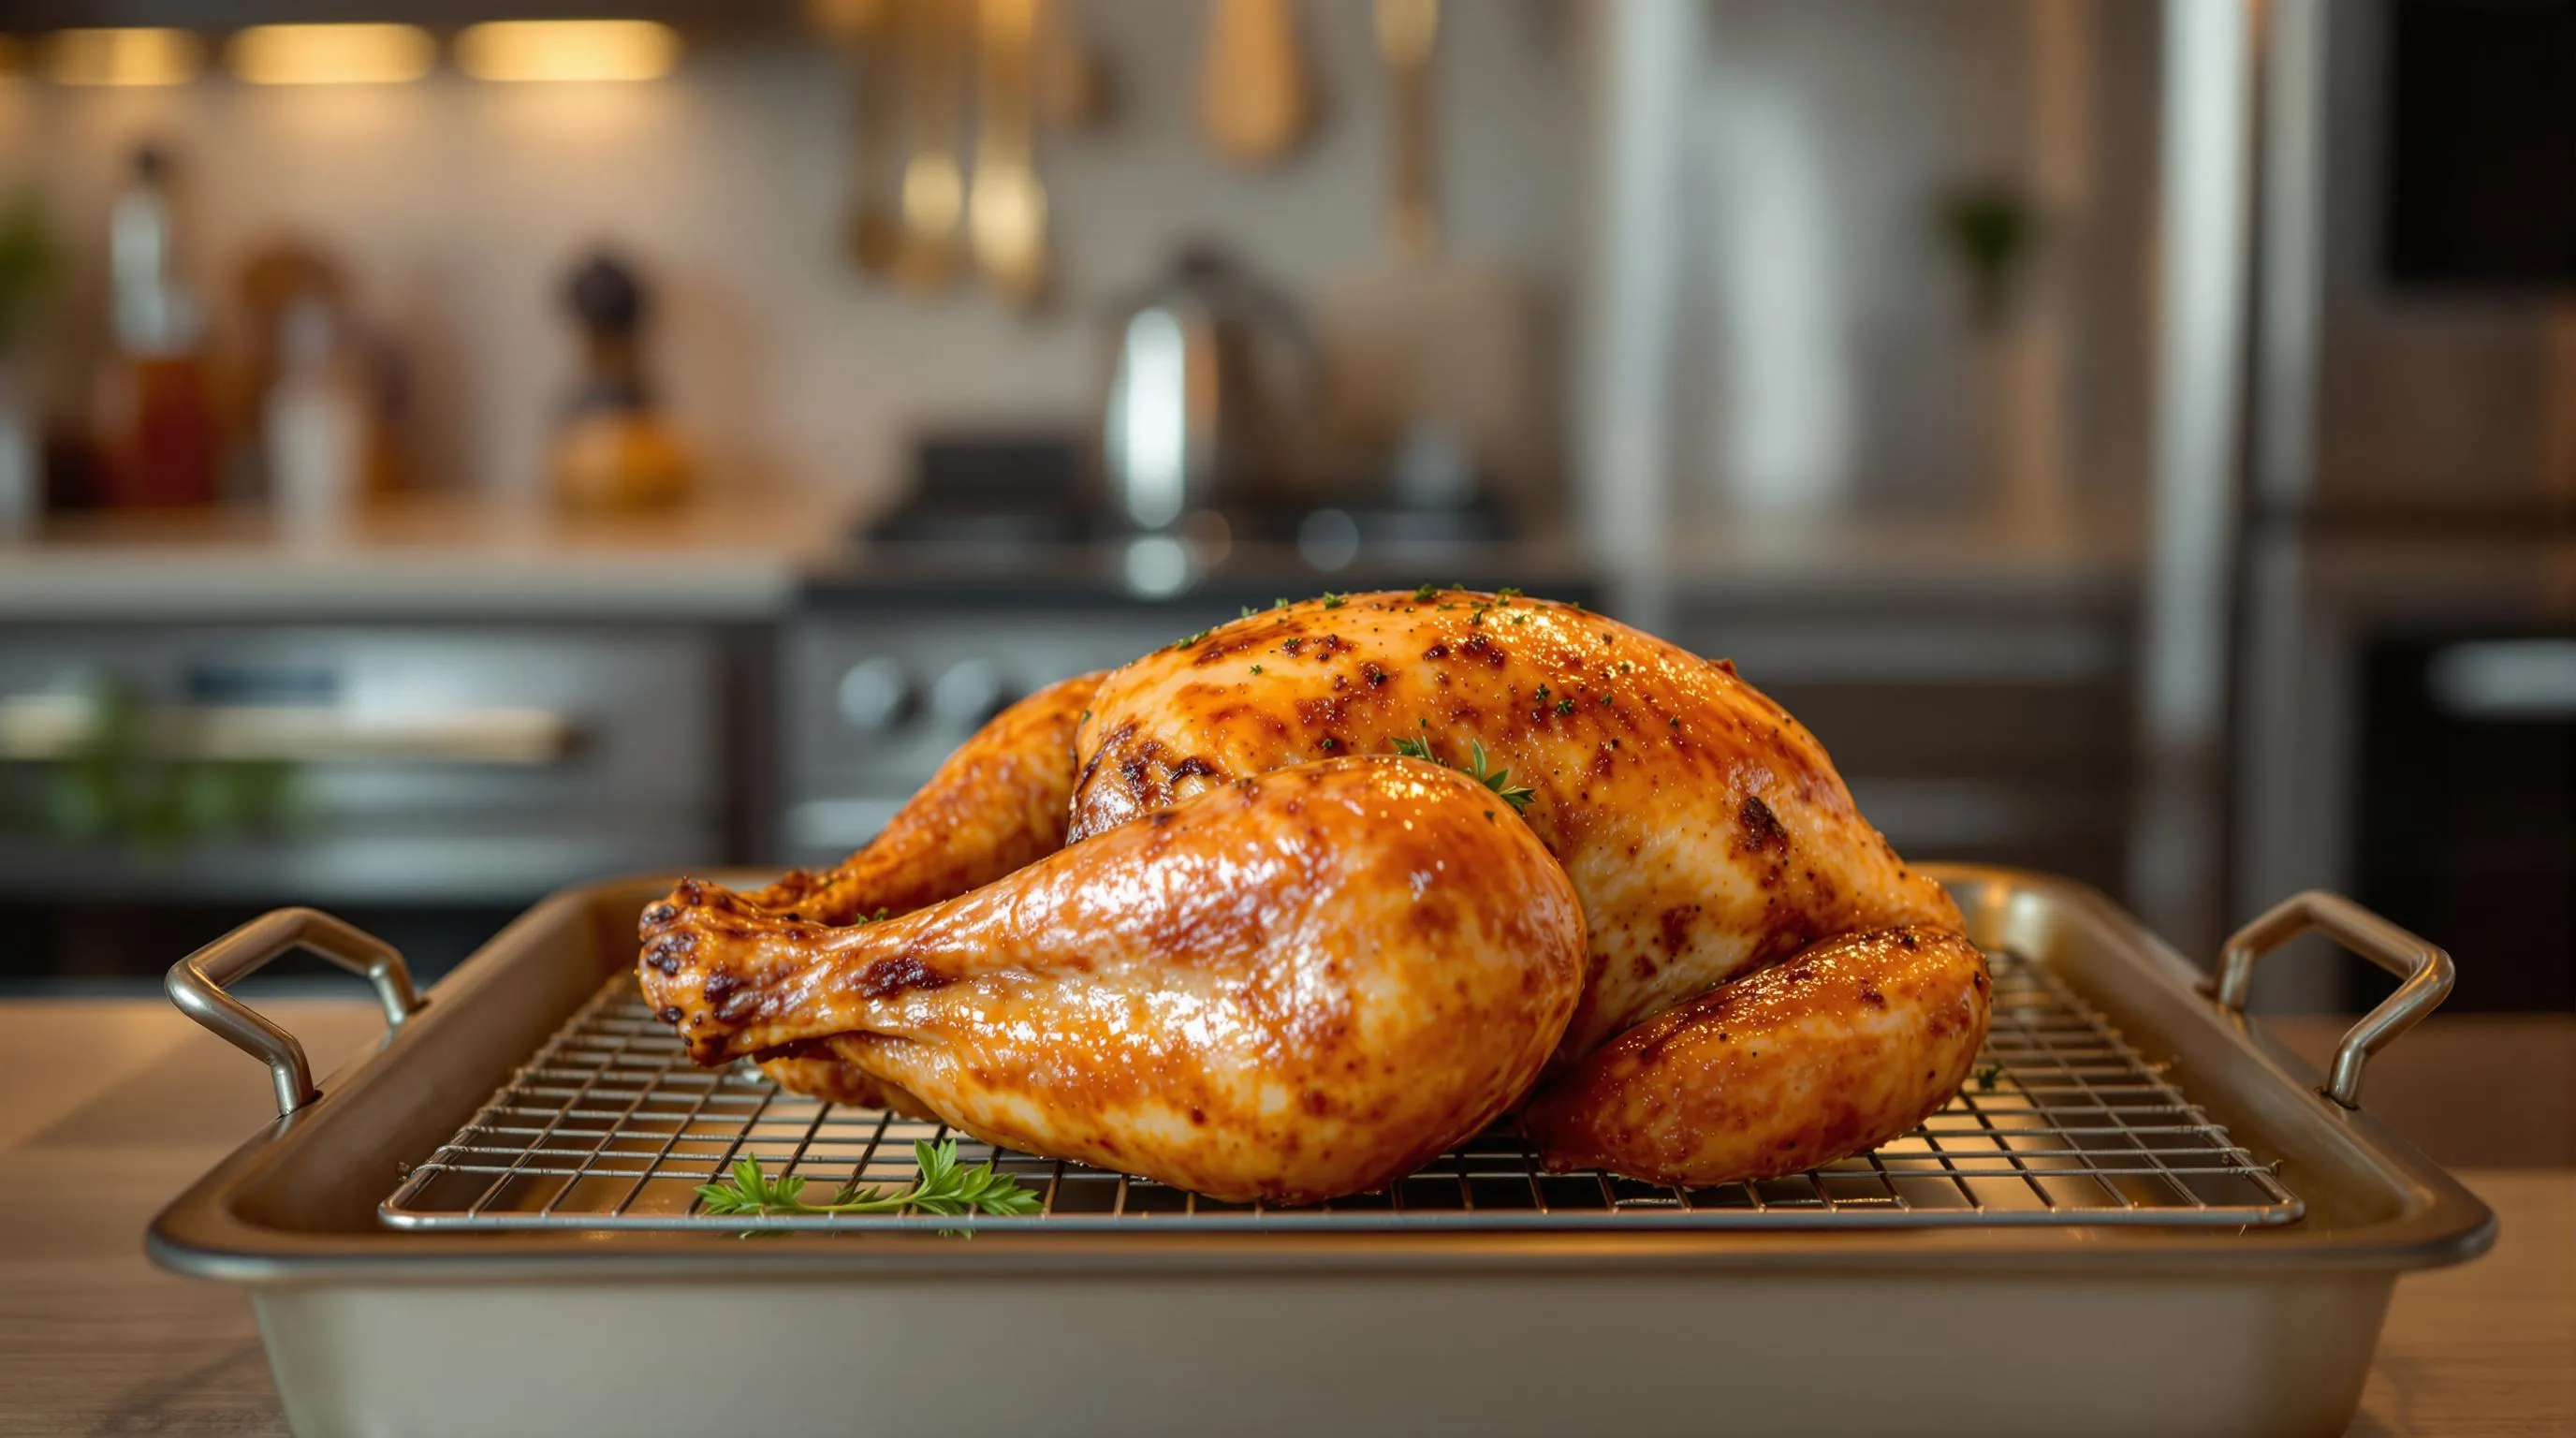
The dry environment created by convection cooking produces an enviably crisp, golden-brown skin that many home cooks struggle to achieve in standard ovens. Air circulation whisks away surface moisture, allowing the skin to crisp beautifully while the meat beneath remains juicy and tender. This contrast between crackling skin and moist meat represents the hallmark of perfectly cooked poultry.
Moisture Retention
Contrary to what some might expect, convection cooking actually helps your turkey breast retain more moisture. The faster cooking time means less opportunity for precious juices to evaporate. Also, the even heat distribution prevents the need to overcook certain areas just to ensure other parts reach a safe temperature. Your turkey breast emerges succulent and flavorful throughout.
Energy Efficiency
Cooking with convection technology reduces energy consumption in two key ways. First, the shorter cooking time naturally uses less power. Second, convection ovens typically operate at lower temperatures while achieving the same results as conventional ovens at higher settings. You might set your convection oven 25°F lower than the recipe suggests for a standard oven while still getting perfect results.


Benefits of Using a Convection Oven for Turkey Breast
Even Cooking Throughout
Your turkey breast deserves consistent doneness from edge to center. Convection ovens excel at this crucial aspect by utilizing fan-forced hot air circulation that eliminates hot spots common in conventional ovens. This technology ensures every part of your turkey breast reaches the perfect temperature simultaneously. The continuous airflow wraps around the entire cut of meat promoting uniform heat distribution. Turkey breast particularly benefits from this even cooking since its irregular shape often leads to uneven results in standard ovens.
Crispier Skin While Maintaining Moisture
Achieving that Instagram-worthy golden brown exterior while keeping the meat juicy inside becomes effortless with convection cooking. The circulating hot air quickly creates a delicious crispy skin that effectively seals in the natural juices of your turkey breast. This benefit proves especially valuable since turkey breast is naturally lean and prone to drying out during cooking. Many home chefs report that switching to convection roasting eliminated their previous issues with dry turkey.
Significantly Reduced Cooking Time
Prepare your holiday meals faster without sacrificing quality. Convection ovens cook turkey breast approximately 25-30% faster than conventional ovens due to their efficient heat distribution system. For instance a 2-pound turkey breast typically finishes in just 45-50 minutes in a convection oven versus significantly longer in a traditional model. This time-saving feature proves particularly valuable during busy holiday meal preparations when oven space and timing are critical considerations.
Better Energy Efficiency
Your utility bills will thank you when using a convection oven. The faster cooking times translate directly to reduced energy consumption making convection technology the more environmentally friendly choice. Also convection ovens often operate at temperatures 25°F lower than conventional recipes specify while still achieving excellent results. This combination of shorter duration and lower temperature requirements creates meaningful energy savings over time.
Enhanced Food Safety
Turkey requires proper cooking to ensure food safety and convection ovens help achieve this with greater reliability. The consistent heat distribution ensures your turkey breast reaches the safe internal temperature of 165°F quickly and evenly throughout the entire cut. This rapid achievement of food safety temperatures reduces the time your turkey spends in the “danger zone” where bacteria can multiply. The precision of convection cooking gives you confidence that your poultry is both delicious and safely prepared.
Comparison: Convection vs. Conventional Oven for Turkey Breast
| Feature | Convection Oven | Conventional Oven |
|---|---|---|
| Cooking Time | 25-30% faster | Standard reference time |
| Temperature Setting | 25°F lower than recipe | Standard recipe temperature |
| Browning | Superior, even browning | Often uneven |
| Moisture Retention | Excellent | Variable |
| Energy Usage | More efficient | Less efficient |
| Safe Temperature Achievement | Faster, more consistent | Slower, less consistent |


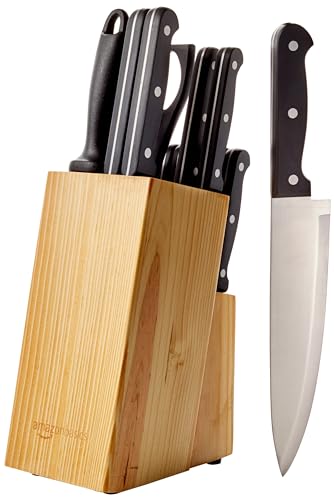
Equipment Needed
Preparing the perfect convection oven turkey breast requires exact tools to ensure successful results. Gathering all your equipment before starting will streamline your cooking process and help you achieve that juicy interior with crispy golden skin.
Essential Tools
- Convection oven or conventional oven with convection setting – The star of this recipe that provides the even heat circulation
- Roasting pan – Choose one that comfortably fits your turkey breast with about 2 inches of space around the edges
- Roasting rack – Elevates the meat for proper air circulation underneath
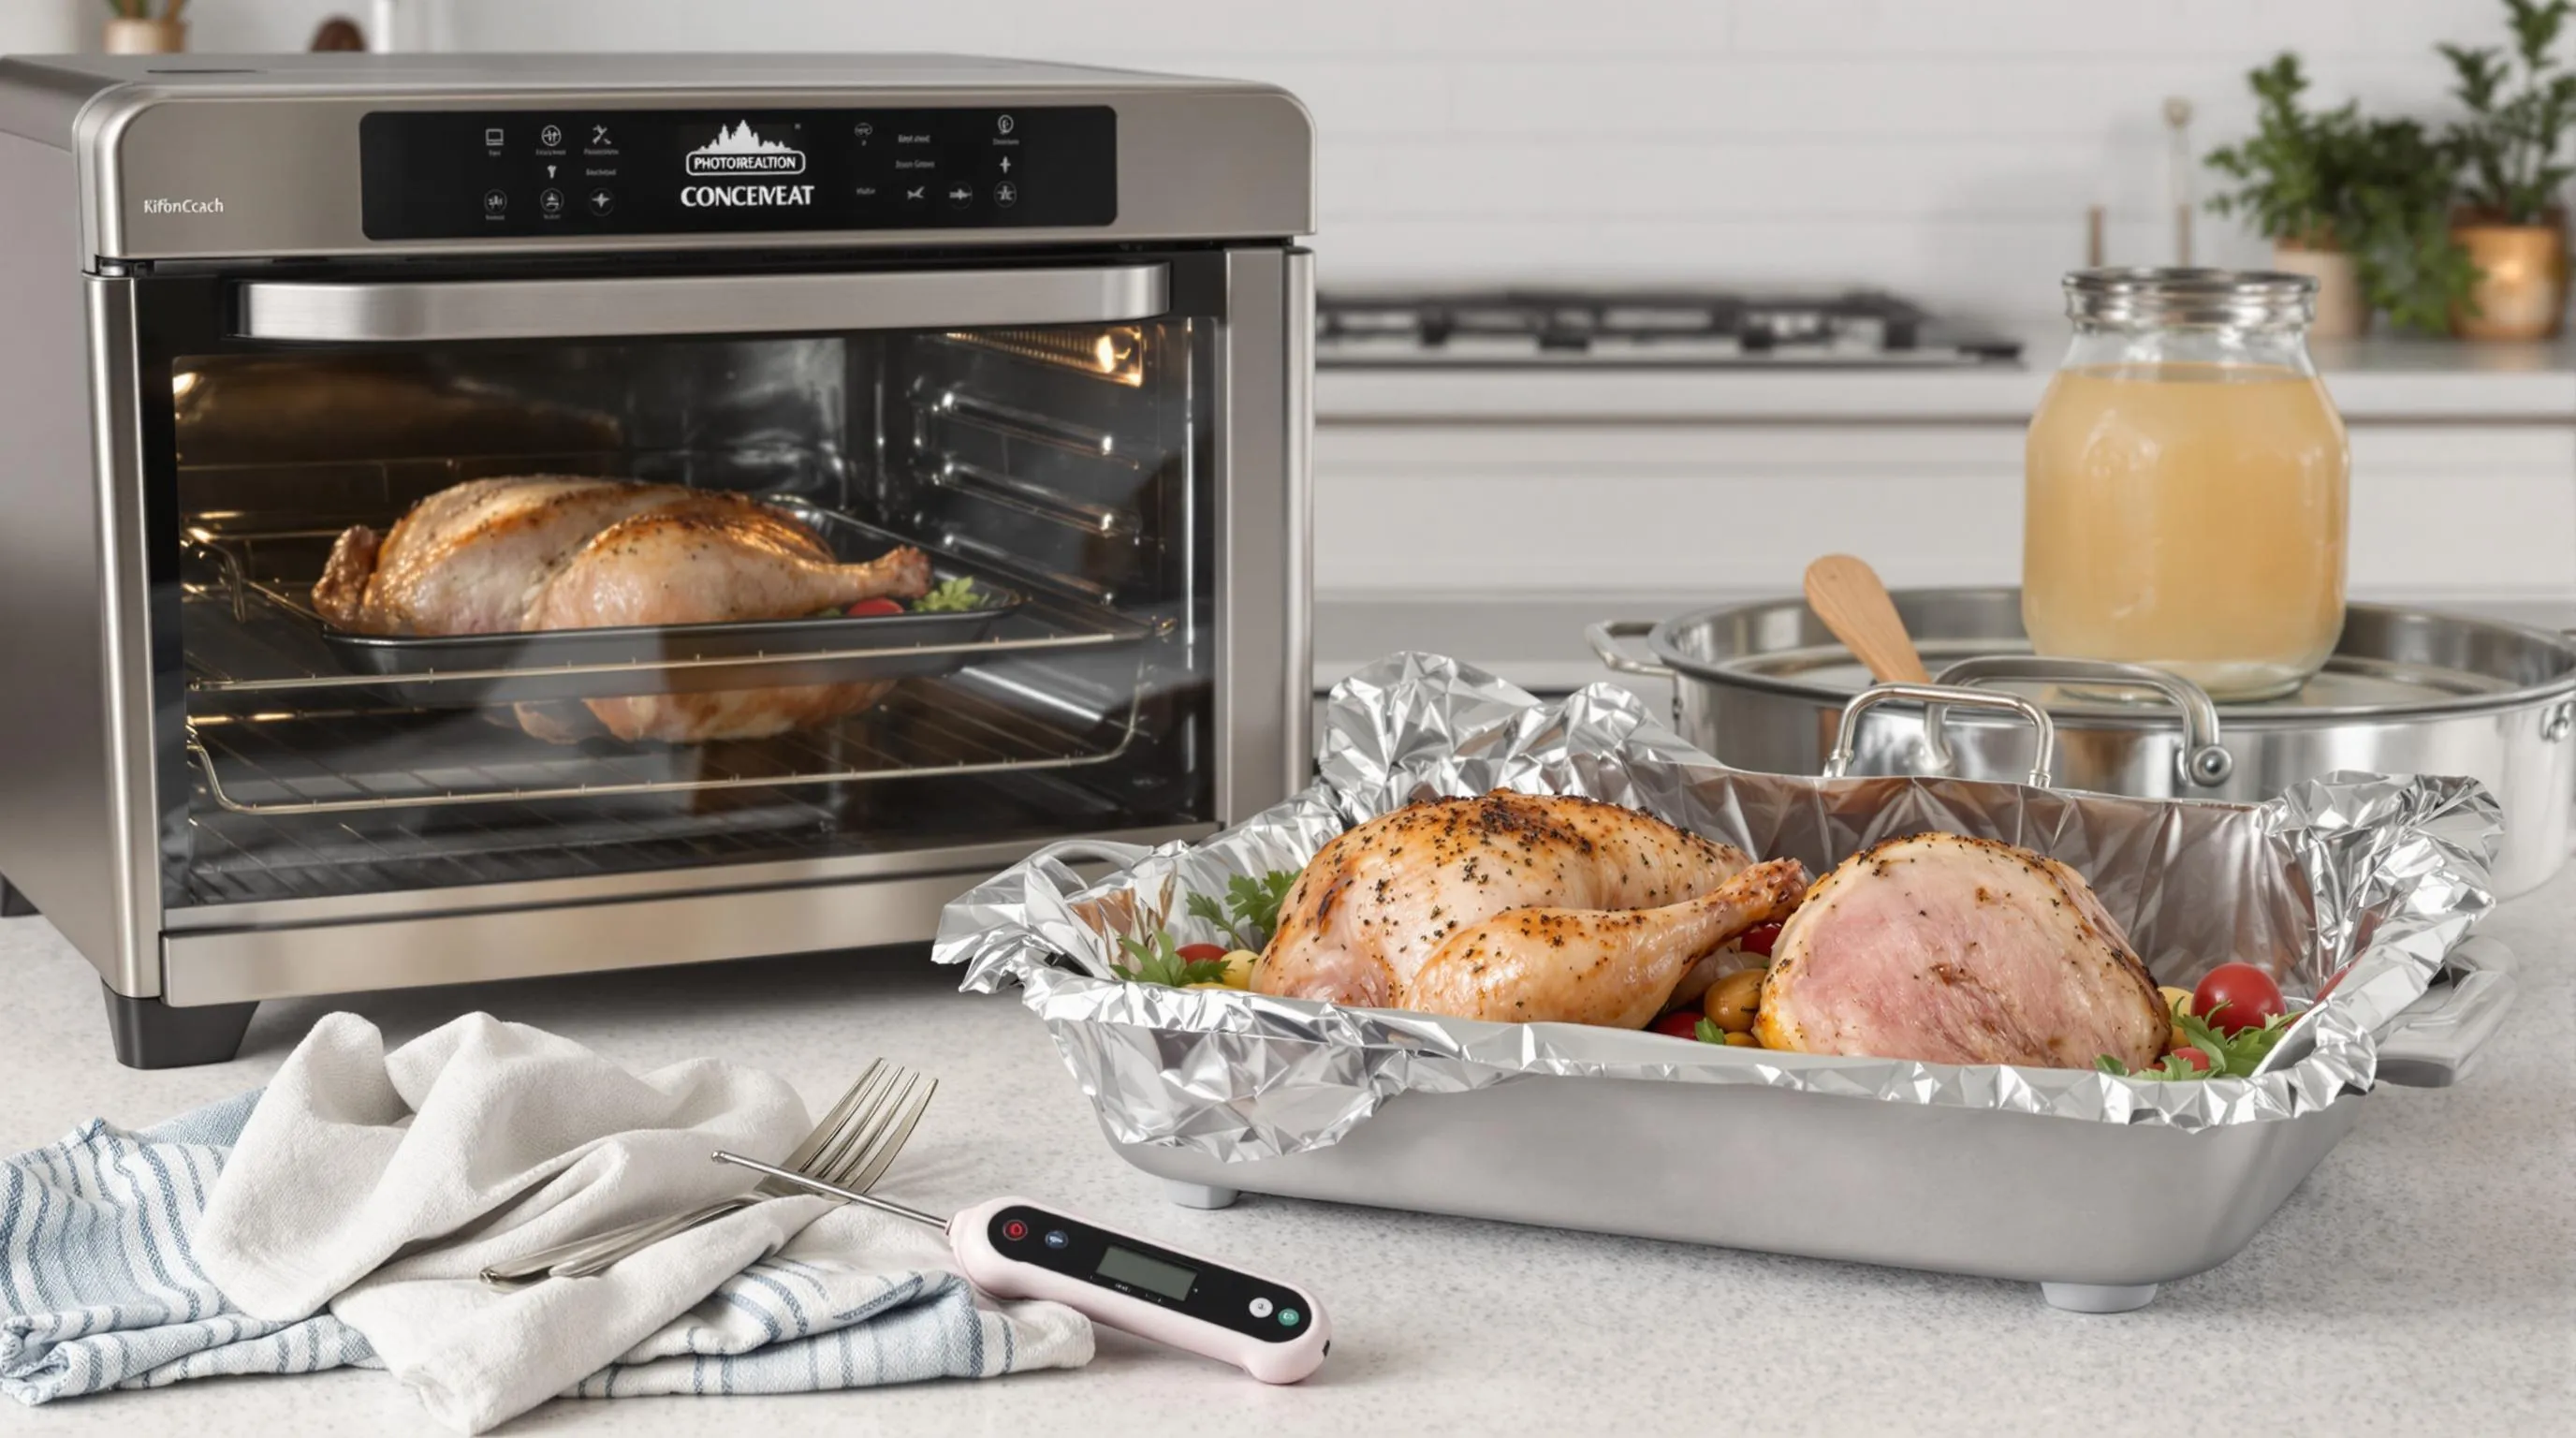
- Meat thermometer – Digital instant-read thermometers offer the most accurate readings to ensure you reach the safe 165°F internal temperature
- Basting brush – For applying butter or oil to achieve crispy skin
- Chef’s knife – A sharp knife for trimming or prepping the turkey breast before cooking
- Kitchen twine – Helpful if you need to truss the turkey breast for even cooking
- Aluminum foil – For tenting the turkey if it browns too quickly
Optional Equipment
- Fat separator – Useful for making gravy from the drippings
- Carving board with juice groove – Captures the flavorful juices when slicing
- Carving knife and fork set – For precise, elegant slicing of the finished turkey
- Oven mitts – Heat-resistant protection when handling hot pans
- Turkey lifters – Makes transferring the cooked turkey breast easier and safer
- Herb infuser – If you plan to add aromatics under the skin
Your meat thermometer is particularly crucial as it ensures food safety while preventing overcooking. The convection setting reduces cooking time by 25-30% compared to conventional ovens, making timing precision essential. Position your roasting rack properly in the pan to allow the hot air to circulate fully around the turkey breast, creating that perfectly crisp exterior while maintaining moisture inside.


Ingredients for Juicy Convection Oven Turkey Breast
Gathering the right ingredients ensures your convection oven turkey breast turns out perfectly juicy with golden-brown skin. Each component plays an essential role in creating that memorable flavor profile.
For the Turkey
- 1 turkey breast (3-6.5 pounds), bone-in or boneless
- 1 cup water or turkey broth (for the roasting pan)
- Salt and black pepper to taste
For the Herb Butter Rub
- 4 tablespoons unsalted butter, softened to room temperature
- 1 tablespoon fresh thyme leaves (or 1 teaspoon dried)
- 1 tablespoon fresh rosemary, finely chopped (or 1 teaspoon dried)
- 1 tablespoon fresh sage, finely chopped (or 1 teaspoon ground)
- 2 cloves garlic, minced (or 1 teaspoon garlic powder)
- 1 teaspoon onion powder
- 1 teaspoon salt
- ½ teaspoon black pepper
For the Gravy (Optional)
- Pan drippings from turkey
- 2 tablespoons unsalted butter
- 2 tablespoons all-purpose flour
- 2 cups turkey broth
- 1 tablespoon cornstarch (mixed with 2 tablespoons cold water)
- Salt and pepper to taste


Preparing the Turkey Breast
Proper preparation of your turkey breast is crucial for achieving that perfect juicy texture and golden-brown skin. Follow these steps carefully to ensure your convection oven turkey breast turns out magnificent every time.
Thawing Instructions
Thaw your turkey breast completely before cooking to ensure even roasting and food safety. Place the frozen turkey breast in the refrigerator for 24-48 hours depending on its size. A properly thawed turkey cooks more evenly and produces better results as the heat distributes uniformly throughout the meat. Avoid cooking from a frozen state since this significantly prolongs cooking time and creates a high risk of uneven cooking with some portions potentially remaining undercooked while others dry out. Always remove any packaging materials and giblet packets after thawing but before cooking your turkey breast.
Trimming and Seasoning
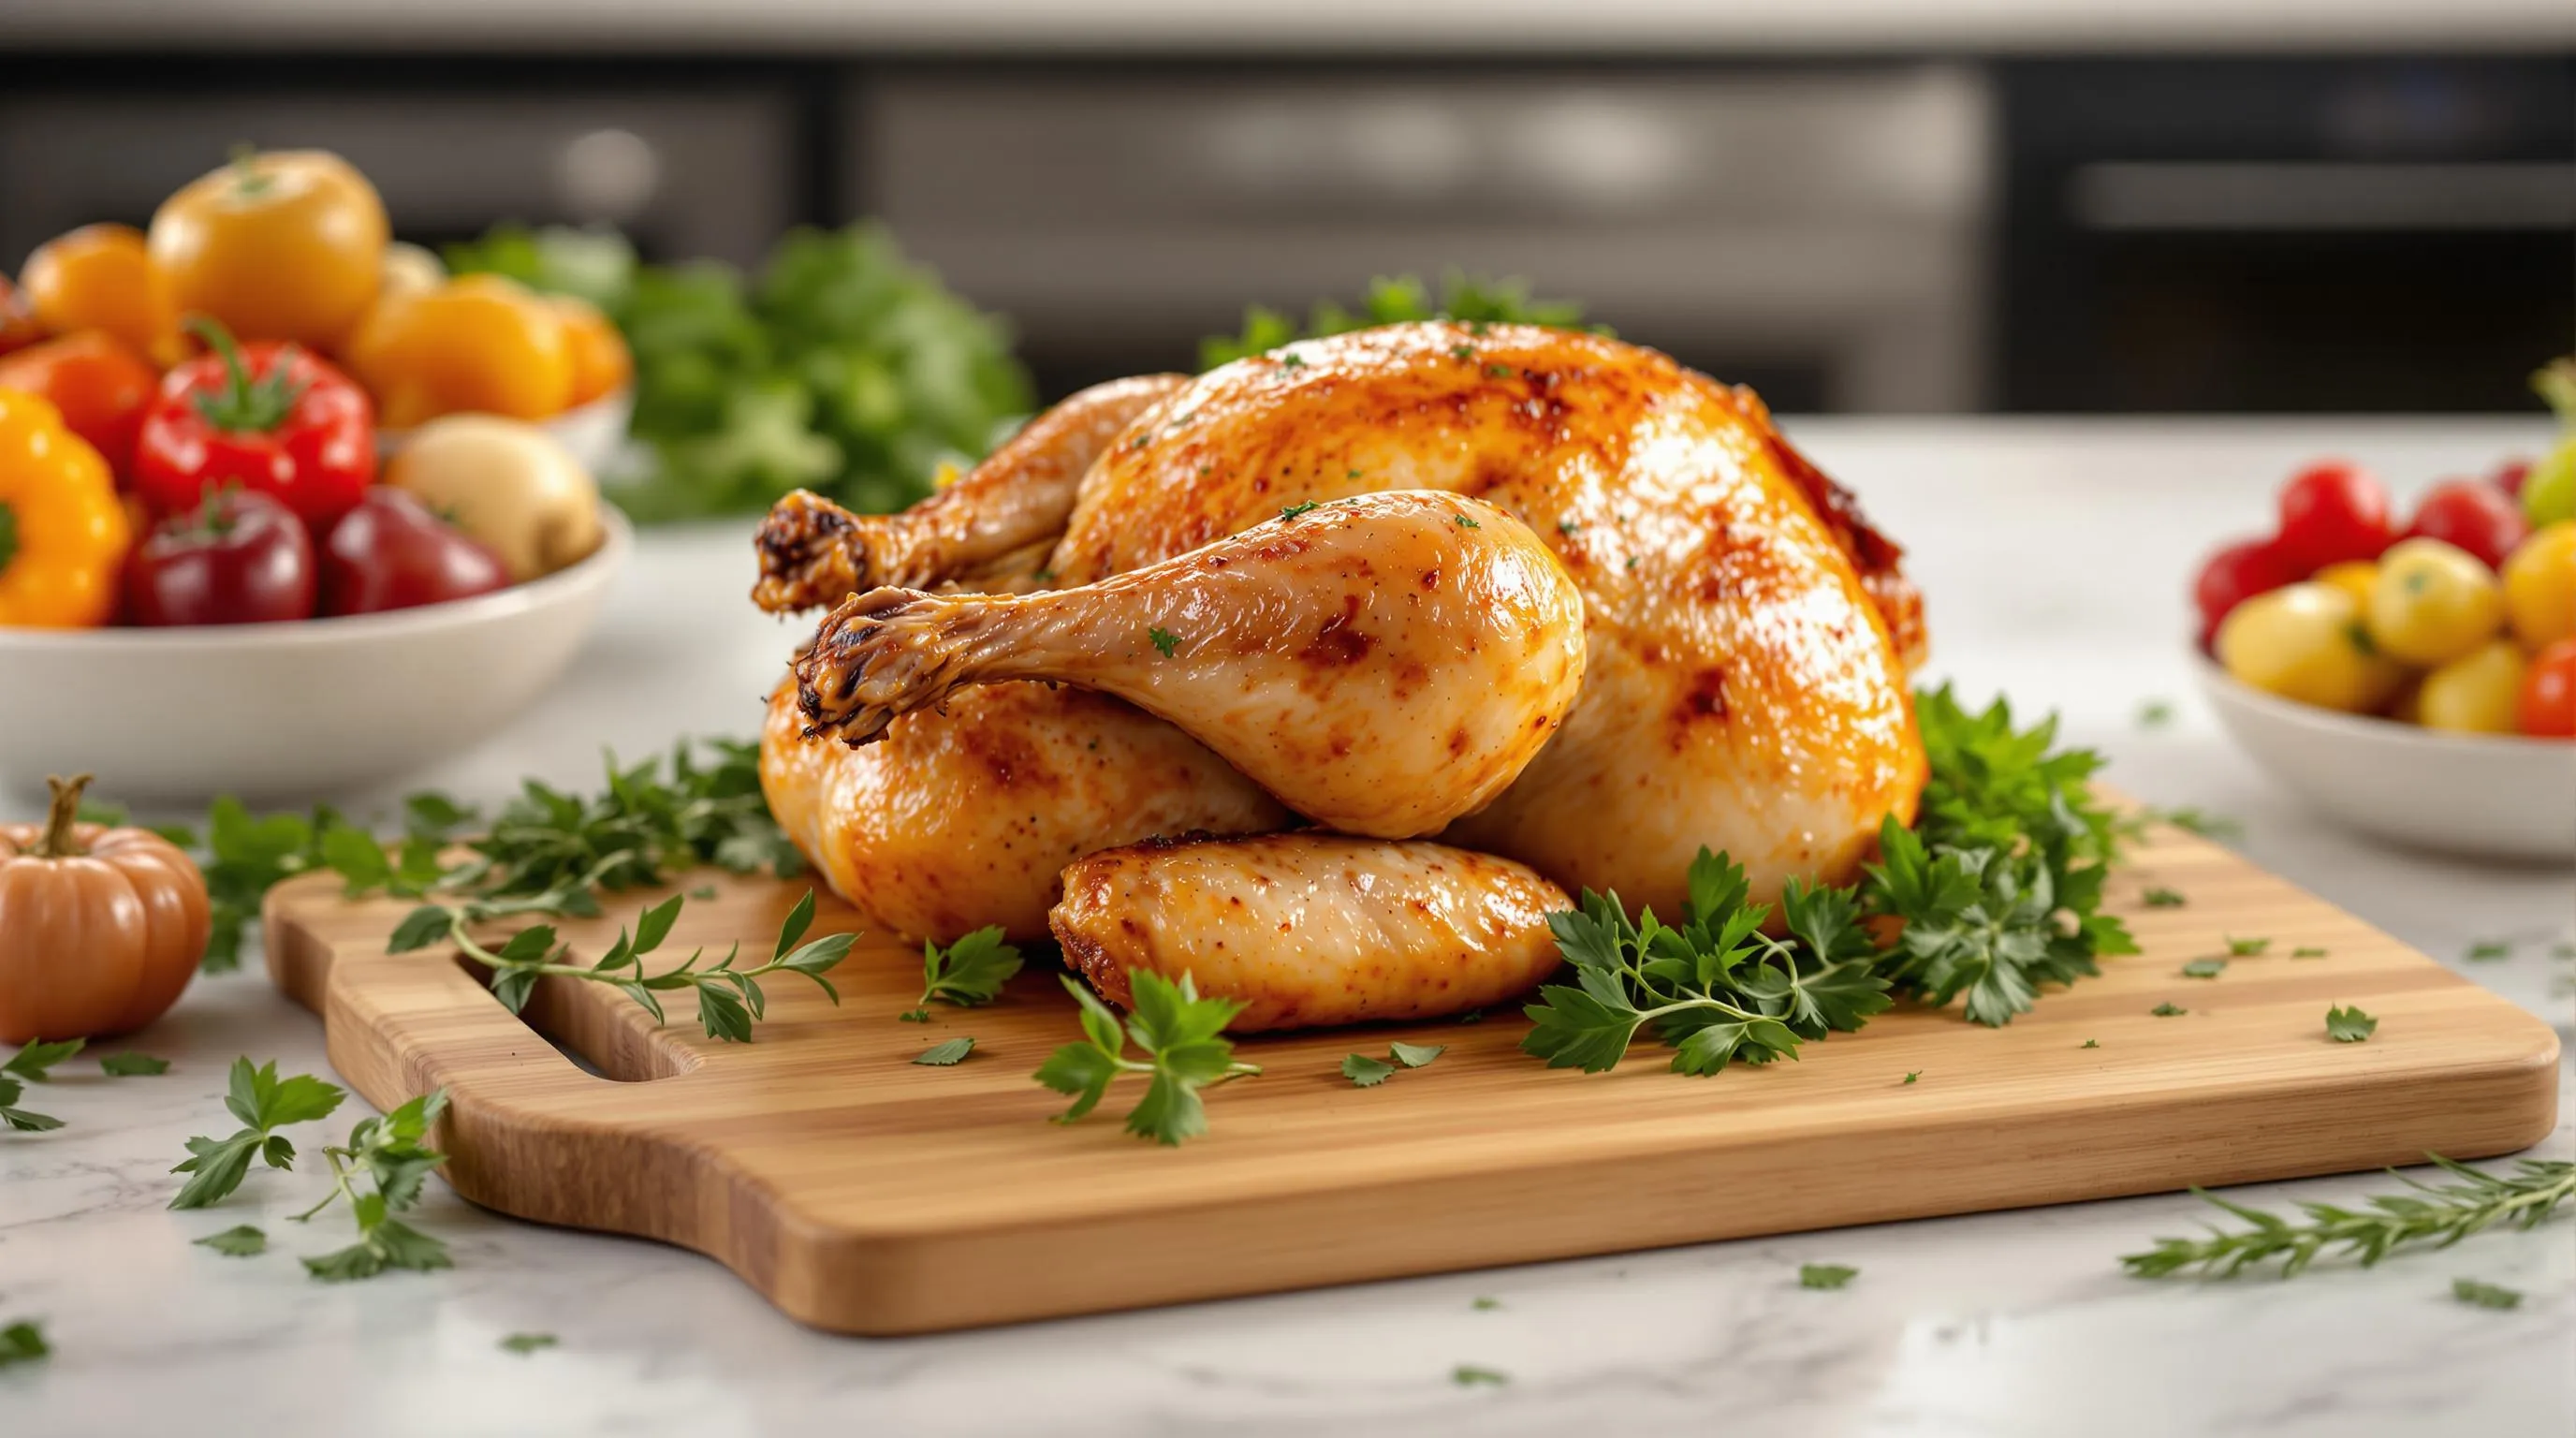
Remove excess fat and any loose skin flaps from your turkey breast to promote even browning in the convection oven. Trim away any discolored portions and check that the cavity is clean. For optimal flavor development, brush the entire turkey breast with melted butter mixed with your favorite dry seasonings and freshly crushed garlic. This butter mixture creates a protective layer that locks in moisture while allowing the skin to crisp beautifully during the convection roasting process. Make sure to lift the skin gently and apply some of the seasoned butter directly onto the meat for deeper flavor penetration. Season generously with salt and black pepper to enhance the natural turkey flavor. Apply the butter mixture evenly over all surfaces of the turkey breast to ensure consistent browning and flavor throughout the cooking process.
Preheat your convection oven to 325°F-350°F based on your recipe specifications. Position the seasoned turkey breast on a rack inside a roasting pan with the breast side facing up. If you don’t have a rack available, create a makeshift platform using chunks of onion, celery stalks, and whole garlic cloves—this elevates the turkey while adding aromatic flavor to the drippings. Insert a reliable food-grade thermometer into the thickest part of the breast without touching bone to monitor the internal temperature during cooking. Roast for approximately 10-15 minutes per pound until the thermometer registers 165°F for both safety and optimal juiciness. Should you notice the breast browning too quickly while the internal temperature remains below target, cover loosely with aluminum foil to prevent over-browning while allowing continued cooking.


Convection Oven Settings for Perfect Turkey Breast
Temperature Selection
Selecting the right temperature is crucial for achieving a perfectly roasted turkey breast in your convection oven. Preheat your oven between 325°F and 375°F depending on your desired results. Most professional chefs recommend starting at 350°F to 375°F for optimal roasting and adjusting as needed once the turkey begins to brown. The higher temperature range promotes better browning while still cooking the meat thoroughly. For larger cuts, consider using a two-temperature approach: begin roasting at 350°F for about 45 minutes to establish good color, then reduce to 250°F for slower, more gentle cooking that preserves moisture.
Cooking Duration Guidelines
Your turkey breast will cook significantly faster in a convection oven than in a conventional one. Follow the general rule of approximately 25 minutes per pound when roasting at 375°F. A 2-pound turkey breast typically requires about 45-50 minutes to reach perfection. Larger cuts need proportionally more time—a 6-pound breast might take around 2.5 hours at lower temperatures. Remember that these times serve as guidelines only; the internal temperature remains the definitive indicator of doneness.
Temperature Monitoring
Using a reliable meat thermometer is non-negotiable for perfectly cooked turkey breast. Insert the thermometer into the thickest part of the meat, avoiding contact with bone for an accurate reading. The turkey breast must reach an internal temperature of 165°F to ensure food safety. Many experienced cooks recommend removing the turkey from the oven when it registers 160°F, as carryover cooking during the resting period will raise the temperature to the safe threshold. Check multiple spots in the thickest portions to verify even cooking throughout.
Adjustments During Cooking
Monitor your turkey breast carefully throughout the cooking process and make necessary adjustments. If you notice the skin browning too quickly before the meat reaches the proper internal temperature, loosely tent aluminum foil over the turkey to prevent over-browning while allowing continued cooking. For extra-crispy skin, consider increasing the temperature by 25°F during the final 15 minutes of cooking time. Position your turkey breast on a rack in the middle of the oven to ensure optimal air circulation—a key advantage of convection cooking.
Resting Period
Once your turkey breast reaches the target temperature, remove it from the oven and allow it to rest for 15-20 minutes before carving. This critical step allows juices to redistribute throughout the meat, resulting in a moister final product. Keep the turkey loosely covered with foil during resting to maintain warmth without trapping steam that could soften the crispy skin. The resting period completes the cooking process through carryover heat while making the meat easier to slice cleanly.


Step-by-Step Cooking Instructions
Follow these detailed instructions to achieve a perfectly roasted turkey breast with crispy golden skin and juicy meat. The convection oven method ensures even cooking and reduced preparation time compared to traditional methods.
Preparing the Oven
Preheat your convection oven to 350°F for optimal roasting conditions. This temperature creates the perfect environment for cooking turkey breast evenly while preventing it from drying out. If your convection oven doesn’t allow exact temperature adjustments use the default setting but monitor the cooking process more closely to avoid overcooking. Proper preheating is essential as it ensures immediate cooking when you place the turkey in the oven rather than allowing it to sit in a warming environment which can promote bacterial growth.
Applying the Herb Butter
Create a flavorful herb butter by melting butter and mixing it with chopped garlic and fresh herbs such as rosemary thyme sage and parsley. Add salt and pepper to enhance the overall flavor profile of your turkey breast. Spread the butter mixture evenly over the entire turkey breast using your hands to massage it under the skin as well as on the outer surface. This technique allows the flavors to penetrate deeply into the meat while cooking. For additional aroma and moisture consider stuffing the turkey cavity with aromatic ingredients like onions apples citrus fruits and additional herbs. The herb butter not only adds flavor but creates a natural basting effect as it melts during cooking.
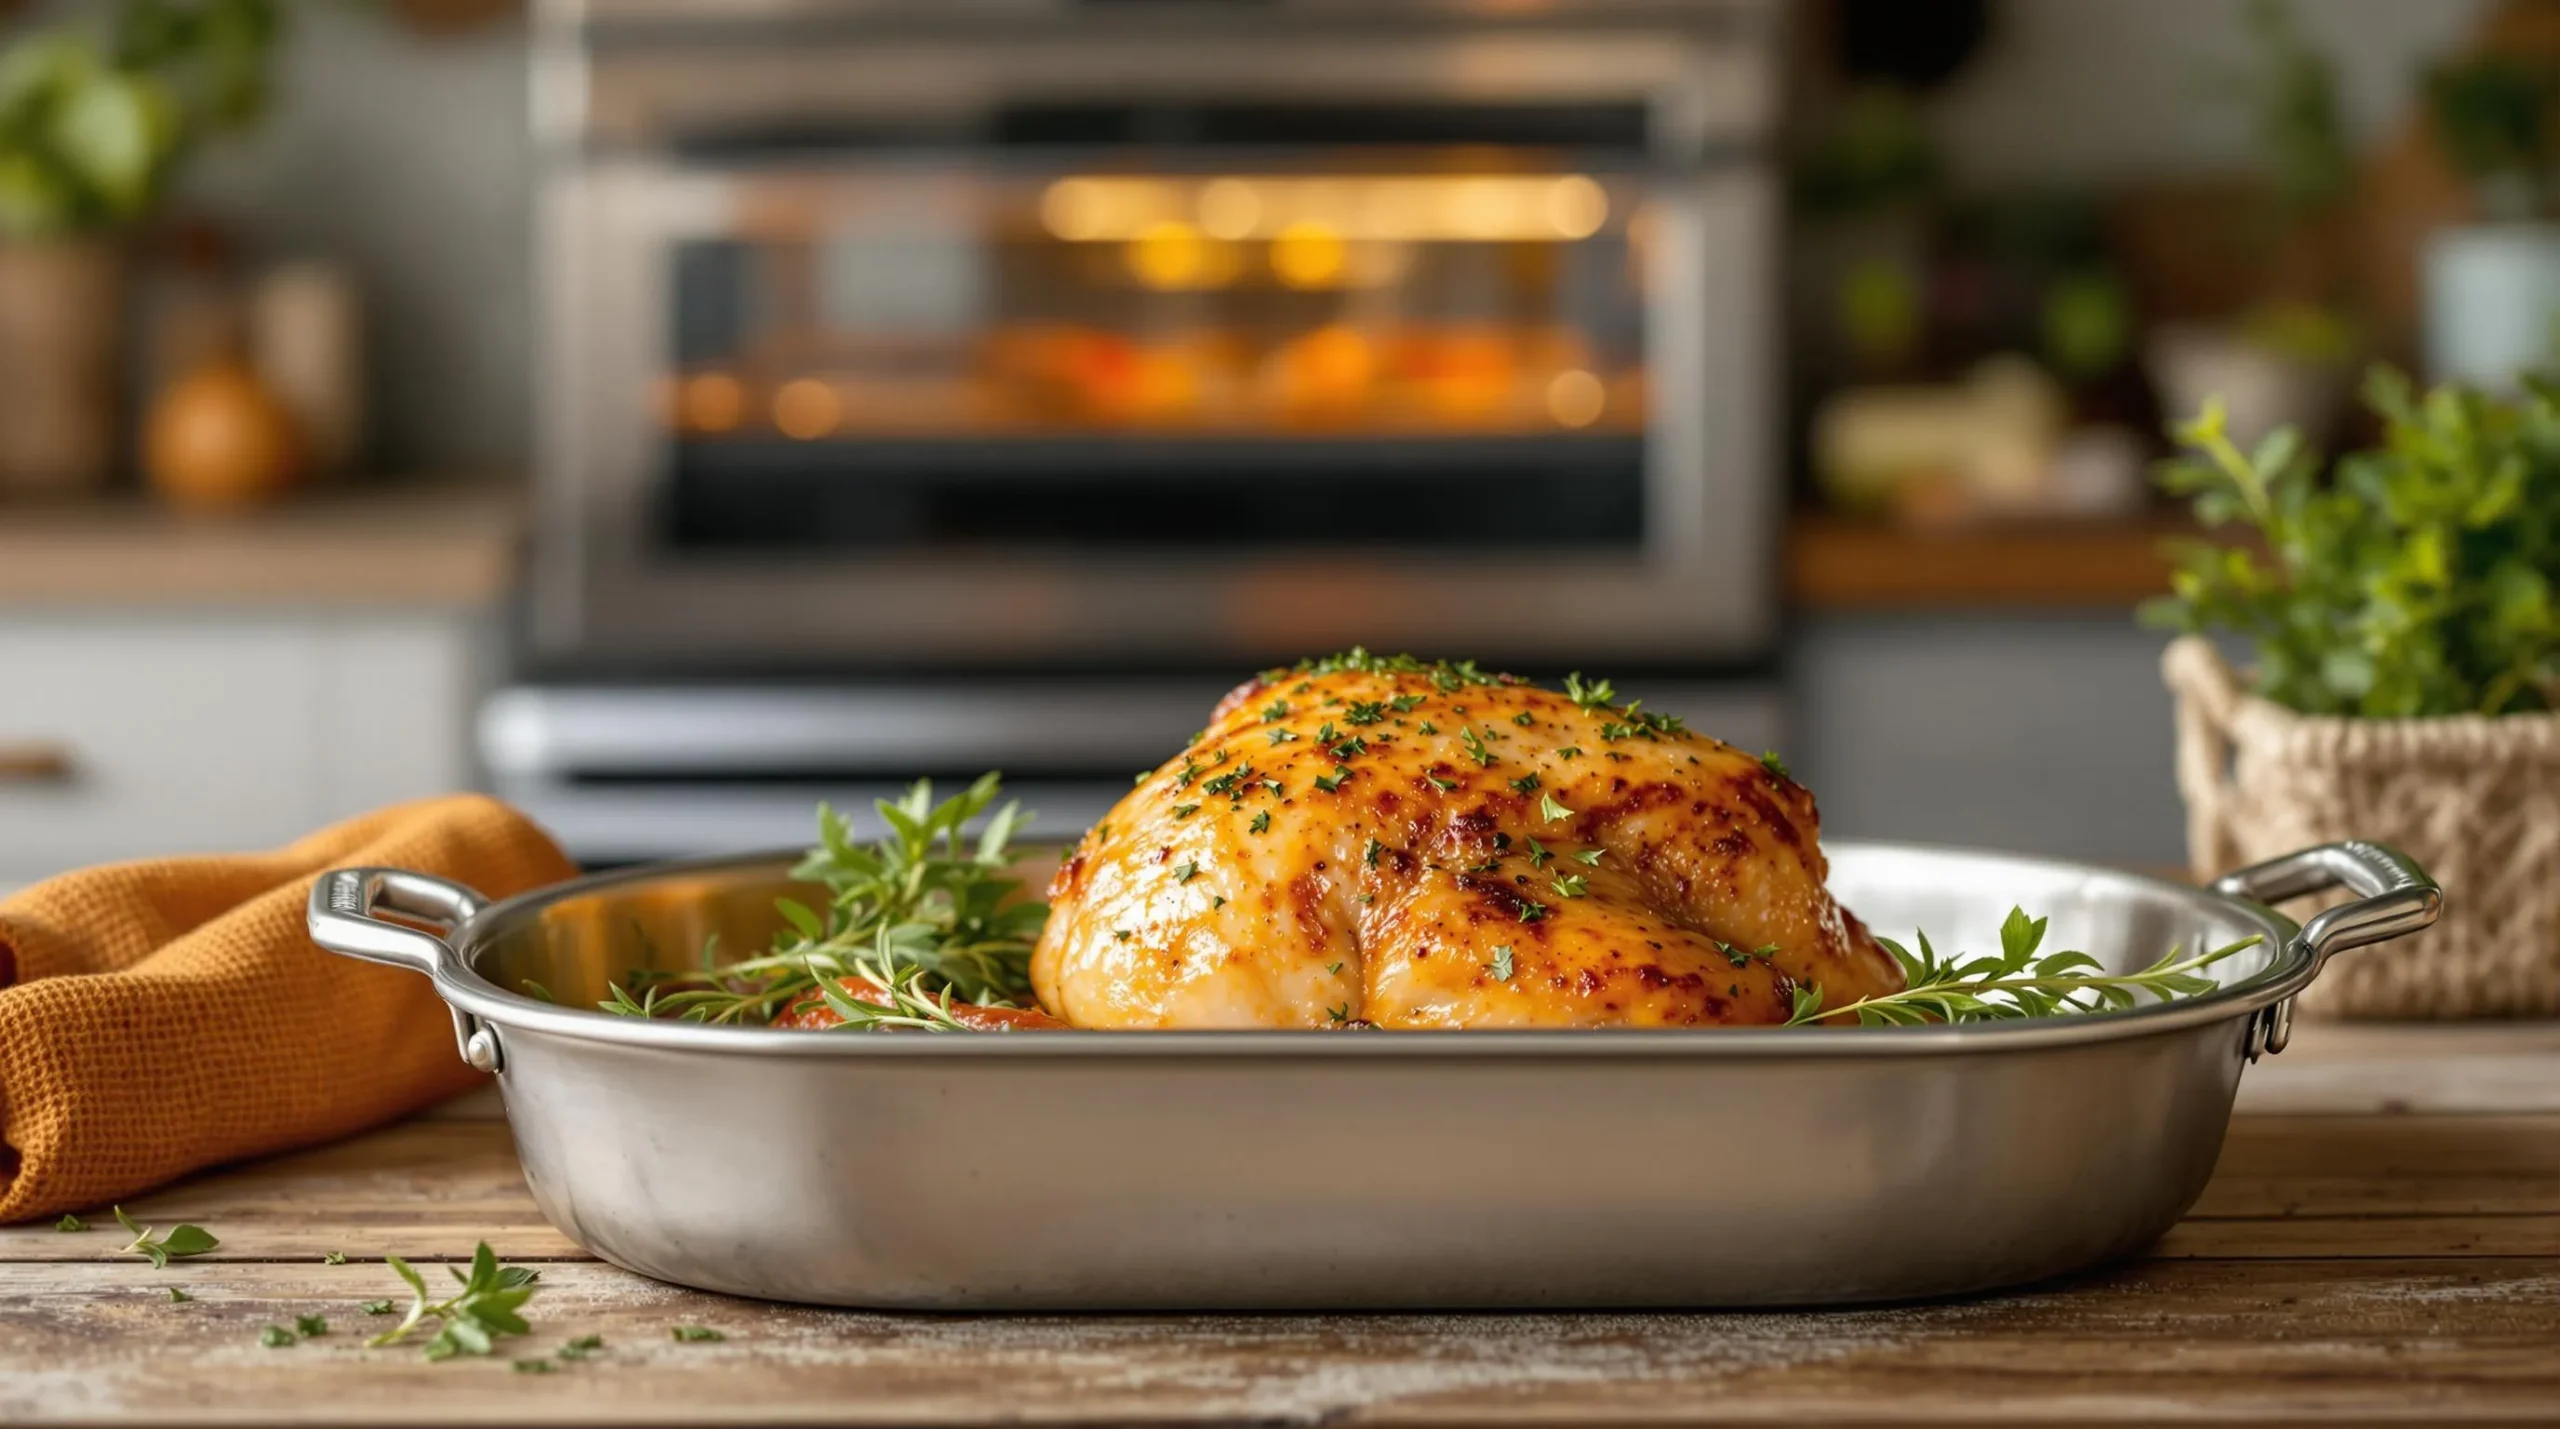
Roasting Process
Position the turkey breast on a rack inside a roasting pan with the breast side facing up. Using a rack is crucial as it allows hot air to circulate completely around the meat resulting in even cooking. The elevated position also prevents the turkey from sitting in its own juices which would steam rather than roast the bottom portion. Roast the turkey in your preheated convection oven for approximately 2.5 hours or 10 to 15 minutes per pound. Alternatively you can use a two-temperature method by roasting first at 350°F for 45 minutes then reducing the temperature to 250°F for the remaining cooking time. Baste the turkey every 30 minutes with its own drippings to maintain moisture and enhance flavor development. Should you notice the skin browning too quickly tent the breast loosely with aluminum foil to prevent over-browning while allowing the meat to continue cooking properly.
Checking for Doneness
Use a reliable food thermometer to verify the internal temperature by inserting it into the thickest part of the breast without touching any bones. The turkey breast is safely cooked when it reaches 165°F internally. If your turkey is stuffed ensure the stuffing also reaches 165°F for safe consumption. After reaching the target temperature remove the turkey from the oven and allow it to rest for 10 to 15 minutes before carving. This resting period is essential as it allows the meat fibers to reabsorb juices that would otherwise be lost during immediate carving resulting in a moister final product. The resting time also makes carving easier as the meat becomes more firm and easier to slice cleanly.
| Cooking Aspect | Conventional Oven | Convection Oven |
|---|---|---|
| Cooking Time | 15-20 min/pound | 10-15 min/pound |
| Internal Temperature | 165°F | 165°F |
| Basting Frequency | Every 20 minutes | Every 30 minutes |
| Resting Time | 15-20 minutes | 10-15 minutes |


Making Gravy From the Drippings
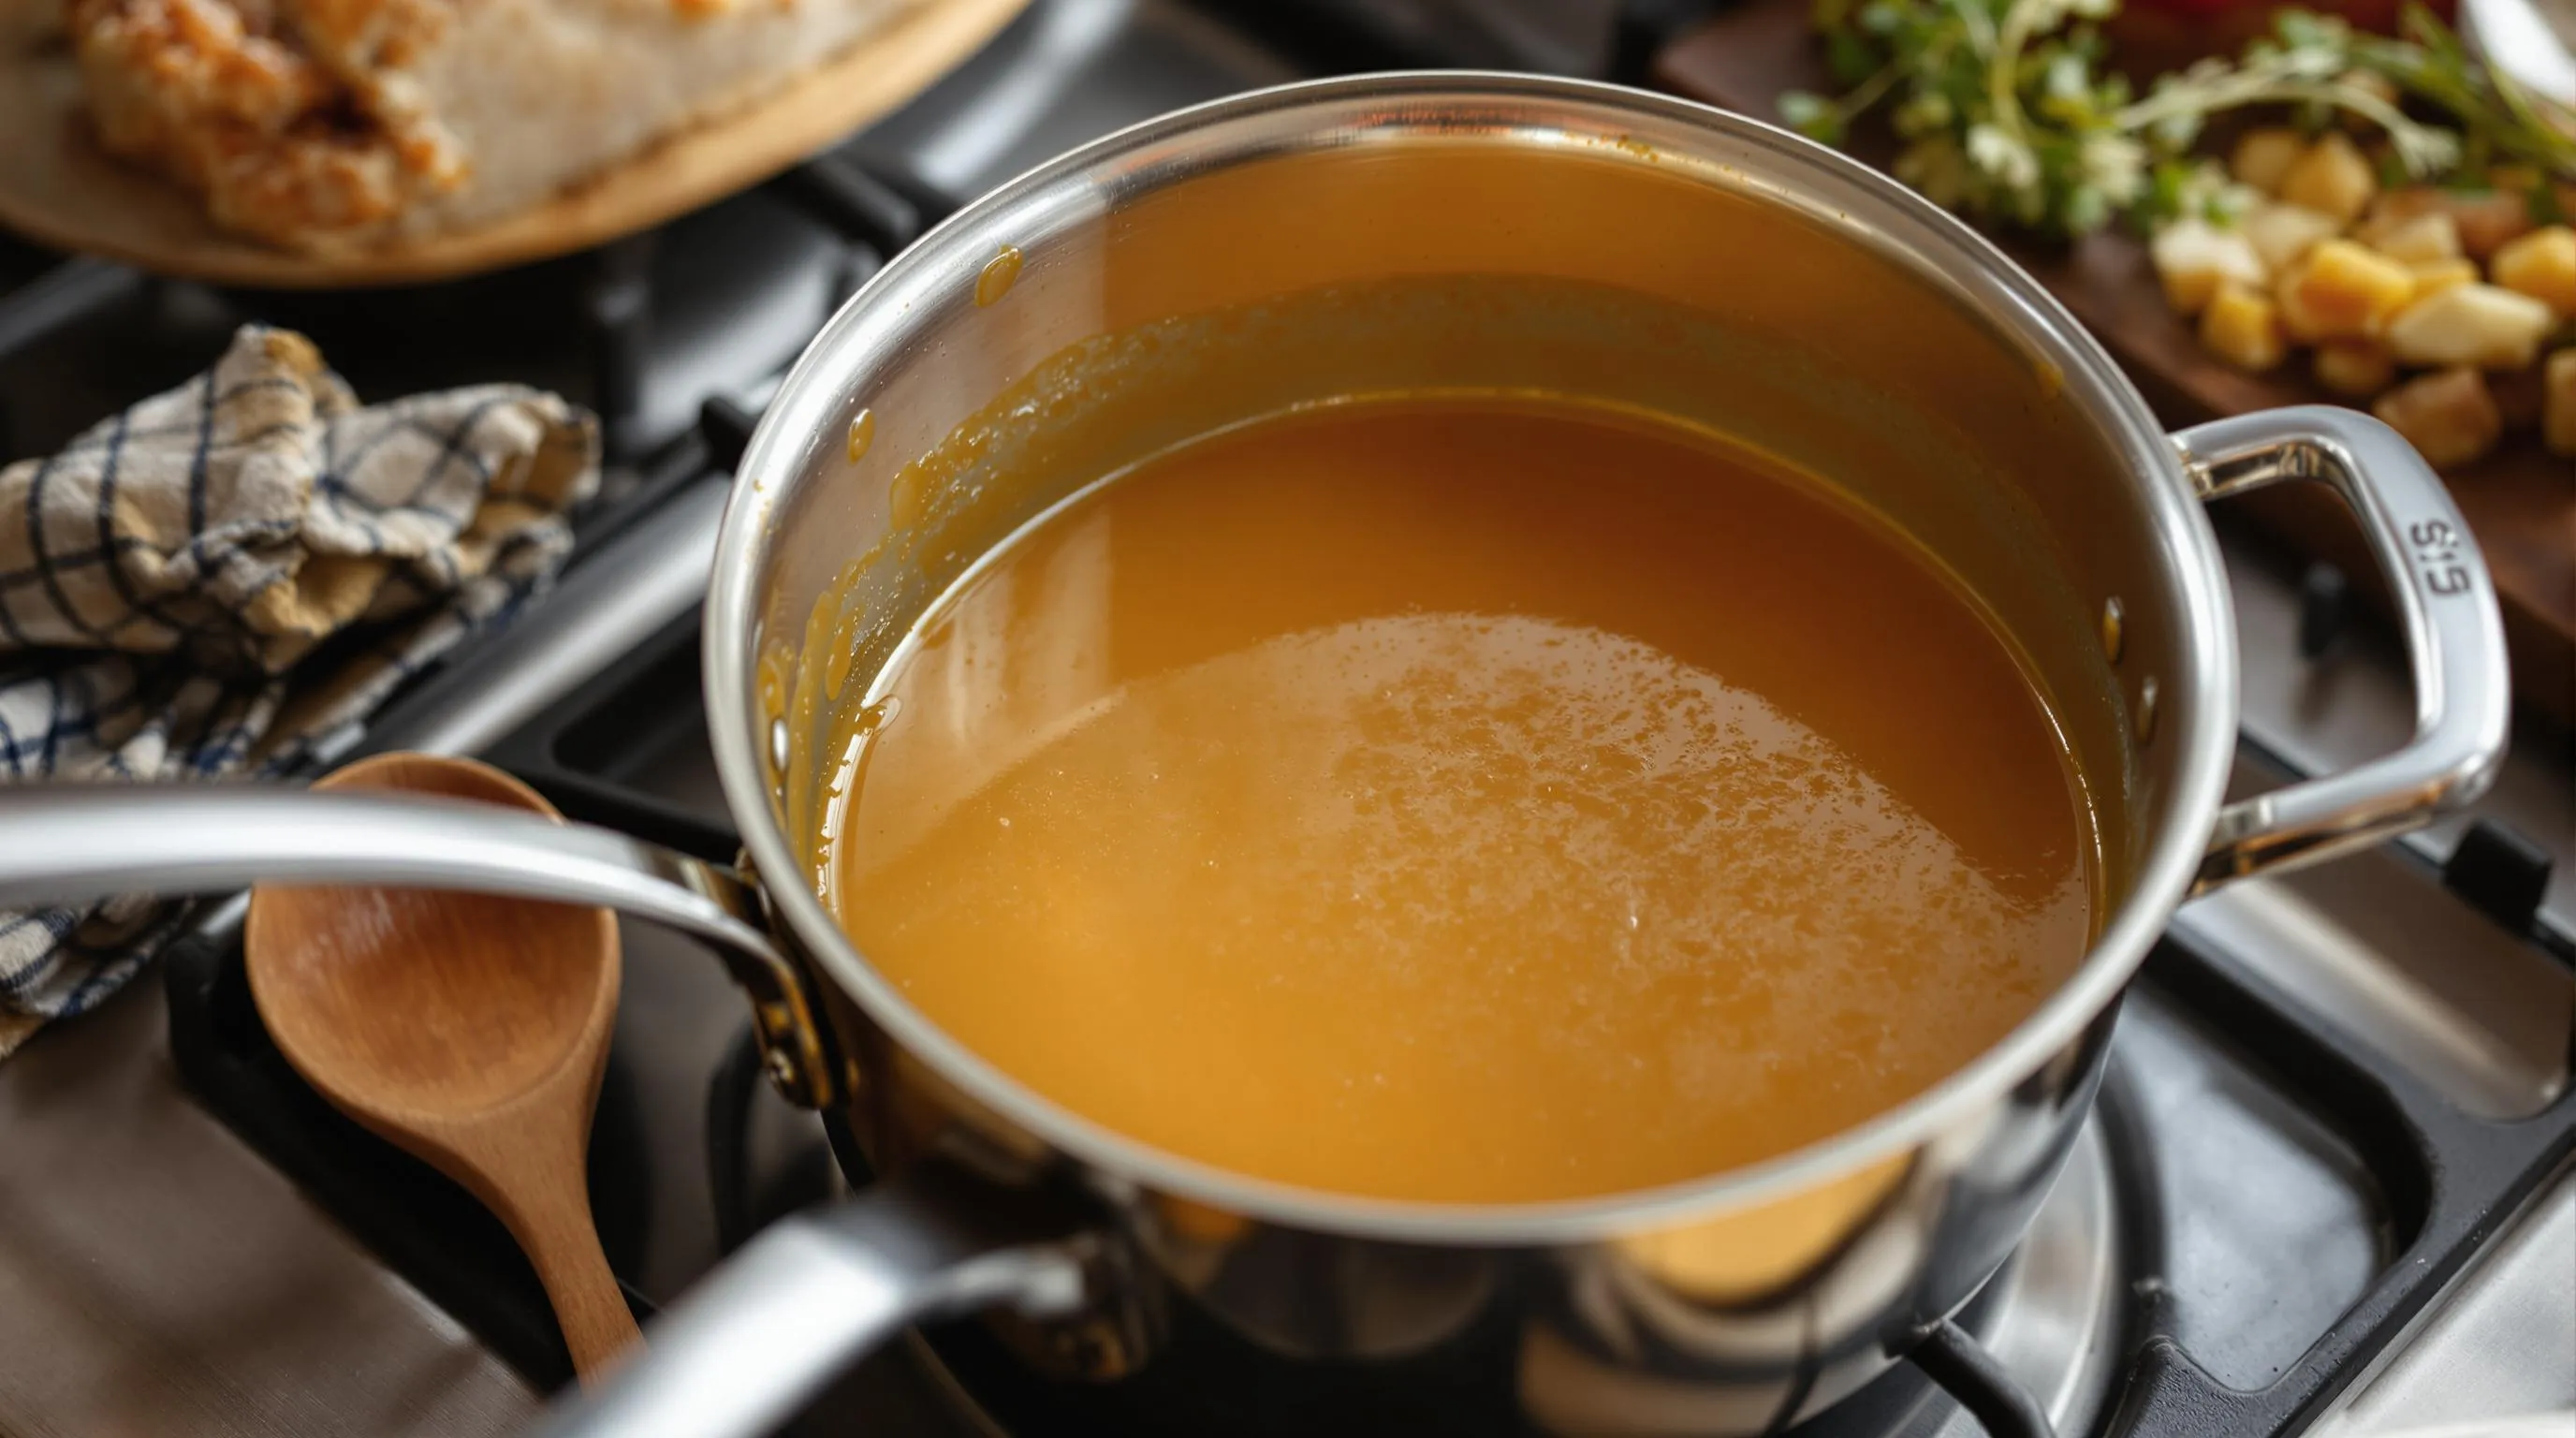
Don’t let those flavorful turkey drippings go to waste! Transforming them into a rich homemade gravy is easier than you might think and adds the perfect finishing touch to your convection oven turkey breast. Follow these simple steps to create a smooth savory gravy that will elevate your meal from good to extraordinary.
Collecting and Preparing the Drippings
After removing your perfectly roasted turkey breast from the convection oven place the roasting pan directly on the stovetop over medium heat. Pour about 1 cup of turkey broth into the pan and use a wooden spoon to scrape up all those delicious browned bits from the bottom of the pan. These caramelized pieces contain concentrated flavor that forms the foundation of an exceptional gravy.
Next separate the fat from the meat juices using a fat separator if you have one. Alternatively refrigerate the liquid for about 15-20 minutes until the fat rises to the top then skim it off with a spoon. Reserve about 1/4 cup of the fat for making your roux while saving the remaining juices for the gravy base.
Creating a Smooth Roux
The secret to lump-free gravy starts with a properly made roux. Heat the reserved 1/4 cup of turkey fat in a medium saucepan over medium heat. Add an equal amount (1/4 cup) of all-purpose flour and whisk continuously for 2-3 minutes. This cooking process eliminates any raw flour taste and creates a smooth paste that will thicken your gravy without forming clumps.
Your roux should turn a light golden color as it cooks indicating it has developed flavor while maintaining its thickening power. Constant whisking prevents burning and ensures a silky texture in your final gravy.
Adding Liquid and Developing Flavor
With your roux ready slowly begin whisking in the reserved pan drippings and additional turkey broth. Pour in small amounts at first about 1/4 cup at a time whisking vigorously between additions to prevent lumps from forming. Continue adding liquid until you reach your desired consistency typically about 2-3 cups total.
Bring the gravy to a gentle simmer and cook for 5-7 minutes allowing it to thicken naturally. The gravy will continue to thicken as it cools so aim for a slightly thinner consistency than your final goal.
Seasoning and Finishing Touches
Taste your gravy and season accordingly with salt and freshly ground black pepper. This is also the perfect time to personalize your gravy with additional herbs or flavors. Consider adding:
- 1 tablespoon of fresh chopped herbs (thyme rosemary or sage)
- 1 teaspoon of Worcestershire sauce for depth
- 1/2 teaspoon of garlic powder
- A splash of dry white wine for complexity
If your gravy is too thick simply whisk in additional broth until reaching desired consistency. Conversely if it’s too thin continue simmering to reduce or create a slurry with 1 teaspoon cornstarch mixed with 1 tablespoon cold water and whisk it into the simmering gravy.
Strain the gravy through a fine-mesh sieve if you prefer an ultra-smooth texture. Serve immediately alongside your beautifully roasted convection oven turkey breast for a memorable meal that will have everyone reaching for seconds.
Troubleshooting Common Gravy Issues
| Problem | Solution | Prevention Tip |
|---|---|---|
| Lumpy Gravy | Strain through fine mesh sieve or blend with immersion blender | Whisk constantly when adding liquid to roux |
| Too Thin | Simmer longer to reduce or add cornstarch slurry | Use correct flour to fat ratio (1:1) |
| Too Thick | Add more broth or water gradually | Add liquid slowly and monitor consistency |
| Greasy Surface | Skim excess fat with paper towel or refrigerate and remove hardened fat | Use a fat separator before making gravy |
| Bland Flavor | Add more seasonings herbs or a splash of wine | Properly deglaze pan to capture all flavor compounds |


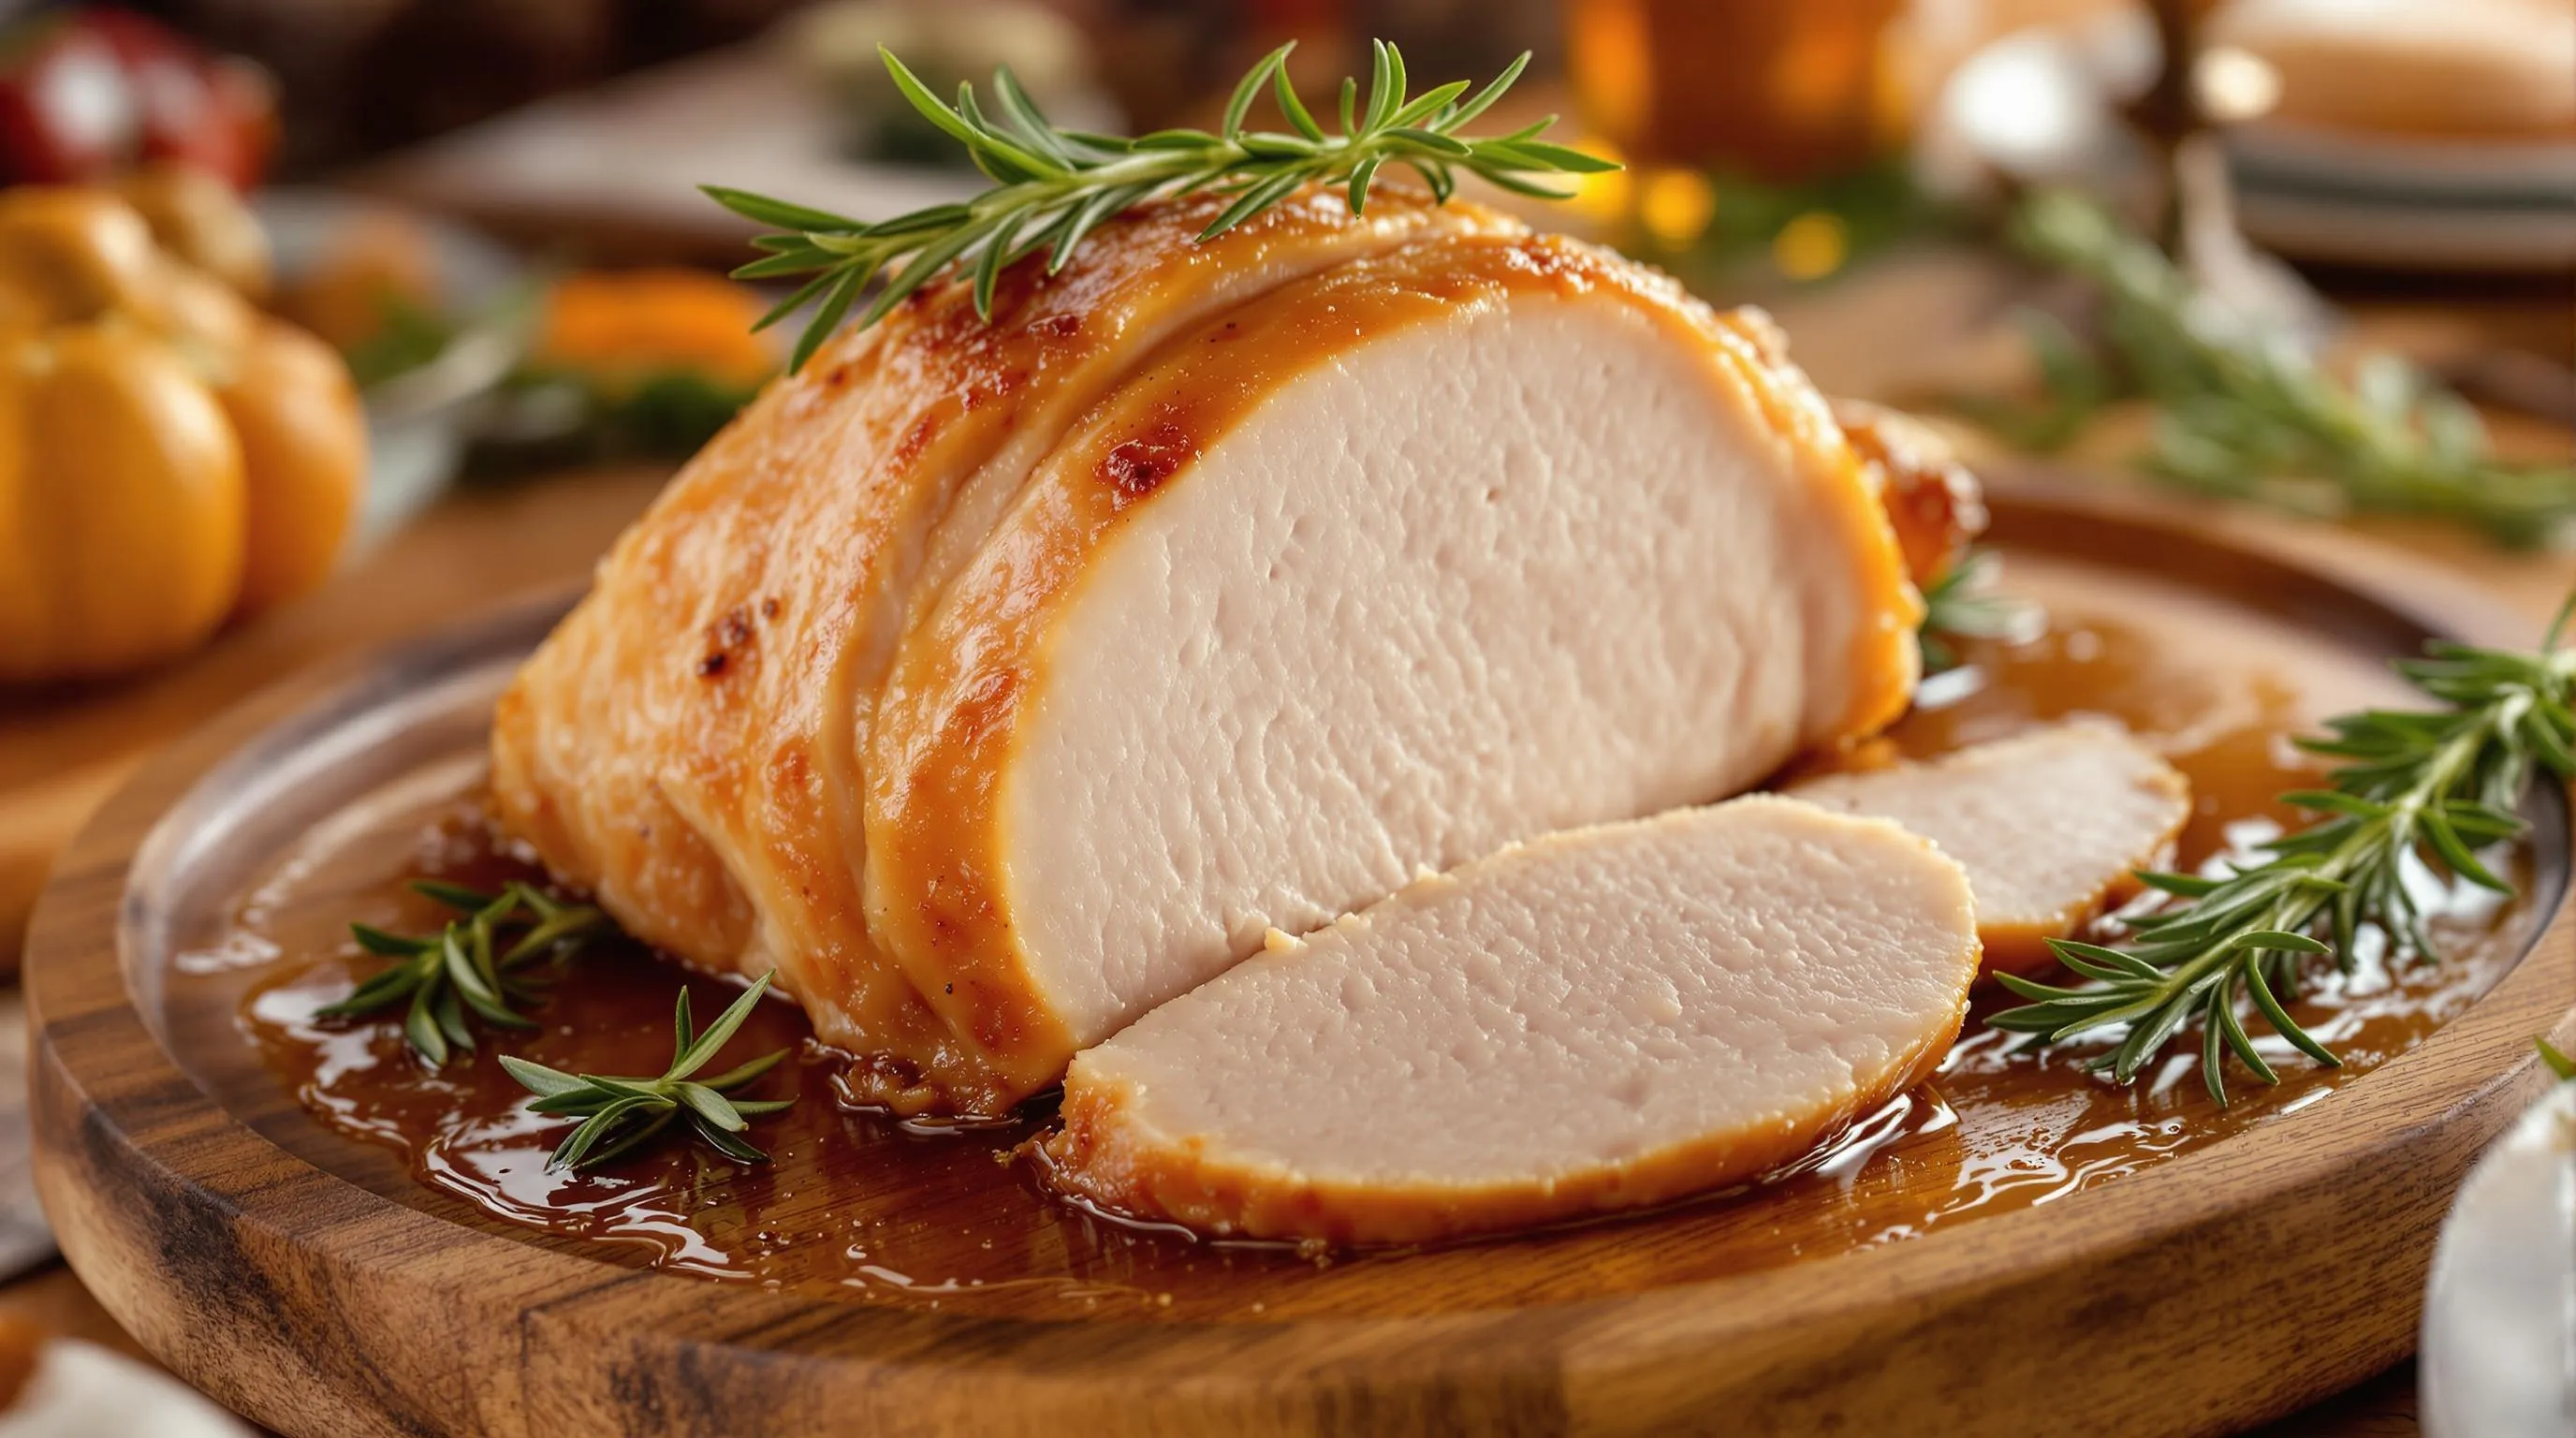
Resting and Carving Your Turkey Breast
The Importance of Resting
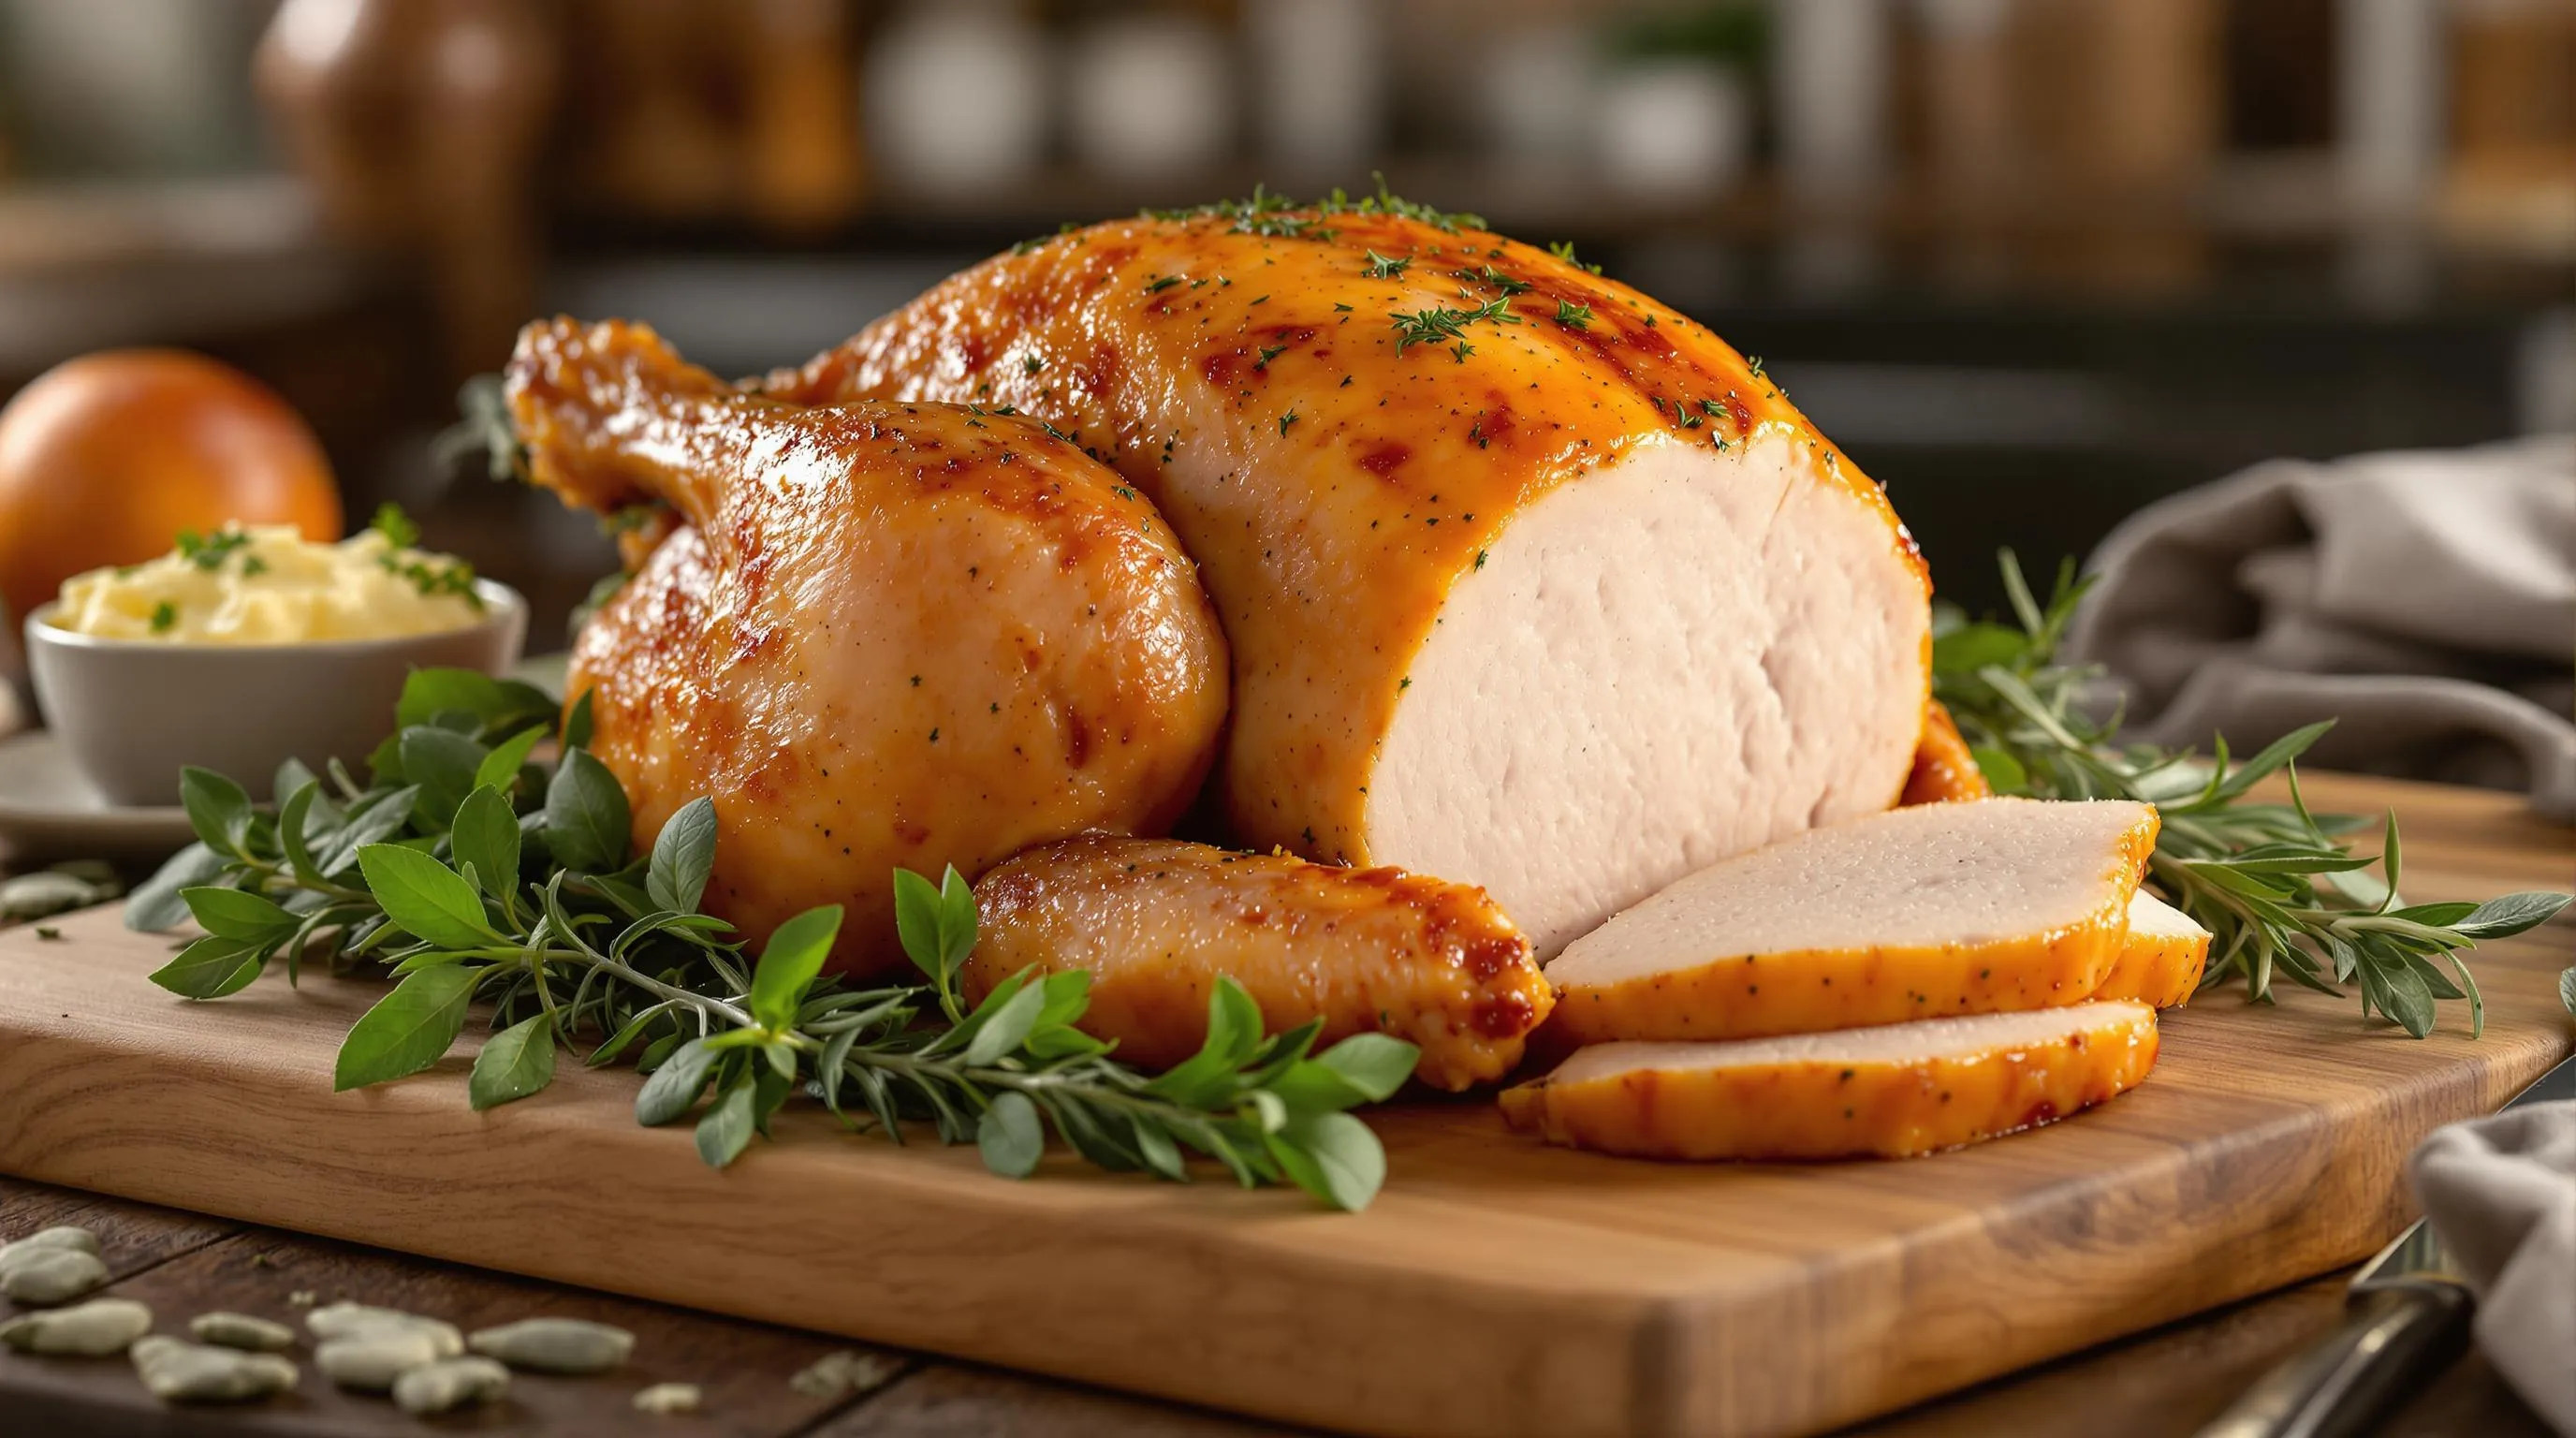
After your turkey breast reaches the safe internal temperature of 165°F, resist the temptation to carve immediately. Allowing your turkey breast to rest for 10-15 minutes loosely covered with aluminum foil is crucial for optimal juiciness. During this resting period, the meat’s internal juices redistribute throughout the breast instead of flowing out when cut. This simple step ensures each slice remains moist and tender rather than dry. The resting process also makes carving significantly easier as the meat firms up slightly.
Proper Carving Technique
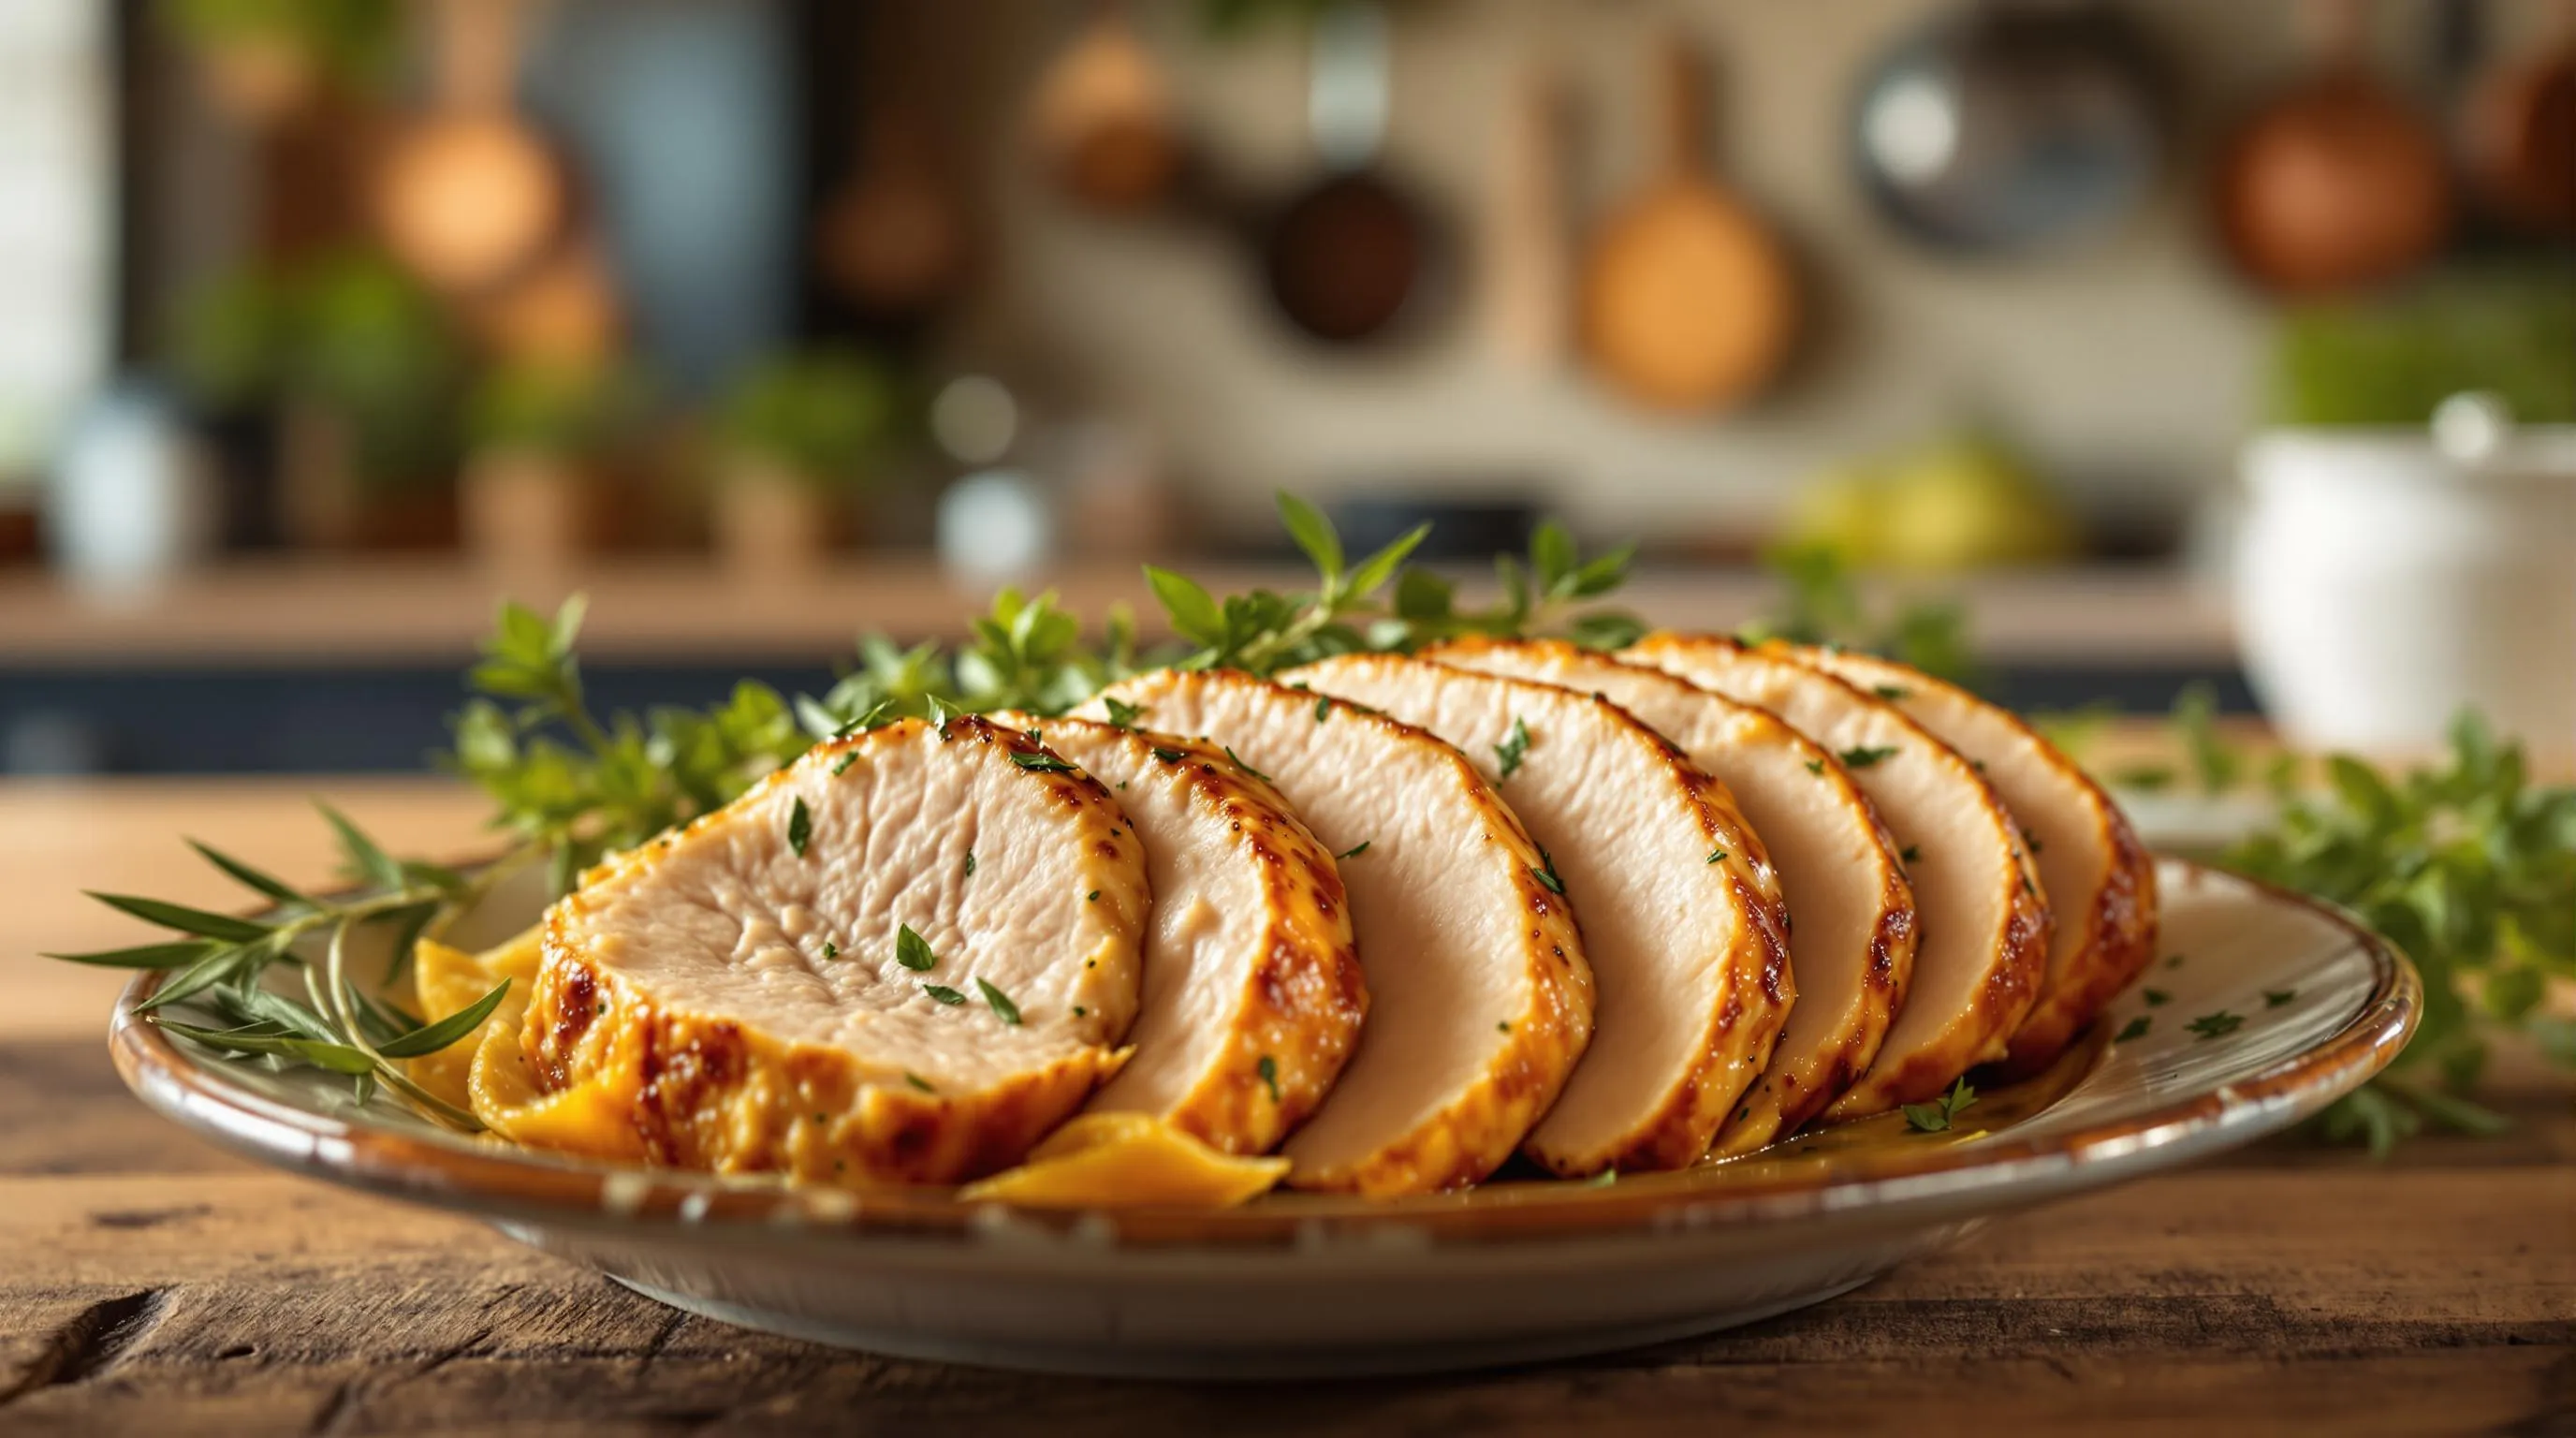
Once your turkey breast has properly rested, transfer it to a stable carving board with a channel to catch any juices. Remove any kitchen twine used during cooking. Position the turkey breast with the skin side up to begin carving. Using a sharp carving knife, slice perpendicular to the breastbone in thin, even strokes. Aim for slices approximately ¼-inch thick for the most tender eating experience. Continue carving downward until you’ve removed all the meat from one side before turning the breast to carve the opposite side.
Serving Suggestions
Arrange your beautifully carved turkey breast slices on a warmed serving platter. Pour any accumulated juices from the carving board over the meat for extra flavor and moisture. If you’ve prepared gravy from the drippings, serve it alongside in a warmed gravy boat. The convection oven’s superior browning capability creates a gorgeous golden exterior that makes for an impressive presentation at your table. For an elegant touch, garnish the platter with fresh herb sprigs like rosemary or thyme.
Storage Tips
Should you have leftover turkey breast, store it properly to maintain its juiciness. Allow any remaining turkey to cool completely before refrigerating. Place the carved slices in airtight containers or wrap tightly with plastic wrap and aluminum foil. Properly stored turkey breast can be refrigerated for 3-4 days. For longer storage, freeze the slices in freezer-safe containers for up to 2-3 months. Always reheat leftover turkey with a splash of broth to restore moisture.
| Resting & Carving Guide | Conventional Oven | Convection Oven |
|---|---|---|
| Minimum resting time | 20-30 minutes | 10-15 minutes |
| Juice retention | Good | Excellent |
| Carving ease | Standard | Enhanced |
| Skin texture | Varies | Consistently crisp |
| Moisture retention | Variable | Superior |

Storing and Reheating Leftover Turkey Breast
After enjoying your perfectly roasted convection oven turkey breast, you’ll likely have some delicious leftovers to savor. Proper storage and reheating techniques ensure your turkey remains safe to eat while maintaining its moisture and flavor.
Proper Storage Methods
Store your leftover turkey breast in shallow airtight containers or wrap it tightly with heavy-duty aluminum foil or plastic wrap. Refrigerate the turkey within two hours of cooking to prevent bacterial growth. Properly refrigerated turkey breast remains fresh for 3 to 4 days.
For longer storage, freezing offers an excellent option. Portion your turkey into smaller servings before freezing to make reheating more convenient. Plain turkey breast maintains quality in the freezer for up to 4 months, while turkey covered with broth or gravy stays tasty for up to 6 months.
Slicing or chopping your turkey breast before storage provides two benefits: it takes up less space and makes reheating quicker and more efficient. Make sure to label your containers with the date to track freshness.
Reheating Methods
Several methods work well for reheating your convection oven turkey breast:
Convection Oven Method:
- Preheat your convection oven to 325°F
- Place turkey slices in a shallow baking dish
- Add 2-3 tablespoons of broth or gravy to maintain moisture
- Cover the dish with aluminum foil
- Heat until the internal temperature reaches 165°F (about 10-15 minutes)
Stovetop Method:
- Place turkey pieces in a skillet with a few tablespoons of broth
- Cover and heat on medium-low
- Stir occasionally until the meat reaches 165°F
- Add additional liquid if needed to prevent drying
Microwave Method:
- Arrange turkey slices on a microwave-safe plate
- Drizzle with broth or gravy
- Cover with a microwave-safe lid or microwave-safe plastic wrap
- Heat on medium power in 1-minute intervals until thoroughly heated
- Let stand for 1 minute before serving
Maintaining Moisture and Flavor
The key challenge when reheating turkey breast is preventing it from drying out. Always add moisture in the form of broth, gravy, or butter when reheating. Covering the turkey while reheating helps trap steam and keeps the meat juicy.
Consider repurposing leftover turkey breast into new dishes like sandwiches, soups, casseroles, or salads. These preparations often add moisture naturally through additional ingredients.
| Storage Method | Temperature | Maximum Storage Time | Best For |
|---|---|---|---|
| Refrigeration | 40°F or below | 3-4 days | Short-term storage |
| Freezing (plain) | 0°F or below | 4 months | Longer preservation |
| Freezing (with broth) | 0°F or below | 6 months | Maximum quality retention |
Remember to always reheat turkey to an internal temperature of 165°F for food safety, regardless of which reheating method you choose. Using a food thermometer ensures your leftover turkey reaches this safe temperature without overcooking.


Serving Suggestions and Side Dishes
Your perfectly roasted convection oven turkey breast deserves complementary sides that enhance its succulent flavor. Traditional holiday favorites pair beautifully with turkey breast, creating a memorable meal for any occasion.
Classic Side Dishes
Mashed potatoes stand as the quintessential companion to turkey breast, offering a creamy, buttery texture that balances the lean meat. Elevate your mashed potatoes with additions like garlic, buttermilk, cream cheese, or fresh chives for extra flavor depth and richness.
Sweet potato casserole provides a delightful contrast to savory turkey breast with its sweet and savory profile. Top your casserole with crunchy pecans, hearty oats, or golden marshmallows to create textural interest and balanced flavors across your plate.
Green beans prepared simply with garlic and butter or as a traditional casserole bring a necessary vegetable component to round out your meal. Their crisp texture and bright flavor cut through the richness of other sides.
Homemade stuffing, whether cooked inside the cavity or prepared separately, absorbs the delicious turkey flavors while adding herbal notes and satisfying texture. Turkey gravy made from those precious pan drippings ties everything together, providing a savory sauce that enhances both the meat and sides.
Cranberry sauce offers a tart, sweet contrast that refreshes the palate between bites of rich turkey and savory sides. Fresh rolls or cornbread complete the meal, perfect for sopping up gravy or creating mini turkey sandwiches at the table.
Seasonal Accompaniments
Roasted seasonal vegetables showcase the best flavors of the season while providing nutritional balance. Brussels sprouts, carrots, parsnips, and butternut squash roasted with herbs complement turkey breast beautifully.
Winter salads featuring mixed greens, dried cranberries, candied pecans, and goat cheese provide a fresh counterpoint to the warm, hearty elements of your turkey dinner. A light vinaigrette dressing keeps the salad from competing with the main attraction.
Serving Presentation
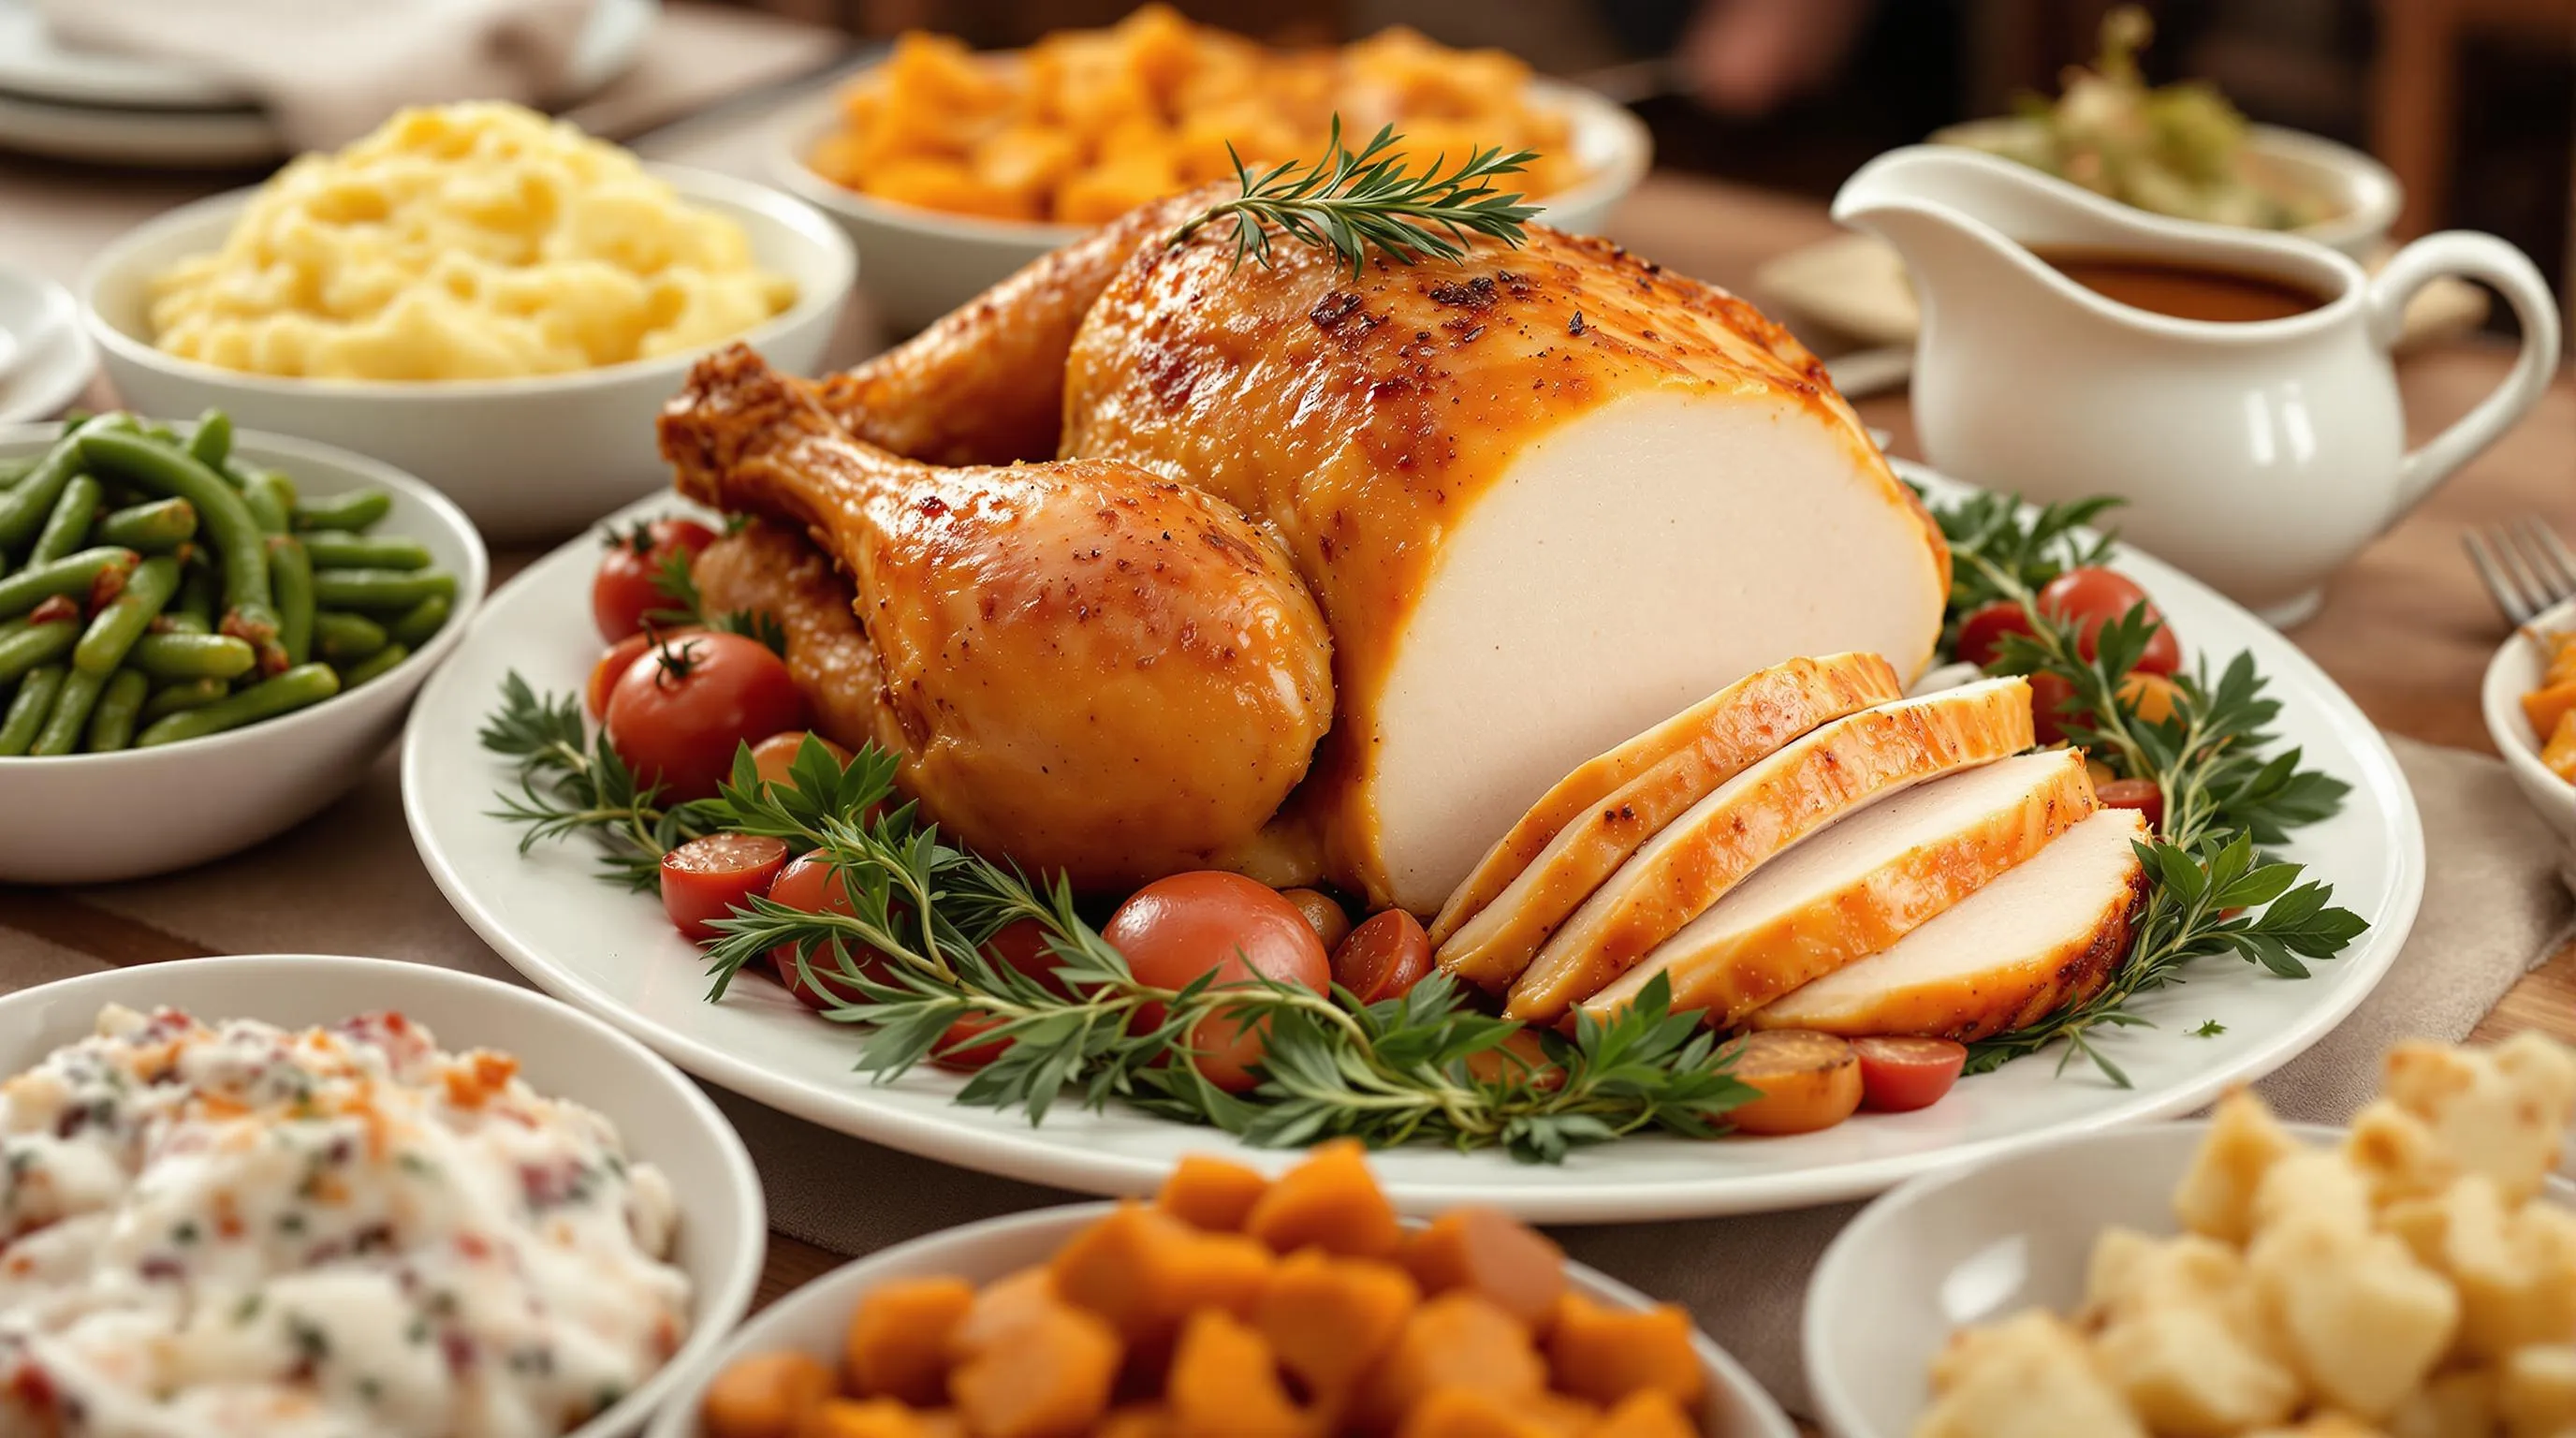
Arrange your turkey breast on a large serving platter surrounded by fresh herb sprigs for an impressive presentation. Slice the meat just before serving to maintain maximum juiciness and present it with a gravy boat nearby for guests to add their preferred amount.
Family-style serving encourages sharing and conversation, with multiple side dishes placed around the table for easy access. Individual plating works well for more formal occasions, allowing you to control portion sizes and create beautiful presentations.
Beverage Pairings
Pinot Noir and Chardonnay complement turkey breast exceptionally well, their balanced profiles improving the meat without overwhelming it. Sparkling cider offers a festive non-alcoholic alternative that appeals to guests of all ages.
Utilizing Leftovers
Leftover turkey breast transforms easily into entirely new meals throughout the week. Add sliced turkey to salads, soups, pasta dishes, or rice bowls for quick and satisfying meals that extend the value of your original cooking effort.
Turkey sandwiches made with leftover meat, cranberry sauce, and stuffing create the perfect post-holiday lunch that many people look forward to as much as the initial meal itself.
| Side Dish | Key Ingredients | Pairing Benefit |
|---|---|---|
| Mashed Potatoes | Potatoes, butter, milk/cream, seasonings | Creamy texture complements lean turkey |
| Sweet Potato Casserole | Sweet potatoes, brown sugar, pecans/marshmallows | Sweet contrast to savory turkey |
| Green Beans | Fresh beans, garlic, butter/almonds | Light, crisp vegetable balance |
| Stuffing | Bread, herbs, celery, onion, broth | Absorbs flavors, adds herbal notes |
| Cranberry Sauce | Cranberries, sugar, orange zest | Tart contrast refreshes palate |


Troubleshooting Common Issues
Even with the advantages of convection cooking, you might encounter a few challenges when roasting your turkey breast. Here are answers to the most common problems to ensure your meal turns out perfectly every time.
Uneven Browning
Your turkey breast may brown too quickly on one side while remaining pale on another. This typically happens when hot air circulation is blocked or uneven in your convection oven.
To fix this issue:
- Rotate the roasting pan halfway through cooking
- Ensure nothing is blocking the fan in your convection oven
- Position the rack in the center of the oven for optimal air flow
- If one area browns too fast, tent that section with aluminum foil while allowing the rest to continue browning
Undercooked or Overcooked Turkey
Temperature management is crucial for perfectly cooked turkey breast. If your meat thermometer shows 165°F but the meat still appears pink, or if it’s reached temperature too quickly, you may have temperature accuracy issues.
Prevent cooking problems by:
- Using an oven thermometer to verify your convection oven’s actual temperature
- Inserting the meat thermometer into the thickest part of the breast without touching bone
- Testing multiple areas of the turkey breast to ensure even doneness
- Adjusting cooking time based on your exact oven (smaller ovens often cook faster than larger ones)
Dry Turkey Breast
Nothing disappoints dinner guests more than dry turkey. This commonly occurs when the turkey is overcooked or hasn’t been properly prepared.
To maintain moisture:
- Follow the 10-15 minutes per pound timing guideline
- Baste the turkey breast regularly during cooking
- Allow the turkey to rest for at least 20 minutes after removing from the oven
- Consider brining your turkey breast before cooking for extra juiciness
Stuffing Safety Concerns
If you’ve stuffed your turkey breast, ensuring proper cooking temperature is essential for food safety.
For safe stuffing:
- Verify the stuffing itself reaches 165°F
- Consider cooking stuffing separately for more even cooking of both components
- Never stuff the turkey until just before roasting
- Remove stuffing immediately after cooking
| Troubleshooting Issue | Common Cause | Solution |
|---|---|---|
| Uneven browning | Blocked air circulation | Rotate pan, center rack position |
| Temperature inaccuracy | Oven sensor differences | Use separate oven thermometer |
| Dry turkey | Overcooking, insufficient preparation | Follow time guidelines, rest properly |
| Stuffing concerns | Uneven cooking | Cook stuffing separately or verify temperature |
Convection vs. Gas Oven Differences
Electric convection ovens heat differently than gas models, which can affect your cooking results. Electric models often provide more consistent heating while gas ovens may have temperature fluctuations.
Adjust accordingly by:
- Reducing cooking temperature by 25°F if using an electric convection oven
- Monitoring gas ovens more frequently for temperature consistency
- Extending cooking time slightly for gas convection ovens if needed
Always remember that monitoring internal temperature remains your most reliable guide regardless of oven type. The thermometer reading of 165°F in the thickest part of the turkey breast provides the ultimate assurance of both food safety and optimal doneness.


Conclusion
Mastering convection oven turkey breast cooking transforms your holiday meals and everyday dinners. The specialized air circulation creates that perfect balance of golden-brown exterior and juicy interior while saving you valuable time in the kitchen.
With the right equipment temperature settings and techniques you’ll achieve consistent results that will impress your guests. Remember that proper resting is just as important as the cooking process for maintaining moisture.
Whether you’re serving your perfectly roasted turkey breast with traditional sides or transforming leftovers into delicious new meals your convection oven delivers superior results with less effort. Try this method once and you’ll likely never go back to conventional roasting again.