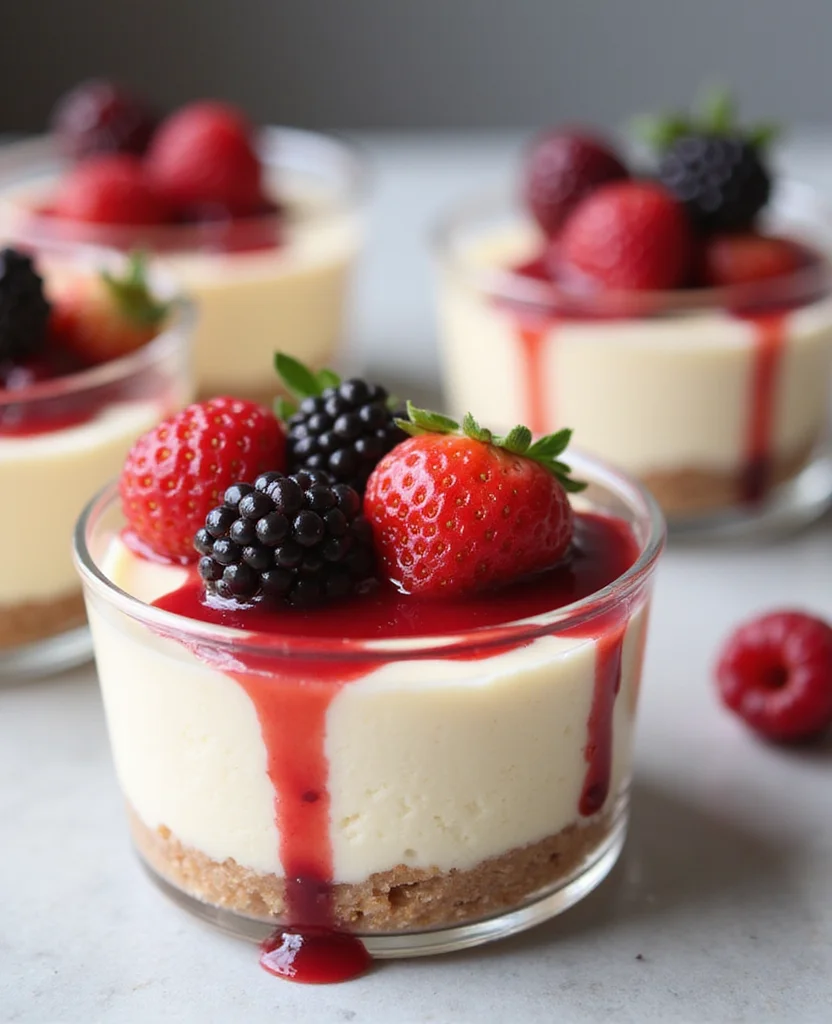
Imagine a dessert that combines the creamy richness of cheesecake with the convenience of a no-bake recipe.
These Easy No-Bake Mini Cheesecakes are perfect for parties, providing a delightful treat without the hassle of oven baking.
Each bite offers a smooth, tangy flavor profile balanced by a sweet, crunchy base, making them an instant crowd-pleaser.
I stumbled upon this recipe during a summer gathering, where it was the star of the dessert table, leaving guests asking for more.
Whether you’re hosting a festive event or simply treating yourself, these mini cheesecakes are crafted to impress with minimal effort.
The History and Cultural Significance
• No-Bake Mini Cheesecakes traces its origins to the 20th century, where it was originally created by innovative home cooks seeking quick and easy dessert solutions.
• The dish evolved over decades as refrigeration technology improved, eventually becoming the beloved version we know today.
• In the United States, this dish traditionally appears at summer barbecues and holiday gatherings, symbolizing convenience and indulgence.
• While many variations exist across different regions, the authentic version maintains a creamy filling and a cookie crumb base that sets it apart from imitations.
Recommended Products


Pack of 40 Sets: Including 40pcs round aluminum baking cups with 40 clear top lids. The disposable muffin tins size: The Top size is 3.3"x3.3", the bottom size is 2.5"x2.5", the height is 1.4"
Recipe Overview
Recommended Products

Perfect addition to ice cream, milkshakes, cheesecakes, dessert bars, and pies

- Includes 5 pouches of Entenmann's Little Bites Crumb Cake Muffins 🍰 - Perfectly portioned for on-the-go snacking or lunchboxes 🚶♂️🎒

READY-TO-USE COOKIE CRUMBS WITH NO GRINDING REQUIRED: Skip the food processor. These pre-crushed black chocolate cookie crumbs go straight from the pouch into your recipe — saving you time, cleanup, and waste. Perfect for home bakers and professional pastry chefs alike.
Nutritional Information (per serving)
Recommended Products

1.5 lbs Packaged in sealed / resealable Bag.

GRAHAM CRACKER CRUMBS: The Bulk-Priced Food Shoppe’s graham cracker crumbs are great for high-yield baking. Our graham crumbs are made from high-quality, lightly sweetened graham crackers that are finely ground for the best possible flavor.

Use for cheesecake crust, pies shells, toppings, and garnish
Essential Equipment Guide
Muffin Tin: A muffin tin is crucial for shaping the mini cheesecakes and ensuring they hold together. Silicone muffin trays are a great alternative as they make unmolding easier, but traditional metal tins also work well.
Food Processor: This tool is essential for creating a fine, even crumb for the base. While a rolling pin can be used as an alternative, a food processor speeds up the process and provides a more uniform texture.
Hand Mixer: A hand mixer is important for achieving a smooth, lump-free cheesecake filling. If you don’t have one, a stand mixer or a sturdy whisk can work, though it may require more effort.
Ingredients
For the Base
|
|
| Amount | Ingredient | Notes |
|---|---|---|
| 1.5 cups | graham cracker crumbs | creates a firm, sweet base |
| 1/4 cup | granulated sugar | adds sweetness |
| 1/2 cup | unsalted butter | melted, binds the base |
For the Filling
| Amount | Ingredient | Notes |
|---|---|---|
| 16 oz | cream cheese | softened, provides creaminess |
| 1 cup | powdered sugar | sweetens and smooths the filling |
| 1 teaspoon | vanilla extract | adds flavor depth |
| 1 cup | heavy whipping cream | whipped, adds lightness |
Preparation Methods
Whipping Cream: Properly whipping cream is crucial for achieving a light, airy texture in the cheesecake filling. Cold cream whips best and should reach stiff peaks to hold shape.
Mixing Cream Cheese: Ensure the cream cheese is fully softened to prevent lumps. Beat until completely smooth, and gradually incorporate the sugar for even distribution.
Pressing Crust: Firmly press the graham cracker base into the muffin tin to ensure it holds together. Use a flat-bottomed glass or measuring cup for even pressure.
Step 1: Prepare the Base
Combine graham cracker crumbs, sugar, and melted butter in a bowl.
Mix until the crumbs are evenly coated and the mixture resembles wet sand.
Divide the mixture evenly among the muffin cups, pressing firmly to form a compact base.
Ensure the base is level and tightly packed to prevent crumbling.
Step 2: Soften the Cream Cheese
Leave the cream cheese out at room temperature for about 30 minutes to soften.
It should be soft to the touch and easy to spread.
This softening process prevents lumps in the filling.
If in a hurry, microwave in short bursts, checking frequently.
Step 3: Whip the Cream
Pour the heavy cream into a chilled bowl.
Use a hand mixer on medium speed to whip the cream until stiff peaks form.
The cream should hold its shape when the beaters are lifted.
Avoid over-whipping, which can lead to a grainy texture.
Step 4: Mix Cream Cheese and Sugar
Place softened cream cheese and powdered sugar in a large bowl.
Beat them together on medium speed until smooth and creamy.
Scrape down the sides of the bowl to incorporate all the sugar.
Ensure there are no visible lumps before proceeding.
Step 5: Add Vanilla and Whipped Cream
Add vanilla extract to the cream cheese mixture and mix until combined.
Gently fold in the whipped cream using a spatula.
Be careful not to deflate the whipped cream to maintain a light texture.
Fold until just combined for a uniform filling.
Recommended Products

[Versatile/Wide Range Of Applications] Use this whisk is for cooking, mixing, beating, frothing, or whipping together any of your favorite recipes! Works for eggs, whipped cream, salad dressings, sauces, and dips. Our manual hand mixer blends together your finest ingredients with finesse and grace!

Pack of 3 cake filling sleeves with Raspberry Filling for Cakes, Strawberry Filling for Cakes, and Bavarian Cream flavors.
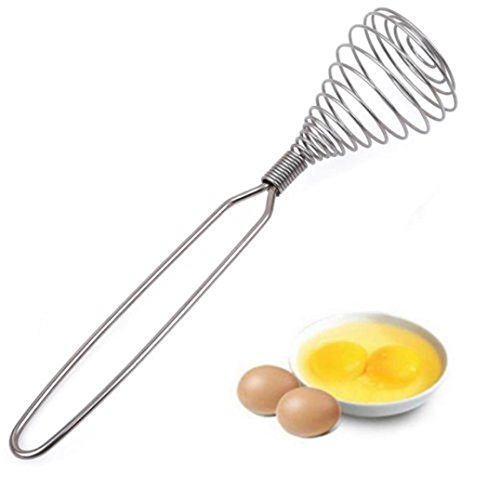
1. 🌸🌸Manual Egg Beater Spring Coil Wire Whisk Stainless Steel Blender Kitchen Tools
Step 6: Fill the Muffin Cups
Spoon the cheesecake filling over the prepared bases in the muffin tin.
Fill each cup to the top, smoothing the surface with a spoon.
Tap the tin gently on the counter to remove air bubbles.
Ensure each cup is evenly filled for consistent portions.
Step 7: Chill the Cheesecakes
Place the muffin tin in the refrigerator.
Chill for at least 4 hours or until set.
The filling should be firm to the touch when ready.
Overnight chilling is ideal for best texture.
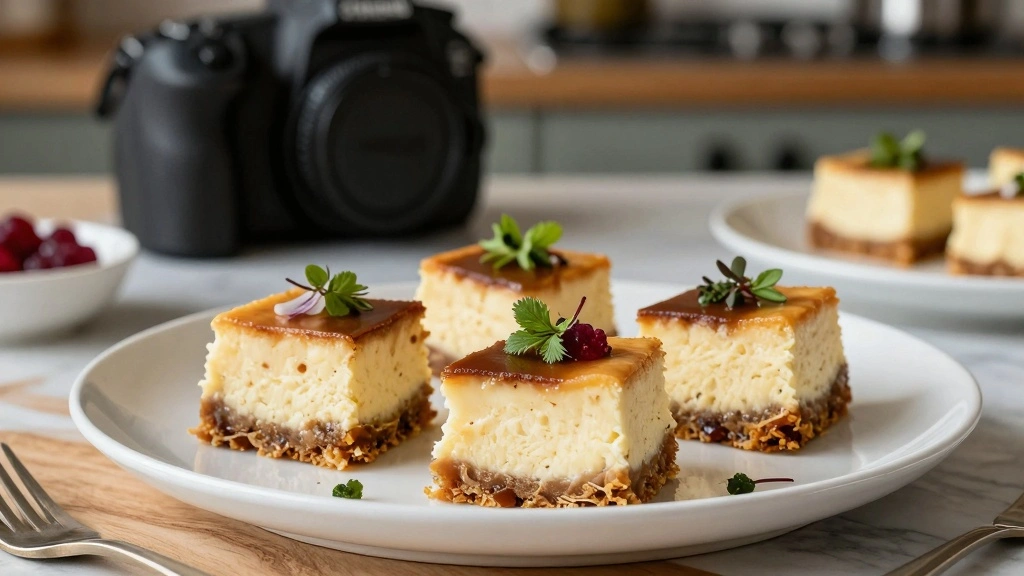
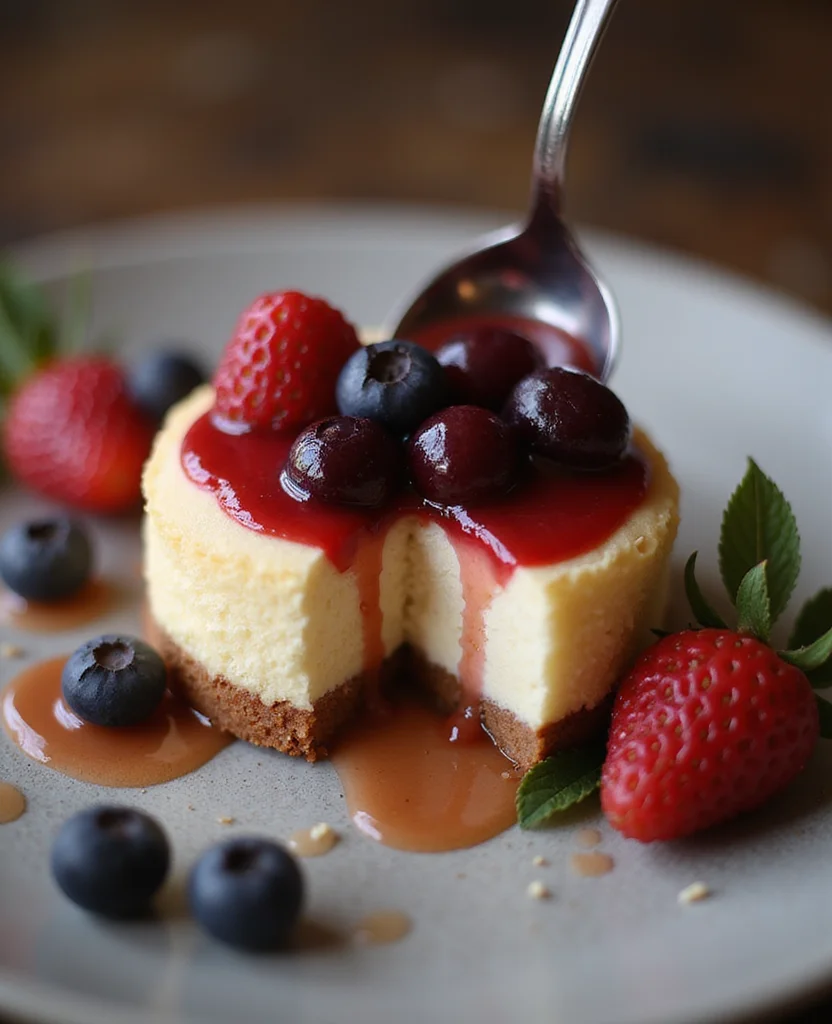
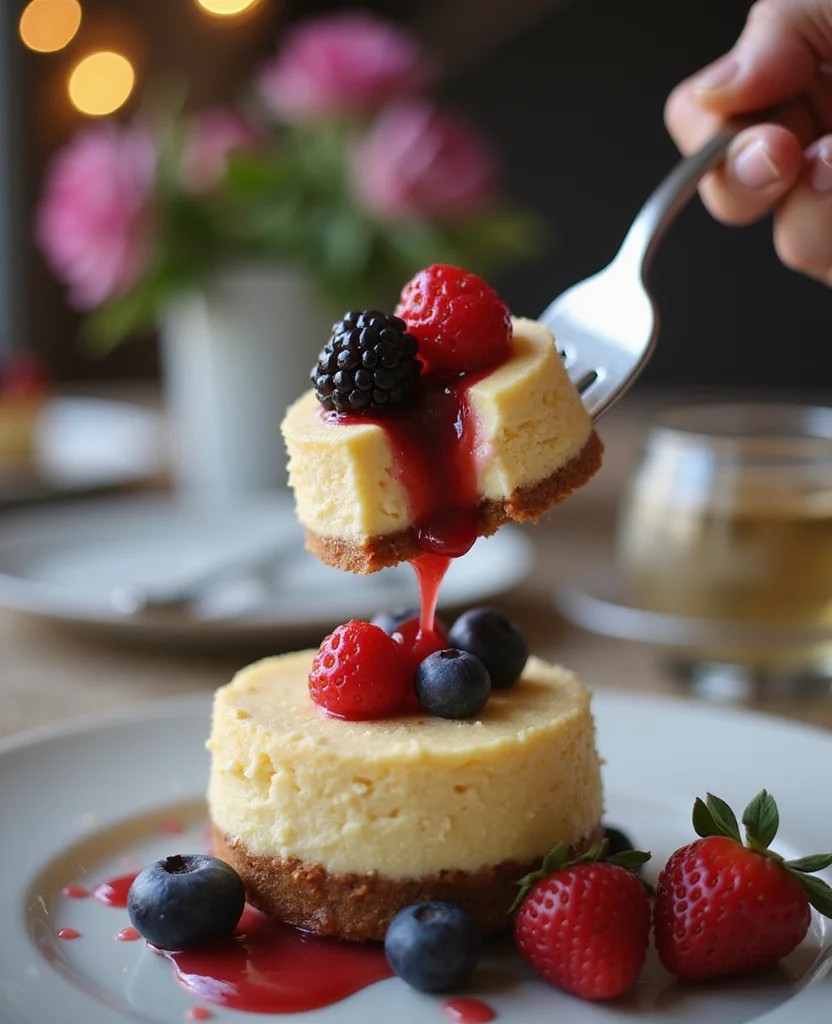
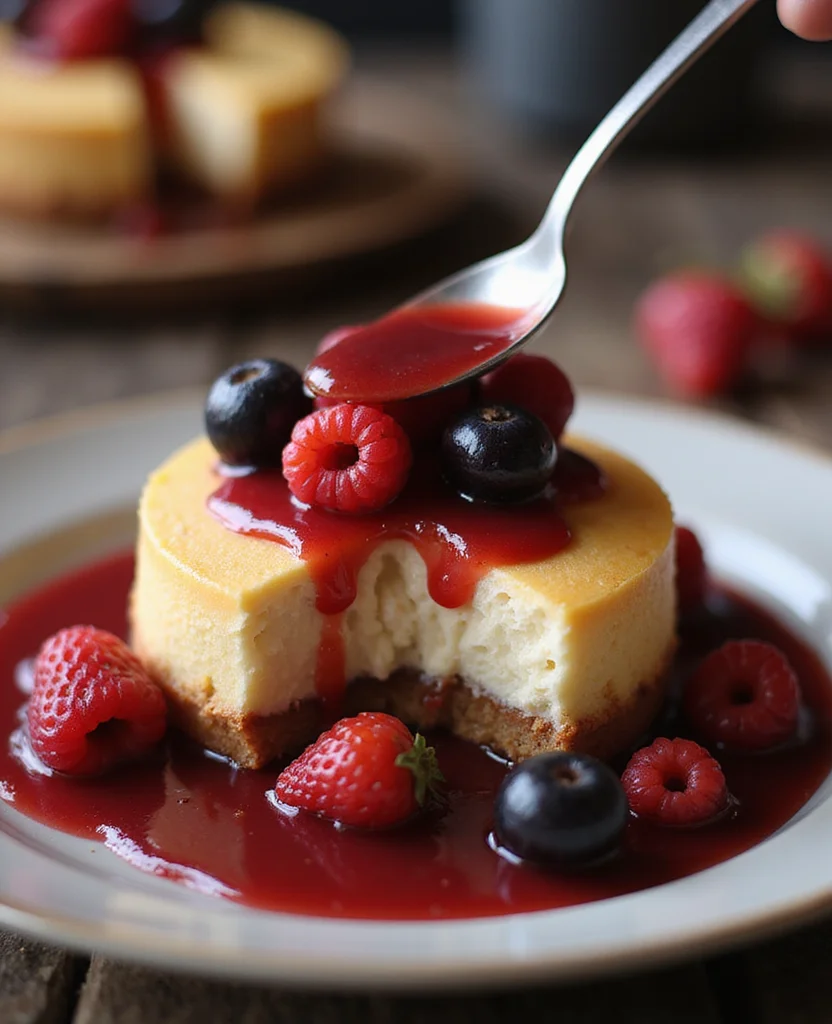
Step 8: Serve and Garnish
Carefully remove the mini cheesecakes from the muffin tin.
Use a knife to gently loosen the edges if necessary.
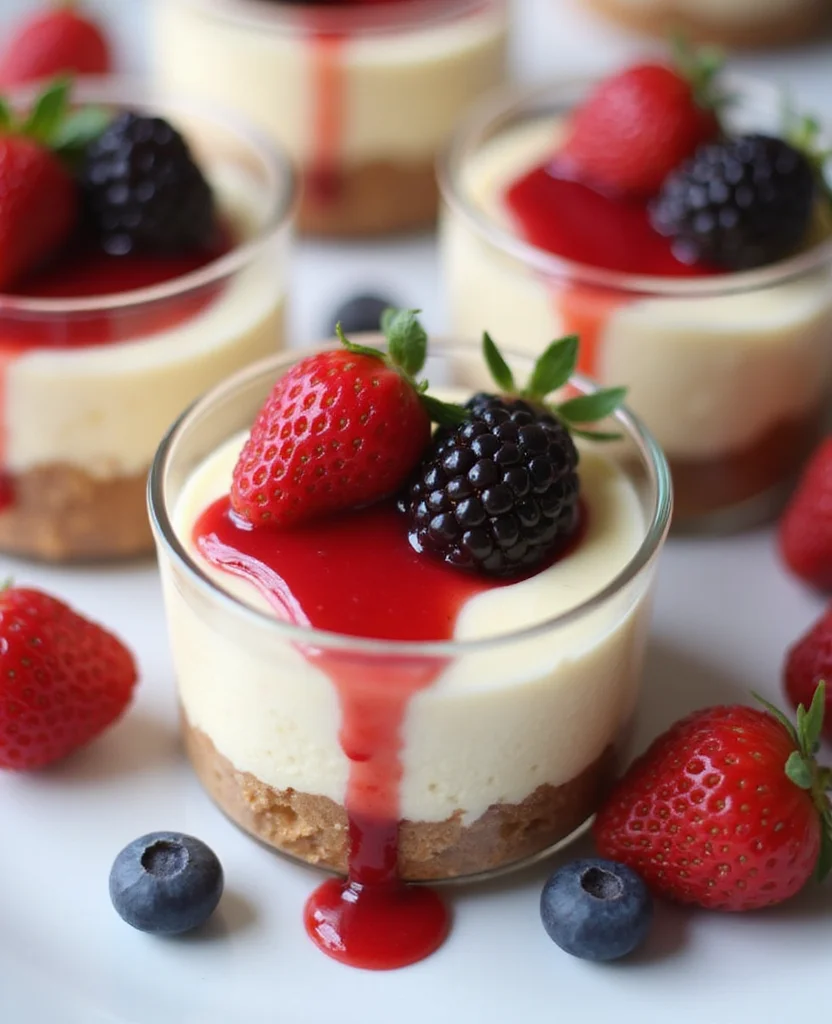
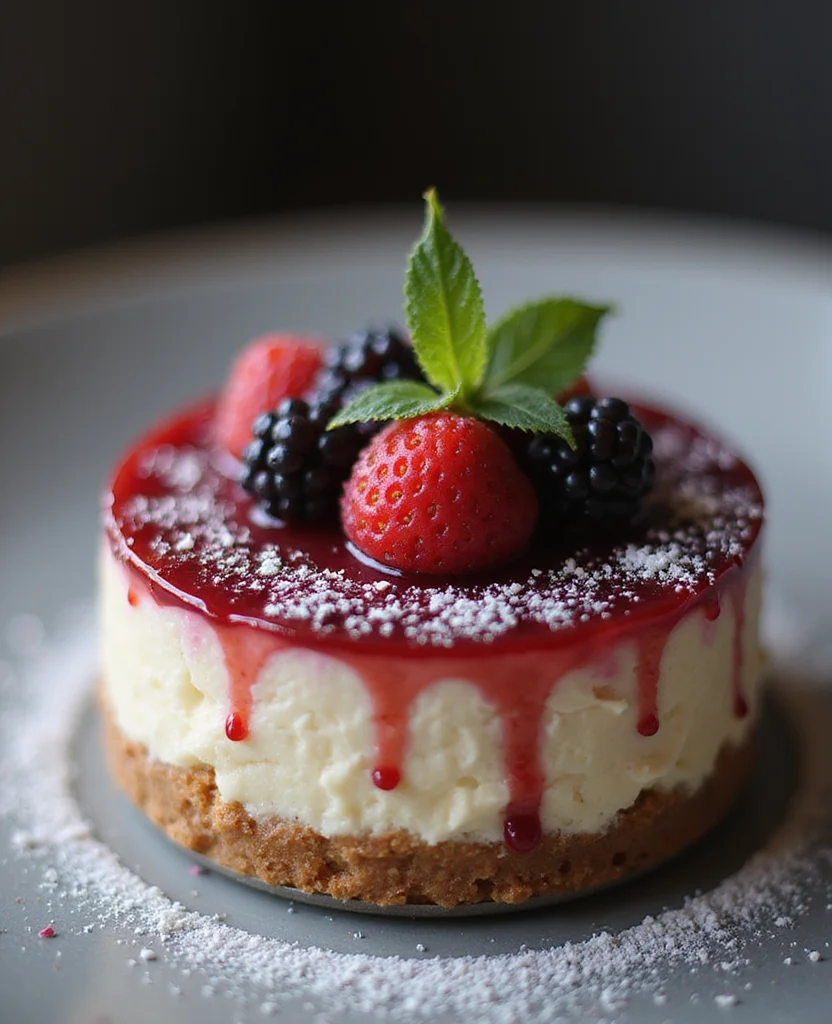
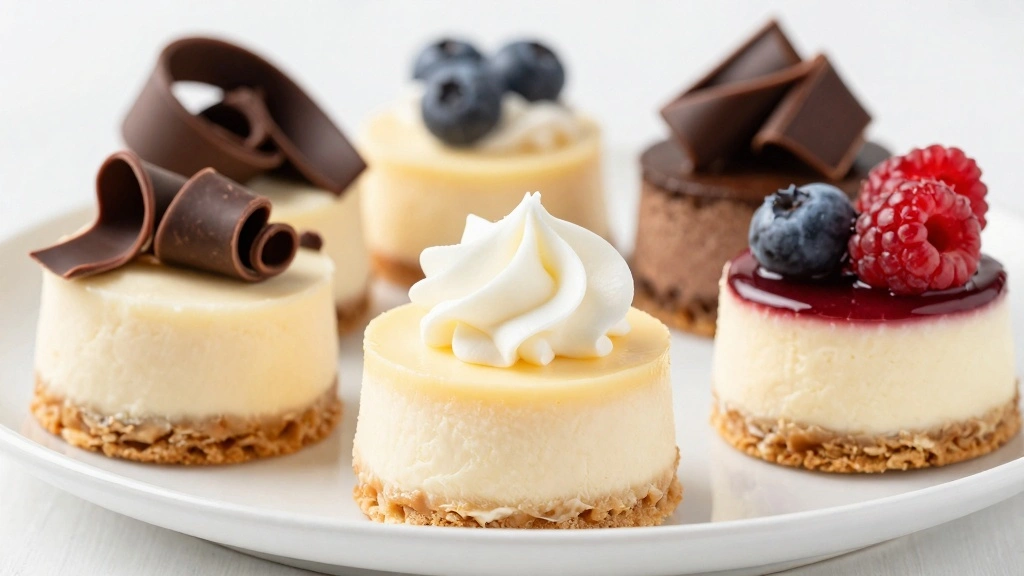
Top each cheesecake with your choice of fruit, chocolate shavings, or sauce.
Serve immediately for the freshest taste.
Critical Timing and Temperature Guide
Chilling Time: Minimum 4 hours in the refrigerator; overnight for best results. Look for a firm set in the cheesecake. Avoid shortcuts that result in a runny filling.
Whipping Cream: Whip at medium speed until stiff peaks form. Visual cue: cream holds shape on beaters. Over-whipping leads to graininess.
Softening Cream Cheese: Room temperature for 30 minutes. Soft to the touch is ideal. Microwave cautiously to avoid melting.
Pro Tips for No-Bake Mini Cheesecakes
• Ingredient Selection: Use high-quality cream cheese for the best flavor and texture. Fresh, cold heavy cream whips best.
• Preparation Secret: Chill the mixing bowl and beaters before whipping the cream for quicker, more stable peaks.
• Temperature Management: Ensure cream cheese is fully softened to avoid lumps. Keep whipped cream cold until use to maintain texture.
• Texture Enhancement: Fold whipped cream gently to retain airiness in the filling, preventing a dense texture.
• Flavor Layering: Add a pinch of salt to the crust for depth and balance against the sweet filling.
• Make-Ahead Strategies: Prepare the crust and filling a day ahead, storing them separately to maintain texture and freshness.
• Restaurant-Quality Finishing Touches: Top with a drizzle of fruit coulis for a professional touch.
• Equipment Optimization: Use a piping bag for filling to create clean, even layers without mess.
Troubleshooting Common Issues
• Filling Too Runny: Caused by under-whipped cream or insufficient chilling. Ensure cream is well-whipped and allow full chill time.
• Crumbly Base: Occurs if butter isn't fully integrated. Mix thoroughly and press firmly into the tin.
• Lumpy Filling: Result of unsoftened cream cheese. Fully soften and beat until smooth before adding other ingredients.
• Base Sticking to Tin: Use liners or grease the tin lightly. Firmly pack the base to prevent crumbling.
• Overly Sweet Taste: Balance sweetness by reducing sugar or adding a pinch of salt to the filling.
• Uneven Portions: Use a scoop or piping bag for consistent filling distribution.
Variations and Regional Differences
• Italian-Style: Incorporates ricotta cheese for a lighter texture, often flavored with citrus zest for a refreshing twist.
• Japanese-Style: Uses a blend of cream cheese and yogurt, resulting in a tangy, cloud-like texture.
• French-Style: Adds a layer of fruit jelly or compote atop the cheesecake for a sophisticated finish.
• American-Style: Often includes peanut butter or chocolate in the filling for a richer, more indulgent dessert.
Food Science Behind the Recipe
• Emulsification: Cream cheese and sugar blend through emulsification, creating a smooth texture by evenly distributing fat and water.
• Stabilization: Whipped cream stabilizes the filling by incorporating air, which is trapped by fat, giving the cheesecake its lightness.
• Gelation: Chilling firms the cheesecake through gelation, where the cold causes proteins and fats to solidify, setting the structure.
Frequently Asked Questions
What's the most common mistake people make when preparing No-Bake Mini Cheesecakes? The most common mistake is under-chilling, resulting in a runny texture. Ensure adequate chilling time.
Can I use a different type of crust? Yes, you can substitute with Oreo crumbs, digestive biscuits, or even crushed nuts for a different base flavor.
How long can I store these cheesecakes? They can be stored in the refrigerator for up to 3 days, covered, to prevent drying out.
Can I freeze the mini cheesecakes? While possible, freezing can affect texture. If freezing, thaw in the refrigerator overnight before serving.
What if my filling is too sweet? Reduce the sugar next time or balance the sweetness with a tart fruit topping.
How can I make these cheesecakes vegan? Use vegan cream cheese and coconut cream as substitutes for dairy ingredients.
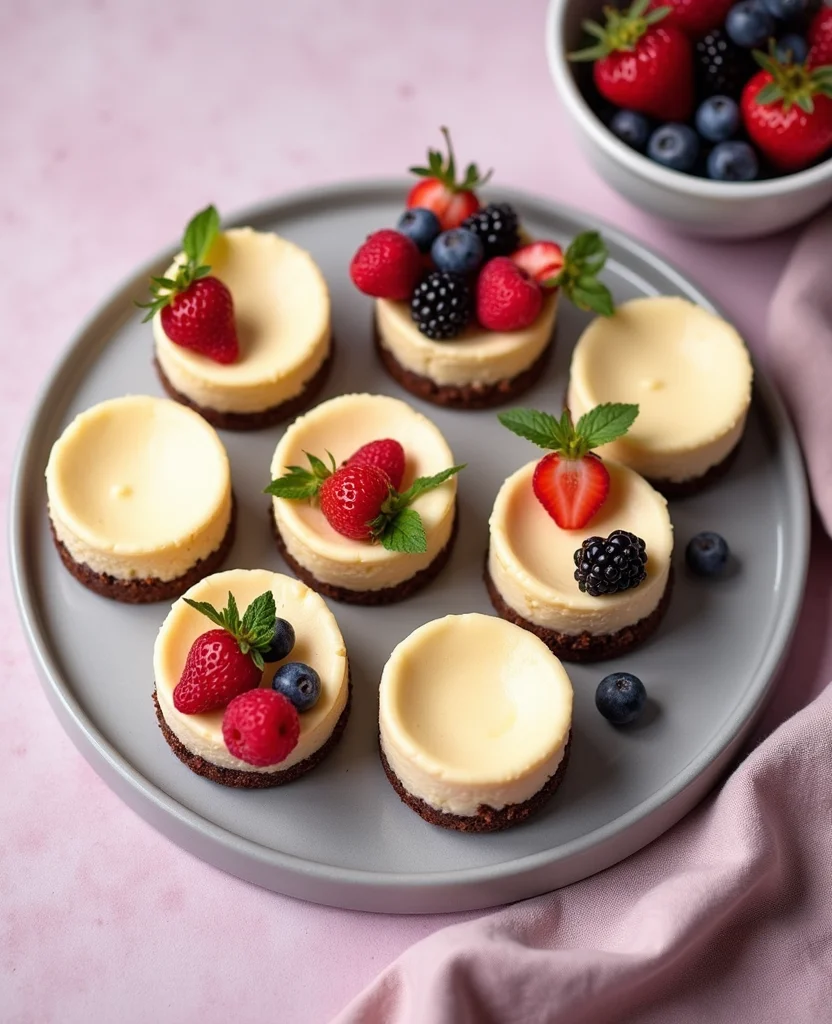
Are there any topping recommendations? Fresh berries, chocolate shavings, or caramel sauce are popular choices.
Serving and Presentation Guide
• Traditional Presentation: Serve on a decorative platter, garnished with fresh berries and a light dusting of powdered sugar.
• Modern Style: Plate individually on small dessert plates with a drizzle of sauce and a mint leaf.
• Rustic Approach: Use parchment liners and serve directly from the muffin tin for a casual feel.
• Themed Presentation: Decorate with seasonal fruits or edible flowers to match the occasion's theme.
Recommended Products

Food Grade Silicone - Fimary silicone muffin pan are made of professional quality food-grade silicone, BPA free, safe to make various kinds of food. It features a metal reinforced frame that ensures stability and durability. Say goodbye to flimsy pans that warp; this muffin pans maintains its shape even under high heat, providing consistent baking results every time. Standard Cup Size- Diameter: approximately 1.8"; Depth:approximately 0.7"; Overall Pan Size: Length: approximately 15.3" Width: approximately 9.2 ".

METAL REINFORCED MINI MUFFIN PAN: The hidden stainless steel frame around the outer edge makes silicone muffin pan more sturdy and resistant to deformation. No more spilling after batter fill in with when transfer silicone mini muffin pan from counter to oven
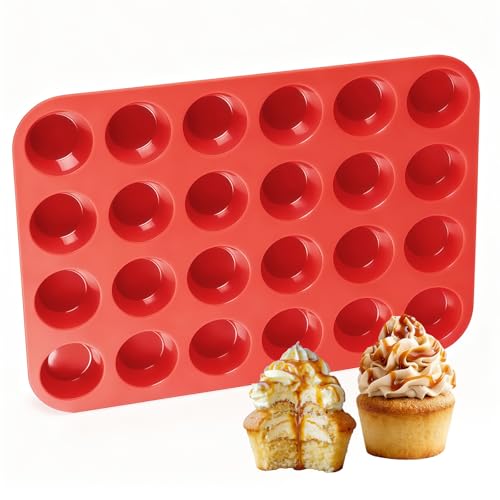
Food Grade Mini Muffin Pan: 24-cup cupcake pan, each cup capacity: 0.6 oz. Cup diameter top: 1.8 inch, cup depth: 0.7 inch
Conclusion
These Easy No-Bake Mini Cheesecakes are a testament to the joy of effortless entertaining.
With their rich flavor and simple preparation, they are sure to become a favorite at any gathering.
I encourage you to try this recipe and experience the delightful balance of flavors and textures.
Enjoy making memories with these delectable treats at your next celebration.