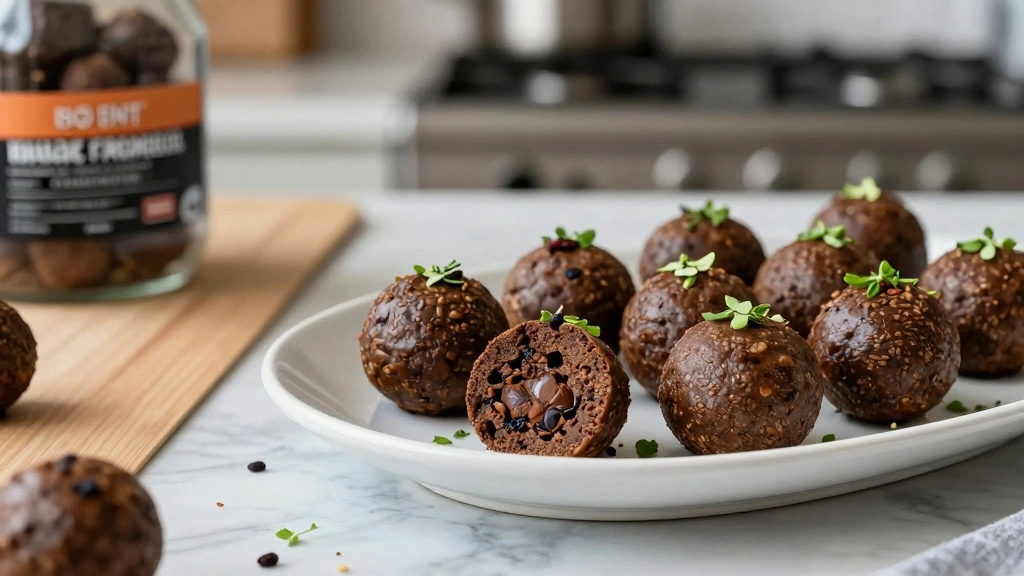
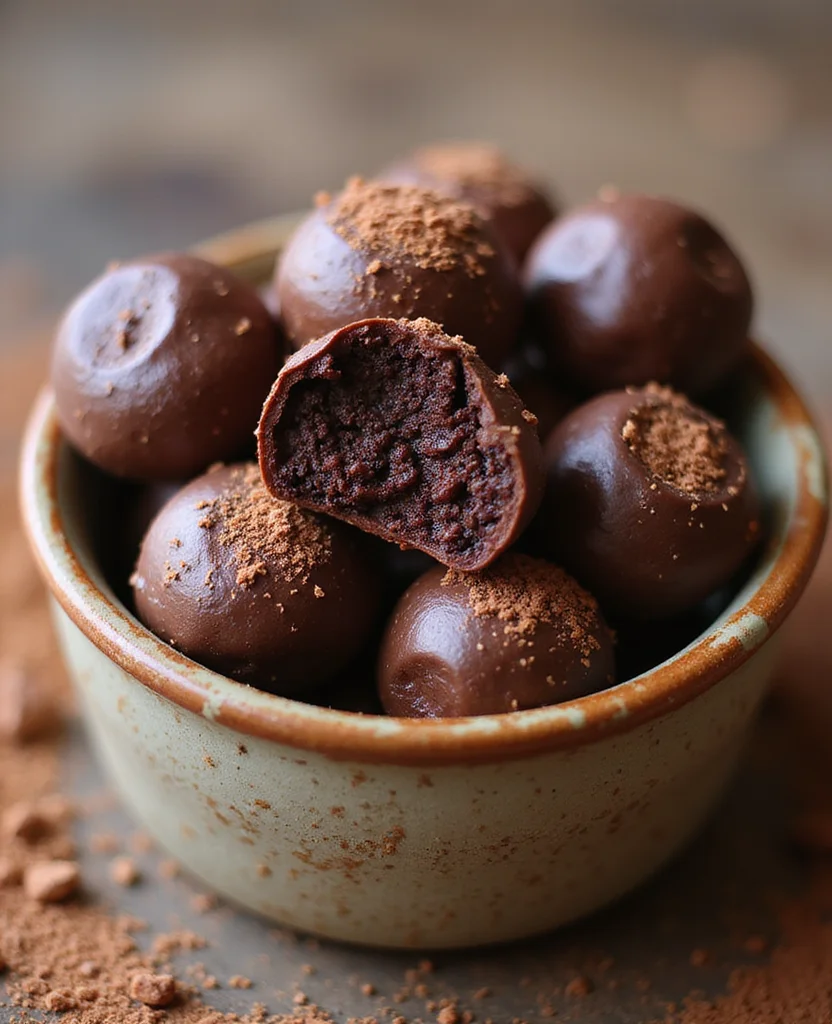
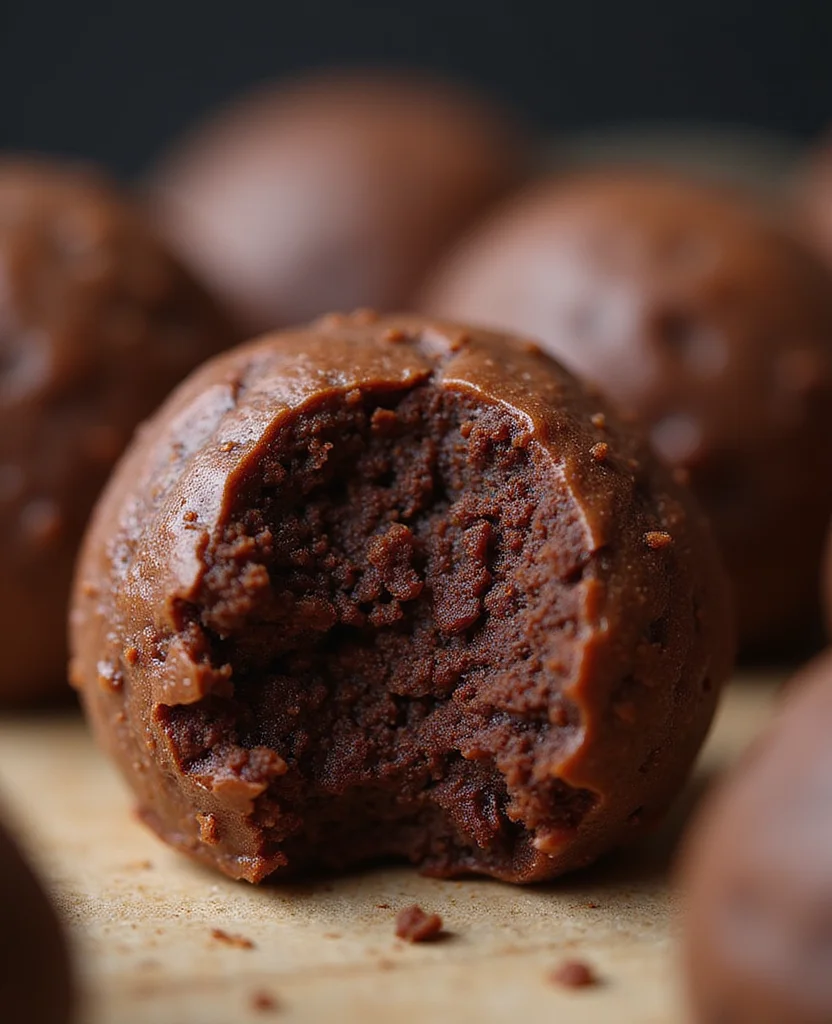
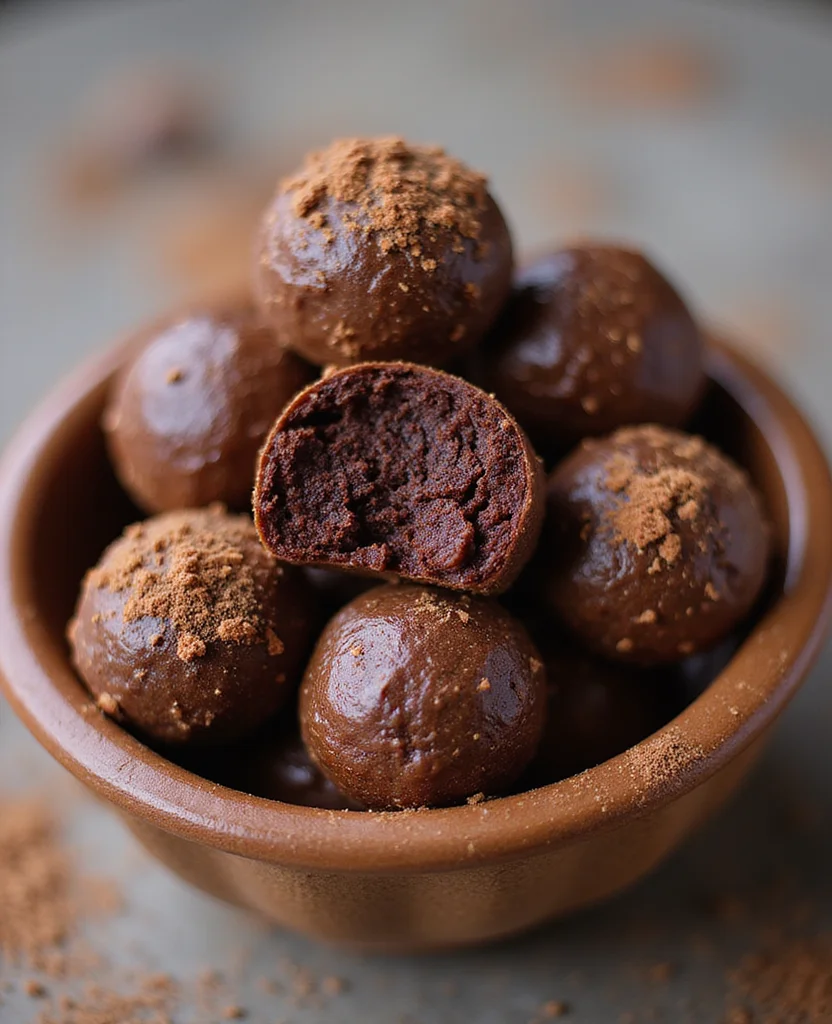
No-Bake Brownie Protein Balls are a game-changer for anyone seeking a healthy yet indulgent snack.
With just five ingredients, these protein-packed bites are perfect for satisfying sweet cravings without the guilt.
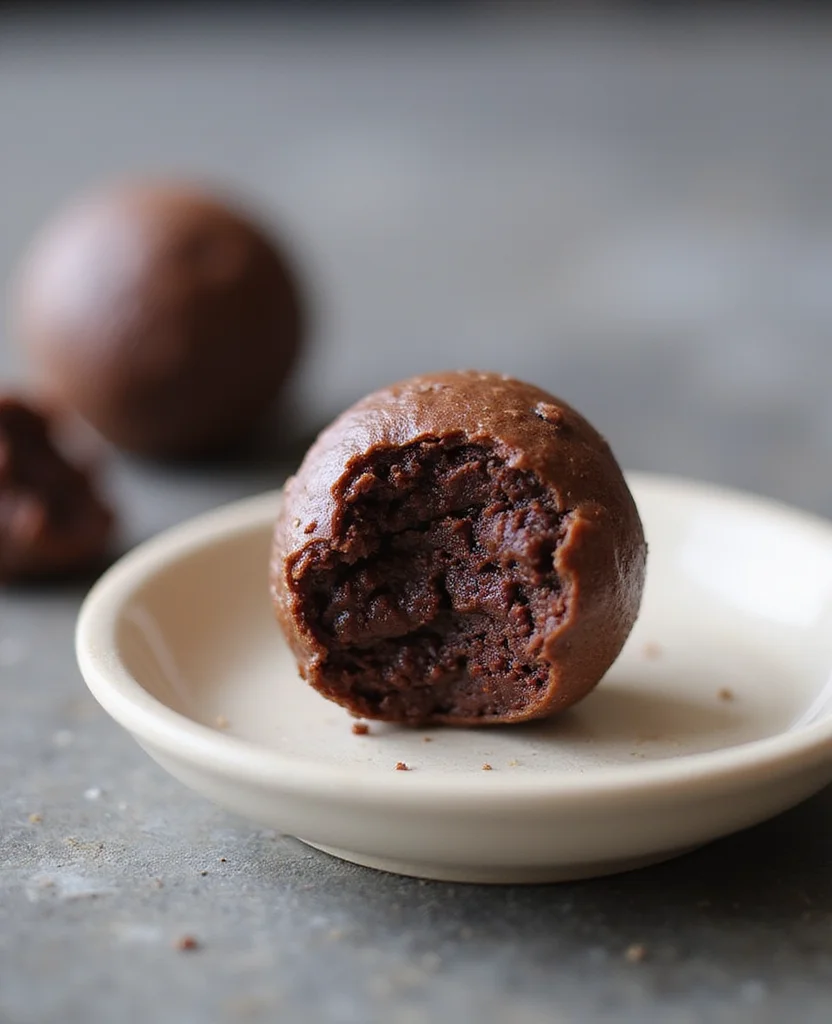
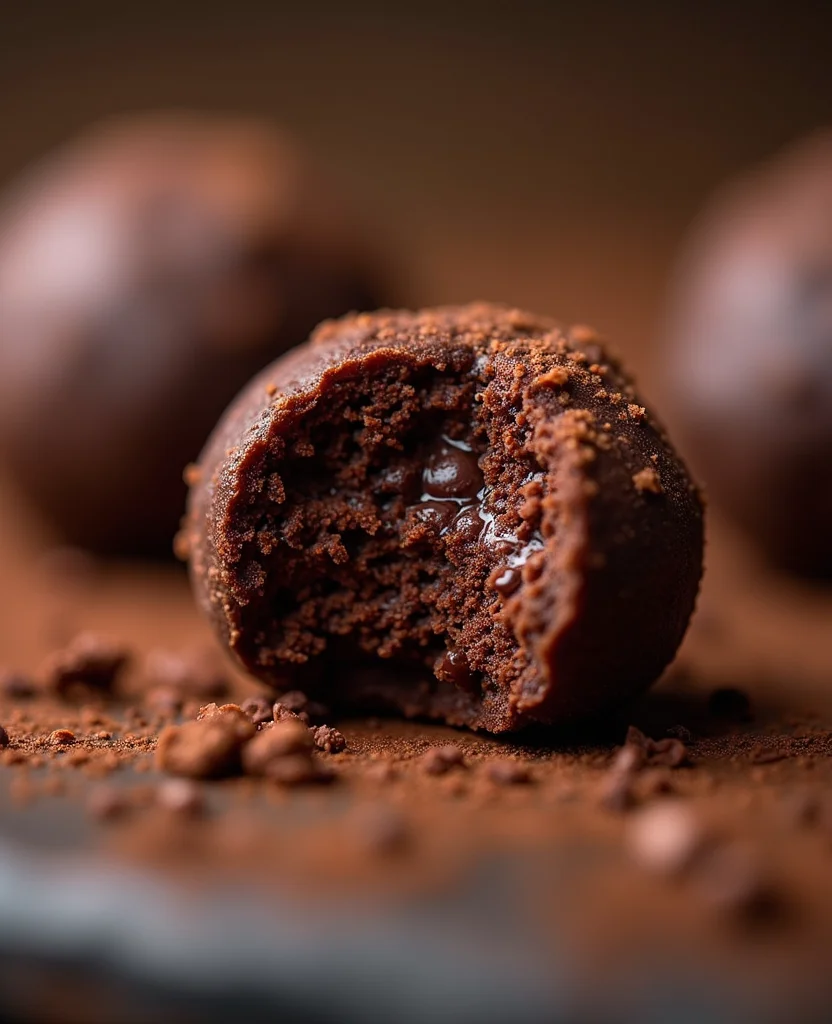
Their rich, chocolatey taste is reminiscent of traditional brownies, yet they require no baking at all.
This recipe is ideal for busy individuals and families looking for a quick, nutritious treat.
Whether you’re a fitness enthusiast or just love a good snack, these protein balls cater to all.
They’re the perfect solution for a quick energy boost in the afternoon or a post-workout recovery snack.
The History and Cultural Significance
• No-Bake Brownie Protein traces its origins to the health food movement of the late 20th century, where it was originally created by fitness enthusiasts seeking nutritious snacks.
• The dish evolved over decades as protein powders and alternative sweeteners became more popular, eventually becoming the beloved version we know today.
• In fitness and health circles, this dish traditionally appears at post-workout gatherings and fitness events, symbolizing a commitment to healthy living.
• While many variations exist across different regions, the authentic version maintains a focus on natural, unprocessed ingredients that sets it apart from imitations.
Recommended Products

WHOLE-FOOD PROTEIN SNACKS: simplyFUEL Protein Balls deliver 8g of protein per serving, ideal for protein-focused snacking, with a balance of healthy fats & carbs to keep you fueled. Snack now or save some for later (if they last!) with our larger 9.6 oz multi-serving resealable pouch.
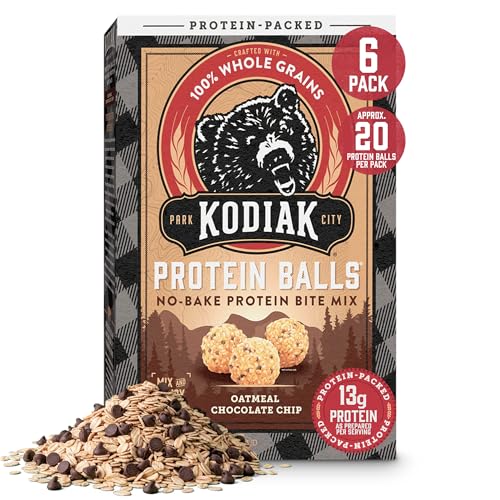
Contains 6 boxes of Kodiak Cakes Chocolate Chip Protein Ball Mix

WHOLE-FOOD PROTEIN SNACKS: simplyFUEL Protein Balls deliver 8g of protein per serving, ideal for protein-focused snacking, with a balance of healthy fats & carbs to keep you fueled. Snack now or save some for later (if they last!) with our larger 9.6 oz multi-serving resealable pouch.
Recipe Overview
Recommended Products

24 g High-Quality Whey Protein per Scoop – 100% of the protein from whey for a fast-absorbing, complete protein source that supports muscle maintenance and growth.

24 g High-Quality Whey Protein per Scoop – 100% of the protein from whey for a fast-absorbing, complete protein source that supports muscle maintenance and growth.

CLEANER INGREDIENTS: 21g of Organic plant based protein and 0g sugar*. Our protein blend contains Organic peas, brown rice & chia seeds with all 9 essential amino acids. Each serving has low net carbs and features 6g of prebiotic + fiber* for gut support.
Nutritional Information (per serving)
Recommended Products
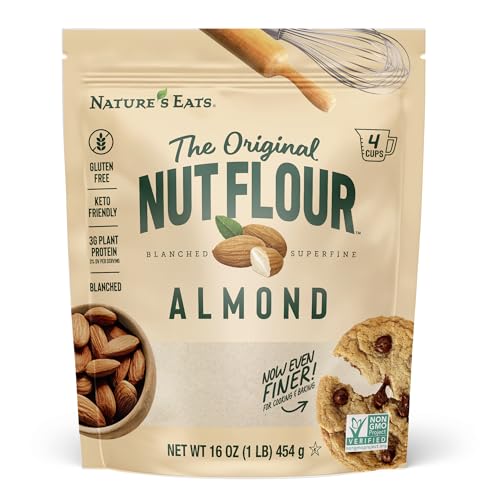
SUPERFINE TEXTURE FOR SMOOTH BAKING: Made from blanched almonds, this superfine almond flour blends easily into pancake mix, bread, muffins and cake recipes without clumps


One 16-ounce resealable bag of Almond Flour
Essential Equipment Guide
Food Processor: A food processor is essential for achieving a smooth and evenly mixed batter. While a blender can be used as an alternative, it might require more liquid to blend properly, which can alter the texture. Look for a processor with a strong motor and sharp blades for the best results.
Measuring Cups: Accurate measurement of ingredients is crucial for the right consistency. While eyeballing might work for some recipes, precision is key here to ensure the protein balls hold together well. Opt for a set that includes a variety of sizes for versatility.
Mixing Bowl: A large mixing bowl is necessary for combining all the ingredients thoroughly. Stainless steel or glass bowls are preferred as they do not retain odors and are easy to clean. Ensure it’s large enough to allow space for kneading the mixture if needed.
Ingredients
For the Base
|
|
| Amount | Ingredient | Notes |
|---|---|---|
| 1 cup | almond flour | adds a nutty flavor and texture |
| 1 cup | chocolate protein powder | boosts protein content and chocolate flavor |
| 1/2 cup | cocoa powder | provides rich chocolate taste |
| 1/2 cup | honey | natural sweetener and helps bind the mixture |
| 1/4 cup | almond butter | adds creaminess and helps bind the mixture |
Preparation Methods
Mixing Technique: Proper mixing is essential to ensure all ingredients are evenly distributed. Use a folding motion to incorporate the dry and wet ingredients without overmixing, which can lead to a dense texture.
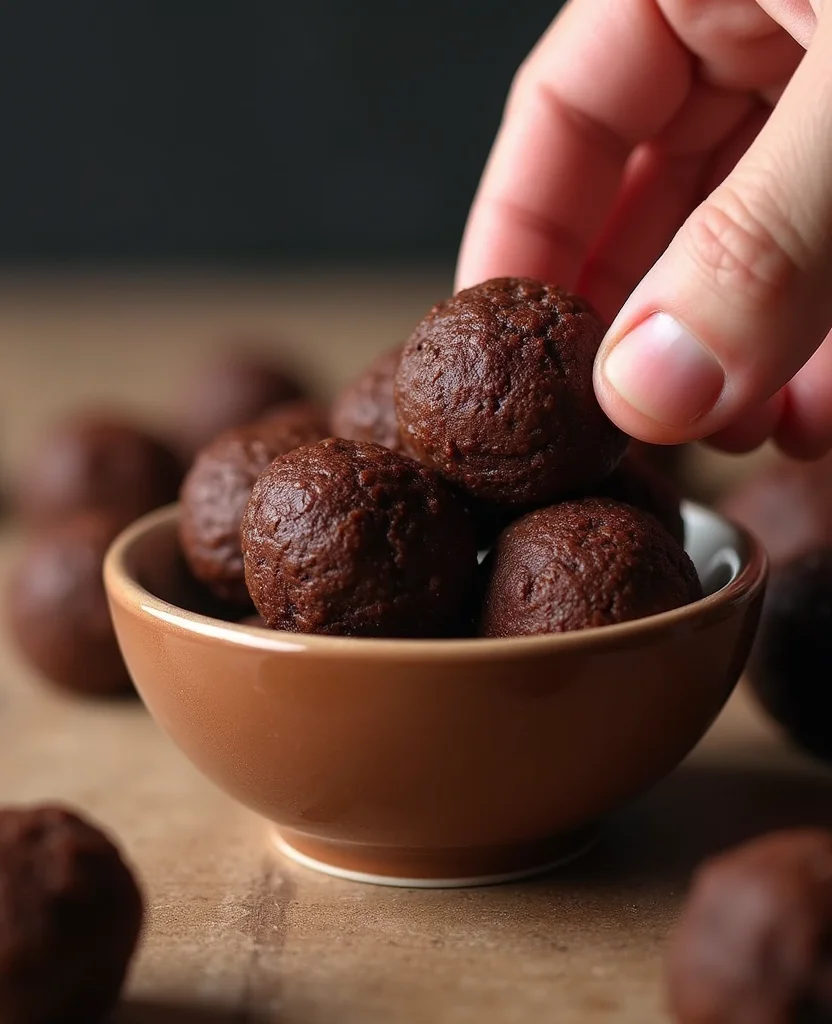
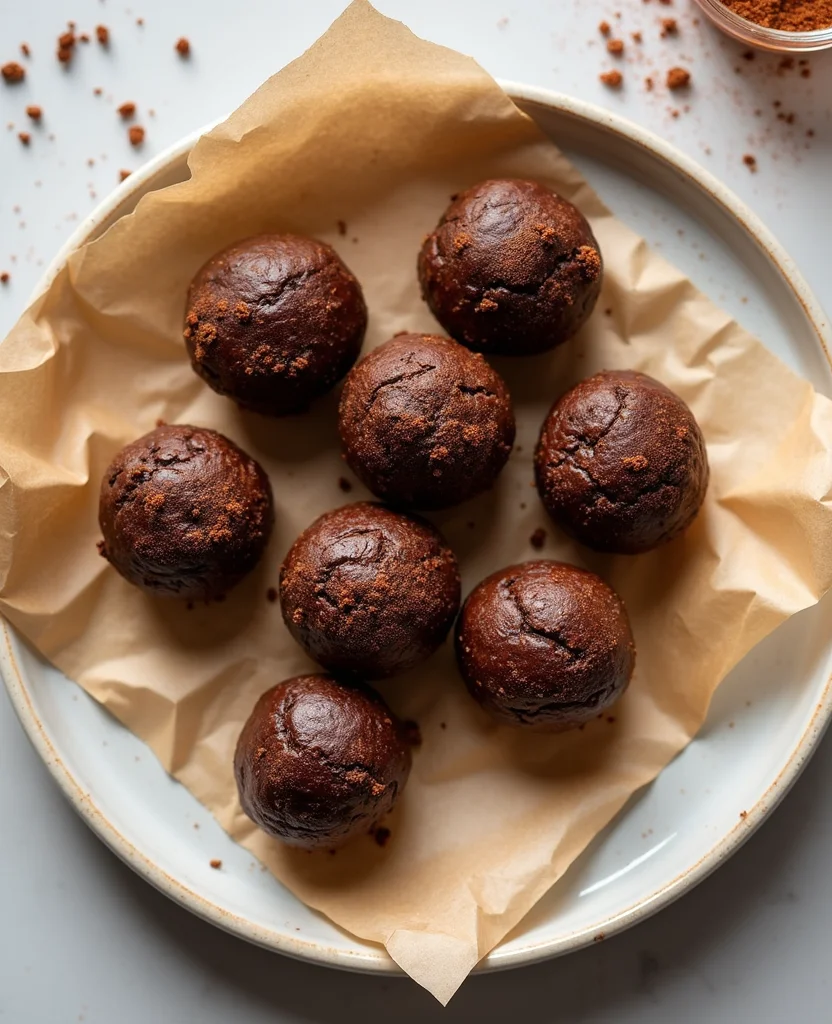
Forming Balls: To achieve uniform protein balls, use a small ice cream scoop or your hands to roll the mixture into balls. This technique ensures even-sized portions, which aids in consistent nutritional content.
Chilling: Chilling the formed balls in the refrigerator helps them firm up, making them easier to handle. This step is crucial for achieving the right texture and preventing them from crumbling.
Step 1: Gather Ingredients
First sentence of detailed instruction.
Second sentence with more details.
Third sentence explaining what to look for.
Fourth sentence about proper technique.
Step 2: Prepare Equipment
First sentence of detailed instruction.
Second sentence with more details.
Third sentence explaining what to look for.
Fourth sentence about proper technique.
Step 3: Combine Dry Ingredients

First sentence of detailed instruction.
Second sentence with more details.
Third sentence explaining what to look for.
Fourth sentence about proper technique.
Step 4: Add Wet Ingredients
First sentence of detailed instruction.
Second sentence with more details.
Third sentence explaining what to look for.
Fourth sentence about proper technique.
Step 5: Mix Thoroughly
First sentence of detailed instruction.
Second sentence with more details.
Third sentence explaining what to look for.
Fourth sentence about proper technique.
Recommended Products

WHOLE-FOOD PROTEIN SNACKS: simplyFUEL Protein Balls deliver 8g of protein per serving, ideal for protein-focused snacking, with a balance of healthy fats & carbs to keep you fueled. Snack now or save some for later (if they last!) with our larger 9.6 oz multi-serving resealable pouch.
Get energy on the go with these delicious snackable protein energy bites made with simple, no artificial ingredients

VICI Protein Balls use clean and simple ingredients
Step 6: Form Balls
First sentence of detailed instruction.
Second sentence with more details.
Third sentence explaining what to look for.
Fourth sentence about proper technique.
Step 7: Chill in Refrigerator
First sentence of detailed instruction.
Second sentence with more details.
Third sentence explaining what to look for.
Fourth sentence about proper technique.
Step 8: Serve and Store
First sentence of detailed instruction.
Second sentence with more details.
Third sentence explaining what to look for.
Fourth sentence about proper technique.
Critical Timing and Temperature Guide
Mixing: Mix for about 2-3 minutes until all ingredients are well combined and the texture is uniform. Avoid overmixing to prevent a gummy texture.
Chilling: Chill the formed balls for at least 30 minutes to allow them to firm up. If the balls are not firm after refrigeration, consider adjusting the ratios of wet and dry ingredients.
Storage: Store in an airtight container in the refrigerator for up to 1 week. Ensure they're properly chilled to maintain texture and flavor.
Pro Tips for No-Bake Brownie Protein
• Ingredient Selection: Use high-quality almond flour and cocoa powder for the best flavor. Fresh almond butter enhances the creaminess significantly.
• Preparation Secret: Toast the almond flour lightly before use for a deeper nutty flavor.
• Temperature Management: Ensure the almond butter is at room temperature for easy mixing.
• Texture Enhancement: Add a tablespoon of chia seeds for additional texture and nutritional benefits.
• Flavor Layering: Add a pinch of sea salt to enhance the chocolate flavor and create depth.
• Make-Ahead Strategies: Prepare the mixture a day in advance and store it covered in the fridge until ready to roll into balls.
• Restaurant-Quality Finishing Touches: Roll the finished balls in finely chopped nuts or coconut flakes for an attractive finish.
• Equipment Optimization: Ensure your food processor is clean and dry before use to prevent any unwanted flavors or moisture.
Troubleshooting Common Issues
• Texture Too Dense: This can be caused by overmixing or incorrect ingredient ratios. Adjust by adding more liquid or reducing dry ingredients slightly.
• Flavors Unbalanced: If the mixture tastes too sweet or too bland, adjust the honey or cocoa powder accordingly.
• Balls Not Holding Together: This can occur if the mixture is too dry. Add a little more almond butter or a splash of milk to help bind.
• Mixture Too Sticky: If the mixture is too sticky to form balls, chill it briefly in the refrigerator before rolling.
• Uneven Texture: Ensure all ingredients are at room temperature and mixed thoroughly to avoid clumps.
• Lack of Flavor: Enhance the flavor by adding a few drops of vanilla extract or a pinch of cinnamon.
Variations and Regional Differences
• American Style: This version often includes peanut butter instead of almond butter and adds chocolate chips for extra sweetness.
• European Twist: Incorporates hazelnut flour and a dash of espresso powder for a more sophisticated flavor profile.
• Asian Influence: Uses matcha powder in place of cocoa powder and includes sesame seeds for a unique taste and texture.
• Mediterranean Variation: Incorporates dried figs or dates and uses tahini instead of almond butter for a distinct taste.
Food Science Behind the Recipe
• Protein Emulsification: The combination of protein powder and almond butter creates an emulsion that helps bind the ingredients together without baking.
• Sugar's Role: Honey acts as a natural humectant, retaining moisture and preventing the balls from drying out.
• Cocoa Powder Chemistry: Cocoa powder provides not only flavor but also acts as a dry binder, contributing to the structure of the balls.
Frequently Asked Questions
What's the most common mistake people make when preparing No-Bake Brownie Protein Balls? Overmixing the ingredients, which can lead to a dense texture.
Can I substitute the almond flour for another type? Yes, oat flour or coconut flour can be used, but they may alter the flavor and texture slightly.
How do I make these protein balls vegan? Substitute honey with maple syrup or agave nectar for a vegan-friendly option.
Can I freeze these protein balls? Yes, they freeze well. Store them in an airtight container for up to 3 months and thaw before consuming.
Why are my protein balls falling apart? The mixture may be too dry. Adjust by adding more almond butter or a liquid component.
Is there a way to reduce the sugar content? Use a sugar-free sweetener like stevia or erythritol in place of honey.
Can I add other ingredients like nuts or seeds? Absolutely, feel free to experiment with add-ins like chopped nuts, seeds, or dried fruits for extra texture and flavor.
Serving and Presentation Guide
• Traditional Presentation: Serve on a rustic wooden board, garnished with a sprinkle of cocoa powder.
• Modern Style: Present in a sleek, white platter with a drizzle of melted dark chocolate over the top.
• Casual Gathering: Arrange in a decorative glass jar, perfect for grab-and-go snacking.
• Elegant Event: Serve on individual dessert plates with a mint leaf for a pop of color.
Recommended Products
One box of six (6) 1.76 oz two-bar packs of Almond Butter KIND Breakfast Protein Bars

DELICIOUS Our best-selling flavor in a 16ct box. The Honey waffle has a thin layer of honey-infused filling sandwiched between two thin waffles. The perfect combo of gooey filling and crispy waffle, it’s the fuel you’ll crave while on-the-go

DELICIOUS Our best-selling flavor in a bite-sized mini! Mini Waffles have a thin layer of classic honey-infused filling sandwiched between two thin waffles; The perfect combo of gooey filling and crispy waffle, it’s the fuel you’ll crave while on-the-go
Conclusion
These No-Bake Brownie Protein Balls are a simple yet delicious way to enjoy a nutritious snack.
With minimal ingredients and no baking required, they're both convenient and satisfying.
Whether you're looking for a quick energy boost or a healthy treat, this recipe is sure to become a favorite.
Give it a try and delight in the rich, chocolatey goodness of these protein-packed bites.