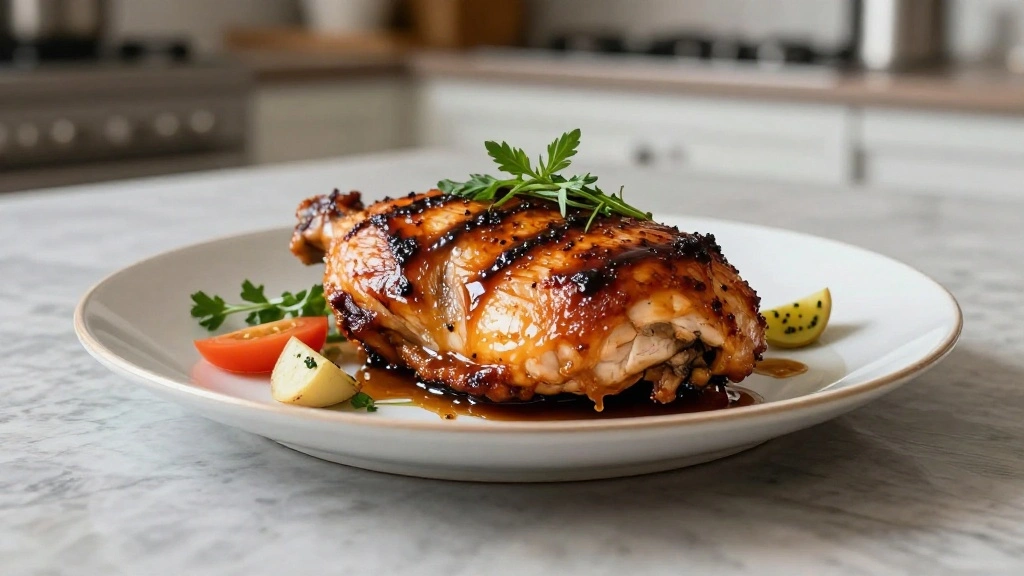
The smoky and savory flavors of BBQ chicken breast are a timeless favorite in many households.
Whether you’re grilling outside in the summer or baking in your oven during the colder months, this dish brings warmth and comfort to the table.
BBQ chicken breast is known for its juicy, tender texture combined with a perfectly caramelized exterior.
I was inspired to perfect this recipe after a memorable barbecue with friends, where the simple yet complex flavors made a lasting impression.
Once you master this recipe, you’ll find it becomes a staple for family dinners and gatherings alike.
The History and Cultural Significance
• BBQ chicken traces its origins to the American South, where it was initially popularized in the 19th century.
• The dish evolved over decades as regional barbecue styles developed, with various marinades and cooking techniques adding unique flavors.
• In the Southern United States, this dish traditionally appears at family gatherings and summer cookouts, symbolizing celebration and togetherness.
• While many variations exist across different regions, the authentic version maintains a balance of smoky and sweet flavors that sets it apart from imitations.


Recipe Overview
Nutritional Information (per serving)


Essential Equipment Guide
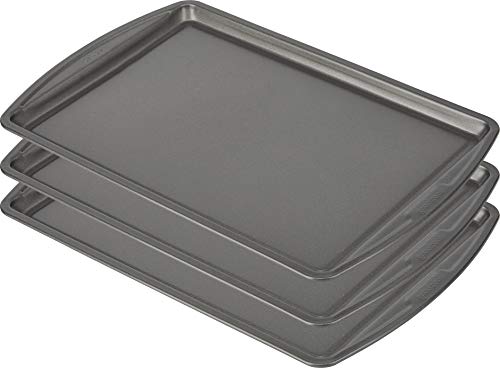
Baking Sheet: A baking sheet is important for achieving even cooking in the oven. It allows the chicken breasts to cook without direct contact with the pan, preventing a soggy bottom. Alternatives like a roasting pan can work, but ensure it’s large enough to prevent crowding.
Instant-Read Thermometer: This tool is crucial for ensuring your chicken is perfectly cooked without being dry. Look for a thermometer that provides quick and accurate readings. Alternatively, a meat thermometer with a probe can also be used but may not provide instant results.
Wire Rack: A wire rack elevates the chicken breasts, allowing heat to circulate and achieve a crispy exterior. If unavailable, an oven-safe cooling rack works as an alternative.


Ingredients
For the Marinade
|
|
| Amount | Ingredient | Notes |
|---|---|---|
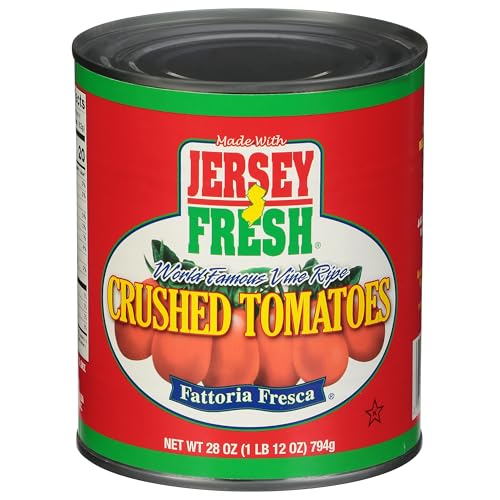
| 1 cup | BBQ sauce | adds smoky-sweet flavor |
| 2 tablespoons | olive oil | enhances moistness |
| 1 tablespoon | apple cider vinegar | adds tangy depth |
| 1 teaspoon | garlic powder | boosts savory notes |
For the Chicken
| Amount | Ingredient | Notes |
|---|---|---|
| 4 pieces | chicken breast | boneless, skinless |
Seasonings
| Amount | Ingredient | Notes |
|---|---|---|
| 1 teaspoon | salt | enhances overall taste |
| 1/2 teaspoon | black pepper | adds mild heat |


Preparation Methods
Marinating: Marinating is crucial for infusing the chicken with flavor. Ensure the chicken is evenly coated and marinate for at least an hour or overnight for deeper flavor. Use a resealable plastic bag or a covered dish for the best results.
Pre-Baking Sear: Searing the chicken breasts before baking helps lock in juices and create a flavorful crust. Heat a pan until it's hot before adding the chicken to achieve a proper sear. Avoid overcrowding the pan to ensure even browning.
Resting the Meat: Allow the cooked chicken to rest for several minutes before slicing. This technique lets the juices redistribute, resulting in a juicier bite. Cover the chicken with foil to keep it warm during this period.


Step 1: Prepare Ingredients

Measure out all ingredients before starting to ensure a smooth cooking process.
Place the chicken breasts on a clean cutting board.
Pat them dry with paper towels to remove any excess moisture.
Season both sides with salt and pepper to taste.


Step 2: Make the Marinade

In a medium bowl, combine BBQ sauce, olive oil, apple cider vinegar, and garlic powder.
Whisk the mixture until all ingredients are fully incorporated.
The marinade should have a smooth consistency with no lumps.
Taste and adjust seasoning if necessary.


Step 3: Marinate the Chicken

Place the chicken breasts in a resealable plastic bag.
Pour the marinade over the chicken, making sure each piece is well-coated.
Seal the bag, removing as much air as possible to ensure the marinade covers the chicken evenly.
Refrigerate for at least one hour or overnight for maximum flavor infusion.


Step 4: Preheat the Oven

Preheat your oven to 375°F (190°C) before removing the chicken from the fridge.
Preheating ensures the chicken cooks evenly from the start.
Position the oven rack in the middle to allow for consistent heat distribution.
Prepare your baking sheet and wire rack while the oven heats up.


Step 5: Sear the Chicken

Heat a large skillet over medium-high heat.
Add a small amount of oil to the pan to prevent sticking.
Sear the chicken breasts for 2-3 minutes on each side until golden brown.
Remove from the pan and transfer to a wire rack on a baking sheet.


Step 6: Bake the Chicken

Place the baking sheet with the chicken in the preheated oven.
Bake for 20-25 minutes or until the internal temperature reaches 165°F (74°C).
Use an instant-read thermometer to check the temperature for accuracy.
Avoid opening the oven frequently to maintain a consistent cooking temperature.


Step 7: Rest the Chicken

Remove the chicken from the oven once fully cooked.
Cover with foil and let it rest for 5-10 minutes.
Resting allows the juices to redistribute, ensuring a moist texture.
Do not slice the chicken immediately to prevent losing the flavorful juices.


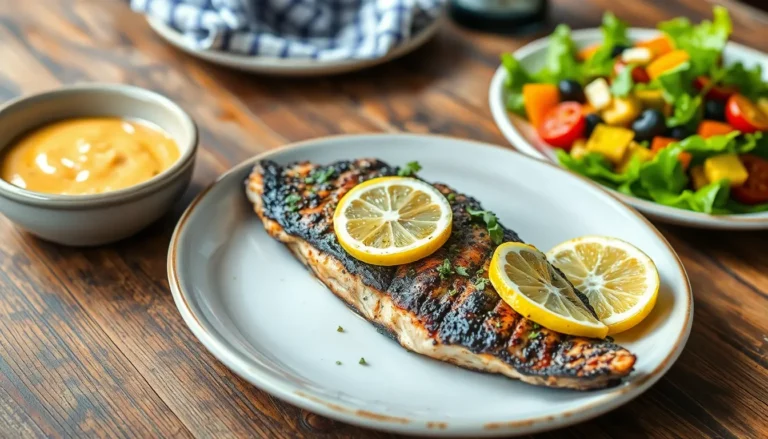
Step 8: Serve and Enjoy
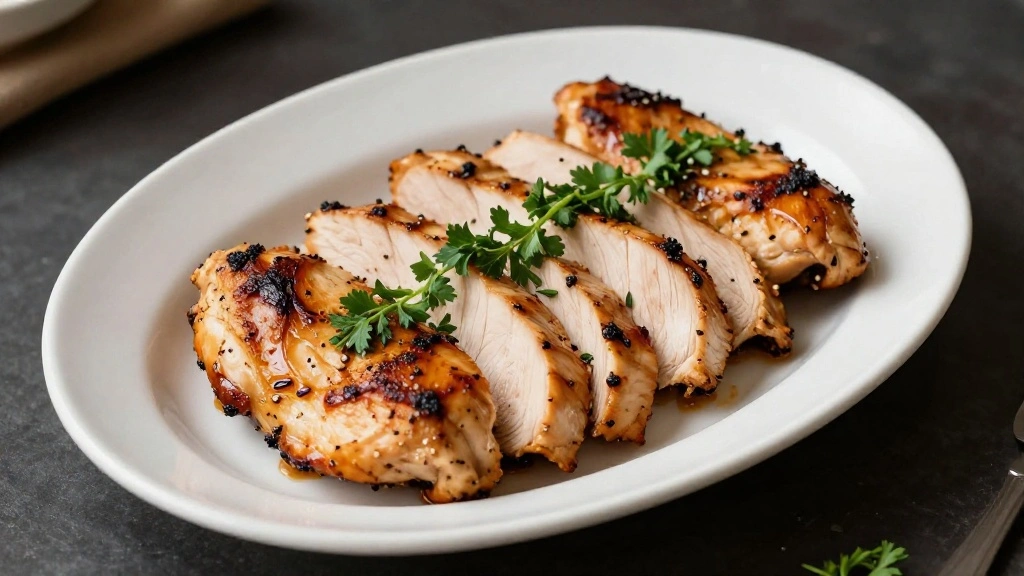
Transfer the rested chicken to a serving platter.
Slice each breast into even portions for serving.
Garnish with chopped herbs or additional BBQ sauce if desired.
Serve hot with your choice of sides.


Critical Timing and Temperature Guide
Marinating: Marinate the chicken for at least 1 hour, ideally overnight, in the refrigerator. Look for a uniform color change as an indicator of flavor absorption. Avoid marinating for more than 24 hours, as it can affect texture negatively.
Searing: Sear the chicken for 2-3 minutes per side on medium-high heat. Look for a golden-brown crust as a sign of a good sear. Avoid searing at too low a temperature, which can prevent crust formation.
Baking: Bake at 375°F (190°C) for 20-25 minutes. An internal temperature of 165°F (74°C) indicates doneness. Avoid undercooking by checking the thickest part of the chicken.
Pro Tips for How to Bake
• Ingredient Selection: Choose fresh, high-quality chicken breasts for the best results. Organic or free-range chicken can enhance flavor and texture.
• Preparation Secret: Pounding the chicken to an even thickness ensures uniform cooking, preventing overcooked edges.
• Temperature Management: Allow the chicken to come to room temperature before cooking to promote even cooking.
• Texture Enhancement: A brief sear before baking locks in moisture and creates a pleasing texture contrast.
• Flavor Layering: Use a combination of marinades and sauces to build depth and complexity in the dish.
• Make-Ahead Strategies: Marinate the chicken the night before to save time and ensure deeper flavor infusion.
• Restaurant-Quality Finishing Touches: A light brush of sauce after baking adds a glossy finish and extra flavor.
• Equipment Optimization: Ensure your oven is calibrated correctly to avoid temperature discrepancies during baking.
Troubleshooting Common Issues
• Dry Chicken: Overcooking is the main cause of dry chicken. Use a thermometer to check doneness and rest the meat to retain juices.
• Lack of Flavor: Insufficient marinating time can lead to bland chicken. Ensure at least an hour of marination and use high-quality ingredients.
• Uneven Cooking: Inconsistent thickness can cause uneven cooking. Pound chicken to even thickness and sear properly.
• Soggy Exterior: Not using a wire rack can result in a soggy bottom. Ensure chicken is elevated during baking to allow air circulation.
• Burnt Sauce: Applying sauce too early can cause it to burn. Add additional sauce towards the end of baking or just after removing from the oven.
• Overly Tangy Flavor: Balance acidity with a touch of sweetness in the marinade if the vinegar flavor is too strong.
Variations and Regional Differences
• Memphis-Style: This variation uses a dry rub instead of a marinade, focusing on a smoky and spicy flavor profile with paprika and cayenne.
• Kansas City-Style: Known for its thick, sweet tomato-based sauce, this version includes molasses and brown sugar for a caramelized finish.
• Texas-Style: Features a simple seasoning of salt and pepper, relying on the smoky flavor from wood chips during grilling.
• Carolina-Style: A vinegar-based sauce with mustard adds a tangy kick, often served with coleslaw on the side.


Food Science Behind the Recipe
• Maillard Reaction: This browning reaction occurs when searing the chicken, enhancing flavor and creating a delicious crust.
• Marinade Chemistry: The acid in the marinade helps tenderize the meat by breaking down proteins, resulting in a more tender texture.
• Heat Transfer: Baking uses convection heat to cook the chicken evenly, ensuring a juicy interior without drying out the surface.


Frequently Asked Questions
What's the most common mistake people make when preparing BBQ chicken breast? Overcooking is the most common mistake, resulting in dry meat. Use a thermometer to ensure proper doneness.
Can I use this recipe for grilled chicken instead? Yes, this recipe adapts well to grilling. Adjust the cooking time and monitor for doneness.
How do I store leftovers? Store in an airtight container in the refrigerator for up to four days. Reheat gently to prevent drying.
Can I use bone-in chicken breasts? Yes, but adjust the cooking time as bone-in pieces may take longer to cook.
What can I serve with BBQ chicken breast? Consider sides like coleslaw, cornbread, or baked beans for a classic BBQ meal.
Is it necessary to rest the chicken before serving? Yes, resting ensures the juices redistribute, resulting in a juicier bite.
How can I make the sauce spicier? Add cayenne pepper or hot sauce to the marinade for extra heat.
Can I freeze marinated chicken for later use? Absolutely, freeze the chicken in its marinade for up to three months. Thaw in the refrigerator before cooking.
Serving and Presentation Guide
• Traditional Presentation: Serve sliced on a platter with a side of extra BBQ sauce and freshly chopped parsley for garnish.
• Casual Style: Serve whole chicken breasts on a wooden board with a variety of sauces and pickles for a DIY sandwich station.
• Party Platter: Arrange sliced chicken on a large serving tray with a mix of grilled vegetables and small bowls of different BBQ sauces for dipping.
• Elegant Setting: Present sliced chicken on individual plates with a drizzle of sauce and a sprig of fresh thyme.


Conclusion

Embrace the art of baking perfect BBQ chicken breast with this straightforward recipe.
The balance of smoky, tangy, and sweet flavors will delight your taste buds.
Share this dish with family and friends to create lasting memories around the table.
Your newfound skills will ensure you’re the star of any barbecue gathering.