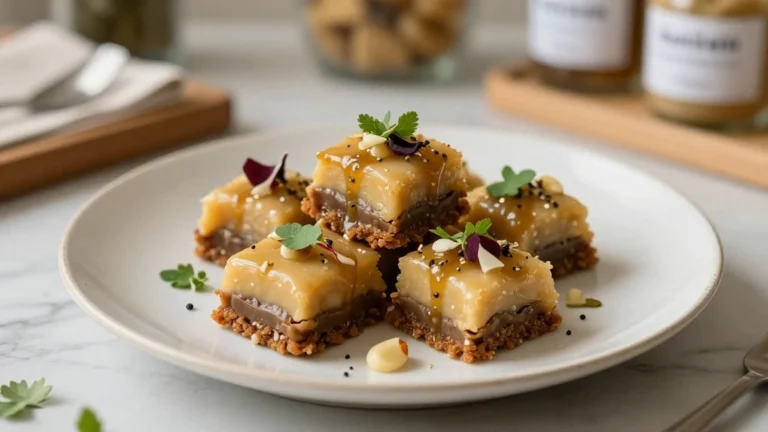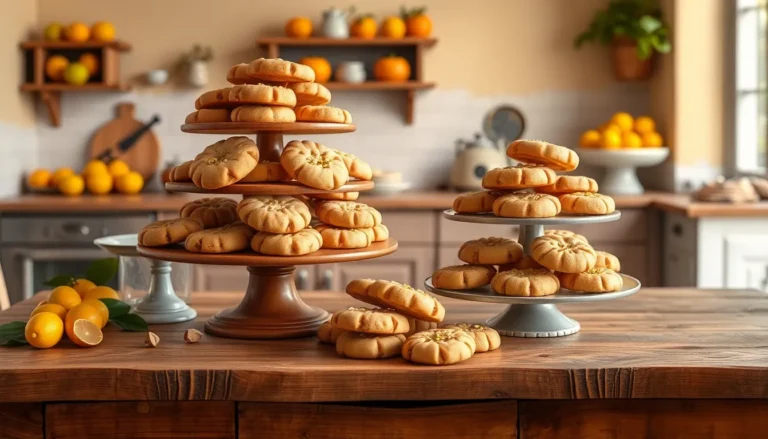
Baking Recipes Aesthetic is a delightful journey into the world of visually stunning and delicious bakes.
Combining artistry with culinary skills, these recipes transform ordinary ingredients into extraordinary creations.
From vivid colors to intricate designs, these bakes are perfect for impressing guests or showcasing your skills on Instagram.
Whether it’s a special occasion or just a weekend project, these recipes promise to bring out your inner artist.
Get ready to create beautiful bakes that are as pleasing to the eyes as they are to the palate.
The History and Cultural Significance
• Baking Recipes Aesthetic traces its origins to Europe in the 18th century, where it was originally created by artisan bakers.
• The dish evolved over decades as bakers experimented with colors, shapes, and decorations, eventually becoming the beloved version we know today.
• In many cultures, these bakes traditionally appear at weddings and festivals, symbolizing celebration and creativity.
• While many variations exist across different regions, the authentic version maintains intricate designs and vibrant colors that set it apart from imitations.


Recipe Overview
Nutritional Information (per serving)


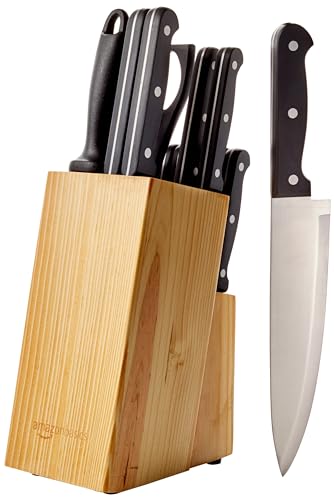
Essential Equipment Guide
Stand Mixer: Essential for achieving the perfect batter consistency, a stand mixer saves time and ensures an even mix. Look for one with multiple speed settings and durable attachments.
Silicone Baking Mats: These provide a non-stick surface and promote even baking. They’re reusable and easy to clean, making them a great alternative to parchment paper.
Piping Bags and Tips: Crucial for detailed decorating, these tools help achieve precise designs. Opt for a set with a variety of tips to expand your decorating possibilities.
Ingredients
For the Cake Base
|
|
| Amount | Ingredient | Notes |
|---|---|---|
| 2 cups | all-purpose flour | sifted for light texture |
| 1 cup | sugar | adds sweetness |
| 1 cup | butter | softened, adds richness |
| 4 | eggs | room temperature, for structure |
For the Frosting
| Amount | Ingredient | Notes |
|---|---|---|
| 2 cups | powdered sugar | sifted for smoothness |
| 1 cup | butter | softened, adds creaminess |
| 2 tablespoons | milk | adjusts consistency |
| 1 teaspoon | vanilla extract | enhances flavor |
For Decorations
| Amount | Ingredient | Notes |
|---|---|---|
| various | food coloring | for vibrant designs |
| various | sprinkles | adds texture and color |


Preparation Methods
Creaming Method: This technique involves beating butter and sugar together until light and fluffy. It's crucial for incorporating air into the batter, resulting in a tender cake. Ensure both ingredients are at room temperature for best results.
Folding Technique: Gently incorporate dry ingredients into the wet mixture with a spatula. This prevents deflating the batter and maintains the light texture of the cake.
Piping Techniques: Mastering pressure control and angle orientation is key for creating intricate designs. Practice with different tips to achieve various patterns and effects.


Step 1: Prepare Ingredients

Gather all necessary ingredients and equipment before starting.
Measure each ingredient accurately to ensure consistent results.
Bring butter and eggs to room temperature for better mixing.
Preheat the oven to 350°F (175°C) to allow it to reach the right temperature.


Step 2: Cream Butter and Sugar

Add softened butter and sugar to the stand mixer bowl.
Beat on medium speed until the mixture is light and fluffy.
Scrape down the sides of the bowl occasionally to ensure even mixing.
This step should take about 3-5 minutes.


Step 3: Add Eggs

Crack eggs into a separate bowl to avoid shell fragments.
Add eggs one at a time to the creamed mixture, beating well after each addition.
Continue until the eggs are fully incorporated and the mixture is smooth.
The batter should look creamy and homogenous.
Step 4: Incorporate Dry Ingredients

In a separate bowl, sift together flour and baking powder.
Add the dry mixture gradually to the wet mixture using a spatula.
Fold gently to avoid deflating the batter.
Mix until just combined, being careful not to overmix.
Step 5: Bake the Cake

Pour the batter into a greased and lined cake pan.
Smooth the top with a spatula for even baking.
Place the pan in the preheated oven.
Bake for 25-30 minutes or until a toothpick inserted in the center comes out clean.


Step 6: Prepare Frosting

In a clean stand mixer bowl, beat softened butter until creamy.
Gradually add sifted powdered sugar, beating well after each addition.
Add milk and vanilla extract, and beat until the frosting is smooth and spreadable.
Adjust the consistency with milk if necessary.


Step 7: Frost the Cake

Allow the cake to cool completely before frosting.
Use an offset spatula to spread a thin layer of frosting as a crumb coat.
Refrigerate for 15 minutes to set the crumb coat.
Apply a second layer of frosting for a smooth finish.
Step 8: Decorate the Cake

Divide frosting into separate bowls and tint with food coloring.
Fill piping bags with colored frosting and attach desired tips.
Pipe intricate designs on the cake using steady pressure and control.
Add sprinkles or other decorations as desired.
Critical Timing and Temperature Guide
Baking the Cake: Bake at 350°F (175°C) for 25-30 minutes. Check for doneness with a toothpick. Avoid opening the oven door frequently.
Frosting Consistency: Beat frosting until smooth and fluffy. If too thick, add milk gradually. If too soft, chill briefly to firm up.
Cooling the Cake: Allow the cake to cool completely before frosting. Place on a wire rack to prevent sogginess.


Pro Tips for Baking Recipes Aesthetic
• Ingredient Selection: Use high-quality butter and fresh eggs for the best flavor and texture.
• Preparation Secret: Sifting flour ensures a light and airy cake structure.
• Temperature Management: Ensure all ingredients are at room temperature for smoother mixing and better rise.
• Texture Enhancement: Folding technique helps maintain air in the batter, crucial for a tender crumb.
• Flavor Layering: Vanilla extract in both cake and frosting creates a harmonious flavor profile.
• Make-Ahead Strategies: Bake the cake a day ahead and store wrapped in plastic wrap to keep moist.
• Restaurant-Quality Finishing Touches: Use a warm knife to smooth frosting for a clean, professional look.
• Equipment Optimization: Ensure your piping bags are airtight to prevent frosting from drying out.
Troubleshooting Common Issues
• Texture Too Dense: Caused by overmixing or not sifting flour. Ensure gentle folding and proper ingredient measurements.
• Crumbly Cake: Results from insufficient moisture. Check egg size and butter consistency.
• Frosting Too Runny: Often due to warm butter or overbeating. Chill and adjust with more powdered sugar if necessary.
• Uneven Baking: Ensure oven is properly preheated and cake is centered. Use an oven thermometer for accuracy.
• Color Bleeding: Happens with too much liquid in coloring. Use gel-based colors for vibrant, stable results.


Variations and Regional Differences
• French Style: Known for its delicate sponge and buttercream layers, often adorned with fresh fruit.
• Japanese Style: Features a light, airy chiffon cake with whipped cream and seasonal fruits.
• American Style: Typically richer with cream cheese frosting and bold flavors like red velvet.
• Italian Style: Incorporates almond flour and citrus zest for a nutty, fragrant cake.


Food Science Behind the Recipe
• Leavening Agents: Understanding the role of baking powder in creating air bubbles for a light cake texture.
• Emulsification: Why creaming butter and sugar is crucial for trapping air and moisture.
• Gel Formation: The role of eggs in providing structure and stability to the cake batter.
Frequently Asked Questions
What's the most common mistake people make when preparing Baking Recipes Aesthetic? Overmixing the batter, which results in a dense cake.
Can I use margarine instead of butter? Butter is recommended for its flavor and texture, but margarine can be used with slight differences in taste.
How can I prevent my cake from sticking to the pan? Properly grease and line your pans with parchment paper.
Why does my frosting look curdled? Often due to temperature differences. Ensure all ingredients are at room temperature.
How do I achieve vibrant frosting colors? Use gel-based food coloring for more intense, stable hues.
What's the best way to store leftovers? Store in an airtight container at room temperature for up to 3 days.
Can I freeze the cake for later use? Yes, wrap tightly in plastic wrap and foil before freezing for up to 3 months.
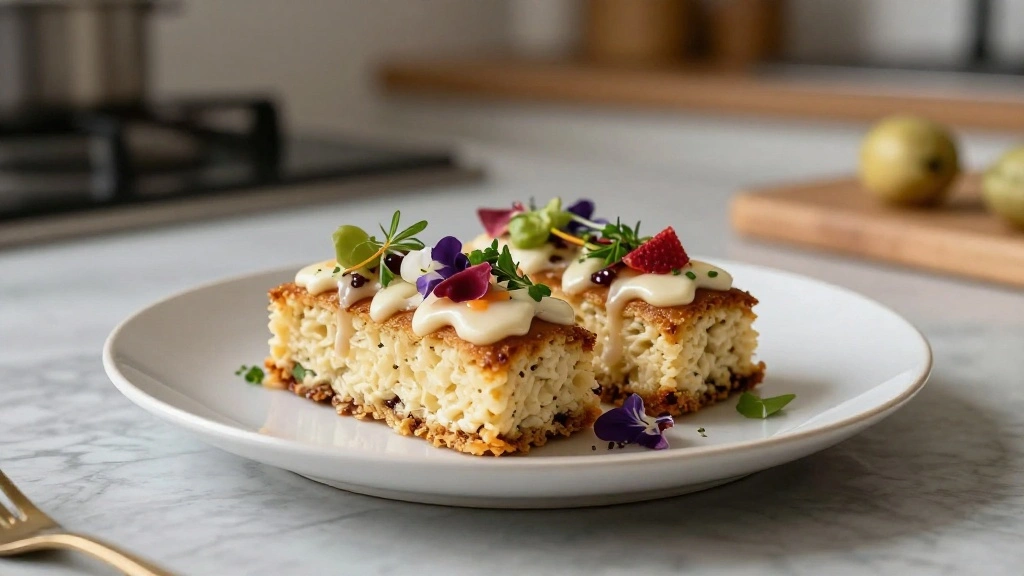
Serving and Presentation Guide
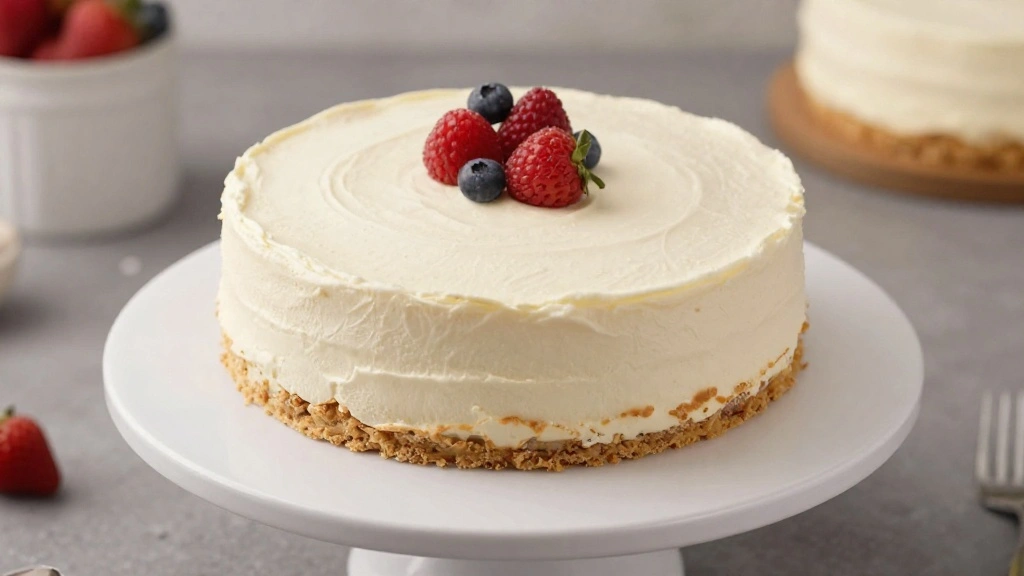
• Traditional Presentation: Serve the cake on a decorative cake stand with a slice cut to display layers.
• Modern Minimalistic: Use a simple white plate with a light dusting of powdered sugar as garnish.
• Themed Display: Create a cohesive color scheme with matching tableware and decorations.
• Interactive Presentation: Set out small bowls of extra toppings for guests to customize their slices.


Conclusion
Baking Recipes Aesthetic offers a perfect blend of creativity and culinary delight.
With these steps, you're well-equipped to create Instagram-worthy bakes that are sure to impress.
Enjoy the process of crafting these beautiful and delicious treats.
Share your creations with friends and family for a memorable and artistic experience.