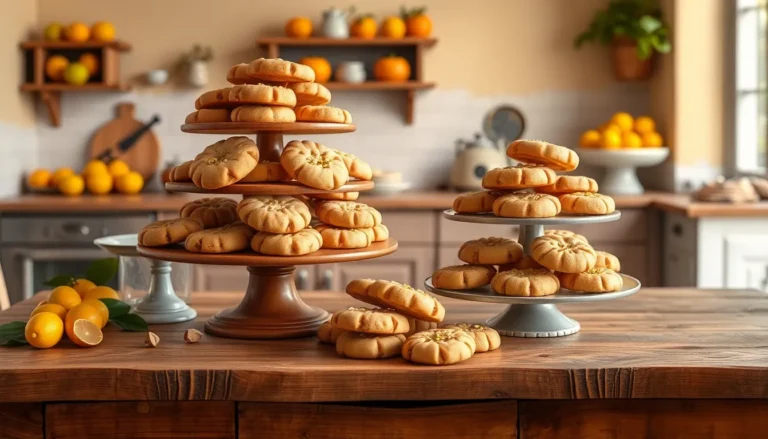
As the leaves start to change and the air turns crisp, there’s nothing quite like the comforting aroma of freshly baked goods infused with a special twist.
Cannabutter baking recipes offer a unique way to enjoy your favorite treats with an added layer of relaxation.
The rich, earthy notes of cannabutter blend seamlessly with sweet and savory flavors, creating a delightful culinary experience.
Whether you’re an experienced baker or a curious novice, these recipes provide a perfect opportunity to explore the world of cannabis-infused cuisine.
Imagine sharing a cozy afternoon with friends, indulging in treats that tantalize the taste buds and soothe the soul.
Get ready to elevate your baking game with this guide to cannabutter-infused delights.
The History and Cultural Significance
• Cannabutter Baking Recipes traces its origins to ancient Asia, where cannabis was used in various culinary applications.
• The dish evolved over decades as cannabis-infused butter became a popular ingredient in both sweet and savory dishes, eventually becoming the beloved version we know today.
• In modern Western culture, this dish traditionally appears at gatherings and celebrations, symbolizing relaxation and community.
• While many variations exist across different regions, the authentic version maintains a rich, buttery texture that sets it apart from imitations.


Recipe Overview
Nutritional Information (per serving)


Essential Equipment Guide
Mixing Bowl: A large mixing bowl is essential for combining ingredients evenly. Stainless steel is ideal for its durability and non-reactive properties. An alternative could be a heavy-duty glass bowl, which allows you to see the mixing progress.
Whisk: A good whisk is vital for achieving the right texture in your batter. Look for one with a comfortable grip and sturdy wires. If a whisk is unavailable, a strong fork can serve as a substitute.
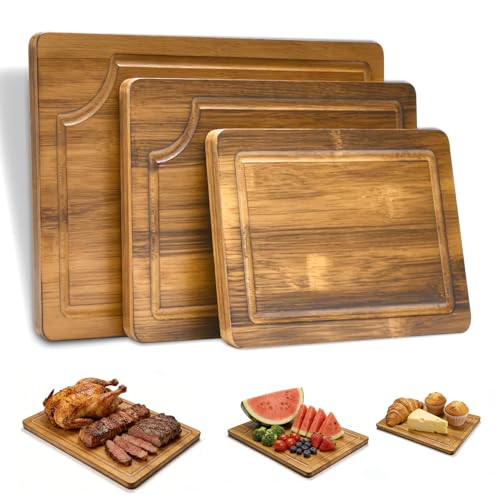
Baking Pan: The right baking pan ensures even cooking. Choose a non-stick variety or line a regular pan with parchment paper to prevent sticking. The size of the pan can affect cooking time, so adjust accordingly.


Ingredients
For the Base
|
|
| Amount | Ingredient | Notes |
|---|---|---|
| 1 cup | all-purpose flour | sifted for light texture |
| 1/2 cup | cannabutter | softened, provides infusion |
| 1/2 cup | granulated sugar | adds sweetness |
Flavorings
| Amount | Ingredient | Notes |
|---|---|---|
| 1 teaspoon | vanilla extract | enhances flavor |
| 1/4 teaspoon | salt | balances sweetness |
Toppings
| Amount | Ingredient | Notes |
|---|---|---|
| 1/2 cup | chocolate chips | adds richness |
| 1/4 cup | chopped nuts | for texture and flavor |


Preparation Methods
Creaming: Creaming the cannabutter and sugar is a crucial step that incorporates air into the batter, resulting in a light and fluffy texture. Ensure the cannabutter is softened but not melted, and use a whisk to beat thoroughly until the mixture is pale and creamy.
Folding: Folding in dry ingredients requires a gentle technique to avoid deflating the batter. Use a spatula to fold the flour into the mixture, turning the bowl with each fold for even incorporation.
Tempering: Tempering chocolate chips before adding them to the batter helps prevent them from melting too quickly during baking. Gently warm the chips until they're just soft, then allow them to cool slightly.


Step 1: Preheat the Oven

Set your oven to 350°F (175°C) to ensure it's ready for baking.
Allow the oven to fully preheat before placing any ingredients inside.
A consistent temperature is crucial for even baking.
Use an oven thermometer for accuracy if needed.


Step 2: Cream the Cannabutter and Sugar

In a large mixing bowl, combine the softened cannabutter and granulated sugar.
Use a whisk to beat the mixture until it's pale and fluffy.
This process should take about 3-5 minutes of vigorous whisking.
Ensure no lumps of butter remain for a smooth batter.
Step 3: Add the Vanilla and Salt

Stir in the vanilla extract and salt to the creamed mixture.
Mix until the vanilla is fully integrated and the batter is smooth.
These ingredients enhance the overall flavor profile of the dish.
Check for a uniform consistency without streaks of vanilla.
Step 4: Fold in the Flour

Gradually fold in the sifted all-purpose flour using a spatula.
Take care to incorporate the flour without overmixing the batter.
The goal is a smooth, thick batter without dry streaks.
Turn the bowl as you fold to ensure even distribution.
Step 5: Add Chocolate Chips and Nuts

Gently fold the chocolate chips and chopped nuts into the batter.
Distribute evenly to avoid clusters in any one spot.
This step adds texture and flavor to the finished product.
Ensure the chips and nuts are spread throughout the batter.
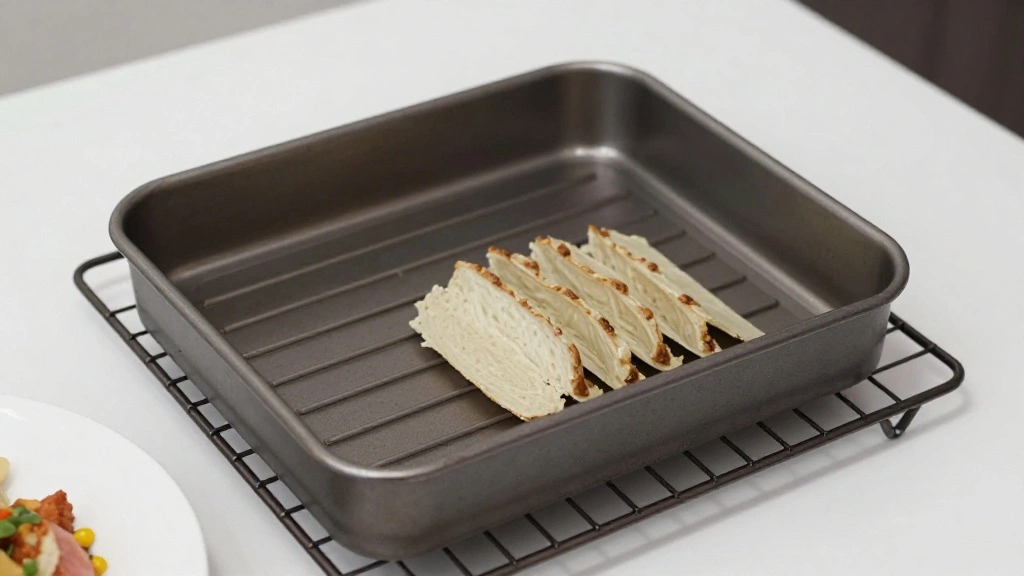
Step 6: Prepare the Baking Pan

Line a baking pan with parchment paper or lightly grease it.
Pour the prepared batter into the pan, spreading it evenly.
Smooth the top with a spatula for a uniform surface.
This ensures even baking and easy removal later.


Step 7: Bake the Batter
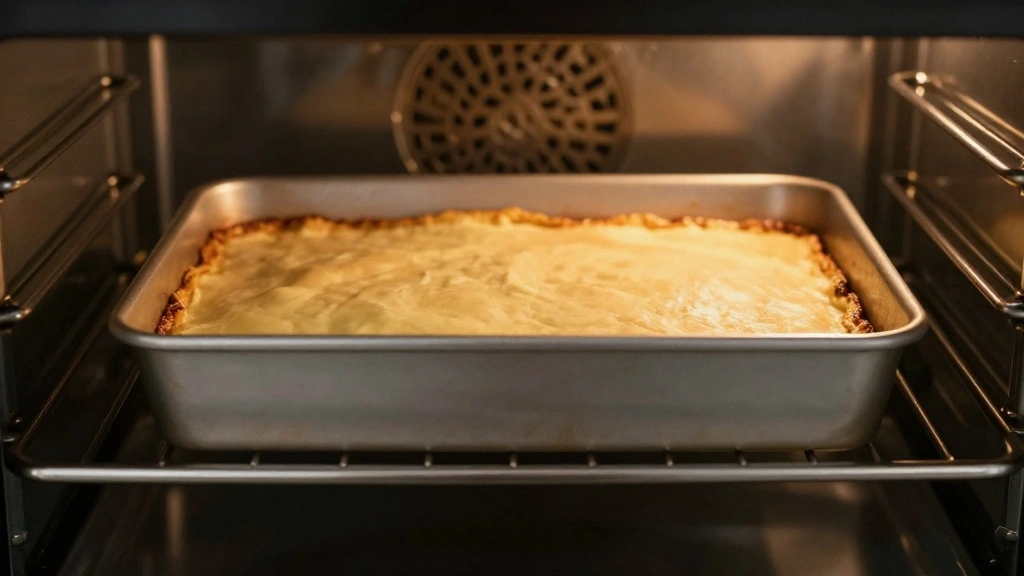
Place the baking pan in the preheated oven.
Bake for 25-30 minutes until the edges are golden brown.
A toothpick inserted in the center should come out clean.
Avoid opening the oven door frequently to maintain temperature.


Step 8: Cool and Serve
Remove the pan from the oven and place it on a cooling rack.
Allow the baked goods to cool completely before slicing.
Cooling helps set the structure of the treats.
Slice into squares or bars and serve as desired.


Critical Timing and Temperature Guide
Baking: Bake at 350°F (175°C) for 25-30 minutes. Look for golden brown edges and a clean toothpick test. Avoid underbaking to prevent a gummy texture.
Cooling: Let cool for at least 15 minutes in the pan, then transfer to a cooling rack. Rushing this step can result in crumbling when cut.
Storage: Store in an airtight container at room temperature for up to 3 days. Refrigeration can extend shelf life but may affect texture.
Pro Tips for Cannabutter Baking Recipes
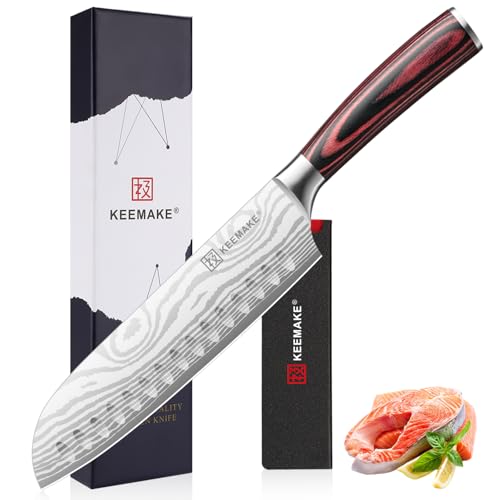
• Ingredient Selection: Choose high-quality cannabutter and fresh chocolate chips for the best flavor. These ingredients greatly influence the final taste.
• Preparation Secret: Let ingredients come to room temperature before mixing to ensure they blend smoothly.
• Temperature Management: Ensure your oven is properly preheated to maintain consistent baking results.
• Texture Enhancement: For a chewier texture, slightly underbake and let the residual heat finish cooking.
• Flavor Layering: Add a pinch of cinnamon for an additional layer of warmth and complexity.
• Make-Ahead Strategies: Prepare the batter in advance and refrigerate for up to 24 hours, allowing flavors to meld.
• Restaurant-Quality Finishing Touches: Dust with powdered sugar or drizzle with melted chocolate before serving.
• Equipment Optimization: Use a silicone spatula for easy scraping and folding, minimizing waste.


Troubleshooting Common Issues
• Texture Too Dense: Overmixing the batter can lead to a dense texture. Mix just until the ingredients are combined and smooth.
• Flavors Unbalanced: Insufficient salt can leave flavors flat. Ensure the salt is evenly mixed into the batter.
• Batter Sticking to the Pan: Line the pan with parchment paper or grease it thoroughly to prevent sticking.
• Uneven Baking: Ensure the batter is spread evenly in the pan for uniform baking.
• Chocolate Chips Melting: Temper the chips slightly before adding to prevent premature melting during baking.
• Burnt Edges: Use an oven thermometer to verify the correct baking temperature and position the pan appropriately.
Variations and Regional Differences
• European Variation: Incorporates almond flour for a nutty flavor, with a dusting of confectioner's sugar for a refined touch.
• American Style: Often includes additional candies or marshmallows for a sweeter, more indulgent treat.
• Asian Fusion: Uses matcha powder for a unique green hue and earthy flavor profile.
• Latin Influence: Adds spices like cayenne and cinnamon for a spicy-sweet combination.


Food Science Behind the Recipe
• Emulsion: The process of creaming combines fat and sugar, creating an emulsion that traps air, leading to a lighter texture.
• Maillard Reaction: The browning of the edges during baking is due to the Maillard reaction, which develops complex flavors.
• Binding Agents: The protein in flour acts as a binding agent, holding the structure together during baking.
Frequently Asked Questions
What's the most common mistake people make when preparing cannabutter recipes? Overmixing the batter, which can lead to a dense texture, is a common mistake. Mix only until ingredients are combined.
Can I substitute cannabutter with regular butter? Yes, but it will not have the same infused properties, altering the intended effects and flavor.
How do I ensure my cannabutter is potent enough? Decarboxylate your cannabis before infusing to activate the THC, ensuring potency.
What's the best way to store these treats? Store in an airtight container at room temperature for optimal freshness.
Can I make this recipe gluten-free? Yes, substitute all-purpose flour with a gluten-free blend for similar results.
Can I add fruits to this recipe? Yes, adding dried fruits like cranberries or apricots can provide a delightful contrast in texture and flavor.
How do I prevent my chocolate chips from melting during baking? Temper the chips slightly before incorporating them into the batter.
Serving and Presentation Guide
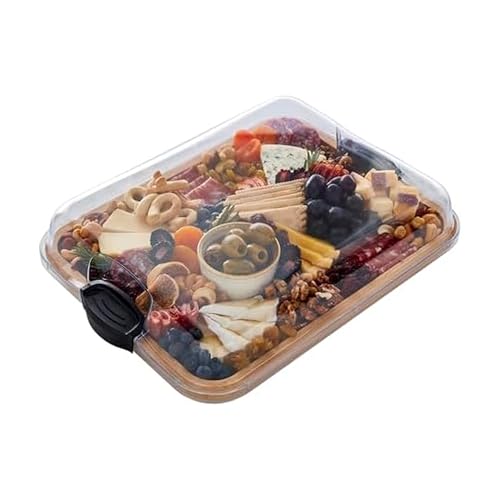
• Traditional Presentation: Serve as square bars on a platter with a dusting of powdered sugar.
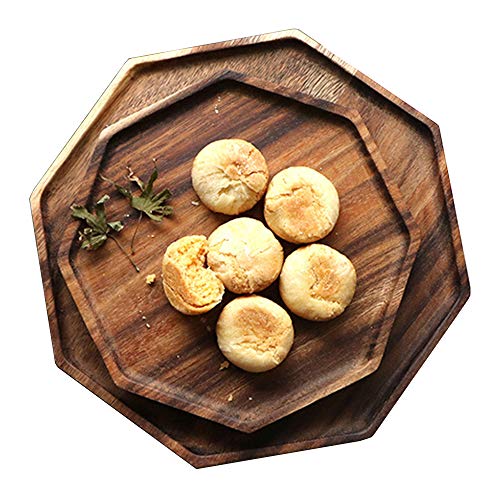
• Casual Presentation: Stack bars on a rustic wooden board for a cozy, informal vibe.
• Elegant Presentation: Plate with a drizzle of chocolate sauce and a small scoop of vanilla ice cream.
• Seasonal Presentation: Garnish with edible flowers or fresh mint leaves for a springtime touch.


Conclusion
Embark on a culinary adventure with these cannabutter-infused baking recipes that promise to delight the senses.
Whether you're enjoying them alone or sharing with friends, these treats offer a unique blend of flavor and relaxation.
Don't hesitate to experiment and adapt these recipes to your taste preferences.
Embrace the creative possibilities and enjoy the journey of creating your own infused masterpieces.