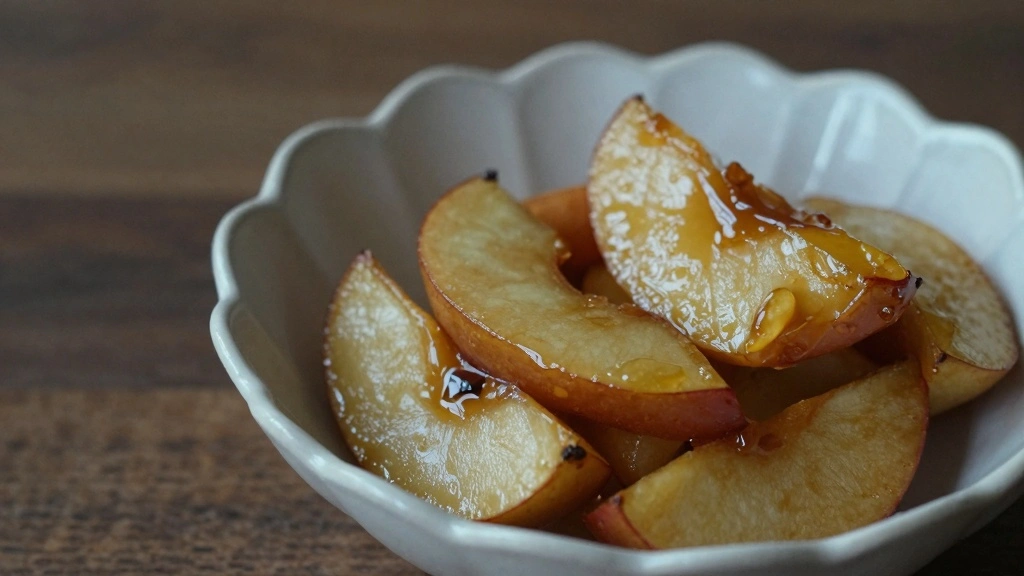
Each autumn, as the air turns crisp, there’s nothing quite like the warm, buttery aroma of caramelized apples wafting through the kitchen.
This dish captures the essence of fall, combining the sweetness of ripe apples with the rich depth of caramel.
Whether you’re a seasoned chef or a kitchen novice, these caramelized apples are a perfect way to celebrate the harvest season.
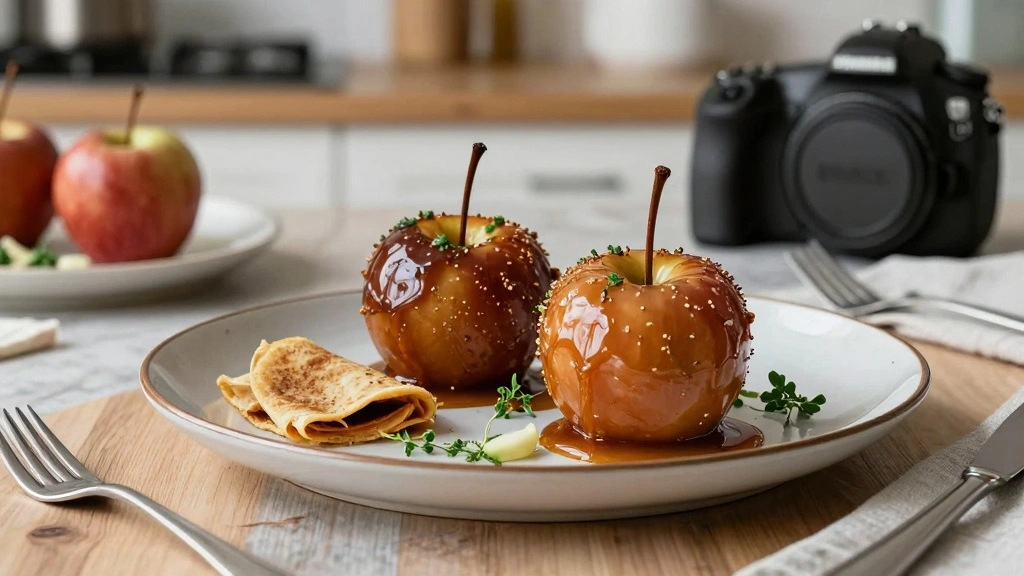
Perfect for topping crepes or enjoying on their own, they bring a touch of elegance to any meal.
With just a few simple ingredients, you can create a dish that feels luxurious and indulgent.
Prepare to impress your family and friends with this quick and easy recipe, bringing a taste of the season to your table.
The History and Cultural Significance
• Perfect Caramelized Apples traces its origins to France, where it was originally created by chefs seeking to elevate simple fruit into a gourmet dessert.
• The dish evolved over decades as chefs experimented with spices and sweeteners, eventually becoming the beloved version we know today.
• In French culture, this dish traditionally appears at autumn festivals, symbolizing the harvest and the bounty of nature.
• While many variations exist across different regions, the authentic version maintains the balance of sweetness and caramelization that sets it apart from imitations.


Recipe Overview
Nutritional Information (per serving)
Essential Equipment Guide
Non-stick Skillet: A non-stick skillet is crucial for preventing the apples from sticking and burning. Alternatives such as a well-seasoned cast iron pan can work, but non-stick ensures even cooking.
Silicone Spatula: This tool is important for gently flipping the apples without breaking them. Look for one with a heat-resistant handle and a soft edge to protect the skillet’s surface.
Sharp Paring Knife: Essential for peeling and slicing the apples to uniform thickness, ensuring even cooking. Consider a knife with a comfortable grip and a sharp, precision blade.
Ingredients
For the Apples
|
|
| Amount | Ingredient | Notes |
|---|---|---|
| 3 large | apples | peeled, cored, and sliced into 1/4-inch rings |
| 2 tablespoons | unsalted butter | adds richness |
| 3 tablespoons | brown sugar | for caramelization |
| 1 teaspoon | cinnamon | for warmth |
| 1 pinch | salt | enhances flavor |


Preparation Methods
Caramelization: This technique involves cooking the sugar until it reaches a deep amber color, enhancing both flavor and texture. It's crucial to watch the sugar closely to prevent burning.
Even Slicing: Ensuring apples are sliced evenly ensures uniform cooking. Using a mandoline can help achieve consistent thickness, but a steady hand with a sharp knife works too.
Gentle Stirring: Stirring gently while cooking the apples helps distribute heat and prevents breaking. Use a silicone spatula to carefully move the apples around the pan.


Step 1: Prepare the Apples

Peel, core, and slice the apples into 1/4-inch rings.
Arrange the slices evenly on a cutting board.
Ensure each slice is uniform in thickness.
Use a sharp knife for clean cuts.


Step 2: Heat the Skillet

Place a non-stick skillet over medium heat.
Add the unsalted butter to the skillet.
Allow the butter to melt completely.
Watch for the butter to start foaming before proceeding.
Step 3: Add Apples to the Skillet

Carefully arrange the apple slices in the hot skillet.
Ensure the slices are in a single layer.
Avoid crowding the pan to allow even cooking.
Use a spatula to slightly adjust the position if necessary.
Step 4: Sprinkle Sugar and Cinnamon
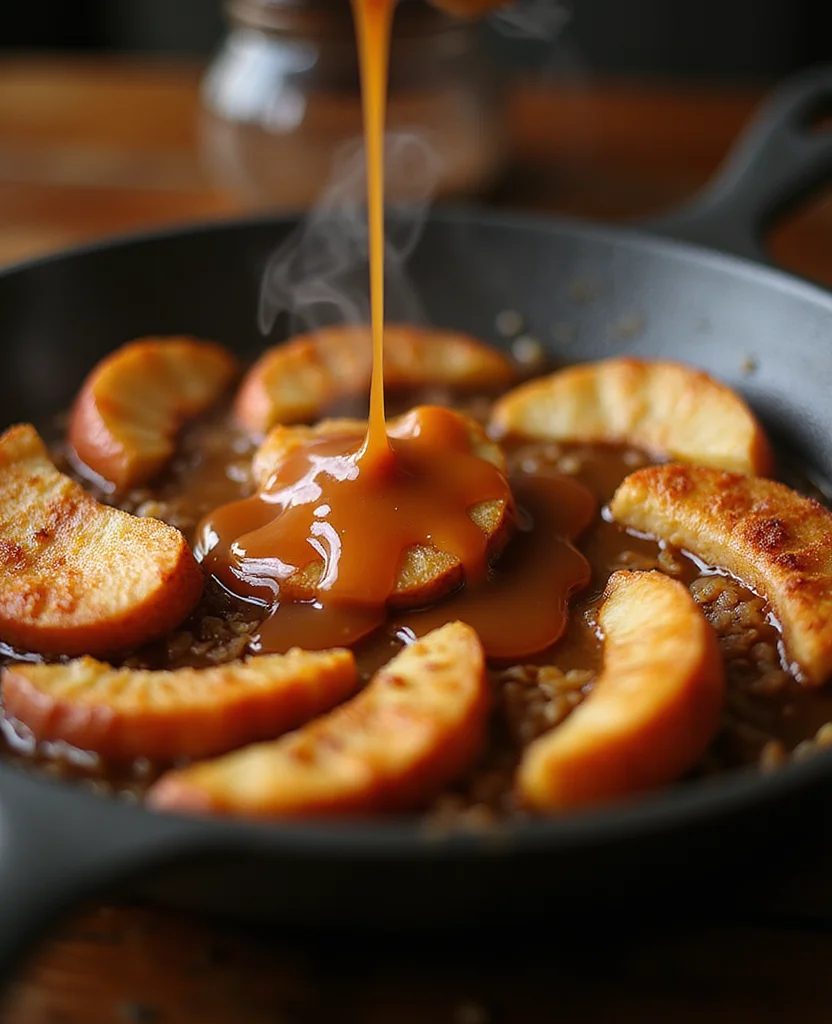
Sprinkle the brown sugar evenly over the apples.
Add the cinnamon on top of the sugar.
Gently shake the skillet to distribute the sugar.
The sugar will begin to dissolve and caramelize.
Step 5: Stir Apples Gently
Use a silicone spatula to gently stir the apples.
Ensure the sugar and cinnamon coat all slices.
Be careful not to break the apples.
Continue stirring until apples are evenly coated.
Step 6: Continue Cooking
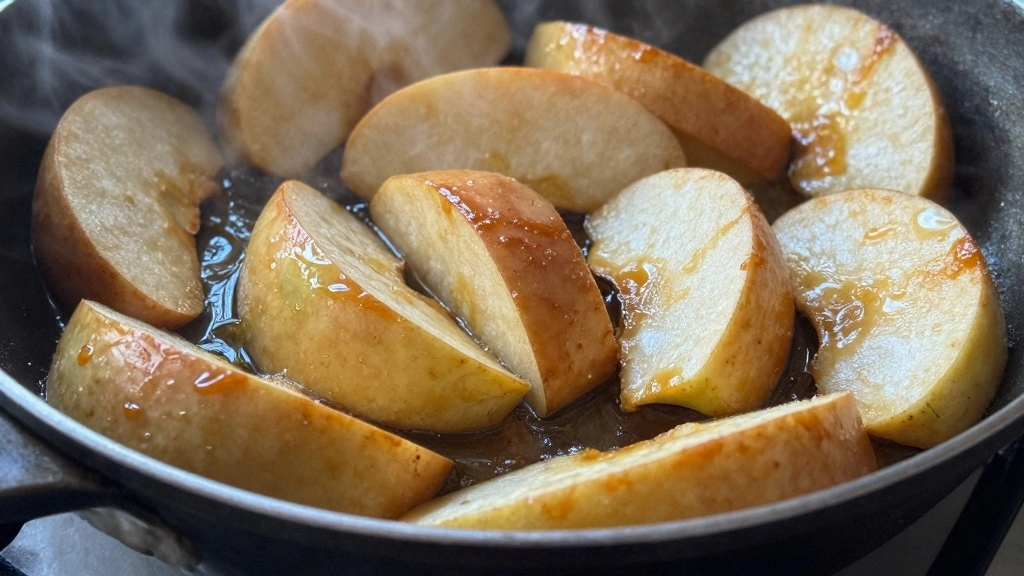
Allow the apples to cook for 5-7 minutes.
Stir occasionally to prevent sticking.
Watch for a golden brown color.
Ensure apples are tender but not mushy.
Step 7: Season with Salt

Add a pinch of salt to the skillet.
The salt enhances the caramel flavor.
Stir gently to distribute the salt.
Taste and adjust seasoning if necessary.
Step 8: Serve the Caramelized Apples
Remove the skillet from heat.
Transfer the apples to a serving dish.
Arrange them neatly for presentation.
Serve immediately while warm.
Critical Timing and Temperature Guide
Melting Butter: Melt butter over medium heat for 1-2 minutes until foamy but not brown. Look for a uniform foam. Avoid high heat to prevent burning.
Sugar Caramelization: Allow sugar to caramelize over medium heat for 5-7 minutes, stirring gently. A golden brown color indicates readiness. Avoid overheating, which leads to bitterness.
Apple Tenderness: Cook apples until just tender, around 5-7 minutes. They should be easily pierced with a fork but not falling apart. Overcooking results in mushy texture.
Pro Tips for Perfect Caramelized Apples
• Ingredient Selection: Choose firm, tart apples like Granny Smith or Braeburn for the best texture and flavor balance.
• Preparation Secret: Preheat the skillet before adding butter to ensure even melting and prevent sticking.
• Temperature Management: Maintain medium heat throughout cooking to prevent burning and ensure even caramelization.
• Texture Enhancement: Use a silicone spatula for gentle stirring to preserve apple shape.
• Flavor Layering: Add a splash of vanilla extract or a pinch of nutmeg for added depth.
• Make-Ahead Strategies: Prepare apples up to two days in advance and store in an airtight container in the refrigerator.
• Restaurant-Quality Finishing Touches: Garnish with a sprinkle of powdered sugar or a drizzle of caramel sauce before serving.
• Equipment Optimization: Ensure your skillet is properly seasoned or non-stick to avoid sticking and enhance flavor.


Troubleshooting Common Issues
• Apples Too Soft: Overcooking leads to mushy apples. Reduce cooking time or use firmer apple varieties.
• Flavors Unbalanced: Excessive sweetness or spice can overwhelm. Adjust sugar and spices gradually to taste.
• Sugar Not Caramelizing: If sugar is not browning, increase heat slightly and ensure even distribution.
• Apples Sticking to Skillet: Insufficient butter or low-quality pan can cause sticking. Use enough butter and a non-stick skillet.
• Uneven Cooking: Uneven apple slices can cause inconsistent results. Ensure uniform thickness for even cooking.
Variations and Regional Differences
• French Variation: Uses Calvados (apple brandy) to deglaze the pan, adding a rich flavor and authentic touch.
• American Style: Incorporates a splash of bourbon for a deep, smoky flavor, often paired with pecans.
• Italian Twist: Adds a hint of lemon zest and a scoop of mascarpone for a creamy contrast.
• Asian Influence: Includes a dash of ginger and soy sauce for a savory-sweet profile.


Food Science Behind the Recipe
• Sugar Caramelization: The Maillard reaction enhances flavor by breaking down sugars and proteins, creating complex flavors.
• Apple Structure: Pectin in apples breaks down at high heat, contributing to a soft texture while maintaining shape.
• Butter Emulsion: Butter's fat content helps evenly distribute heat and flavor, preventing burning and sticking.


Frequently Asked Questions
What's the most common mistake people make when preparing Caramelized Apples? Overcooking the apples, which leads to a mushy texture.
Can I use any type of apple for this recipe? While any apple can be used, firmer varieties like Granny Smith are recommended for optimal texture.
How can I prevent the sugar from burning? Keep the heat at medium and stir constantly to ensure even cooking.
Can this recipe be made ahead of time? Yes, the apples can be prepared up to two days in advance and stored in the fridge.
Is it possible to make this recipe without butter? Yes, you can substitute a neutral oil or vegan butter alternative.
How do I achieve the perfect caramelization? Ensure even sugar distribution and consistent stirring to avoid hot spots.
What's the best way to reheat caramelized apples? Reheat gently in a skillet over low heat to maintain texture and flavor.
Serving and Presentation Guide
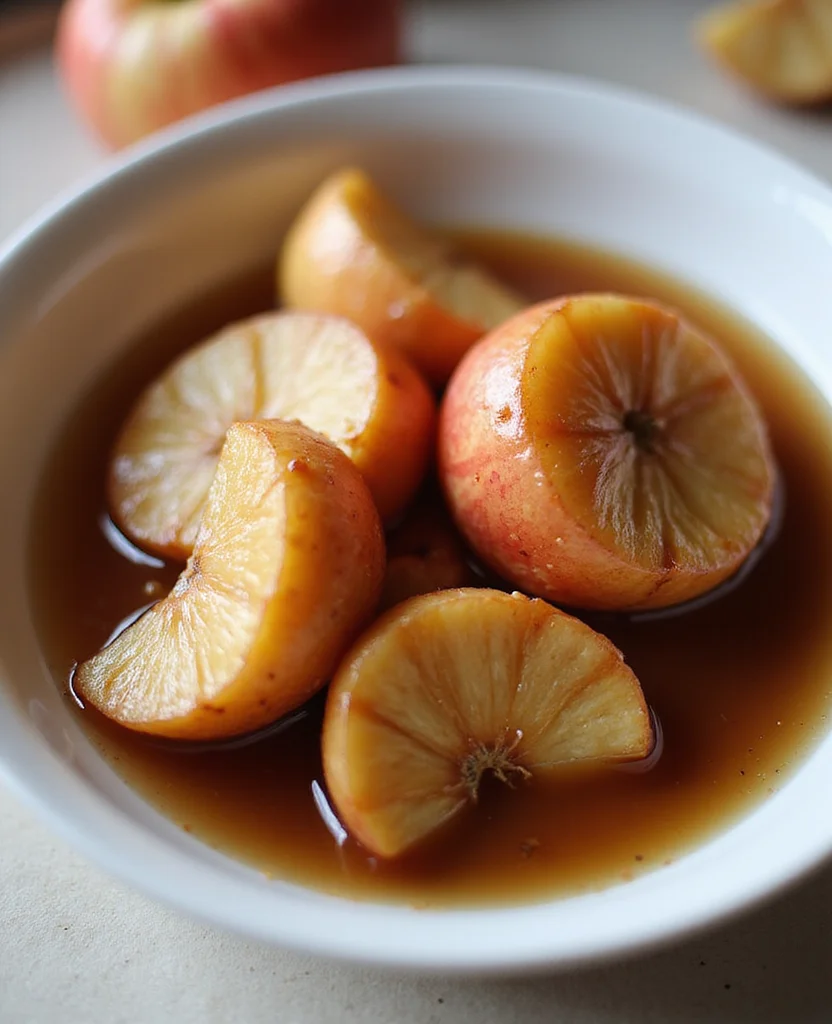
• Traditional Presentation: Serve warm in a shallow bowl, garnished with a sprig of mint for color contrast.
• Modern Twist: Arrange atop a stack of freshly made crepes, with a dollop of whipped cream.
• Rustic Style: Present in a cast iron skillet for a farmhouse feel, with a side of vanilla ice cream.
• Elegant Plating: Place on a white dessert plate with a drizzle of caramel sauce and a sprinkle of chopped nuts.


Conclusion
Creating Perfect Caramelized Apples is a delightful way to embrace the flavors of the season.
This simple yet sophisticated dish will elevate any meal, whether it's breakfast or dessert.
Invite the warmth of fall into your home with this quick and easy recipe that promises to impress.
Happy cooking, and enjoy the sweet taste of success!