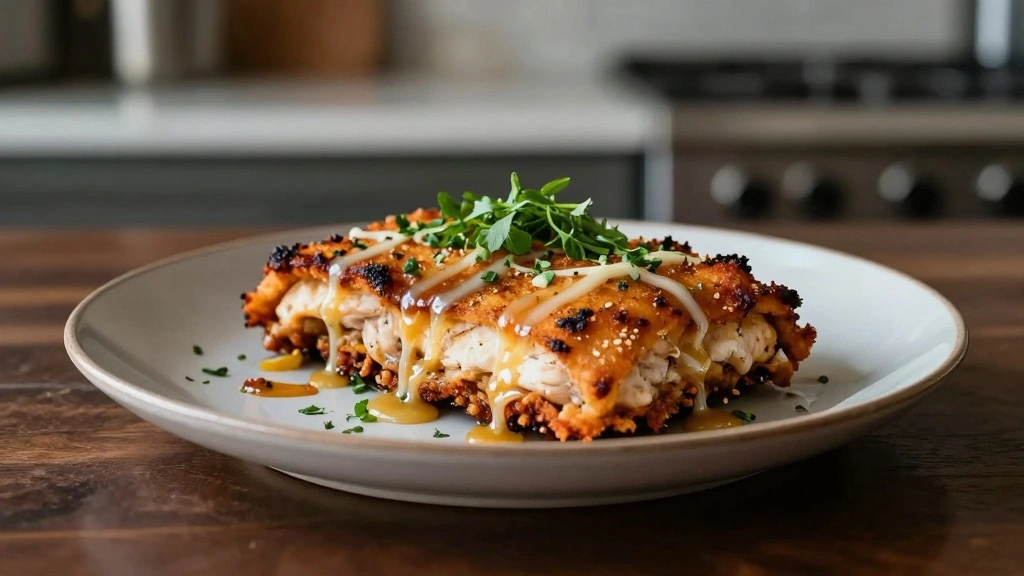
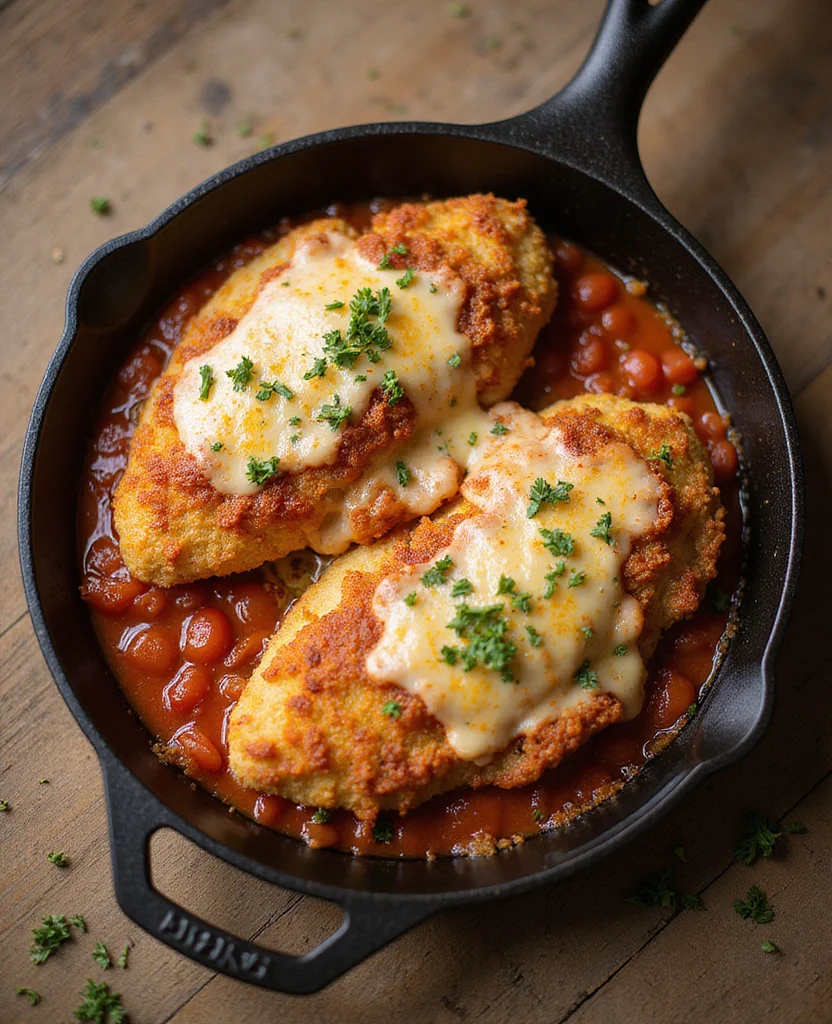
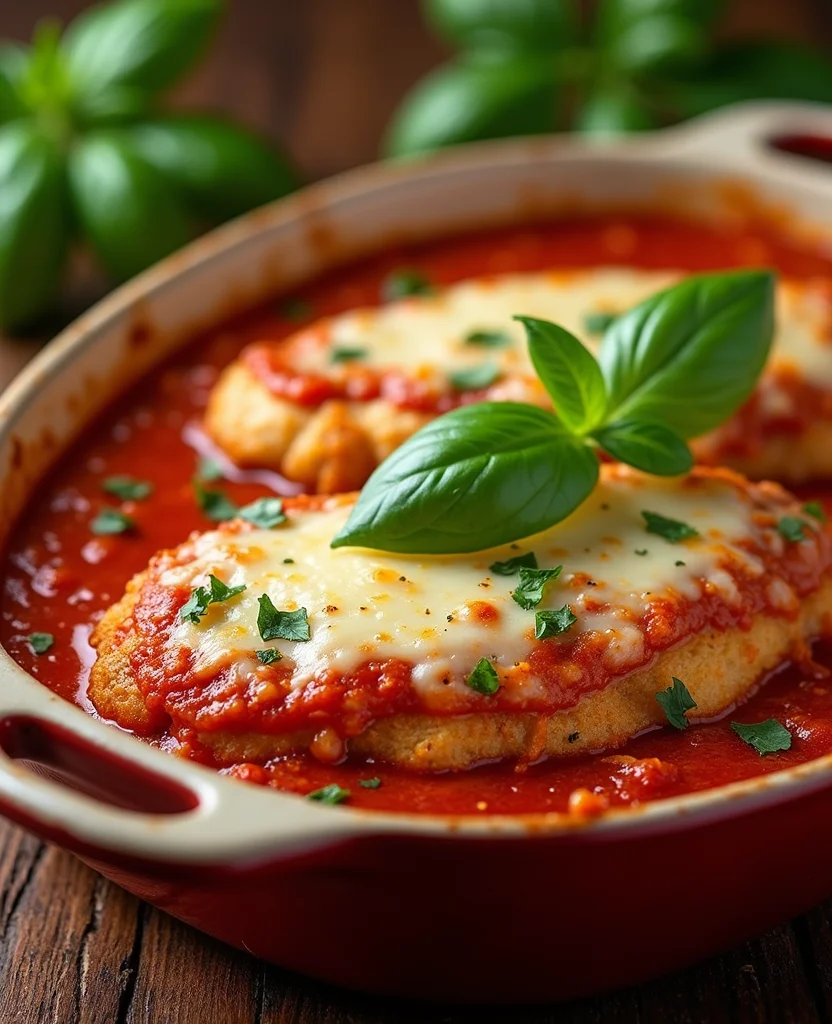
The allure of Chicken Parmesan lies in its crispy coating and the perfect marriage of savory cheese and tangy marinara.
I first fell in love with this dish during a trip to Italy, where it was served with a side of fresh pasta.
The crispy baked variant not only brings out the flavors more vividly but also offers a healthier alternative to its fried counterpart.
Whether you are cooking for a family dinner or impressing guests at a party, this Crispy Baked Chicken Parmesan will not disappoint.
Its straightforward preparation belies the rich, complex flavors that emerge with each bite.
The History and Cultural Significance
• Crispy Baked Chicken traces its origins to Southern Italy, where it was originally created by Italian immigrants in the early 20th century.
• The dish evolved over decades as cooks began baking rather than frying the chicken, eventually becoming the beloved version we know today.
• In Italian-American culture, this dish traditionally appears at family gatherings, symbolizing comfort and shared heritage.
• While many variations exist across different regions, the authentic version maintains a crispy crust and rich tomato sauce that sets it apart from imitations.


Recipe Overview
Nutritional Information (per serving)


Essential Equipment Guide
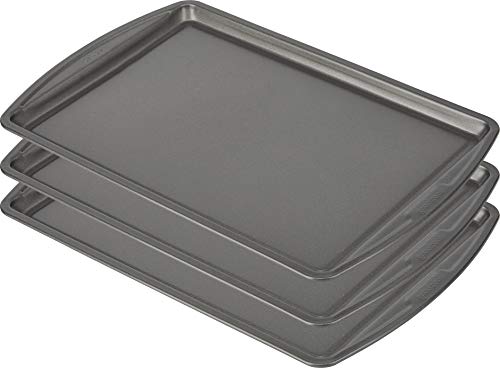
Baking Sheet: A sturdy baking sheet is crucial for achieving a uniformly crispy crust. Look for one with a dark finish to promote even browning. Alternatives include a cast-iron skillet or a broiler pan.
Wire Rack: Elevating the chicken on a wire rack allows air to circulate, ensuring even baking and crispiness. An alternative is a cooling rack, but ensure it’s oven-safe.
Instant-Read Thermometer: This tool is essential for checking the internal temperature of the chicken to ensure it’s perfectly cooked without being dry. Look for digital options that provide quick and accurate readings.


Ingredients
For the Chicken
|
|
| Amount | Ingredient | Notes |
|---|---|---|
| 4 pieces | chicken breasts | flattened to even thickness |
| 1 cup | breadcrumbs | for a crispy coating |
| 1 cup | Parmesan cheese | grated, adds rich flavor |
For the Sauce
| Amount | Ingredient | Notes |
|---|---|---|
| 2 cups | marinara sauce | homemade or store-bought |
| 1 tablespoon | olive oil | enhances sauce richness |
For the Topping
| Amount | Ingredient | Notes |
|---|---|---|
| 1 cup | mozzarella cheese | shredded, for melting |
| 1 tablespoon | fresh basil | chopped, for garnish |
Seasonings
| Amount | Ingredient | Notes |
|---|---|---|
| 1 teaspoon | salt | enhances overall flavor |
| 1 teaspoon | black pepper | adds mild heat |


Preparation Methods
Breading Technique: Dredging the chicken in a mixture of breadcrumbs and Parmesan cheese ensures a flavorful crust. Press the mixture firmly onto the chicken to help it adhere.
Flattening Chicken: Use a meat mallet to gently pound the chicken breasts to an even thickness. This ensures even cooking and prevents dryness.
Sauce Simmering: Simmer the marinara sauce with olive oil to develop a deeper, more complex flavor. Stir occasionally to prevent sticking.


Step 1: Prepare Ingredients
Gather all the ingredients and equipment needed.
Ensure the chicken breasts are flattened to an even thickness.
Preheat your oven to 400°F (200°C).
This preparation step ensures a smooth cooking process.


Step 2: Mix Breading
In a bowl, combine breadcrumbs and grated Parmesan cheese.
Stir the mixture until evenly combined.
Ensure there are no clumps of cheese or breadcrumbs.
The even mixture will coat the chicken uniformly.


Step 3: Coat Chicken
Dip each chicken breast into the breadcrumb mixture.
Press down firmly to ensure an even coating.
Shake off any excess coating.
A thick, even layer will result in optimal crispness.


Step 4: Arrange on Rack
Place a wire rack on a baking sheet.
Arrange the coated chicken breasts on the rack.
Ensure there's space between each piece to allow air circulation.
Proper spacing helps achieve an even, crispy finish.


Step 5: Bake Chicken
Place the baking sheet in the preheated oven.
Bake for 20 minutes or until the chicken is cooked through.
Check for a golden-brown crust as an indicator.
The chicken should reach an internal temperature of 165°F (74°C).
Step 6: Simmer Sauce
While the chicken bakes, heat the marinara sauce in a saucepan.
Add a tablespoon of olive oil to the sauce.
Simmer gently over low heat, stirring occasionally.
This process enhances the sauce's flavor and thickness.


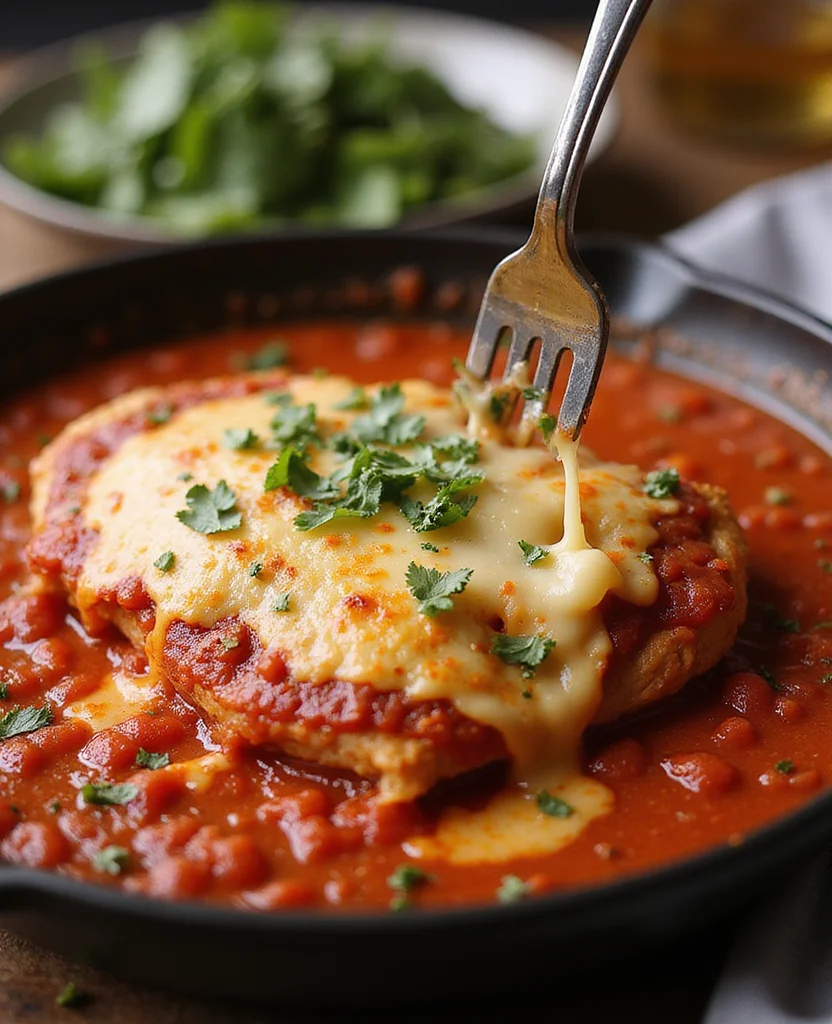
Step 7: Add Toppings
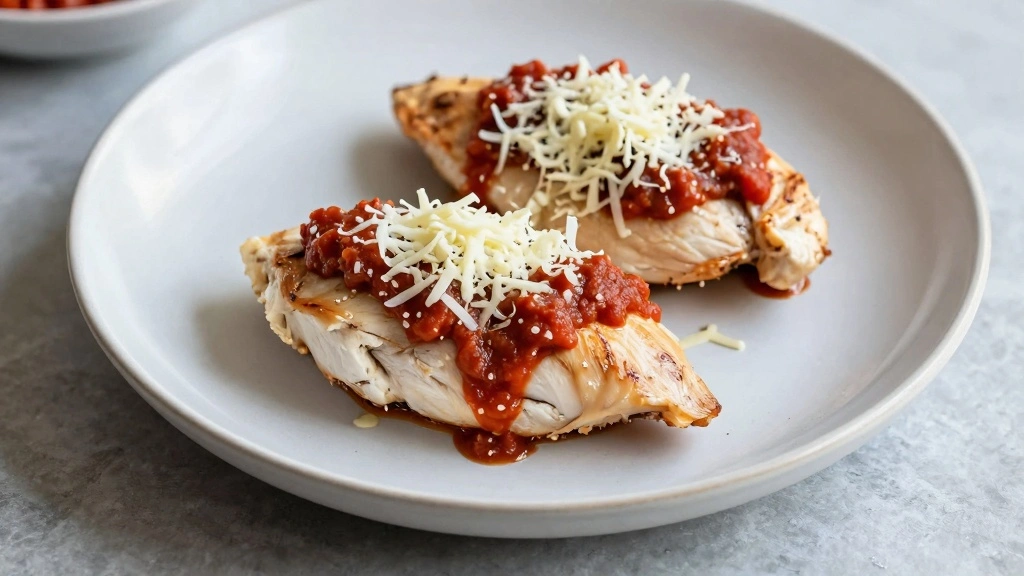
Remove the chicken from the oven once baked.
Spoon marinara sauce over each piece until well-covered.
Sprinkle shredded mozzarella cheese on top.
This step prepares the chicken for final baking.


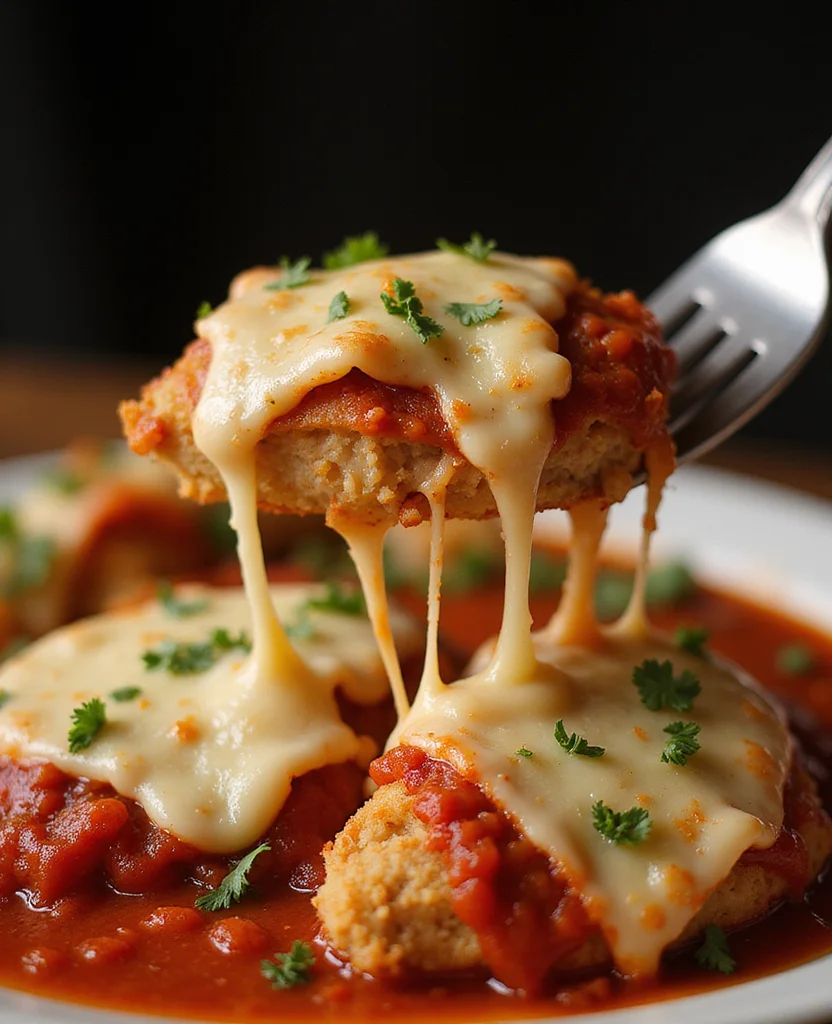
Step 8: Final Bake
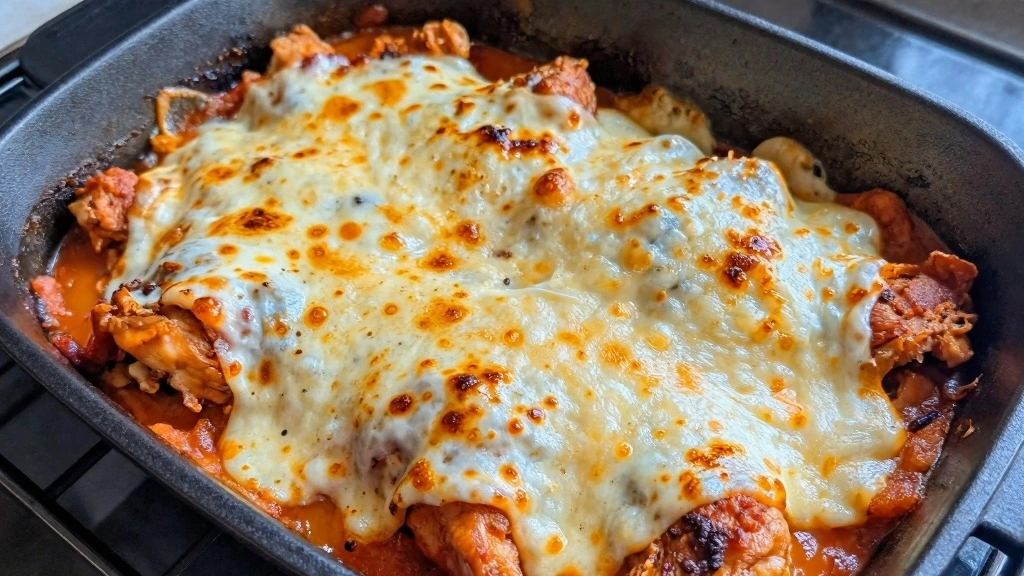
Return the chicken to the oven.
Bake for an additional 10 minutes or until the cheese is bubbly and golden.
Watch closely to prevent cheese from burning.
The melting cheese signals the dish is ready.
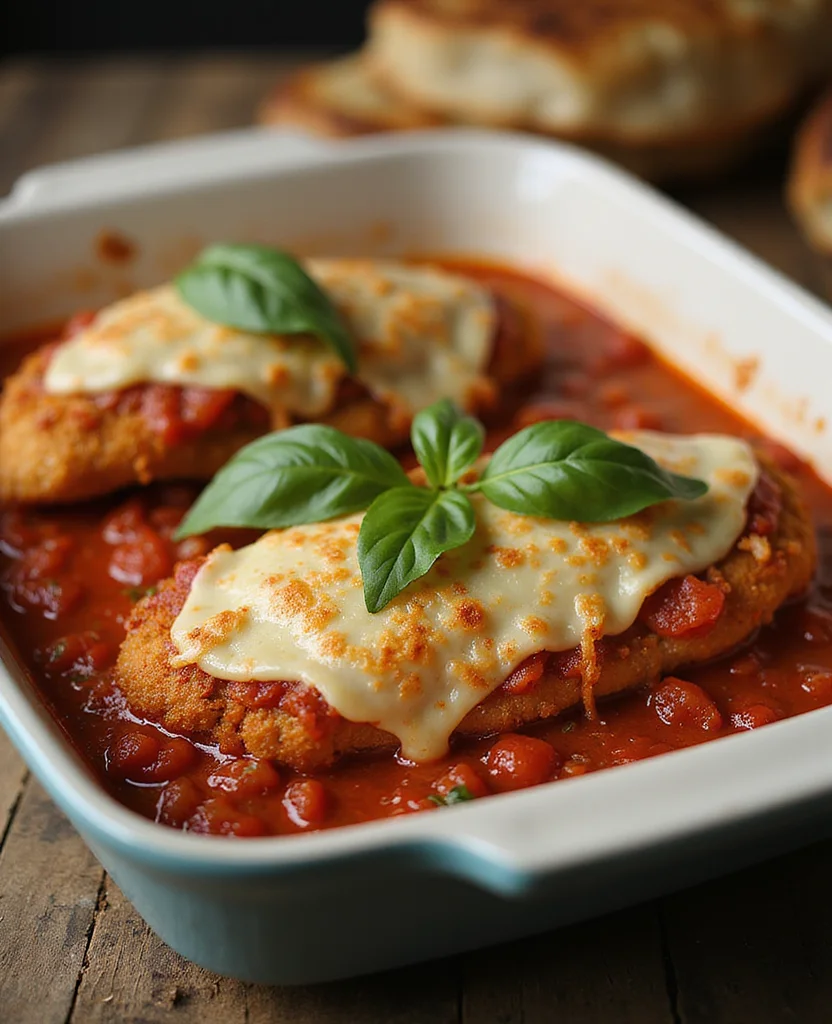
Step 9: Garnish and Serve
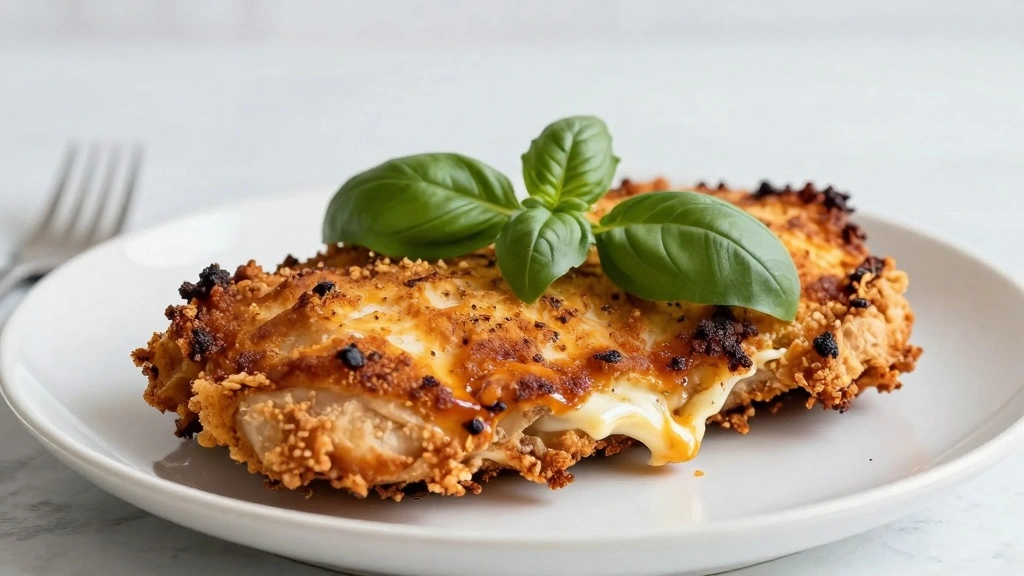
Remove the chicken from the oven and allow it to cool slightly.
Sprinkle with chopped fresh basil before serving.
Serve immediately for optimal flavor and texture.
The fresh basil adds a fragrant, herbal note.


Critical Timing and Temperature Guide
Baking: Bake at 400°F (200°C) for 20 minutes. Look for a golden crust and use an instant-read thermometer to check for 165°F (74°C) internal temperature. Avoid opening the oven frequently as it can lower temperature.
Sauce Simmering: Simmer the sauce for 10 minutes over low heat. Stir to prevent sticking and ensure even heating. The sauce should be thick and aromatic.
Cheese Melting: Bake for an additional 10 minutes at the same temperature. Cheese should be bubbly and slightly browned. Over-baking can lead to a dry texture.
Pro Tips for Crispy Baked Chicken
• Ingredient Selection: Choose high-quality Parmesan and mozzarella for the best flavor. Fresh cheese melts better and imparts a rich taste.
• Preparation Secret: Let the breaded chicken rest for a few minutes before baking to help the coating adhere better.
• Temperature Management: Ensure the oven is preheated to the correct temperature before baking. Sudden temperature drops can affect crispiness.
• Texture Enhancement: Use panko breadcrumbs for a lighter, crispier texture compared to regular breadcrumbs.
• Flavor Layering: Combine Parmesan cheese with breadcrumbs for added depth in the crust’s flavor.
• Make-Ahead Strategies: Bread the chicken a day in advance and store in the fridge. This helps the coating set and saves time on the day of cooking.
• Restaurant-Quality Finishing Touches: Drizzle with a little olive oil before baking for a glossy, golden finish.
• Equipment Optimization: Use a convection setting if available for more even cooking and crispiness.


Troubleshooting Common Issues
• Texture Too Dense: This can occur if the chicken is not evenly flattened. Use a meat mallet to achieve uniform thickness before breading.
• Flavors Unbalanced: If the dish tastes bland, check seasoning levels. Ensure enough salt and pepper are used in both the breading and sauce.
• Cheese Not Melting Properly: Ensure the cheese is at room temperature before using and the oven is properly preheated.
• Crust Falling Off: Ensure the chicken is dry before breading and press the coating firmly. Allow the breaded chicken to rest before baking.
• Chicken Too Dry: Monitor the internal temperature closely with an instant-read thermometer to prevent overcooking.
• Sauce Too Watery: Simmer the sauce to reduce it and enhance its flavor. A thicker sauce clings better to the chicken.
Variations and Regional Differences
• Southern Italy: This version often includes eggplant slices layered with the chicken, adding a unique texture and flavor.
• New York Style: Known for a heavier use of mozzarella and a thicker tomato sauce, creating a heartier dish.
• California Twist: Includes a fresh avocado topping for a modern and creamy addition to the classic recipe.
• Spicy Variation: Incorporates crushed red pepper flakes into the sauce for a hint of heat and added complexity.


Food Science Behind the Recipe
• Maillard Reaction: This chemical reaction occurs during baking, creating the complex flavors and golden crust. Understanding this helps optimize baking time and temperature for best results.
• Emulsification: Adding olive oil to the sauce acts as an emulsifier, blending the flavors and creating a richer, smoother sauce.
• Protein Denaturation: Cooking the chicken to 165°F (74°C) changes the structure of its proteins, making it safe to eat while maintaining juiciness.


Frequently Asked Questions
What's the most common mistake people make when preparing Crispy Baked Chicken Parmesan? Overcooking the chicken, leading to dryness. Use a thermometer to ensure proper internal temperature.
Can I use pre-shredded cheese? While convenient, pre-shredded cheese contains anti-caking agents that can affect melting. Freshly shredded cheese is recommended.
How can I make the dish gluten-free? Substitute gluten-free breadcrumbs and ensure the sauce is gluten-free.
Is it possible to prepare this dish in advance? Yes, you can bread the chicken a day ahead and store it in the fridge. Bake and top with sauce just before serving.
What type of breadcrumbs work best? Panko breadcrumbs offer a lighter, crispier texture compared to regular breadcrumbs.
Can I make this with chicken thighs? Yes, but adjust cooking time as thighs may take longer to cook through.
How do I prevent the crust from falling off? Ensure the chicken is dry before breading and allow it to rest after coating to help the crumbs adhere better.
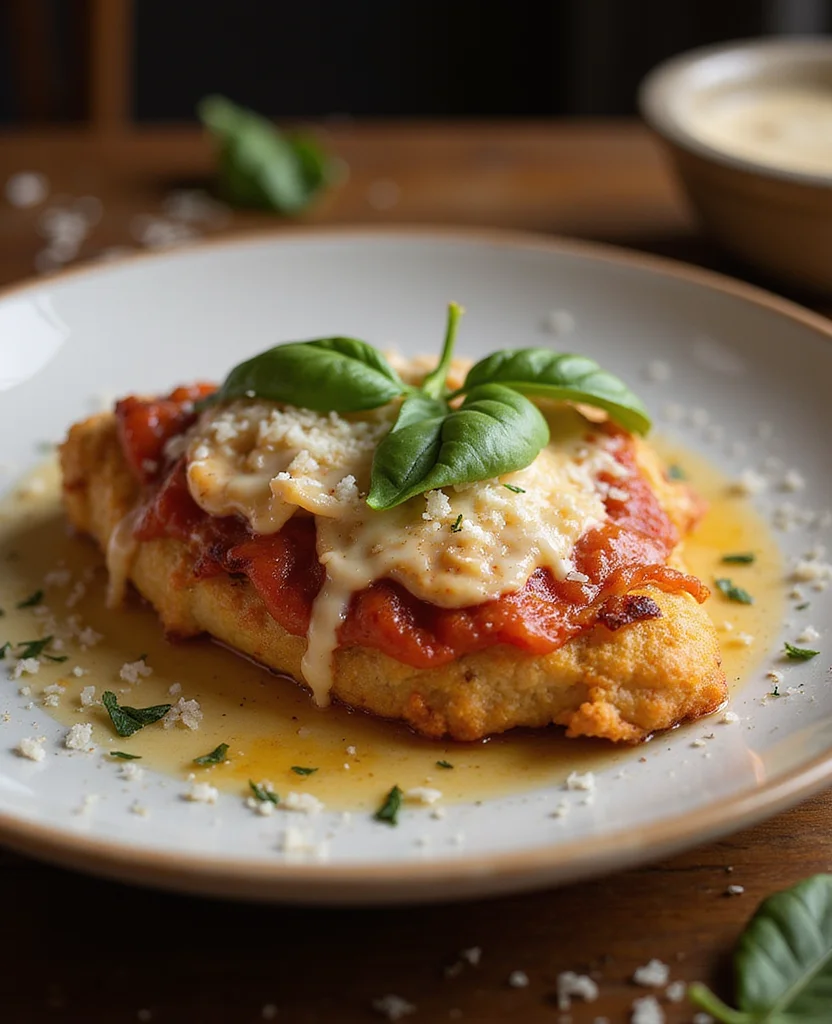
Serving and Presentation Guide
• Traditional Presentation: Serve on a large platter with additional sauce on the side and garnished with fresh basil leaves.
• Individual Plates: Present each portion individually with a side of spaghetti or a fresh salad, drizzled with balsamic glaze.
• Family Style: Offer the dish family-style in a large baking dish, allowing guests to serve themselves.
• Gourmet Touch: Plate with a quenelle of ricotta on the side and a sprinkle of grated Parmesan for a fine-dining experience.


Conclusion
Crispy Baked Chicken Parmesan is a timeless dish that brings joy and satisfaction to the table.
With its perfect balance of textures and flavors, it's sure to become a favorite in your home.
I encourage you to try this recipe and experience the delight of a homemade classic.
Your family and friends will surely be impressed by your culinary skills.