Homemade crystallized candy recipes bring a delightful sweetness that evokes nostalgia and joy.
The sugary crunch combined with various flavors creates a treat that’s both fun to make and enjoyable to eat.
I first encountered this charming confection at a local fair, where vibrant colors and enticing aromas filled the air.
Whether you’re looking to impress at a party or simply indulge your sweet tooth, these crystallized candies are perfect for any occasion.
The History and Cultural Significance
• Crystallized candy recipes trace their origins to ancient civilizations, where sugar was first used as a preservative and sweetener.
• These candies evolved over centuries, becoming popular in Europe during the Middle Ages as sugar became more widely available.
• In many cultures, crystallized candies are often gifted during holidays or celebrations, symbolizing sweetness and prosperity.
• While variations exist worldwide, the authentic version of crystallized candy is characterized by its delicate texture and vivid flavors.


Recipe Overview
Nutritional Information (per serving)


Ingredients
Essential Equipment Guide
Heavy-Bottomed Saucepan: A heavy-bottomed saucepan is crucial for even heat distribution while cooking sugar. Look for one with a thick base to prevent hot spots that can cause burning.
Candy Thermometer: This tool is essential for accurately measuring sugar temperature, which is vital for achieving the correct consistency. Choose a thermometer that clips onto the side of the pot for hands-free monitoring.
Silicone Spatula: A silicone spatula helps in stirring without scratching your cookware and is heat resistant, making it ideal for candy making. Opt for a flexible one to ensure you can scrape every bit of candy from the sides of the pot.


Preparation Methods
Making Sugar Syrup: This technique involves dissolving sugar in water over heat to create a syrup. It’s crucial to stir until the sugar is fully dissolved to avoid crystallization. Use a candy thermometer to monitor the temperature for best results.
Cooling and Crystallization: Allow the syrup to cool undisturbed to encourage sugar crystals to form. Patience is key, as disturbing the mixture can lead to uneven crystallization. The ideal temperature for cooling is around room temperature.
Coating the Candies: Once the candies are crystallized, coat them in powdered sugar and cornstarch for a delicious finish. This not only adds flavor but also prevents the candies from sticking together.


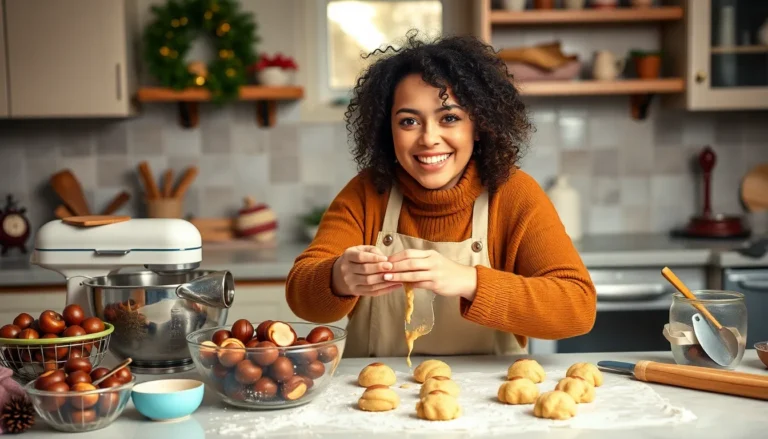
Step 1: Prepare the Ingredients
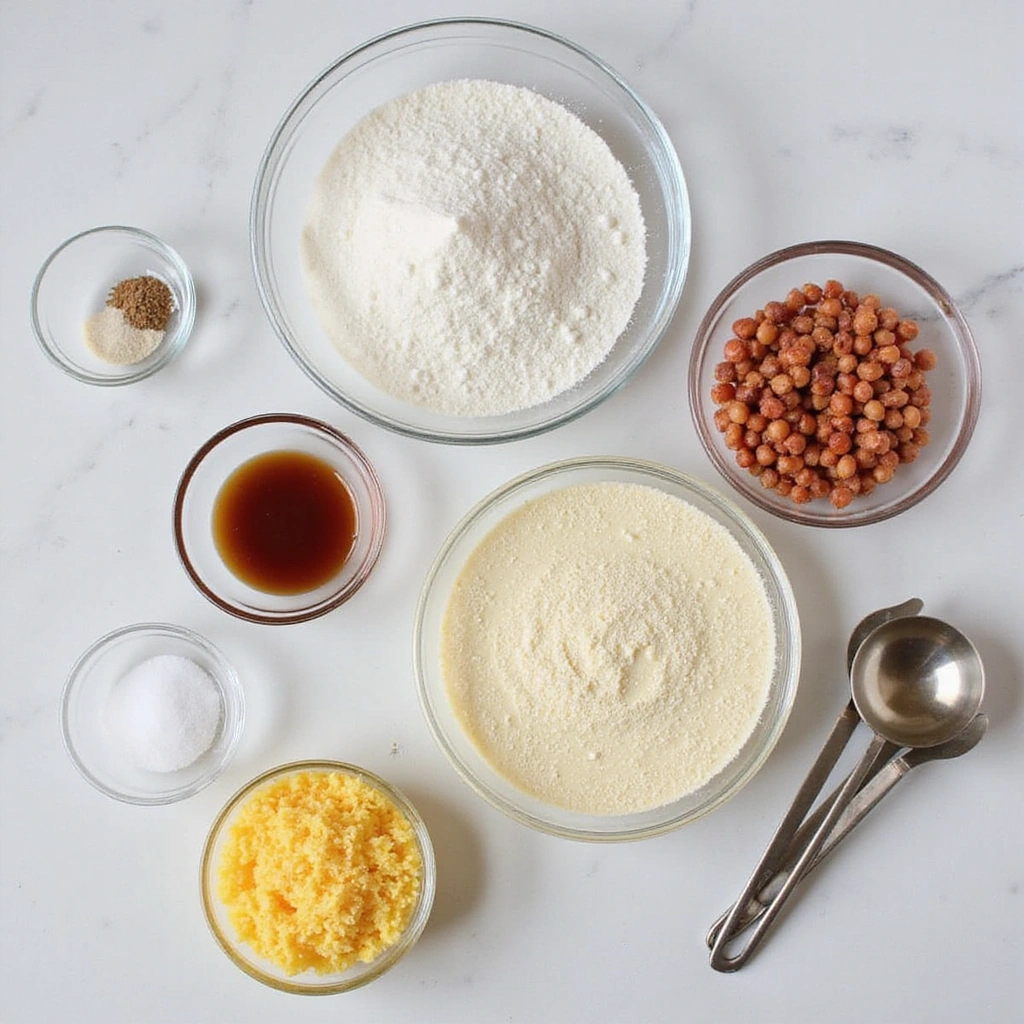
Gather all your ingredients and equipment before starting.
Make sure the granulated sugar, water, and corn syrup are measured out accurately.
It’s also helpful to have your candy thermometer and silicone spatula ready.
This preparation helps streamline the cooking process and ensures nothing is forgotten.


Step 2: Combine Sugar and Water
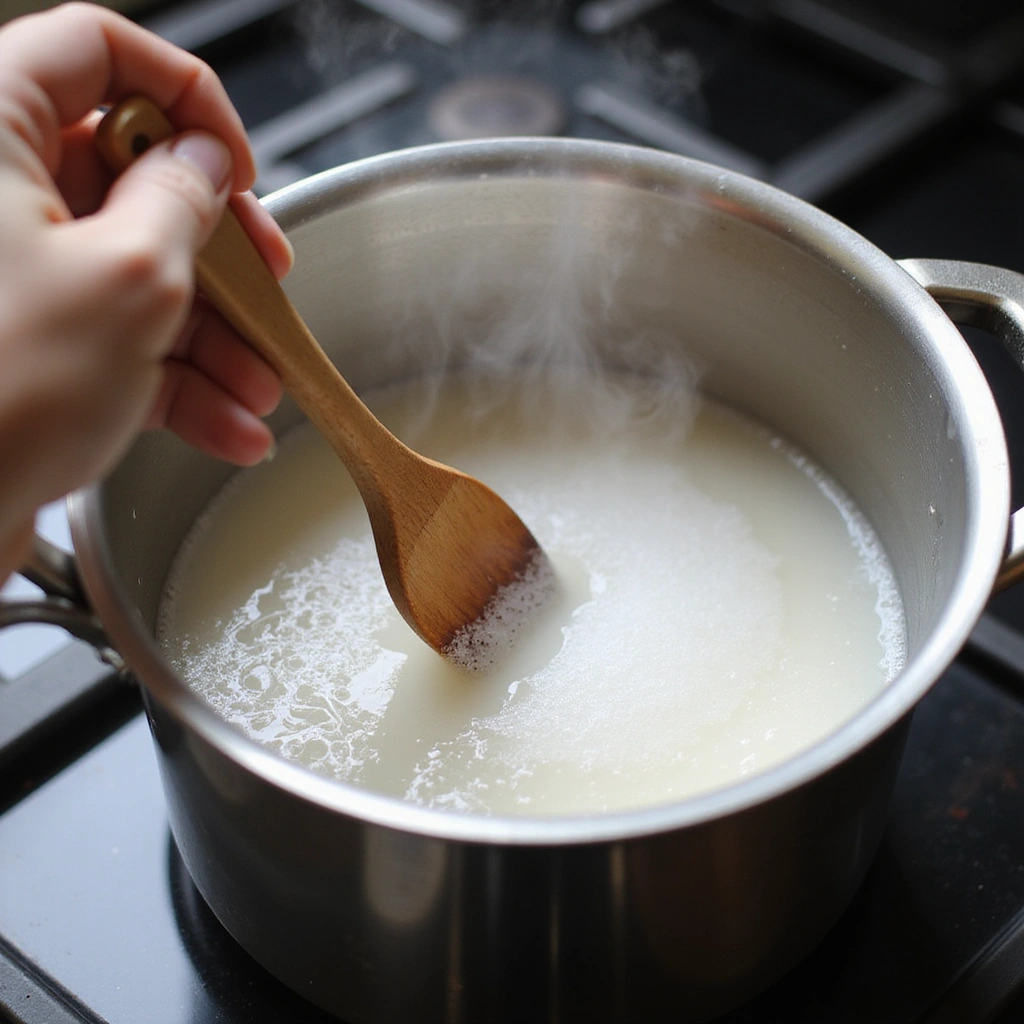
In a heavy-bottomed saucepan, combine the granulated sugar, water, and corn syrup.
Stir gently to mix the ingredients, ensuring the sugar is evenly distributed.
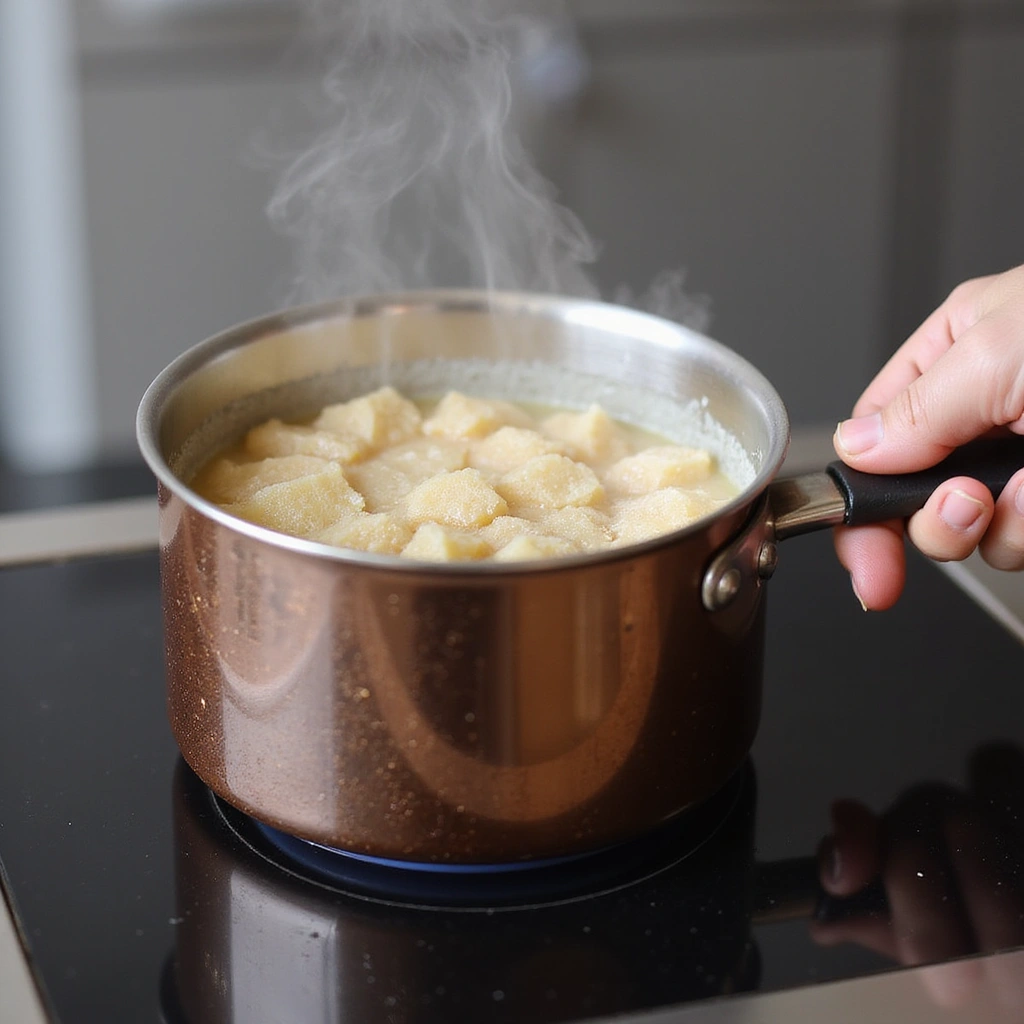
Place the saucepan over medium heat, avoiding high heat to prevent burning.
Continue stirring until the sugar has completely dissolved into the water.
Step 3: Cook the Sugar Mixture
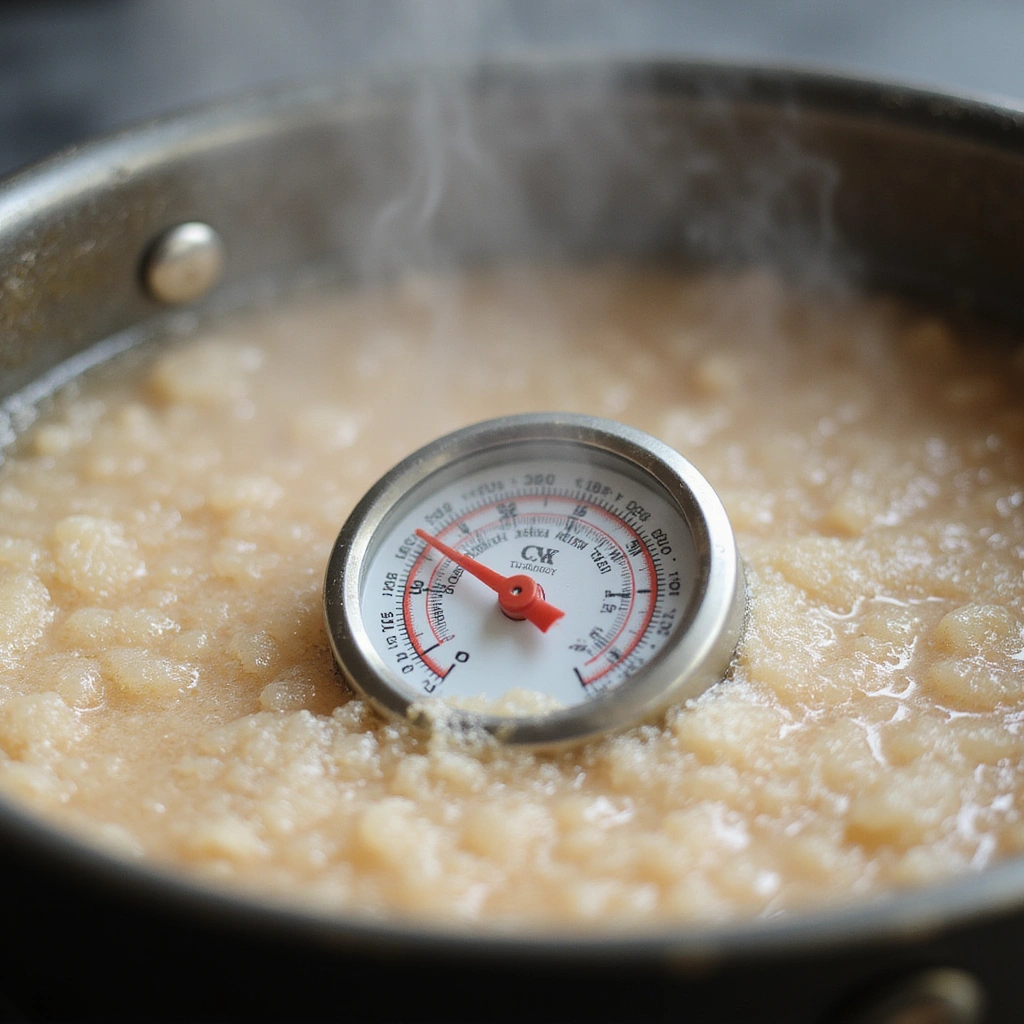
Attach the candy thermometer to the side of the saucepan, ensuring it doesn’t touch the bottom.
Bring the mixture to a boil without stirring, allowing the temperature to rise to 240°F (115°C).
Keep an eye on the thermometer for accurate readings and avoid any bubbling over.
This stage is crucial for achieving the right consistency in your candy.
Step 4: Remove from Heat
Once the mixture reaches 240°F (115°C), remove the saucepan from the heat immediately.
Allow the mixture to cool slightly while still in the pot for about 5 minutes.
This cooling period helps to stabilize the syrup and prepares it for crystallization.
Be cautious not to disturb the syrup during this time.
Step 5: Add Flavoring
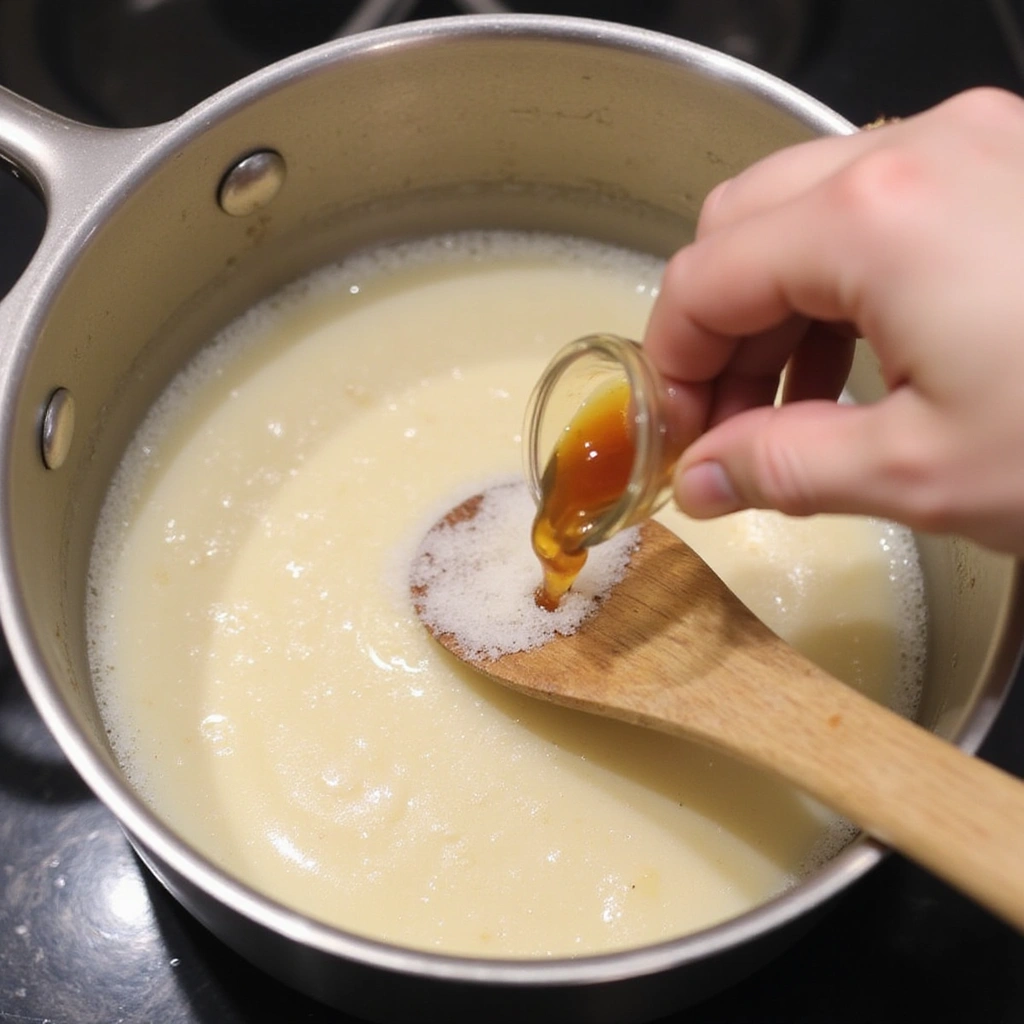
Stir in the vanilla extract and citric acid into the cooled sugar mixture.
Mix thoroughly to ensure the flavors are evenly distributed throughout the syrup.
This step adds depth and balance to the overall sweetness of the candy.
Make sure to incorporate the flavoring without vigorous stirring to avoid crystallizing the sugar.
Step 6: Allow to Cool and Crystallize
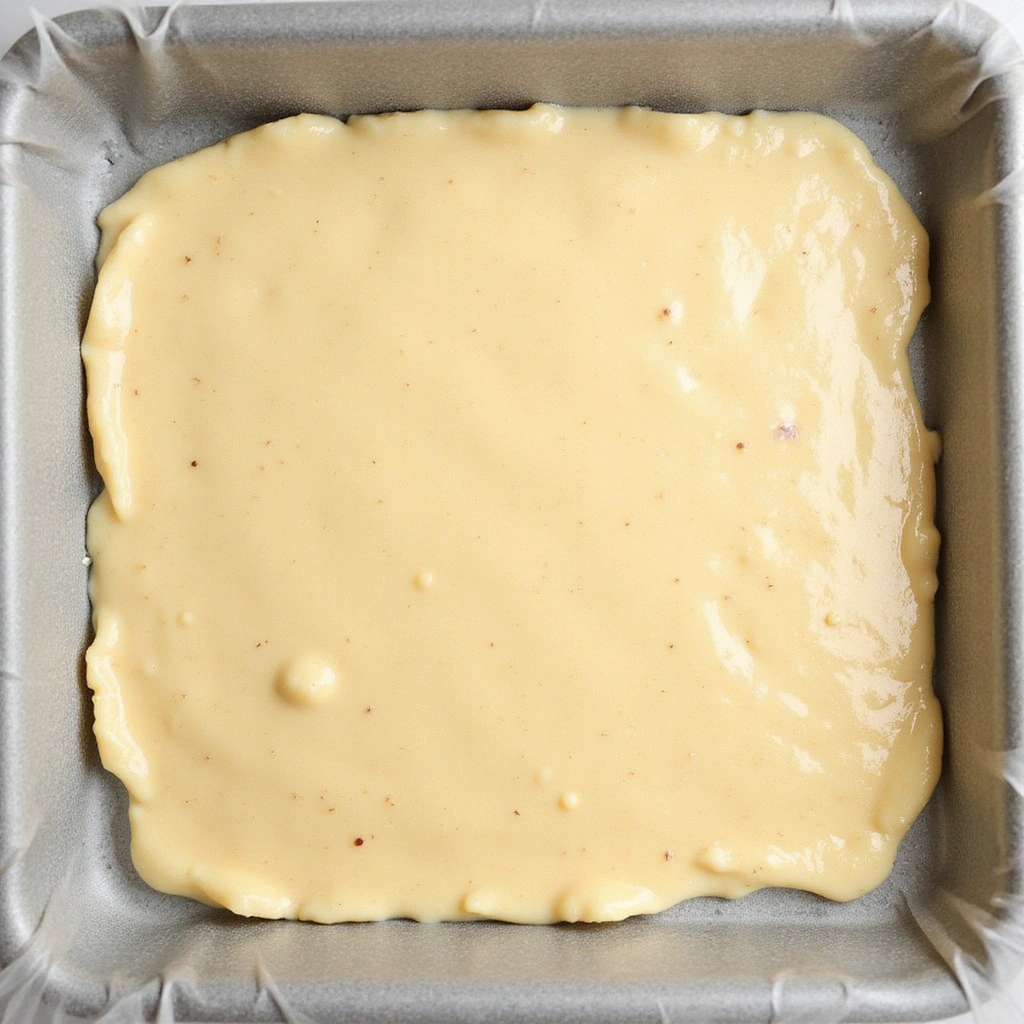
Pour the mixture into a prepared cooling tray lined with parchment paper.
Let it sit undisturbed at room temperature until it hardens, which may take several hours.
The cooling process is vital for the formation of sugar crystals, so avoid moving it.
You’ll know it’s ready when it feels firm to the touch and has a slightly dull surface.
Step 7: Cut into Pieces
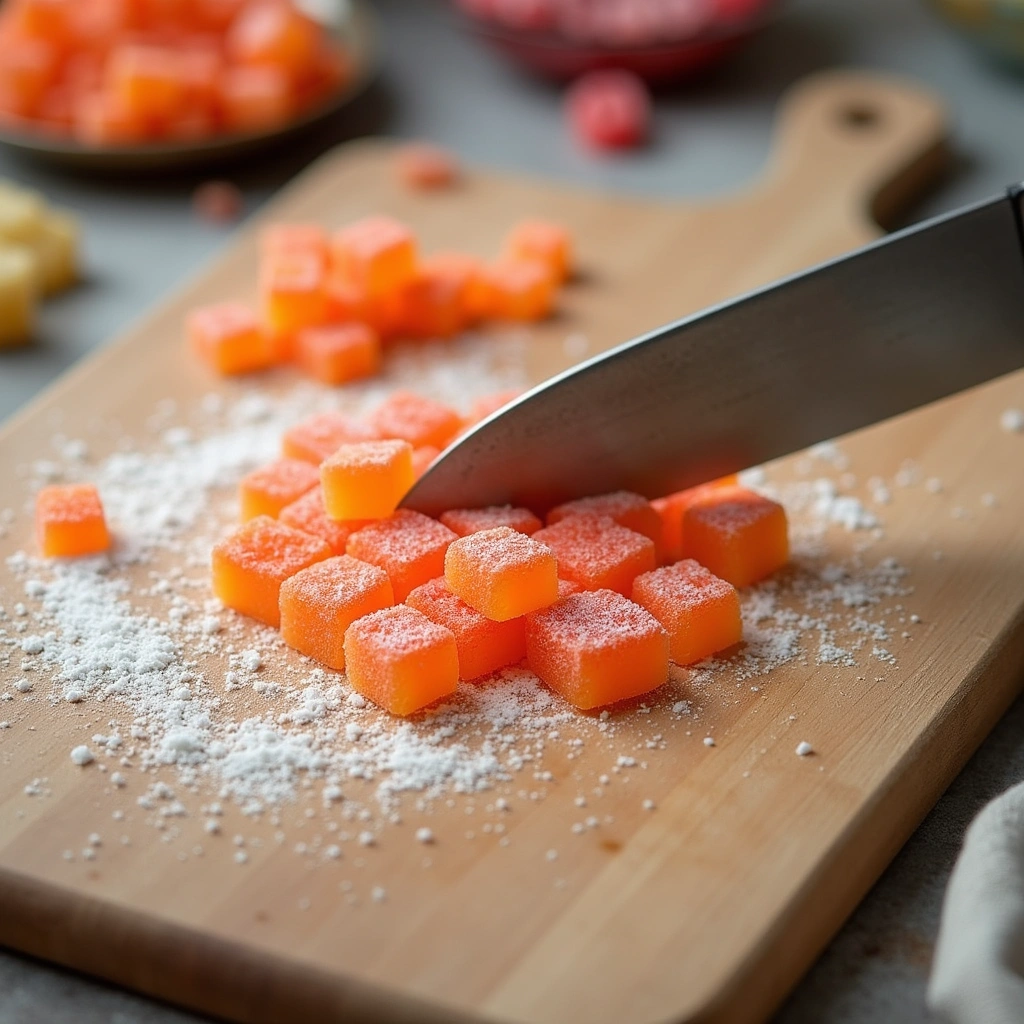
Once the candy has completely cooled and crystallized, cut it into small squares or desired shapes.
Use a sharp knife to ensure clean cuts, which will make for a more appealing presentation.
Be careful as the edges can be sharp, depending on how it’s cut.
This step allows for personal creativity in shaping the candies.
Step 8: Coat the Candies
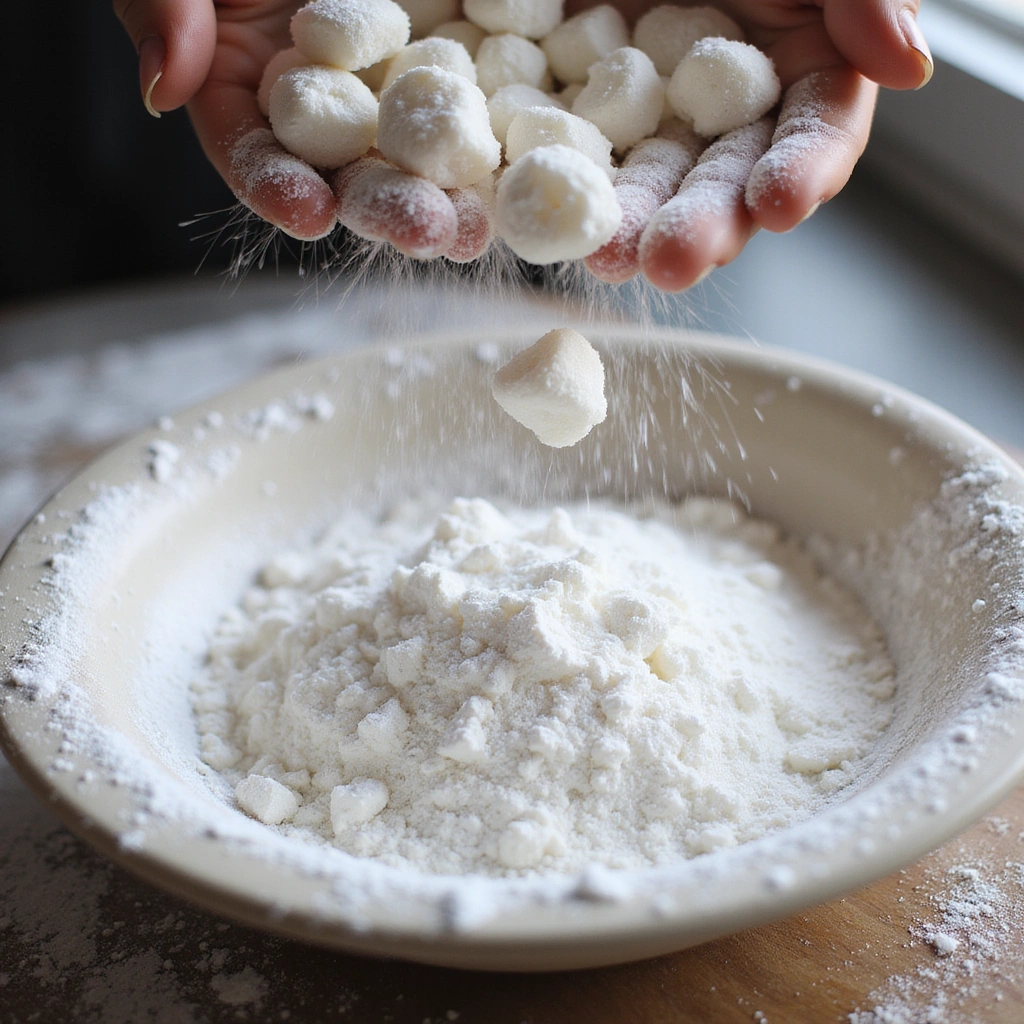
In a bowl, mix together the powdered sugar and cornstarch.
Toss the cut pieces of candy in this mixture until they are thoroughly coated.
This coating not only enhances the flavor but also prevents the candies from sticking together.
Make sure to shake off any excess powder before storing.
Step 9: Store the Candies
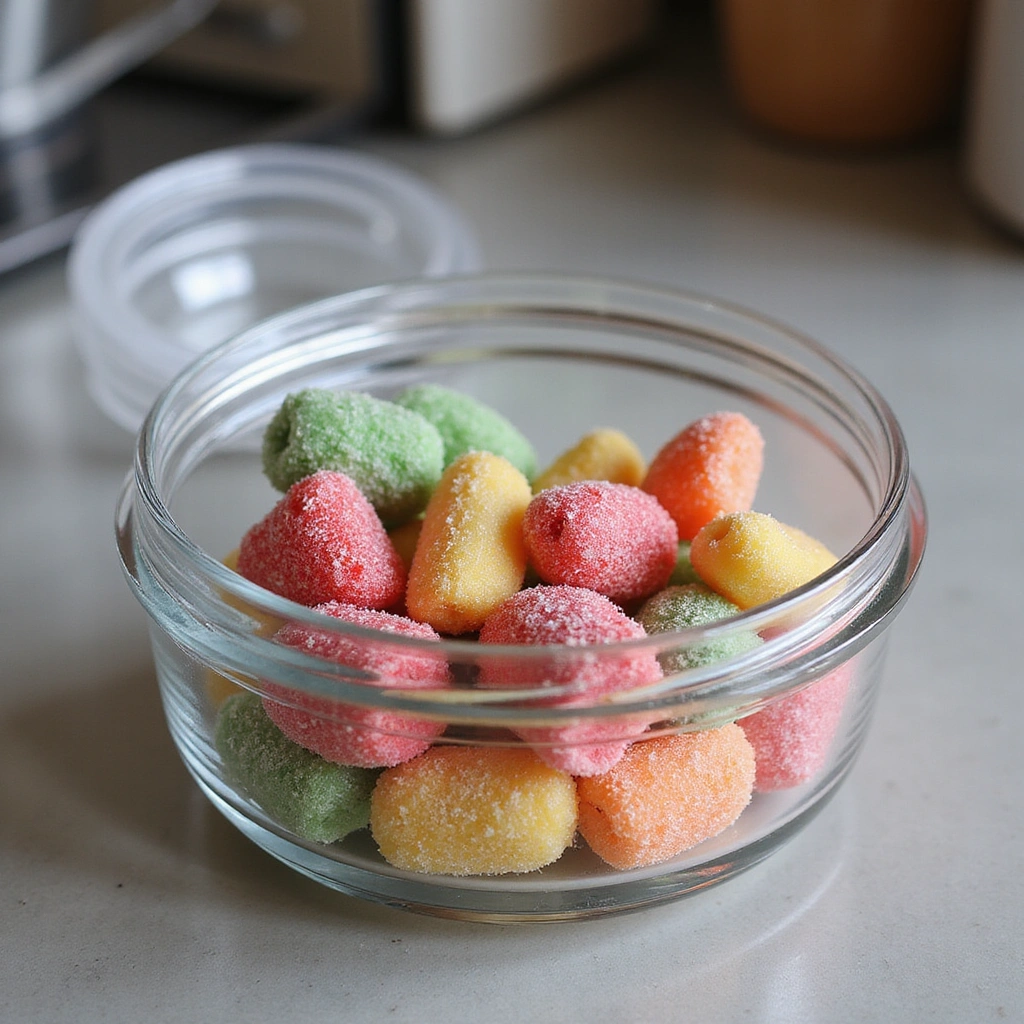
Store the coated candies in an airtight container to maintain their texture.
Place wax paper between layers to prevent sticking if stacking them.
They can be kept at room temperature for several weeks, though they’re best enjoyed fresh.
Make sure the container is completely sealed to avoid moisture exposure.
Critical Timing and Temperature Guide
Cooking the Sugar Mixture: The sugar mixture should reach 240°F (115°C) for optimal crystallization. Visual indicators include a thick, syrupy consistency without burning. Avoid boiling too rapidly, which can lead to uneven cooking.
Cooling Time: Allow the mixture to cool undisturbed for at least 5 minutes before adding flavoring. This helps stabilize the sugar and prevents premature crystallization. Watch for the mixture to start losing its shine as it cools.
Crystallization Period: Let the mixture sit at room temperature until firm, which can take several hours. The texture should be hard yet slightly tacky when ready. Avoid checking or moving it to ensure proper crystal formation.
Pro Tips for Crystallized Candy Recipes You Can Try Today
• Ingredient Selection: Use high-quality granulated sugar for the best texture and flavor.
• Preparation Secret: Let the mixture cool completely undisturbed for optimal crystal formation.
• Temperature Management: Use a reliable candy thermometer to ensure precise temperature readings.
• Texture Enhancement: For a crunchier texture, allow the candies to sit longer before cutting.
• Flavor Layering: Experiment with different extracts and citrus zests to add depth.
• Make-Ahead Strategies: Prepare the candy base ahead of time and coat just before serving.
• Restaurant-Quality Finishing Touches: Garnish with edible gold dust for an elegant presentation.
• Equipment Optimization: Use a heavy-bottomed saucepan to prevent uneven cooking.
Troubleshooting Common Issues
• Texture Too Dense: This can occur if the sugar mixture is cooked too long. Recognize it by its overly hard consistency. To fix it, add a splash of water and reheat gently until it softens.
• Flavors Unbalanced: If the candies taste too sweet, consider reducing sugar next time or adding more citric acid for balance. Test flavors as you mix.
• Sticking Together: Candies may stick if not coated properly. Ensure a thorough coating of powdered sugar and cornstarch before storage.
• Crystallization Issues: If crystals don’t form, the mixture may have been disturbed during cooling. Allow it to cool completely without interference.
• Inconsistent Colors: For uneven colors, ensure even mixing of flavorings. Stir thoroughly to distribute colors uniformly.
Variations and Regional Differences
• French Fruit Drops: These candies incorporate fresh fruit purees for natural flavor, often resulting in a chewier texture. They are popular in France and are often made with seasonal fruits.
• Indian Gulkand: A variation that uses rose petals and sugar, creating a fragrant, floral candy. Gulkand is enjoyed in various Indian desserts and has cultural significance in Ayurvedic practices.
• Japanese Mochi Candy: This version involves wrapping sweetened rice dough around a sugary filling, resulting in a chewy texture. Mochi is a staple in Japanese confectionary and is often enjoyed during festivals.
• Modern Interpretations: Contemporary versions may include ingredients like matcha or superfoods, catering to current health trends while maintaining the classic essence.


Food Science Behind the Recipe
• Crystallization Process: The formation of sugar crystals is a result of the cooling and supersaturation of sugar solution. Understanding this helps in achieving the desired texture and preventing graininess.
• Role of Temperature: The precise temperature during cooking affects the final texture. Higher temperatures lead to harder candies, while lower temperatures yield softer ones.
• Moisture Control: Keeping moisture away during storage is crucial as it can dissolve sugar crystals. This principle is important for maintaining the candies’ texture and shelf life.
Frequently Asked Questions
What’s the most common mistake people make when preparing crystallized candy? The most common mistake is not monitoring the temperature closely, which can lead to burning or incorrect texture.
Can I prepare components of this dish in advance? Yes, you can prepare the sugar mixture ahead of time and store it, but coat the candies just before serving.
How do I adapt this recipe for dietary restrictions? To make it vegan, consider using agave syrup instead of honey or corn syrup.
What’s the best way to store and reheat leftovers? Store in an airtight container at room temperature for up to two weeks.
Can I freeze this dish? Freezing is not recommended as it can alter the texture of the candy.
What wine or beverages pair best with this dish? Sweet dessert wines or herbal teas complement the sweetness of the candies.
How can I scale this recipe up for a crowd? Simply multiply the ingredients by the number of servings needed, ensuring to use larger pots for cooking.
What side dishes complement this recipe best? Fresh fruits or a simple cheese platter balances the sweetness of the candies.
How do professional chefs elevate this dish for restaurant service? They often incorporate unique flavor infusions and artistic plating techniques.
Serving and Presentation Guide
• Traditional Presentation: Serve crystallized candies in decorative bowls or on platters, garnished with mint leaves or edible flowers for a vibrant touch.
• Modern Plating Ideas: Arrange candies on a slate board with colorful fruit slices and a drizzle of chocolate for a contemporary look.
• Accompaniment Suggestions: Pair with herbal teas or light desserts to enhance the overall experience.
• Special Occasion Presentation: For celebrations, consider using glass jars tied with ribbons to present the candies as gifts.


Conclusion
I hope this guide inspires you to dive into the delightful world of homemade crystallized candy.
These treats are not only a joy to make but also a pleasure to share with loved ones.
Try your hand at the recipes and embrace the sweet satisfaction of creating something special.