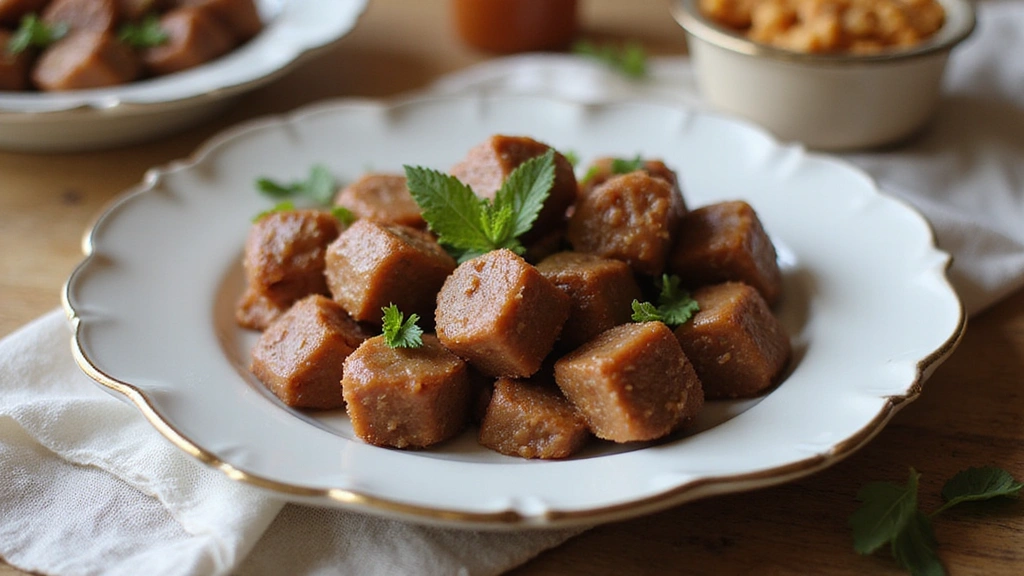
Brown Candy Pieces are a delightful confection that brings a nostalgic touch to any dessert table.
The rich, caramel-like flavor paired with a satisfying crunch makes them irresistible to both kids and adults alike.
I first tasted these treats at a local fair, where the sweet aroma filled the air, drawing me in with each enticing whiff.
Perfect for gifting or enjoying as an afternoon snack, these candy pieces are simple to make and offer a taste of pure joy.
The History and Cultural Significance
• Brown Candy Pieces trace their origins to the early 19th century in the United States, where they were often made during holiday seasons as a sweet treat to share with family and friends.
• The dish evolved over decades as sugar production became more accessible, allowing for more experimentation with flavors and textures, eventually becoming the beloved version we know today.
• In American culture, this candy traditionally appears at Halloween and Christmas celebrations, symbolizing joy and togetherness.
• While many variations exist across different regions, the authentic version maintains a chewy consistency and rich flavor that sets it apart from imitations.


Recipe Overview
Nutritional Information (per serving)
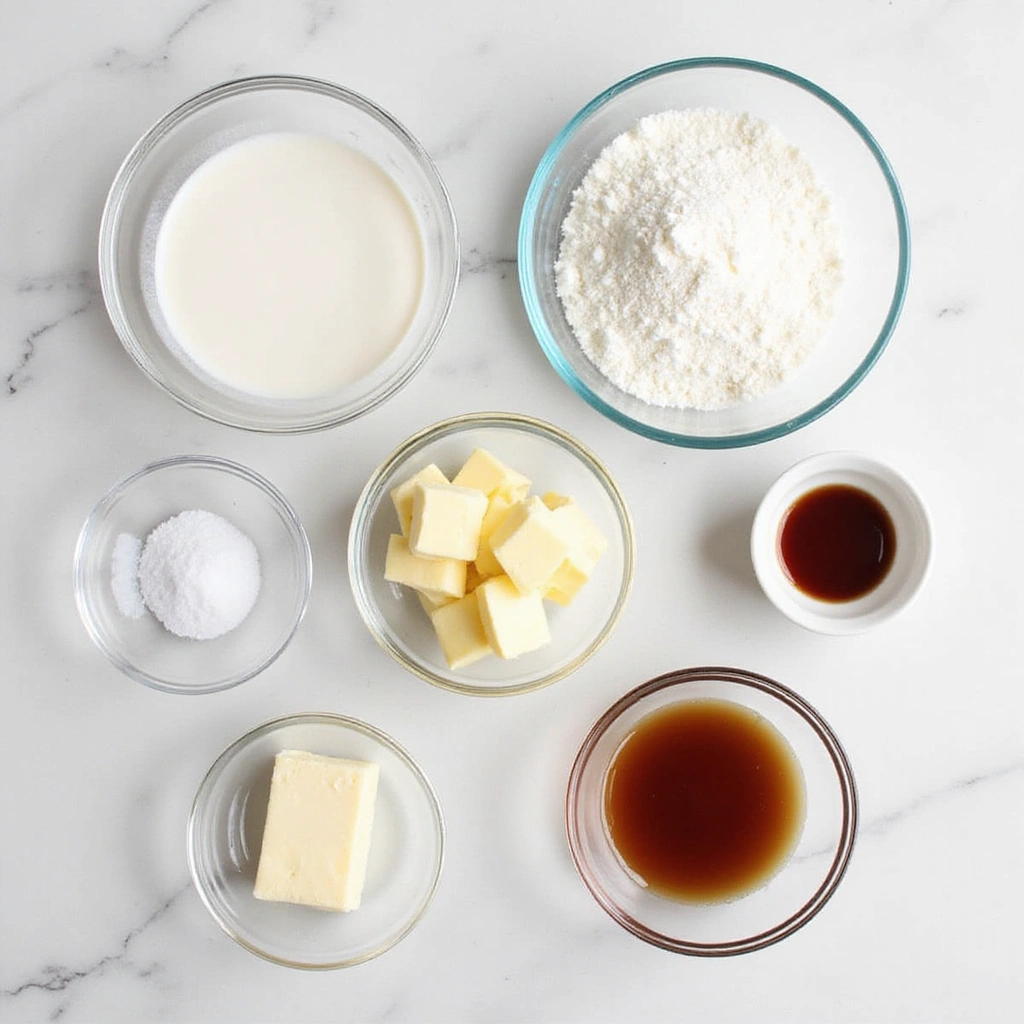
Ingredients


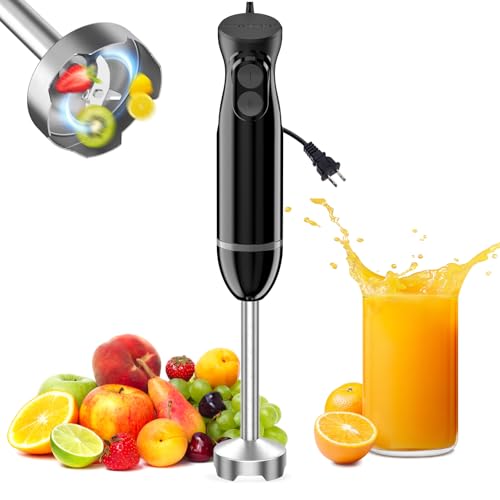
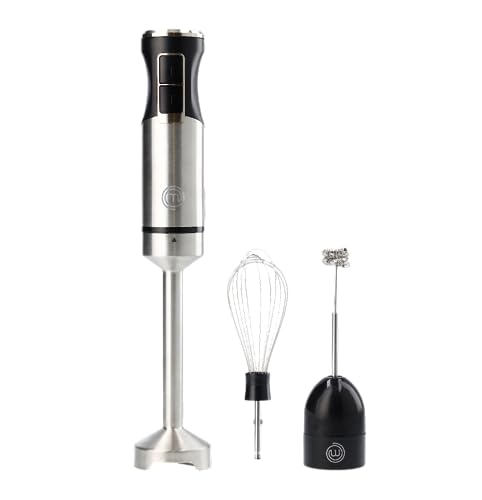
Essential Equipment Guide
Heavy-Bottomed Saucepan: A heavy-bottomed saucepan is crucial for evenly distributing heat, preventing sugar from burning. Look for one that is thick and sturdy, ideally with a non-stick surface to ease the cooking process.
Candy Thermometer: This tool is essential for monitoring the temperature of the sugar mixture. A digital candy thermometer is a great choice for accuracy, but an analog one will work as well; just ensure it has clear markings.
Silicone Spatula: A silicone spatula is perfect for stirring the candy mixture without scratching your pot. Choose one that can withstand high temperatures, ideally rated for over 400°F.


Preparation Methods
Caramelization: This is the process of heating sugar until it melts and turns golden brown. It’s essential for developing the deep, complex flavors of the candy. Be mindful of the temperature to avoid burning.
Soft Ball Stage: This technique involves cooking sugar until it reaches a specific temperature (between 234°F and 240°F). Testing a small amount in cold water will help you determine when it’s ready for the next step.
Pouring Technique: When pouring the hot mixture into a mold, do it slowly and steadily to avoid air bubbles. This ensures a smooth texture in the final candy.


Step 1: Prepare Ingredients
Begin by gathering all your ingredients and measuring them out.
This ensures that you have everything ready and makes the cooking process smoother.
Make sure to use fresh ingredients for the best flavor.
A clean workspace will also help prevent any accidental mix-ups during preparation.


Step 2: Combine Sugar and Butter
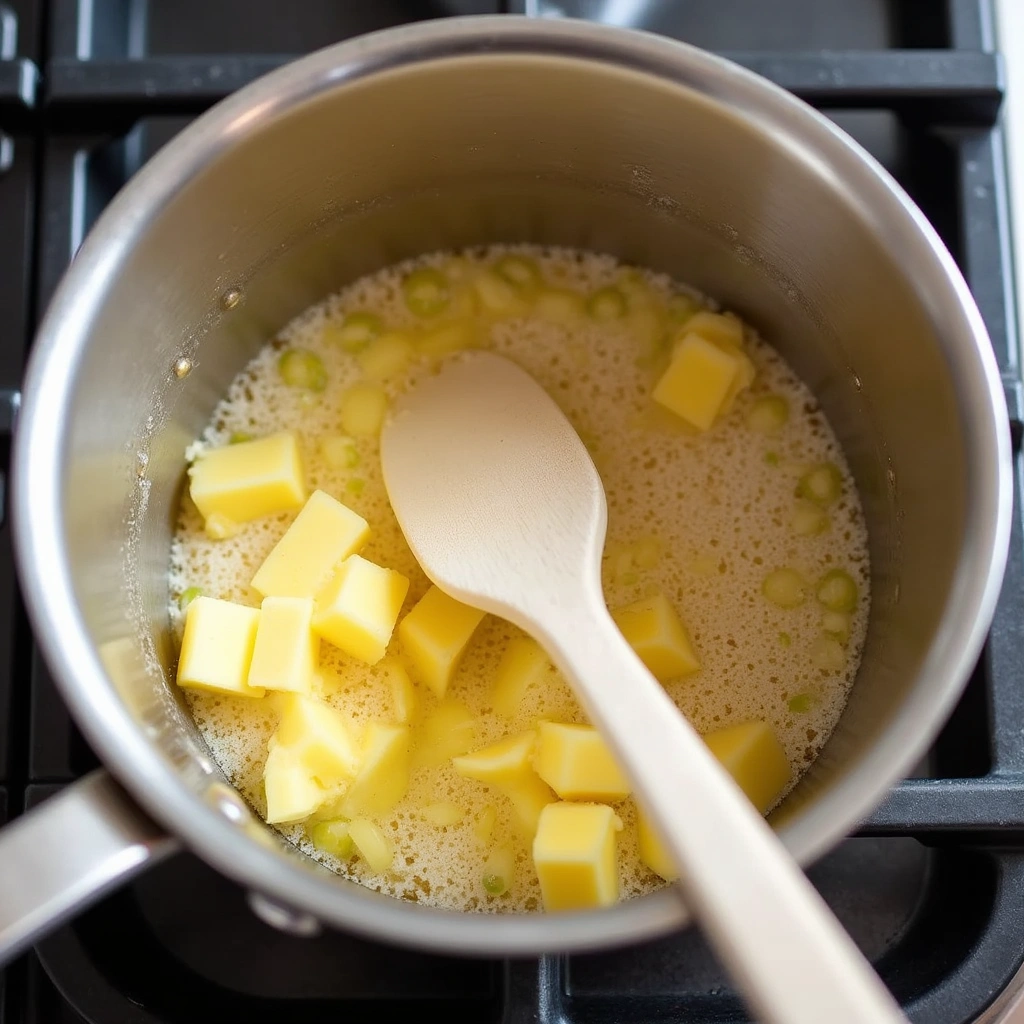
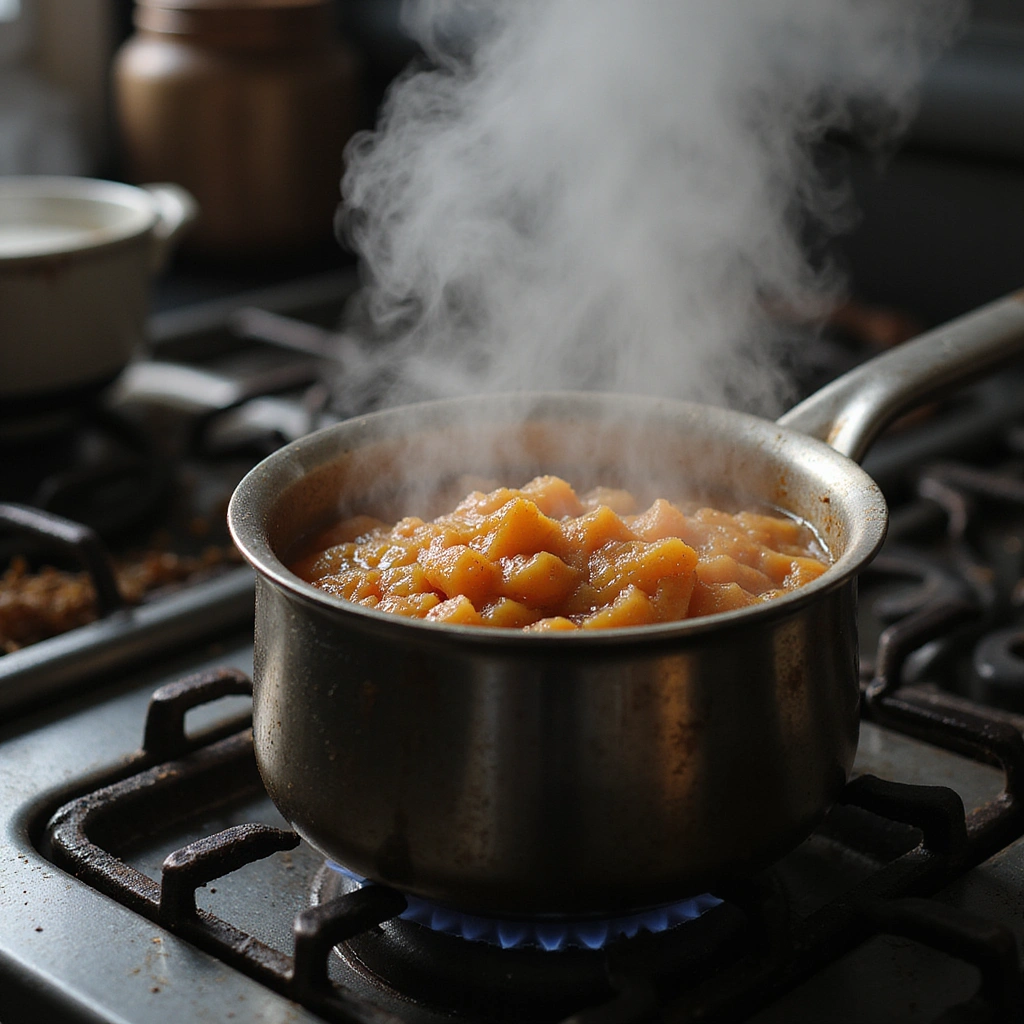
In a heavy-bottomed saucepan, combine the granulated sugar and unsalted butter over medium heat.
Stir continuously until the butter is fully melted and integrated into the sugar.
This mixture should start to bubble gently as it heats up.
Keep a close eye on it to prevent burning, adjusting the heat if necessary.
Step 3: Add Heavy Cream
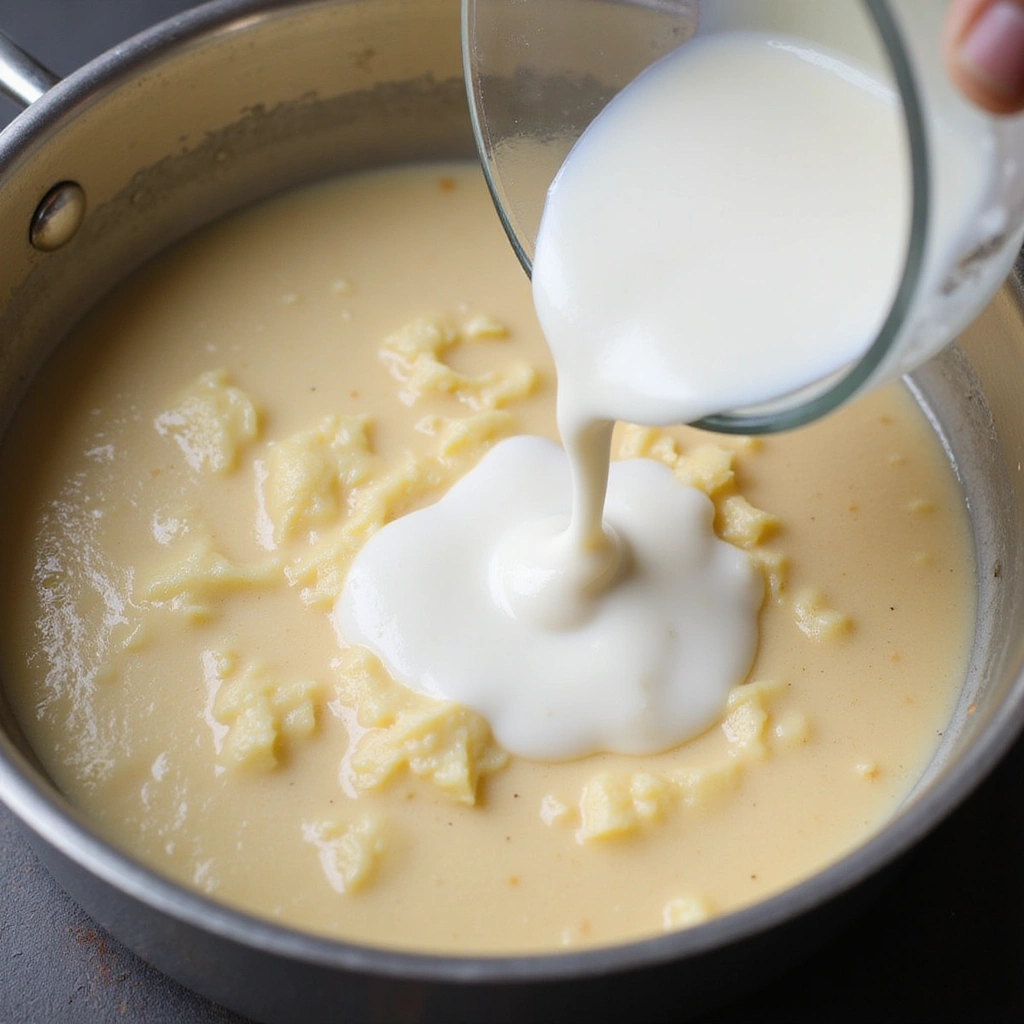
Once the sugar and butter mixture is bubbling, carefully pour in the heavy cream while stirring.
This is a crucial step, as the mixture will bubble up significantly when the cream is added.
Continue stirring until everything is well combined and the mixture is smooth.
Ensure there are no lumps or granules of sugar visible before proceeding.


Step 4: Heat to Soft Ball Stage
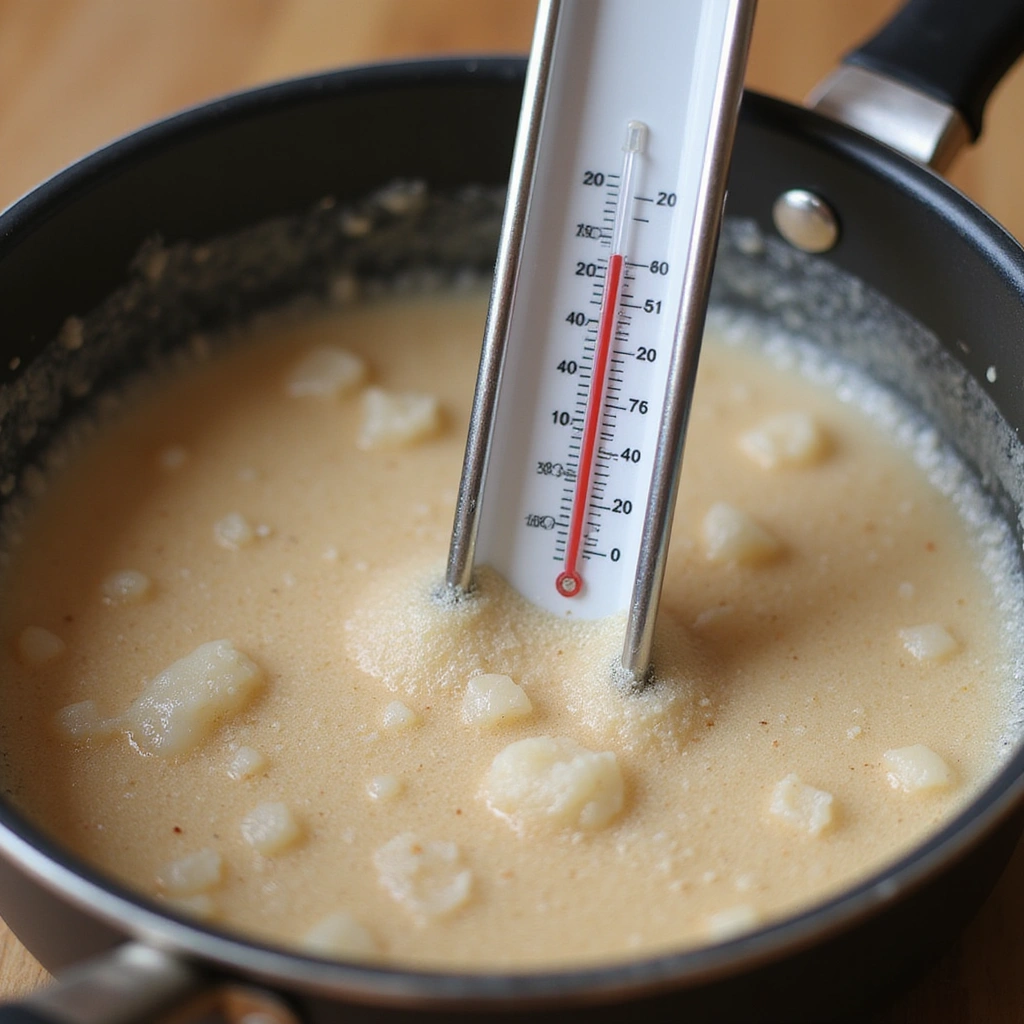
Attach a candy thermometer to the side of the saucepan, making sure the tip is submerged in the mixture but not touching the bottom.
Increase the heat to medium-high and bring the mixture to a boil, stirring occasionally.
Watch the thermometer closely; you’re aiming for the soft ball stage, between 234°F and 240°F.
This will take about 10-15 minutes, so be patient and keep stirring.
Step 5: Remove from Heat
Once you reach the desired temperature, carefully remove the saucepan from the heat.
Remove the candy thermometer and let the mixture sit for a minute without stirring.
This resting period is important for the candy’s texture.
You’ll notice some bubbling will subside during this time.
Step 6: Add Vanilla and Salt
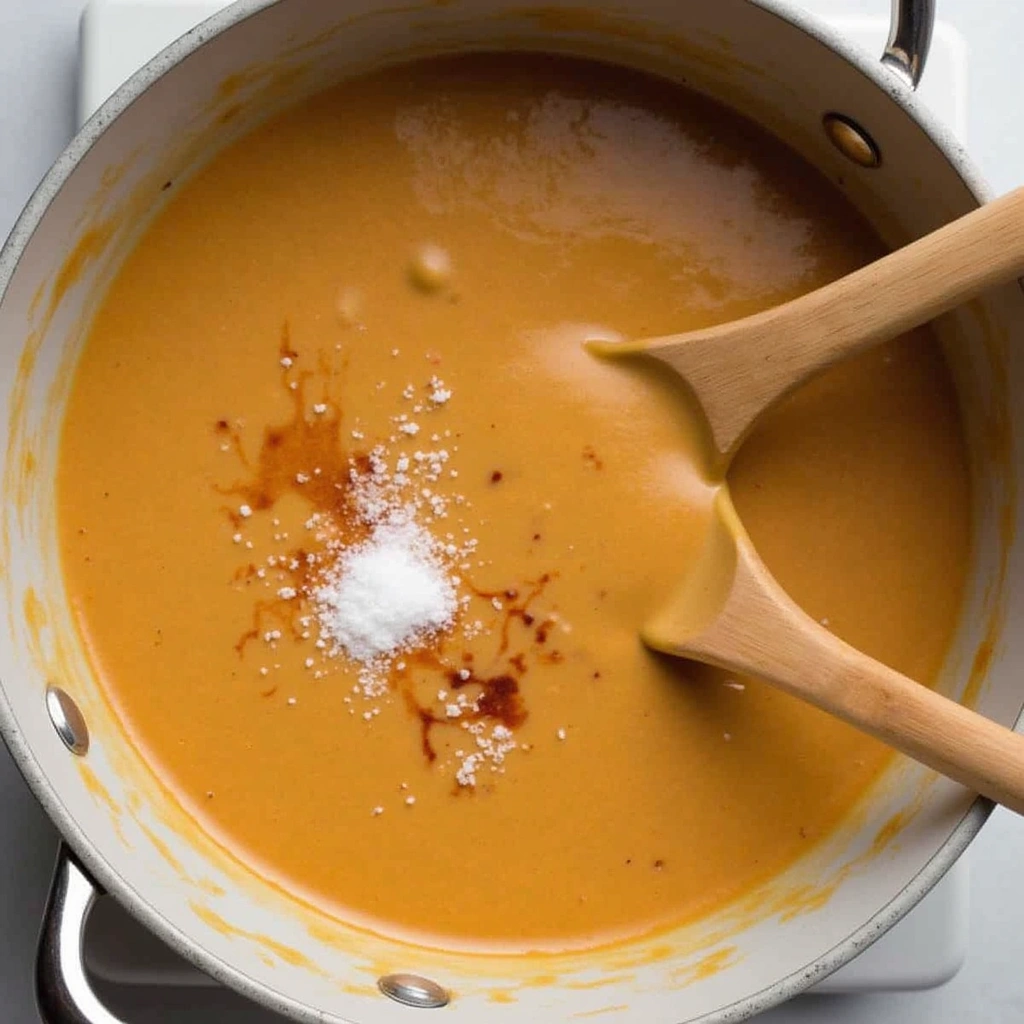
After letting the mixture rest, stir in the vanilla extract and a pinch of salt.
This enhances the flavor and balances the sweetness.
Mix until fully combined; the mixture should still be warm but not too hot to handle.
Be careful not to overmix, as this can affect the texture.
Step 7: Pour into Mold
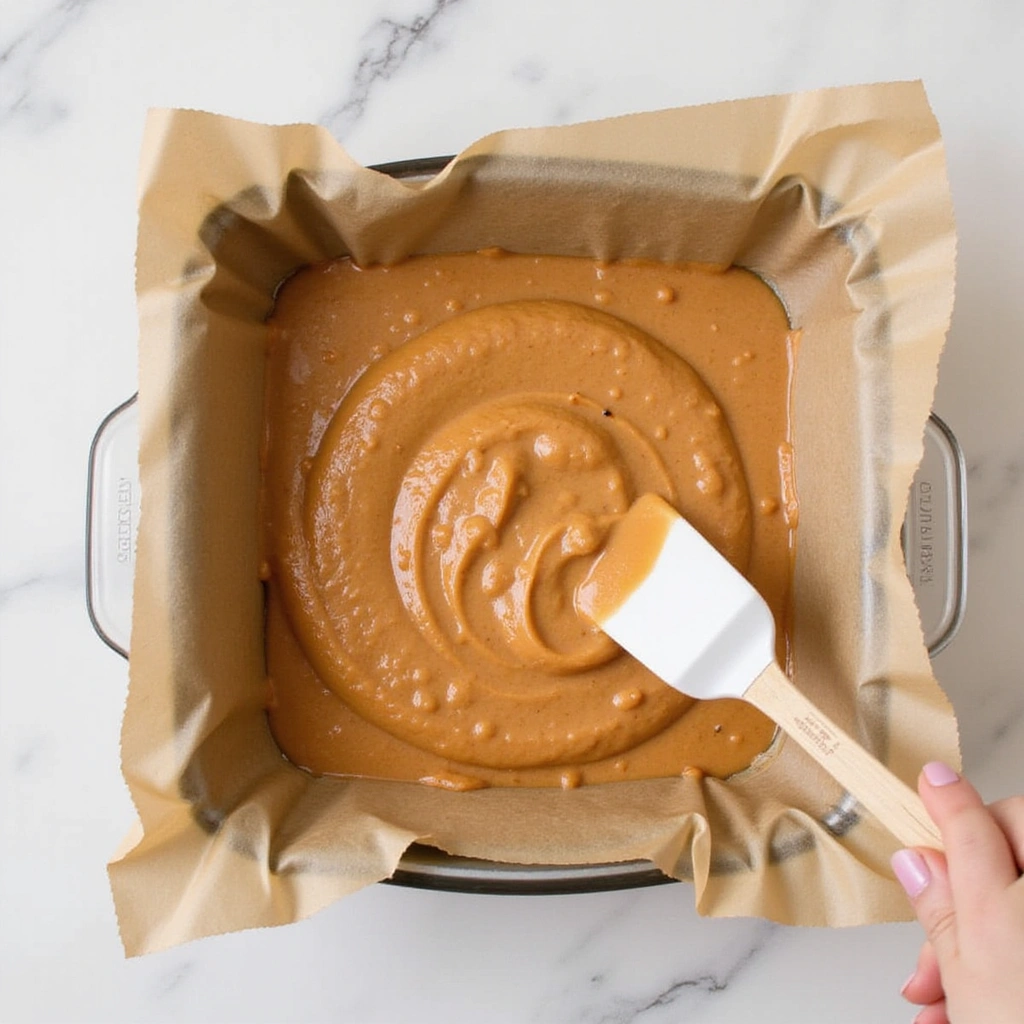
Prepare a baking dish lined with parchment paper to prevent sticking.
Pour the candy mixture into the prepared dish, spreading it evenly with a spatula.
Allow the candy to cool and set at room temperature for at least 2 hours.
Do not refrigerate, as this can alter the texture.


Step 8: Cut and Serve
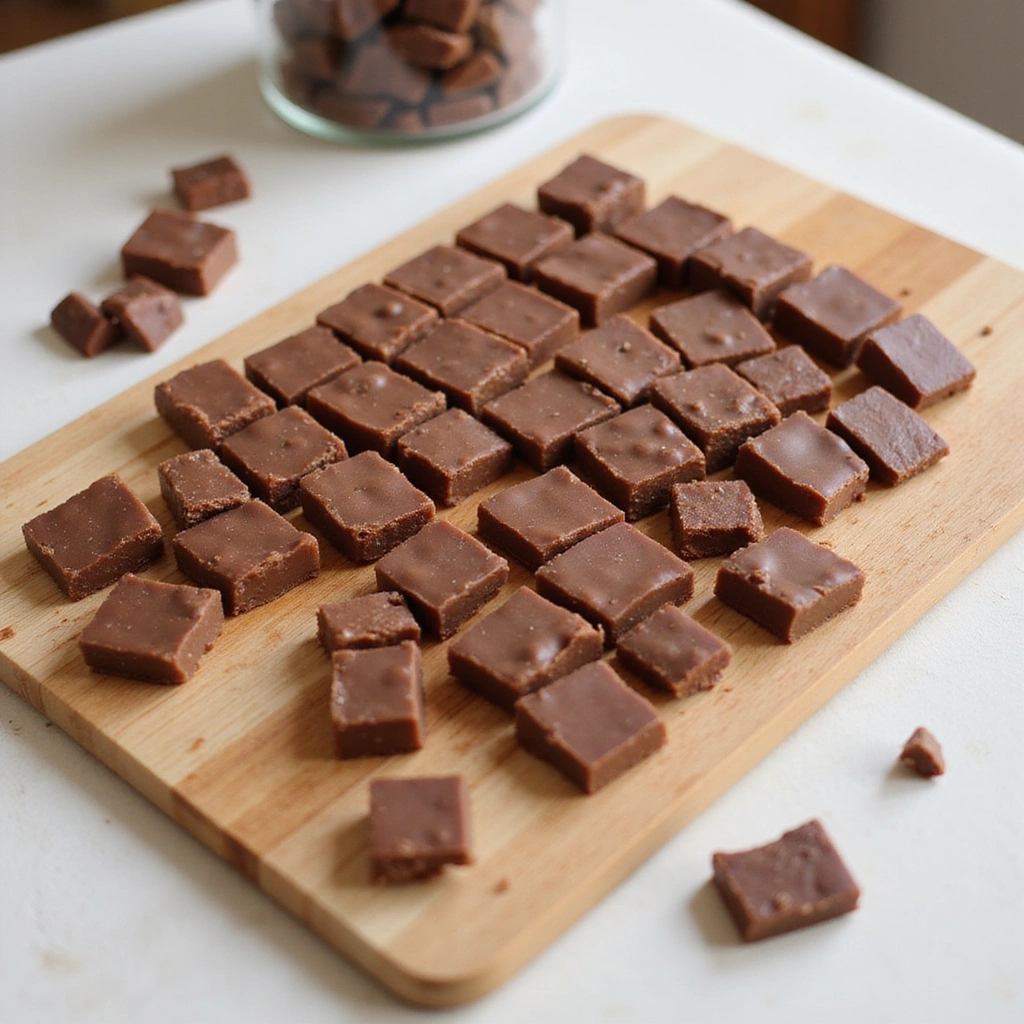
Once the candy has cooled and set, remove it from the mold using the parchment paper.
Cut into small squares or rectangles using a sharp knife.
Store in an airtight container to maintain freshness.
These pieces make a delightful treat for any occasion!
Critical Timing and Temperature Guide
Candy Cooking: Keep the heat on medium-high and monitor closely. The mixture should reach 234°F to 240°F without burning, which can happen quickly if unattended.
Cooling Time: Allow the mixture to cool for at least 2 hours at room temperature. Cutting too soon can result in a sticky mess.
Storage: Once cut, store in an airtight container at room temperature. This helps maintain the candy’s texture and flavor.
Pro Tips for Brown Candy Pieces
• Ingredient Selection: Use high-quality butter and heavy cream for a richer flavor that elevates the candy experience.
• Preparation Secret: Stirring continuously while the sugar melts prevents it from crystallizing, ensuring a smooth texture.
• Temperature Management: Use a reliable candy thermometer for accurate temperature readings to achieve perfect consistency.
• Texture Enhancement: Allow the mixture to rest before cutting; this develops a chewier texture.
• Flavor Layering: Experiment with adding a hint of your favorite extracts, like almond or maple, for unique flavor profiles.
• Make-Ahead Strategies: You can make the candy up to a week in advance; just store it in an airtight container.
• Restaurant-Quality Finishing Touches: Consider drizzling melted chocolate over the top for an elegant touch.
• Equipment Optimization: Ensure your tools are clean and dry; any moisture can affect the candy’s texture.
Troubleshooting Common Issues
• Texture Too Hard: This often occurs if the mixture is cooked too long. To fix, gently reheat with a splash of cream to soften.
• Crystallization: If your candy becomes grainy, it means sugar crystals formed. To prevent this, avoid stirring after it reaches a boil.
• Burnt Flavor: If the candy tastes burnt, it’s likely cooked too long. Monitor closely and adjust the heat as needed.
• Not Setting Properly: If the candy remains sticky, it might not have reached the right temperature. Use a thermometer next time for accuracy.
• Uneven Texture: Stirring inconsistently can lead to an uneven texture; ensure you stir continuously while cooking.
Variations and Regional Differences
• Southern Brown Candy: In the southern U.S., this candy often includes pecans or walnuts, adding crunch and flavor.
• Chocolate Brown Candy: Some variations incorporate cocoa powder or chocolate chips for a rich chocolate flavor and color.
• Maple Brown Candy: In New England, maple syrup is a popular substitute for sugar, creating a unique twist with a distinct flavor.
• Modern Interpretations: Contemporary versions may include flavors like sea salt caramel or even spicy elements like cayenne for a kick.
Food Science Behind the Recipe
• Caramelization: This process occurs when sugar is heated to high temperatures, creating complex flavors and the characteristic brown color. Understanding this can help you achieve the perfect caramel flavor.
• Emulsification: The incorporation of butter and cream into the sugar mixture creates an emulsion, which gives the candy its creamy texture and rich flavor.
• Temperature Control: Maintaining the right cooking temperature is essential for achieving the desired candy texture, as too high a temperature can lead to hard candy, while too low can result in a soft, sticky mixture.


Frequently Asked Questions
What’s the most common mistake people make when preparing Brown Candy Pieces? The top mistake is not monitoring the temperature closely, leading to either burnt or improperly set candy.
Can I prepare components of this dish in advance? Yes, you can make the candy up to a week ahead and store it in an airtight container at room temperature for freshness.
How do I adapt this recipe for dietary restrictions? For dairy-free options, substitute butter with plant-based margarine and heavy cream with coconut cream.
What’s the best way to store and reheat leftovers? Store in an airtight container at room temperature. Reheat gently in the microwave if needed, but be cautious to avoid melting.
Can I freeze this dish? Yes, you can freeze the candy. Wrap it tightly in plastic wrap and place it in an airtight container. Thaw in the refrigerator before serving.
What wine or beverages pair best with this dish? Sweet dessert wines like Moscato or rich coffee pair wonderfully with the flavors of Brown Candy Pieces.
How can I scale this recipe up for a crowd? To scale up, simply multiply the ingredient quantities, keeping an eye on cooking times and temperature to ensure even cooking.
What side dishes complement this recipe best? Consider pairing with a scoop of vanilla ice cream or a side of fresh fruit for contrast.
How do professional chefs elevate this dish for restaurant service? Many chefs will incorporate gourmet elements like flavored salts or edible gold leaf for an elegant presentation.
Serving and Presentation Guide
• Traditional Presentation: Serve the Brown Candy Pieces on a decorative plate, perhaps with a dusting of powdered sugar or cocoa for added flair.
• Modern Plating Ideas: Consider stacking the pieces in a clear glass jar to showcase their texture and color, or serve with a side of dipping sauce like melted chocolate.
• Accompaniment Suggestions: Pair with hot beverages like coffee or tea, which complement the candy’s sweetness.
• Special Occasion Presentation: For celebrations, wrap individual pieces in colorful cellophane tied with ribbons for a festive touch.
Conclusion
I hope you find great joy in making your own Brown Candy Pieces at home.
This recipe is a delightful way to bring sweetness into your life and share it with loved ones.
Give it a try, and indulge in the comforting flavors of this nostalgic treat.