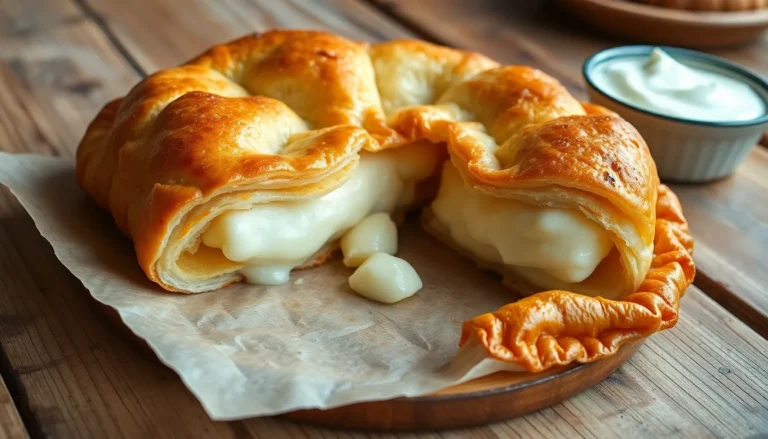
A simple gluten-free frittata makes for a delightful and nutritious breakfast option that everyone can enjoy.
Its fluffy texture combined with vibrant vegetables and rich eggs creates a satisfying meal that bursts with flavor.
I first made this dish on a lazy Sunday morning, and it quickly became a family favorite for its ease and versatility.
Whether you’re using leftover vegetables or fresh seasonal produce, this frittata is a canvas for your culinary creativity.
The History and Cultural Significance
• A Simple Gluten Free Frittata For A Healthy Breakfast traces its origins to Italy, where it was originally created as a way to use up leftover ingredients.
• The dish evolved over decades as various regions added their own ingredients, eventually becoming the versatile frittata we know today.
• In Italian culture, this dish traditionally appears at brunch gatherings, symbolizing hospitality and the joy of sharing food with loved ones.
• While many variations exist across different regions, the authentic version maintains a simple egg base that sets it apart from imitations.


Recipe Overview
Nutritional Information (per serving)
Ingredients


Essential Equipment Guide
Non-Stick Skillet: A non-stick skillet is crucial for cooking the frittata evenly without sticking. Look for one that is oven-safe and has a sturdy handle for easy maneuvering.
Mixing Bowl: A good mixing bowl helps in whisking the eggs properly and combining all the ingredients thoroughly. Choose a bowl that is large enough to accommodate all the ingredients without spilling.
Whisk: A sturdy whisk is essential for beating the eggs to create a fluffy texture. Opt for a whisk with a comfortable grip and sturdy wires for effective mixing.


Preparation Methods
Whisking Eggs: Whisking the eggs thoroughly incorporates air, which helps create a fluffy texture in the frittata. Make sure to beat them until they are fully blended and slightly frothy for the best results.
Sautéing Vegetables: Sautéing vegetables before adding them to the egg mixture enhances their flavor and ensures they are tender. Cook them until they are softened and slightly caramelized for a sweeter taste.
Finishing Under the Broiler: Using the broiler at the end of cooking gives the frittata a beautiful golden top. Ensure you watch it closely to prevent burning and achieve that perfect finish.


Step 1: Prepare Ingredients

Begin by gathering all your ingredients on a clean countertop.
Chop the bell peppers, onion, and spinach to prepare them for cooking.
Make sure to measure out the milk and have your eggs ready to whisk.
This prep step is crucial to ensure a smooth cooking process.


Step 2: Whisk the Eggs
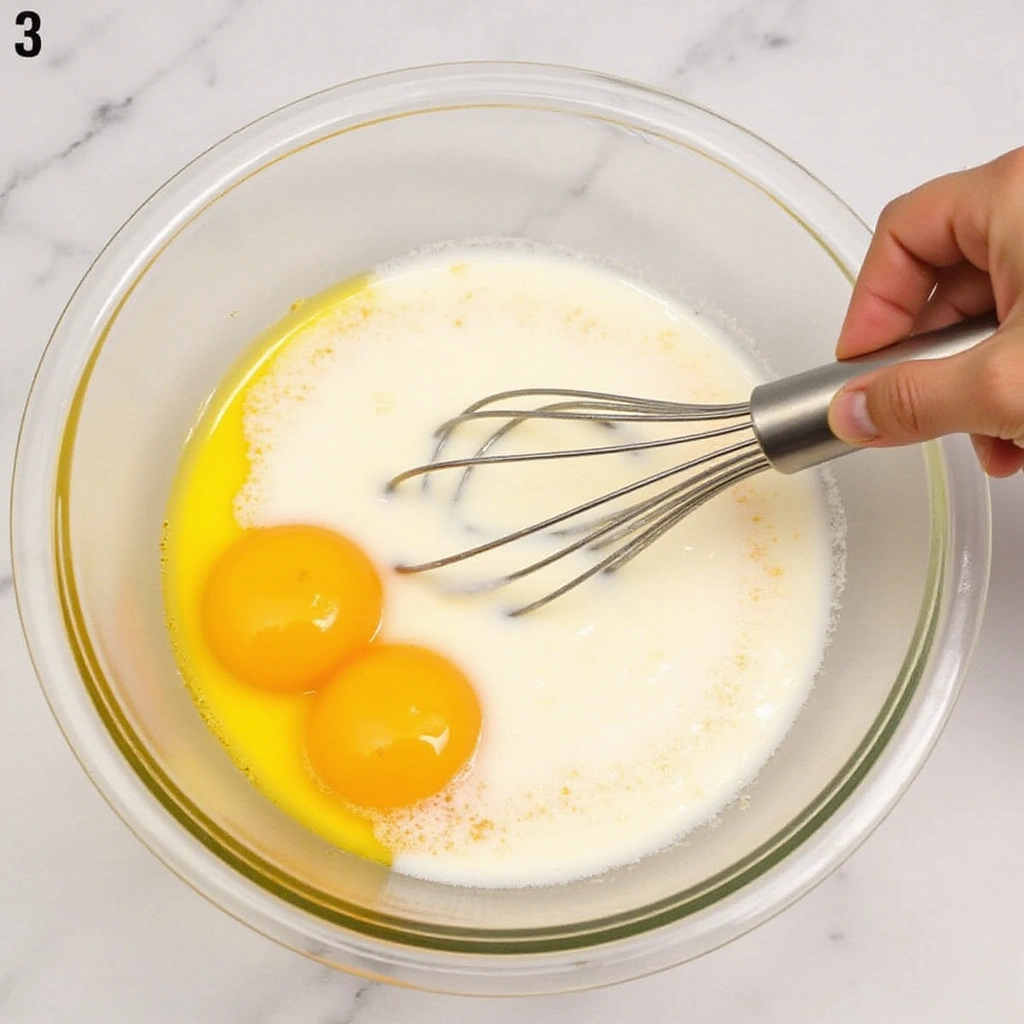
In a mixing bowl, crack the eggs and add the milk.
Use a whisk to beat the eggs vigorously until they are frothy and well combined.
This step is vital for achieving a light and airy frittata.
Set the mixture aside while you prepare the vegetables.


Step 3: Sauté the Vegetables
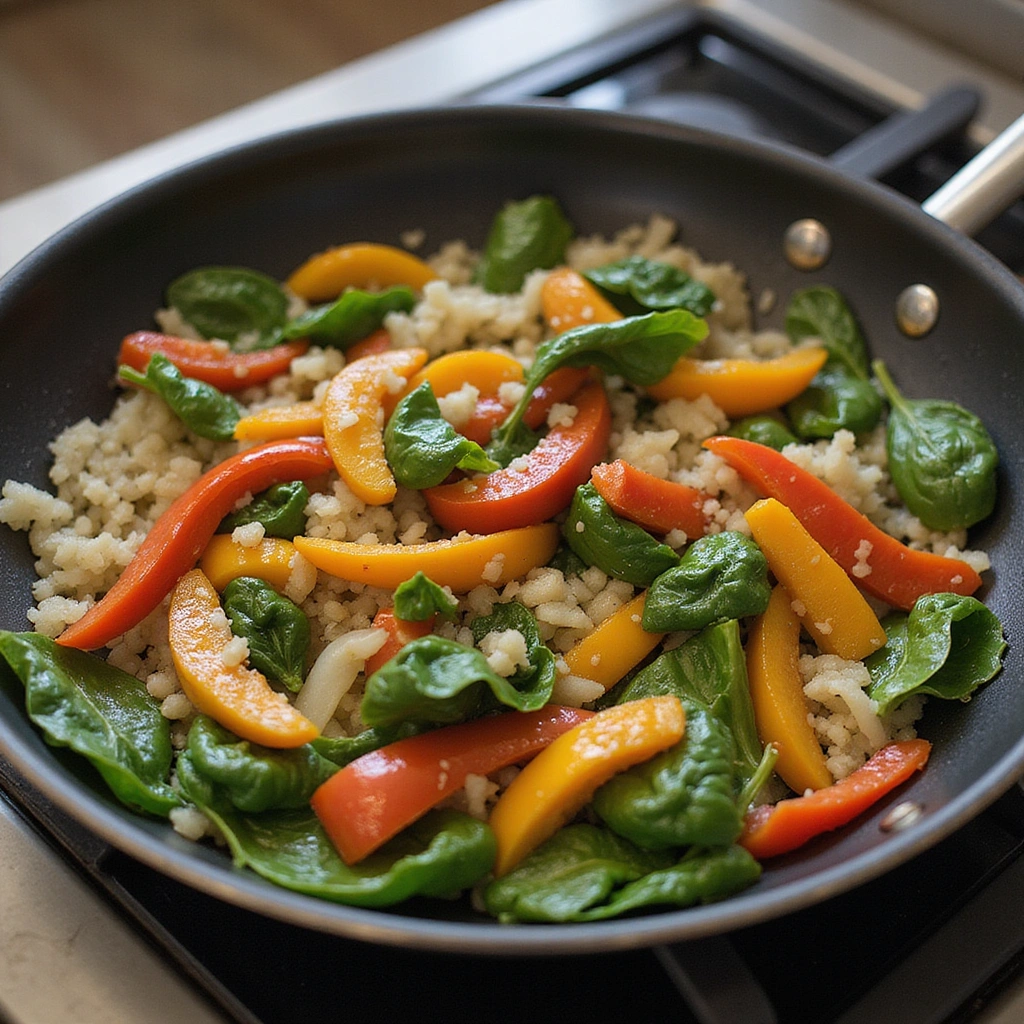
Heat a non-stick skillet over medium heat and add a splash of olive oil.
Add the chopped onions first, sautéing them until they turn translucent.
Next, add the bell peppers and spinach, cooking until just wilted.
This step enhances the flavors and ensures the vegetables are tender.


Step 4: Combine Ingredients
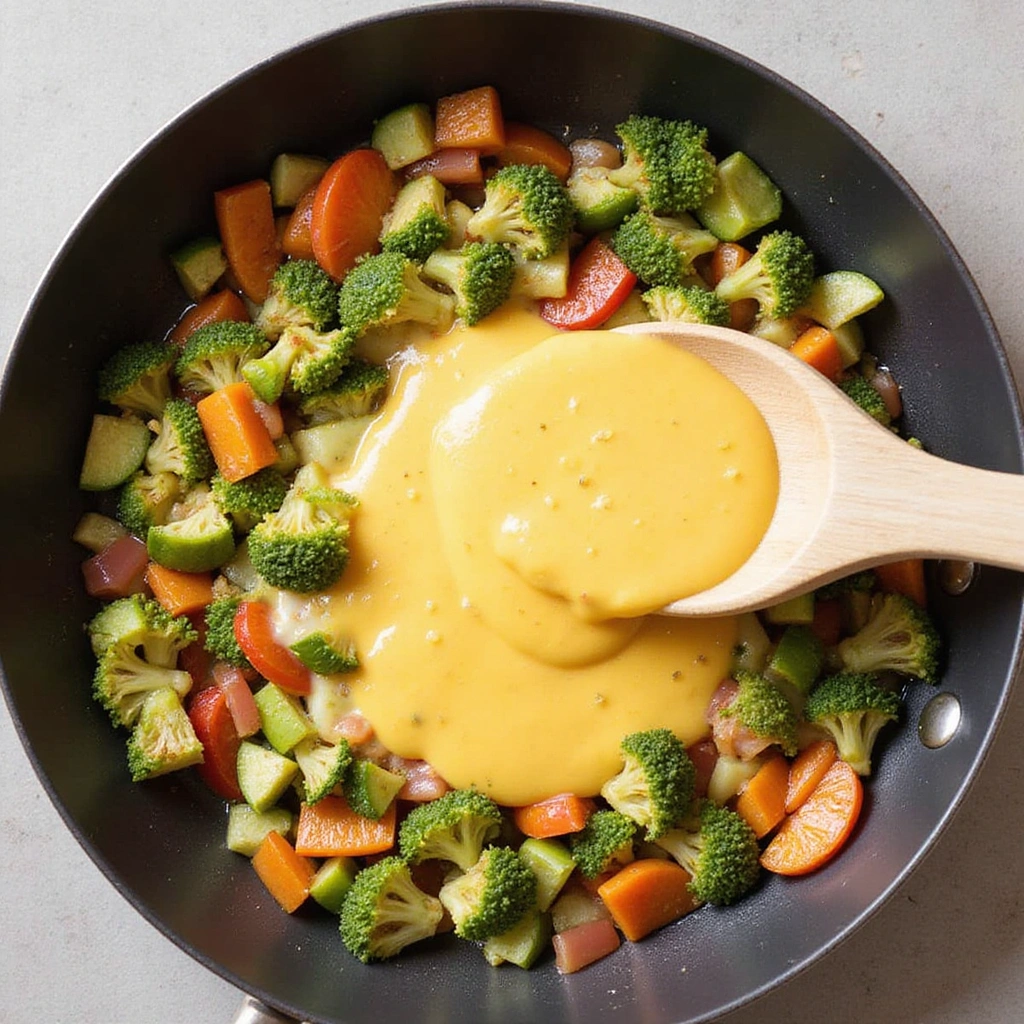
Once the vegetables are cooked, reduce the heat to low and pour the egg mixture over the sautéed vegetables.
Gently stir to combine everything evenly in the skillet.
This helps to distribute the vegetables throughout the frittata.
Ensure the heat remains low to prevent the bottom from burning.
Step 5: Cook on the Stovetop
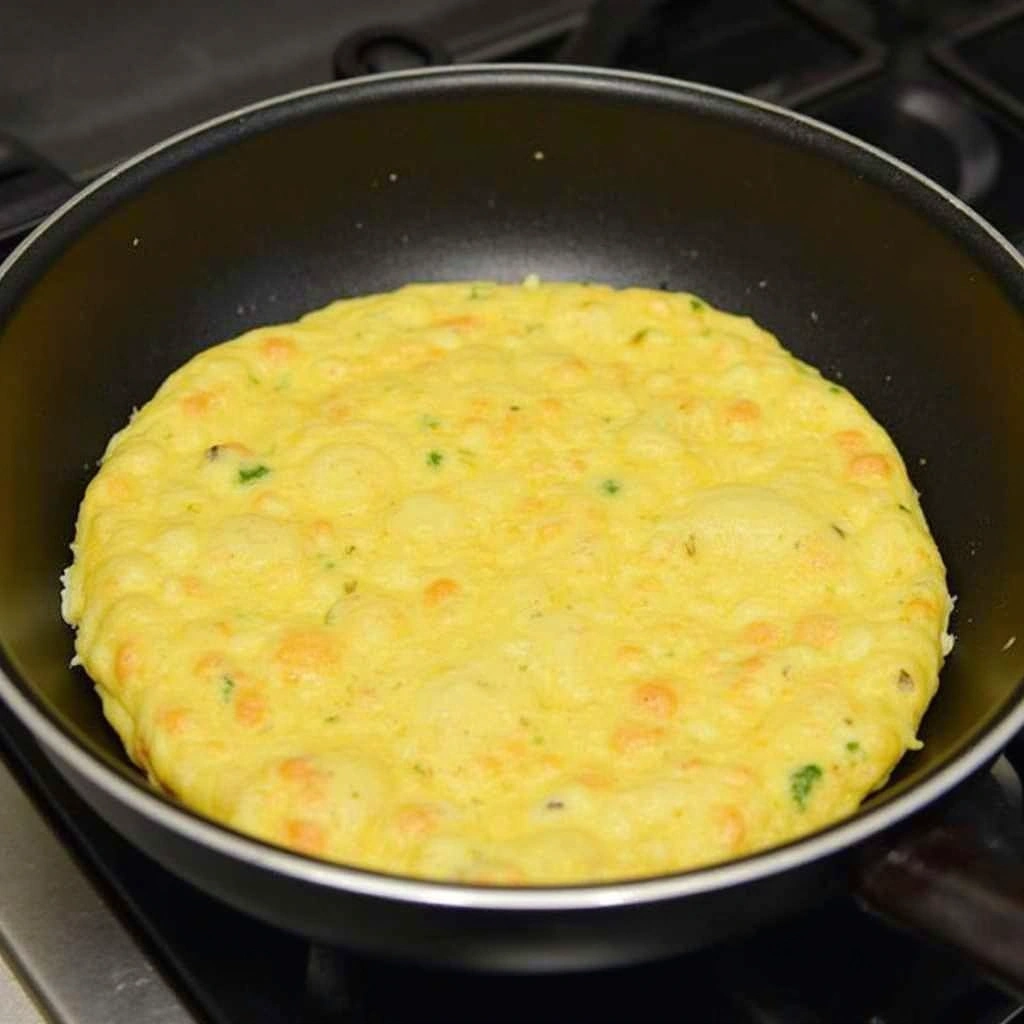
Cook the frittata on the stovetop for about 5-7 minutes until the edges begin to set.
You can gently shake the skillet to check if it’s cooking evenly.
Look for the eggs to be just set on the edges but still slightly jiggly in the middle.
This will ensure a soft texture once baked.


Step 6: Finish Under the Broiler
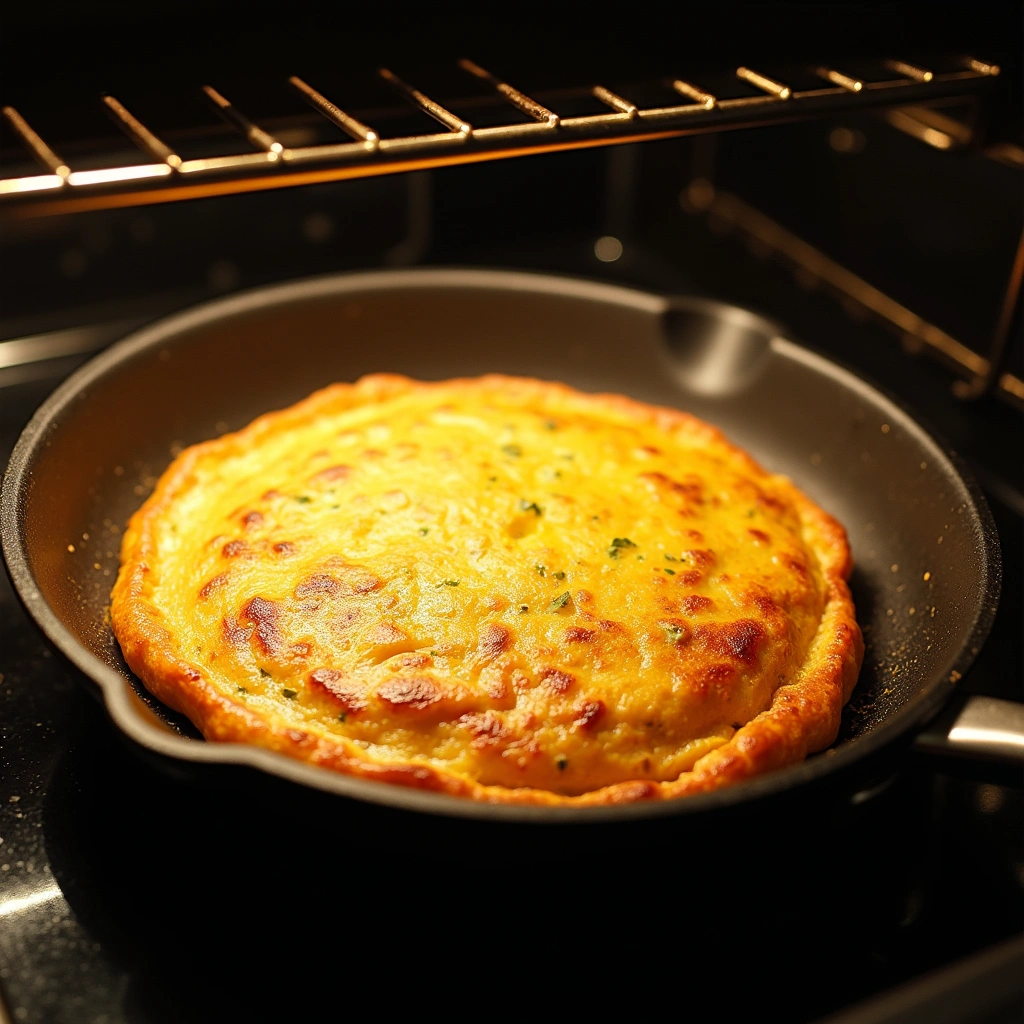
Preheat your broiler on high while the frittata cooks on the stovetop.
Once the edges are set, transfer the skillet to the broiler.
Cook for an additional 3-5 minutes until the top is golden brown and puffed up.
Keep a close eye to avoid burning while achieving that perfect finish.
Step 7: Cool and Slice

Once done, remove the skillet from the oven and let it cool for a few minutes.
Use a spatula to gently slide the frittata onto a cutting board.
Slice it into wedges for serving.
This cooling step helps the frittata hold its shape when sliced.


Step 8: Serve and Enjoy

Transfer the frittata slices to a serving platter.
You can garnish it with fresh herbs for a pop of color.
Serve warm or at room temperature, accompanied by a side salad or toast.
This dish is perfect for sharing at brunch or a simple weekday breakfast.


Critical Timing and Temperature Guide
Cooking on the Stovetop: Cook for 5-7 minutes on low heat until edges are set and the center is slightly jiggly. Look for a soft texture, and avoid high heat to prevent burning.
Broiling: Broil for 3-5 minutes until the top is golden brown. Keep a watchful eye to prevent burning, and adjust the oven rack if necessary.
Cooling: Allow to cool for 5 minutes before slicing. This helps the frittata maintain its shape when cut.


Pro Tips for A Simple Gluten Free Frittata For A Healthy Breakfast
• Ingredient Selection: Use fresh, high-quality eggs for the best flavor and texture.
• Preparation Secret: Whisk the eggs until frothy to incorporate air, leading to a fluffier frittata.
• Temperature Management: Ensure your skillet is at the right medium heat to cook the vegetables without burning.
• Texture Enhancement: Avoid overcooking the eggs; they should be just set in the center for a creamy texture.
• Flavor Layering: Experiment with different herbs and spices to elevate the flavor profile.
• Make-Ahead Strategies: Cook the frittata in advance and reheat gently in the oven to preserve texture.
• Restaurant-Quality Finishing Touches: Garnish with fresh herbs or a sprinkle of cheese just before serving for a professional look.
• Equipment Optimization: Use a good quality non-stick skillet for easy release and even cooking.


Troubleshooting Common Issues
• Texture Too Dense: This can occur if the eggs are overcooked. To fix, reduce heat and cook for a shorter time.
• Flavors Unbalanced: If too bland, add more salt or herbs to enhance taste. Season to your preference during cooking.
• Burnt Bottom: This happens if the heat is too high. Always cook on low to medium heat, and keep an eye on the stovetop.
• Eggs Not Setting: If the middle remains runny, ensure the skillet is hot enough and broil for longer.
• Vegetables Excessively Watered: This occurs with frozen spinach or watery vegetables. Sauté thoroughly to evaporate moisture before adding eggs.
Variations and Regional Differences
• Spanish Tortilla: This version uses thinly sliced potatoes and may include chorizo, creating a heartier dish.
• Crustless Quiche: Typically includes cheese and cream for a richer experience, often baked in a pie dish.
• Herb Frittata: Focuses on fresh herbs like basil and parsley, offering a vibrant flavor profile.
• Modern Interpretations: Incorporating ingredients like quinoa or sweet potatoes for a healthy twist while maintaining the essence of a frittata.


Food Science Behind the Recipe
• Emulsification: The combination of eggs and milk creates an emulsion, which contributes to the frittata’s creamy texture.
• Protein Coagulation: As the frittata cooks, the proteins in the eggs coagulate, providing structure to the dish.
• Maillard Reaction: The browning that occurs during broiling adds depth of flavor and enhances visual appeal.


Frequently Asked Questions
What’s the most common mistake people make when preparing a gluten-free frittata? Overcooking the eggs is a frequent error. Always cook until just set to maintain a soft texture.
Can I prepare components of this dish in advance? Yes, you can chop vegetables and whisk the eggs a day ahead. Store them separately in the fridge.
How do I adapt this recipe for dietary restrictions? To make it dairy-free, use a plant-based milk substitute. For lower cholesterol, consider using egg whites instead of whole eggs.
What’s the best way to store and reheat leftovers? Store leftovers in an airtight container in the fridge for up to 3 days. Reheat gently in the oven at 350°F until warm.
Can I freeze this dish? Yes, you can freeze slices of the frittata for up to 2 months. Thaw in the fridge overnight before reheating.
What wine or beverages pair best with this dish? A light white wine like Sauvignon Blanc pairs well, as do herbal teas for a refreshing complement.
How can I scale this recipe up for a crowd? Simply multiply the ingredients by the number of servings you need, and use a larger skillet or bake in the oven in a casserole dish.
What side dishes complement this recipe best? Fresh fruit salad or a side of mixed greens tossed with vinaigrette enhances the meal beautifully.
How do professional chefs elevate this dish for restaurant service? Chefs often add unique flavor elements like truffle oil or serve with artisanal bread for a gourmet touch.
Serving and Presentation Guide
• Traditional Presentation: Serve frittata slices on a rustic wooden board, garnished with fresh herbs and a drizzle of olive oil.
• Modern Plating Ideas: Use white plates with a colorful vegetable garnish on the side for a chic look.
• Accompaniment Suggestions: Pair with a light salad dressed in lemon vinaigrette or crusty whole-grain bread.
• Special Occasion Presentation: Arrange frittata wedges on a tiered cake stand for a stunning brunch centerpiece.


Conclusion
I hope you enjoy making this simple gluten-free frittata as much as I do.
It’s a versatile dish that allows for endless creativity with flavors and ingredients.
Give it a try for your next breakfast or brunch gathering, and watch it become a favorite among your family and friends.