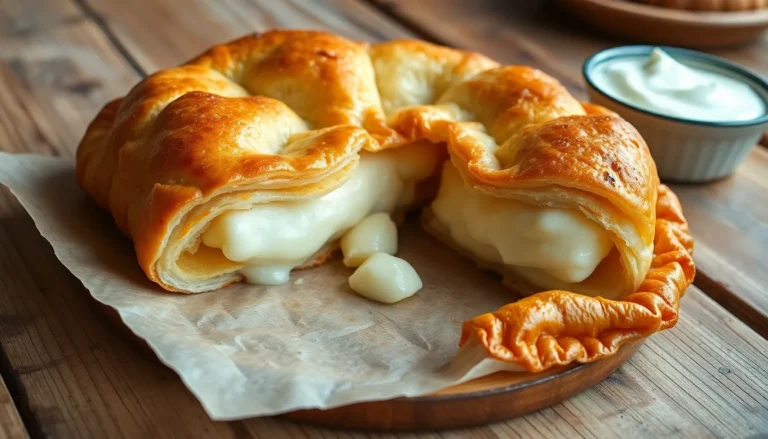
Looking for the perfect peanut butter cookies? The Joy of Cooking’s timeless recipe offers a foolproof way to create these classic treats that will have everyone reaching for seconds.
There’s something deeply comforting about homemade peanut butter cookies. That distinct cross-hatch pattern pressed into the top, the sweet-salty balance, and the melt-in-your-mouth texture all contribute to a cookie that’s been beloved for generations. The Joy of Cooking’s version stands out for its perfect balance of simplicity and flavor.
Whether you’re baking with kids on a rainy afternoon or preparing treats for a special occasion, these peanut butter cookies deliver consistent results and pure satisfaction. With just a few pantry staples and about 30 minutes, you’ll have warm, fresh cookies that capture the true joy of home baking.
The Classic Joy of Cooking Peanut Butter Cookies
The Joy of Cooking peanut butter cookies stand as a testament to simplicity and flavor. This beloved recipe has withstood the test of time because it delivers consistent results with minimal fuss. The magic lies in the perfect balance of ingredients that create that distinctive peanut butter cookie texture everyone recognizes.
Creating these classic cookies begins with gathering quality ingredients. The authentic recipe calls for creamy peanut butter though crunchy works well for those who prefer texture variation. Premium vanilla extract enhances the flavor profile while unsalted butter allows you to control the exact salt content.
Mixing follows a exact order that contributes to the cookies’ perfect consistency. First cream together butter and sugars until light and fluffy before incorporating the peanut butter. This technique creates air pockets that give the cookies their distinctive texture. Adding eggs one at a time ensures proper emulsification and structure.
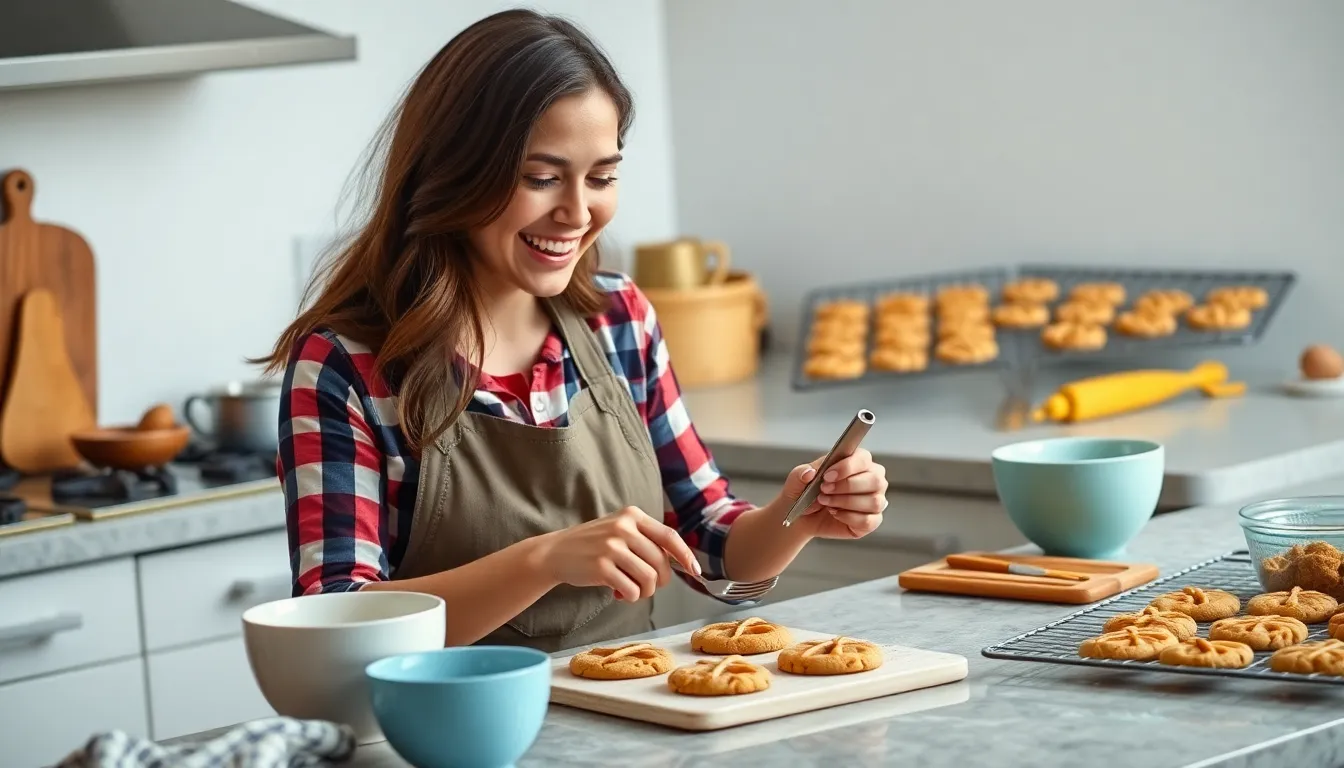
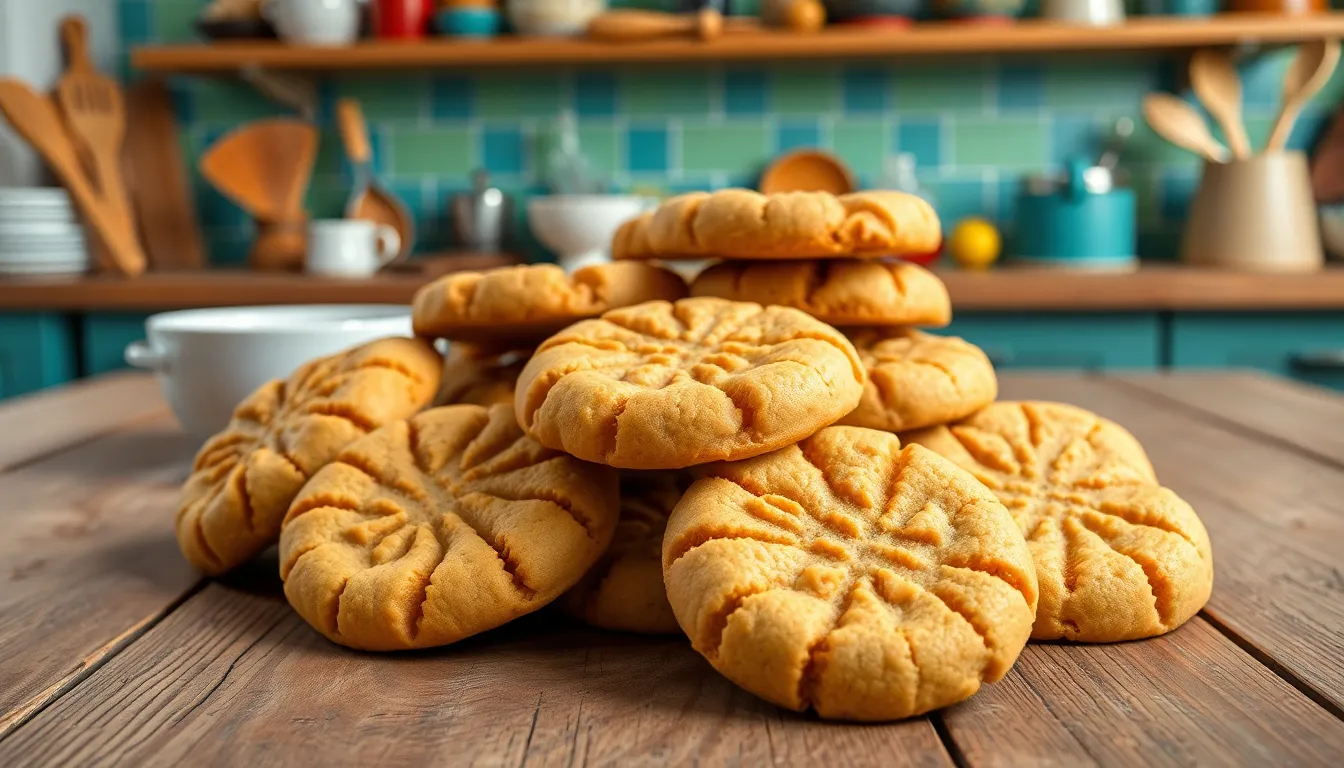
Shaping these cookies requires the iconic crisscross pattern made with fork tines. This tradition dates back decades and serves both decorative and functional purposes by flattening the dough to promote even baking. The pattern has become so synonymous with peanut butter cookies that it instantly identifies them on any cookie platter.
Baking temperature and timing precision matter tremendously for achieving the ideal texture. The sweet spot sits at 350°F for 10-12 minutes which produces cookies with slightly crisp edges and tender centers. Allowing the cookies to cool on the baking sheet for a few minutes before transferring to a wire rack prevents breakage and allows them to set properly.


Why Peanut Butter Cookies Bring So Much Joy
Sensory Pleasure and Comfort
Peanut butter cookies deliver an irresistible combination of rich sweet and slightly salty flavors that create an instant comfort experience. You might notice the nostalgic warmth that spreads through you with each bite connecting you to fond memories of home baking. The contrast between the creamy peanut butter and the textural elements of the cookie creates a sensory experience that few other treats can match.
Brain-Boosting Benefits
Research from the University of Barcelona reveals that peanut butter cookies offer more than just delicious taste. Scientists have discovered that consuming peanuts and peanut butter improves cognitive functions including:
| Cognitive Benefits | Compounds Responsible |
|---|---|
| Enhanced memory | Polyphenols |
| Better executive function | Resveratrol |
| Improved processing speed | p-Coumaric acid |
These compounds provide neuroprotective effects while also reducing stress and anxiety levels. Your afternoon cookie break might actually support your brain health while lifting your mood.
Natural Mood Enhancement
The secret behind the happiness that follows eating these cookies lies in their key ingredient. Peanut butter contains tryptophan an amino acid that helps your body produce serotonin—often called the “feel-good” neurotransmitter. This natural mood booster explains why reaching for a peanut butter cookie when feeling down can genuinely improve your emotional state.
Satisfying Energy Source
Unlike typical sugary treats peanut butter cookies provide lasting satisfaction. The protein fiber and healthy fats in peanut butter help you feel full longer which naturally curbs overeating. You receive sustained energy without the dramatic spikes and crashes associated with purely sugary snacks making these cookies a more balanced treat option throughout your day.
Mindful Enjoyment
Renowned mindfulness teacher Thich Nhat Hanh uses peanut butter cookie making as a metaphor for understanding interconnectedness. Taking time to appreciate each ingredient the process of mixing and baking and finally savoring each bite transforms cookie enjoyment into a mindful practice. This approach deepens your appreciation for simple pleasures and grounds you in the present moment.


Kitchen Tools You’ll Need
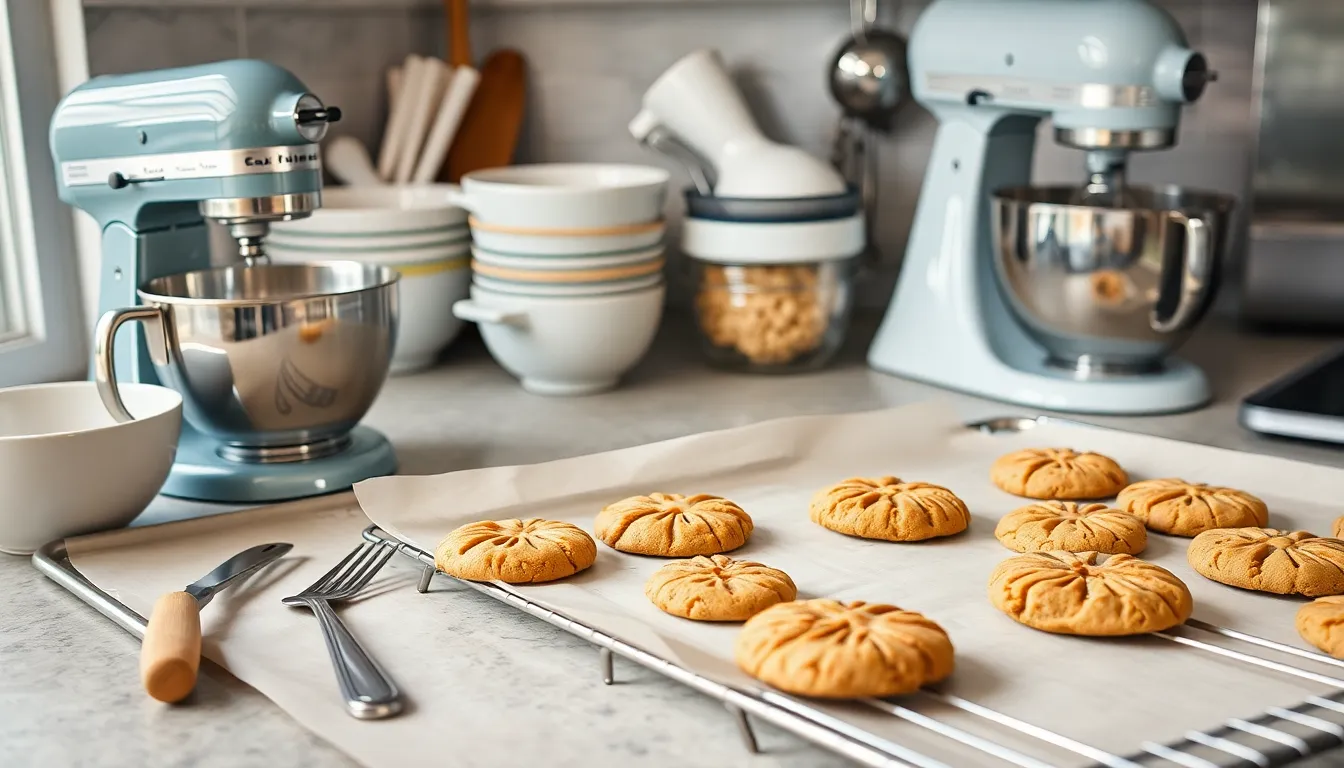
Before diving into the Joy of Cooking peanut butter cookies recipe, gather these essential kitchen tools to ensure a smooth baking experience:
- Mixing bowls – You’ll need at least two separate bowls for wet and dry ingredients
- Electric mixer or hand mixer – Essential for properly creaming butter and sugars together until light and fluffy
- Measuring cups and spoons – Precision matters when baking these classic cookies
- Cookie sheet or baking pan – Line with parchment paper or leave ungreased as the butter content in the recipe is sufficient
- Fork – Required to create the iconic criss-cross pattern that distinguishes peanut butter cookies
- Cooling rack – Allows cookies to cool properly after baking for the perfect texture
Having these tools ready before you begin will make the cookie-making process much more efficient. The recipe’s simplicity means you won’t need any specialized equipment beyond these basic kitchen staples. Your preparation will pay off when you’re enjoying perfectly shaped cookies with crisp edges and tender centers in just about 30 minutes from start to finish.


Ingredients for Perfect Peanut Butter Cookies
Gathering the right ingredients is the foundation for creating those iconic Joy of Cooking peanut butter cookies that strike the perfect balance between sweet and salty. These time-tested ingredients work together to create that unmistakable texture and flavor that has made this recipe a beloved classic.
Base Cookie Ingredients
- 1/2 cup (1 stick) butter, softened to room temperature
- 1/2 cup brown sugar, firmly packed
- 1/2 cup granulated sugar
- 1 large egg
- 1 cup peanut butter (creamy or crunchy based on preference)
- 1 1/2 cups all-purpose flour
- 1/2 teaspoon baking soda
- 1/2 teaspoon salt
- 1/2 teaspoon vanilla extract
These carefully balanced proportions yield approximately 30 cookies measuring about 3 inches each. The quality of your peanut butter matters significantly – choose a high-quality brand with minimal additives for the most authentic flavor. Room temperature butter is essential for proper creaming with the sugars, creating those tiny air pockets that give your cookies their perfect texture.
Optional Mix-ins and Variations
You can personalize your Joy of Cooking peanut butter cookies with several delicious additions. Fold in 1/2 cup of chocolate chips for a delightful chocolate-peanut butter combination that satisfies both cravings at once. Add 1/3 cup of chopped peanuts or peanut chips for extra crunch and intensified peanut flavor throughout each bite.
The texture of your cookies can be customized by adjusting the flour quantity. Adding an extra 2-3 tablespoons creates firmer cookies with more structure, while reducing the flour by the same amount results in softer, chewier treats. The choice between creamy and crunchy peanut butter allows for further texture customization without altering the fundamental recipe.
For special occasions, consider rolling the dough balls in granulated sugar before making the traditional fork crosshatch pattern, creating a sparkling finish and subtle crunch to the exterior. These adaptations maintain the integrity of the classic recipe while allowing you to make it uniquely yours.


Preparing Your Workspace
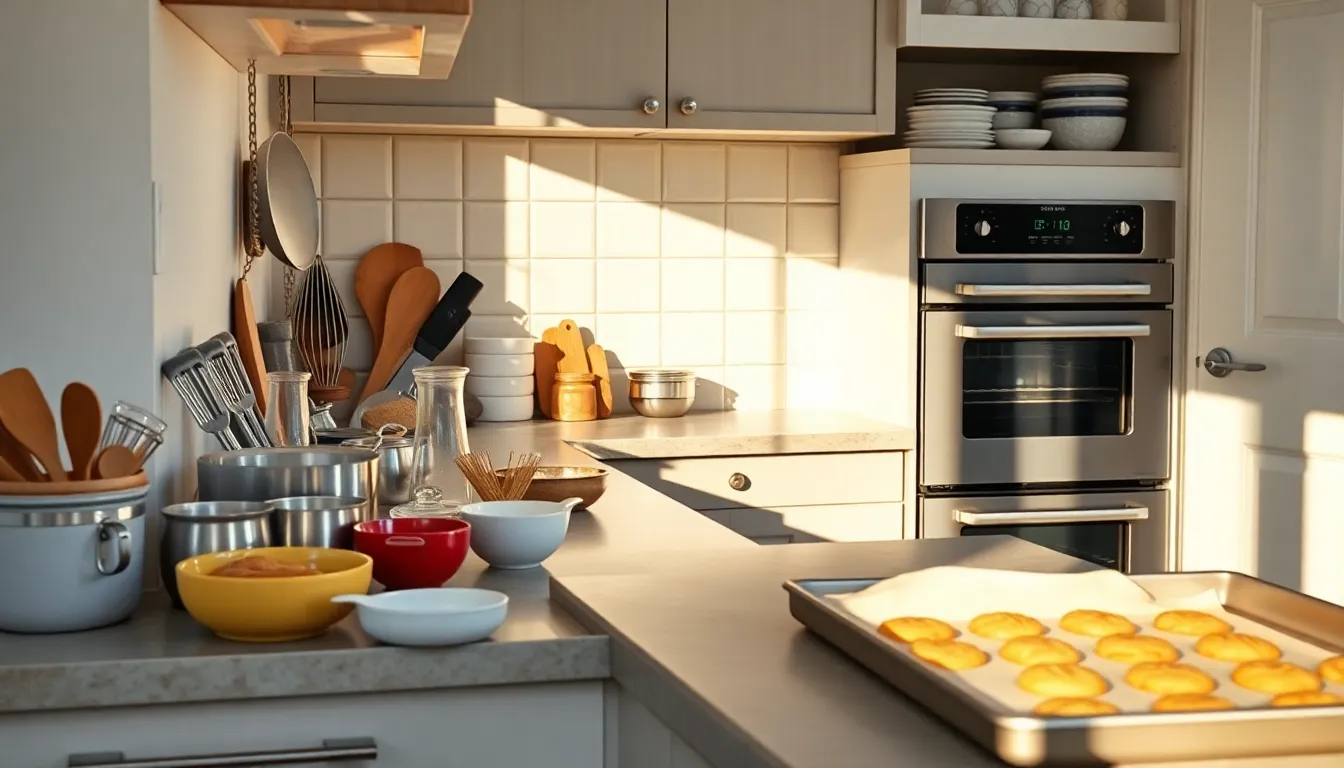
A well-organized workspace makes baking peanut butter cookies much more enjoyable and efficient. Before diving into the mixing process, take a few minutes to set up your kitchen for success.
Start by preheating your oven to 350°F (175-180°C). This temperature is ideal for achieving cookies with perfectly crisp edges and tender centers. While your oven heats up, line your baking sheets with parchment paper or apply a light coating of cooking spray to prevent sticking.
Gather all your ingredients and measuring tools on the counter within easy reach. Having everything accessible eliminates the stress of searching for items mid-recipe and helps ensure you don’t accidentally omit any important components.
Clear ample counter space for rolling and shaping your cookie dough. The classic criss-cross pattern requires room to work, so remove any unnecessary kitchen items that might crowd your workspace.
Position your cooling rack in a spot where freshly baked cookies can rest undisturbed. Proper cooling is essential for developing the ideal texture that makes Joy of Cooking peanut butter cookies so beloved.
Arrange your tools in the order you’ll use them—mixing bowls first, followed by measuring cups, spoons, electric mixer, and finally your prepared baking sheets. This strategic setup creates a natural workflow that streamlines the entire baking process.
Remember that the hands-on engagement with these simple preparations is part of what makes baking these traditional cookies such a satisfying experience. Taking time to properly organize your workspace contributes significantly to the joy of creating these nostalgic treats that have been cherished through generations.


Mixing the Cookie Dough
The perfect peanut butter cookie begins with properly mixing your dough to achieve that ideal balance of tenderness and structure. Follow these key steps to create the foundation for cookies with the classic texture that made the Joy of Cooking recipe famous.
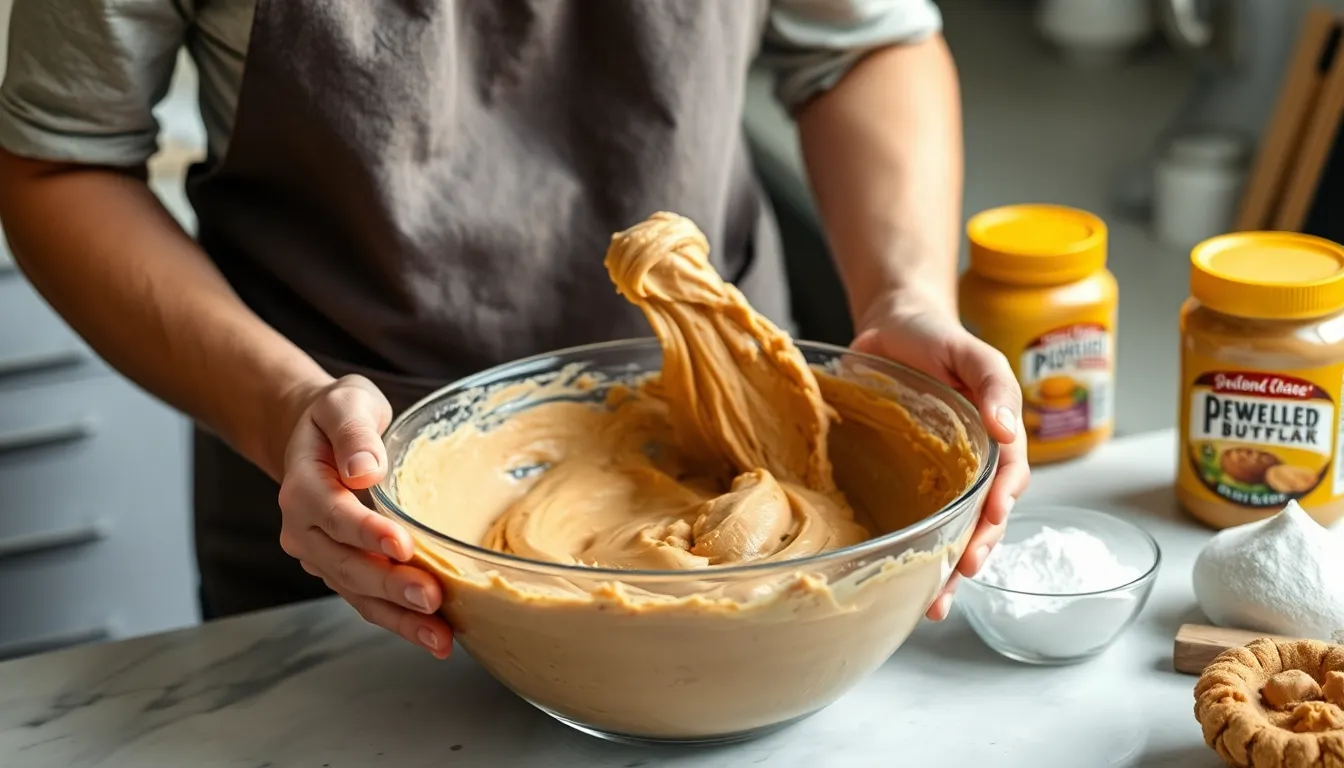
Creaming the Butter and Sugar
Start your cookie journey by beating room temperature butter until smooth and pliable in a large mixing bowl. Gradually add both granulated and brown sugars to the softened butter, continuing to beat the mixture until it becomes noticeably light and fluffy. This crucial creaming process typically takes 3-4 minutes and creates tiny air pockets that give your cookies their perfect texture. You’ll know you’ve reached the right consistency when the mixture turns pale yellow and appears creamy with a slightly increased volume. The transformation from dense butter to an aerated mixture provides the foundation for cookies that are neither too dense nor too cakey.
Adding the Peanut Butter Magic
Once your butter-sugar mixture reaches the perfect fluffy consistency, it’s time to incorporate the star ingredient. Add your chosen peanut butter (smooth or crunchy depending on texture preference) to the creamed mixture and beat thoroughly until completely blended. The peanut butter should be fully integrated, creating a uniform color throughout the batter. Next, beat in the vanilla extract to enhance the nutty flavor profile. Add the egg and continue mixing until the wet ingredients form a cohesive, smooth blend. This step infuses your cookies with rich peanut flavor while the egg provides essential binding properties that hold your cookies together during baking.
Incorporating Dry Ingredients
Before adding your dry ingredients, sift together the flour, baking soda, and salt in a separate bowl to eliminate lumps and ensure even distribution. Gradually add this dry mixture to your wet ingredients, mixing on low speed just until combined. Stop mixing as soon as no dry flour remains visible to prevent overworking the dough, which would develop gluten and result in tough cookies. The dough should look slightly sticky but hold together well when pressed. For cookies with extra texture, you might fold in optional additions like chopped peanuts or chocolate chips at this stage using a gentle folding motion. Your perfectly mixed dough is now ready to be shaped into balls, marked with the signature crisscross pattern, and transformed into delicious peanut butter cookies during baking.


Shaping and Decorating Your Cookies

The way you shape and decorate your peanut butter cookies adds both visual appeal and affects the texture of the final treat. This step transforms simple dough into recognizable cookies that are as delightful to look at as they are to eat.
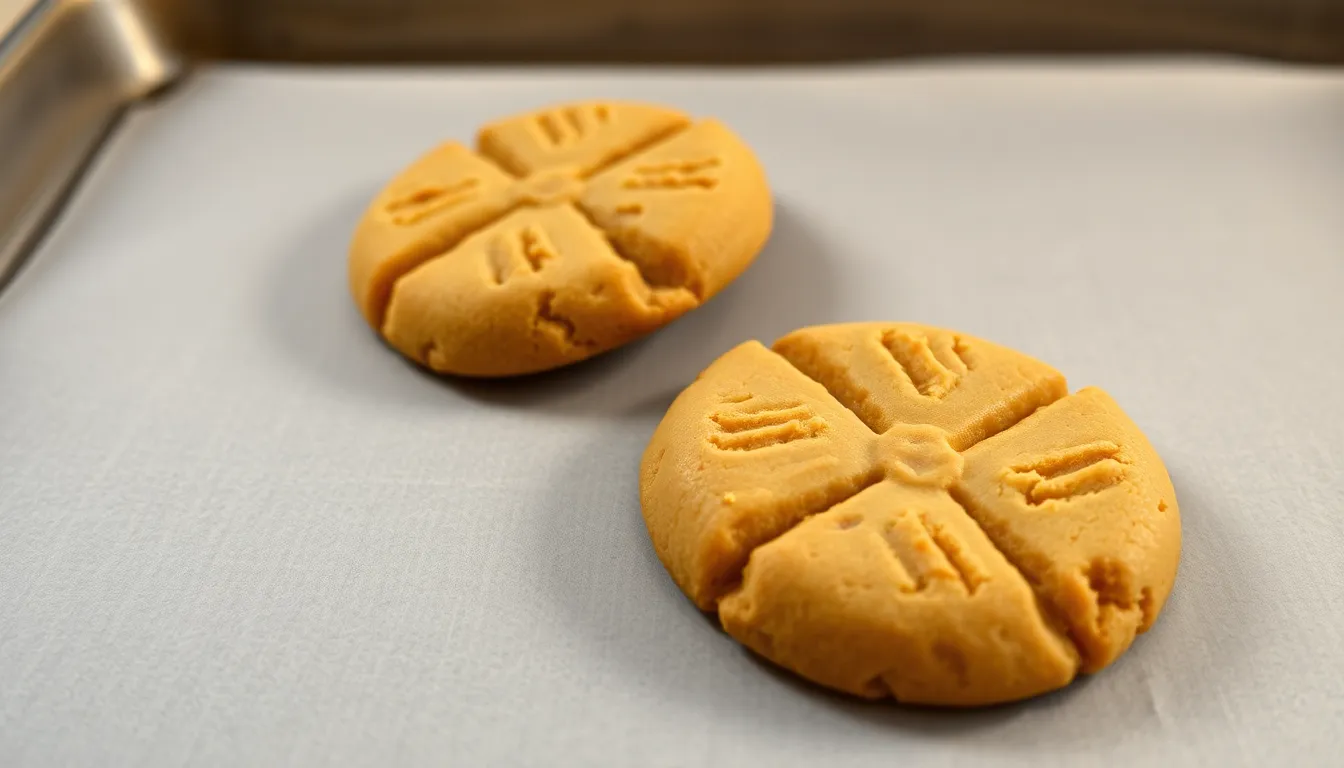
Traditional Criss-Cross Pattern
The hallmark feature of Joy of Cooking peanut butter cookies is the distinctive criss-cross pattern that makes them instantly recognizable. To create this classic design, roll your cookie dough into balls approximately 1 inch (3 cm) in diameter. Place each ball onto your prepared baking sheet, allowing about 2 inches between them for spreading. Take a fork and gently press it into each dough ball, creating parallel lines across the surface. Rotate the fork 90 degrees and press again to form the signature grid pattern. This technique not only adds visual interest but serves a practical purpose by flattening the cookies for more even baking. The depth of your fork impressions will affect the final thickness of your cookies—press more firmly for thinner, crispier cookies or more gently for thicker, chewier results.
Fun Variations for Kids
Baking with children presents wonderful opportunities to get creative with your peanut butter cookie decorations. Instead of the traditional fork pattern, let kids experiment with cookie stamps or other kitchen utensils to create unique impressions in the dough. Rolling the dough balls in colored sugar or festive sprinkles before baking adds sparkle and excitement to the finished cookies. You can transform basic peanut butter cookies into eye-catching treats by pressing chocolate chips or mini M&Ms into the surface before baking. Younger bakers might enjoy making thumbprint cookies by pressing their finger into the center of each dough ball, creating a well that can be filled with jam or chocolate after baking. For a completely different approach, try rolling the dough flat and using cookie cutters to create shaped cookies while still enjoying that classic peanut butter flavor. These playful variations maintain the delicious taste of the original recipe while adding an element of fun that makes baking with children a memorable experience.


Baking Instructions
Now that your dough is mixed and shaped it’s time to transform those cookie balls into delicious baked treats. Following these precise steps from The Joy of Cooking will ensure perfect peanut butter cookies every time.
- Place your shaped cookie dough balls on a parchment-lined baking sheet about 2 inches apart to allow for spreading.
- Using a fork, create the iconic criss-cross pattern by pressing down gently on each ball in one direction then perpendicular to the first press.
- Make sure the cookies are evenly flattened to about 1/4-inch thickness for consistent baking.
- Position the baking sheet in the center of your preheated oven for even heat distribution.
- Bake one sheet at a time for the most consistent results.
- Avoid opening the oven door frequently as temperature fluctuations can affect baking.
Oven Temperature and Timing
The perfect bake starts with the right temperature and timing. Set your oven to 350°F (180°C) and position the rack in the center for optimal heat circulation. Your cookies will need approximately 10 to 15 minutes in the oven depending on your desired texture. For a chewier cookie alternative try baking at a slightly higher temperature of 375°F for just 10 minutes. A standard batch of approximately 30 cookies typically requires 10-12 minutes to achieve that light golden brown color that indicates perfection. Remember that cookies continue to firm up after removal from the oven so timing is crucial for achieving the ideal texture balance.
How to Tell When They’re Done
Determining the exact moment to remove your peanut butter cookies from the oven is key to their final texture. Look for cookies that are lightly golden brown around the edges while still appearing somewhat soft in the center. The tops should appear dry but not deeply browned which would indicate overbaking. Try this test: gently press the top of a cookie with your fingertip—it should spring back slightly while still feeling tender. Trust your instincts about removing them when the edges are set but before they become too dark since they will continue to firm up as they cool on the baking sheet. This careful timing ensures that perfect balance between crisp edges and a soft tender center that makes Joy of Cooking peanut butter cookies so irresistibly delicious.


Cooling and Storing
Proper cooling and storage techniques are essential for maintaining the perfect texture and flavor of your Joy of Cooking peanut butter cookies. Follow these professional methods to enjoy your freshly baked treats for days or even weeks to come.
Cooling Process
Allow your freshly baked peanut butter cookies to rest on the baking sheet for 2-3 minutes after removing them from the oven. This brief resting period helps the cookies firm up slightly and prevents breakage during transfer.
Transfer the cookies to a wire cooling rack using a thin spatula to ensure even air circulation around each cookie. The cooling rack prevents moisture from condensing underneath the cookies which would make them soggy. Complete cooling typically takes about 20-30 minutes depending on the size and thickness of your cookies.
Resist the temptation to stack or store cookies before they’re completely cooled to room temperature. Premature storage can trap heat and moisture resulting in soft soggy cookies instead of the perfect balance of crisp edges and tender centers.
Storage Options
Store your completely cooled peanut butter cookies in an airtight container at room temperature for optimal freshness. Using airtight containers maintains the cookies’ texture and prevents them from absorbing odors from your kitchen.
Your cookies will remain fresh for 3 to 5 days when properly stored at room temperature. Place sheets of parchment paper between layers if you need to stack them to prevent sticking.
For longer storage freeze your peanut butter cookies in freezer-safe containers or heavy-duty freezer bags. Frozen cookies maintain excellent quality for up to 2 months when properly stored and protected from freezer burn.
Reviving Stored Cookies
Refresh room-temperature cookies that have slightly hardened by placing them in the microwave for 5-10 seconds. This brief warming restores some of their fresh-baked texture.
Thaw frozen cookies by leaving them at room temperature for about 1-2 hours before serving. Alternatively heat frozen cookies in a 300°F oven for about 5 minutes to recreate that freshly baked warmth and aroma.
The classic Joy of Cooking peanut butter cookie recipe typically yields about 24-30 cookies of approximately 3-inch diameter. When properly cooled and stored these cookies maintain their distinctive sweet-salty balance and perfect texture whether enjoyed immediately or saved for later.


Serving Suggestions
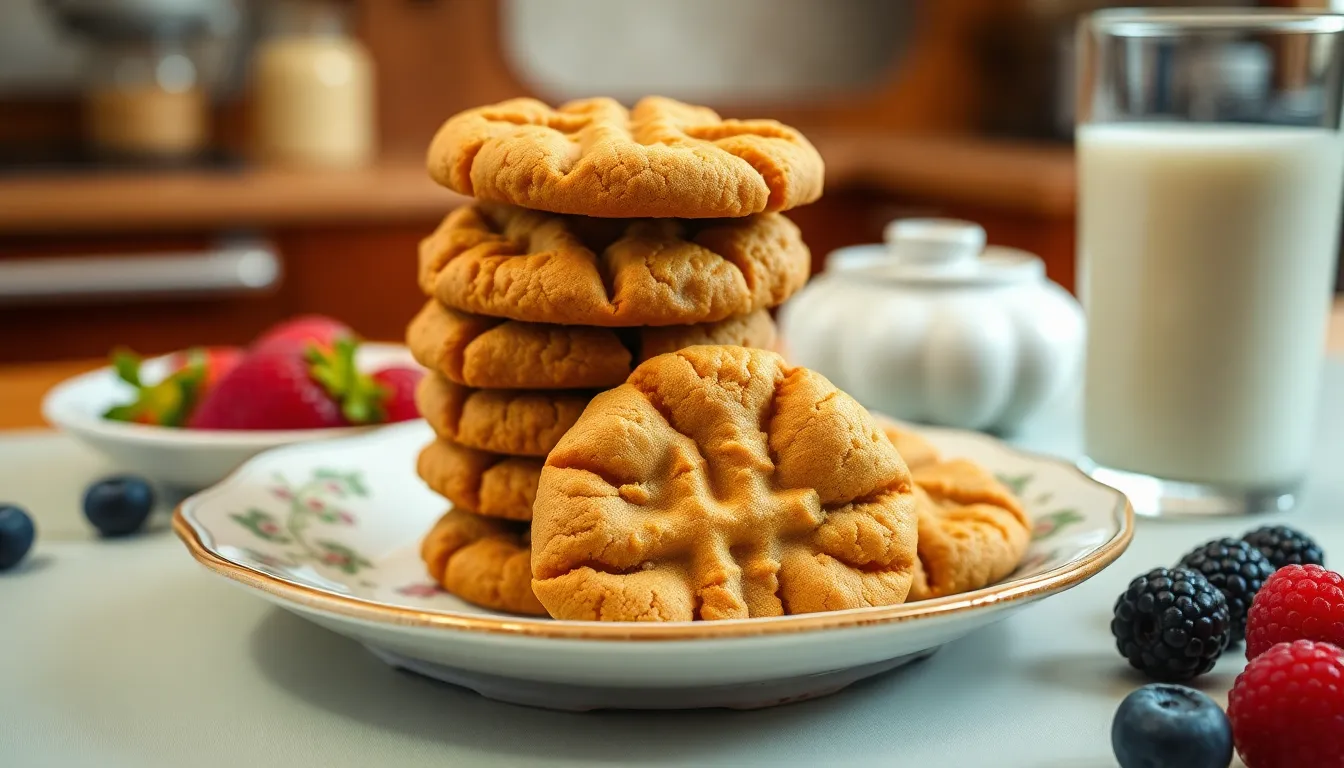
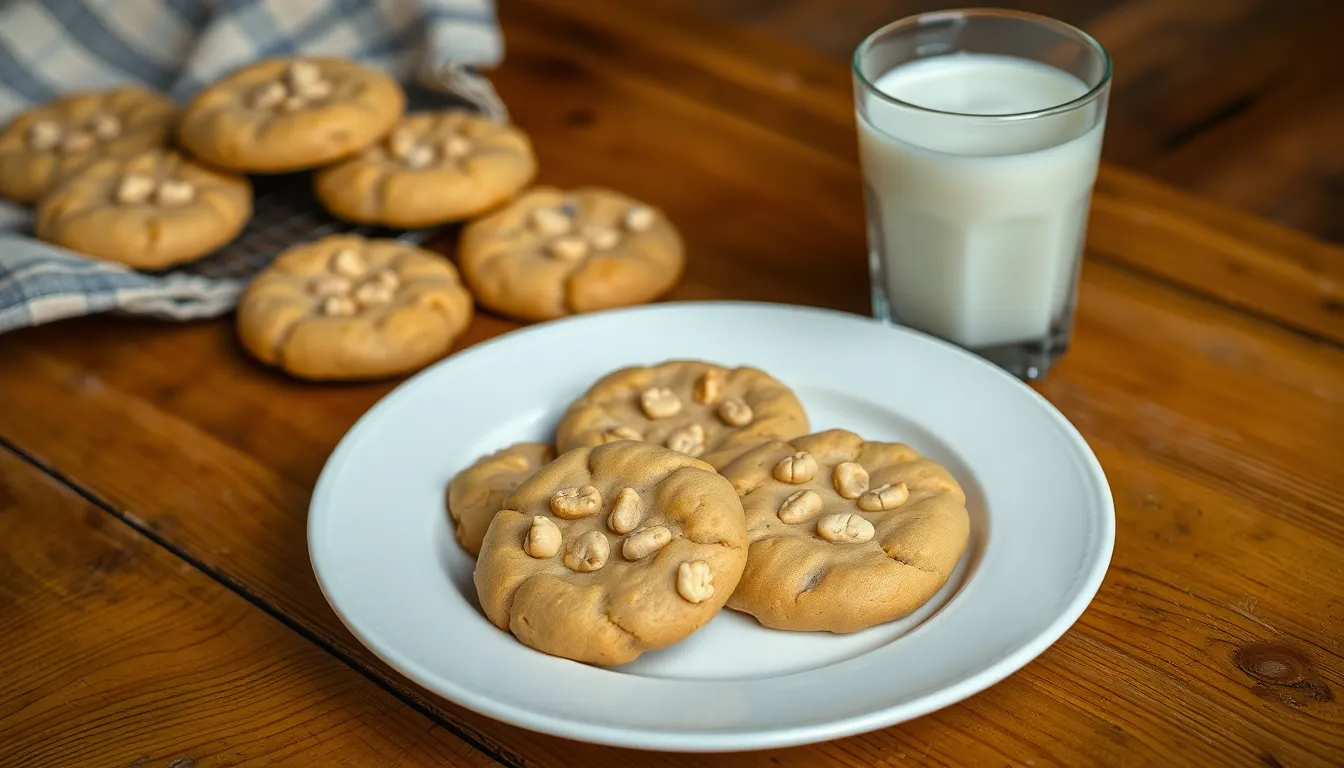
These classic Joy of Cooking peanut butter cookies deserve to be showcased in ways that enhance their rich flavor and nostalgic appeal. Pair them with a cold glass of milk for the ultimate comfort food experience that brings out the nutty sweetness while providing the perfect temperature contrast.
For a more sophisticated presentation serve the cookies alongside coffee or tea when entertaining guests. The robust peanut flavor complements both dark roast coffee and black tea varieties remarkably well. Consider creating a simple dessert platter with these cookies as the centerpiece surrounded by fresh berries or sliced fruit for color and texture variation.
Family gatherings and celebrations call for these beloved treats as evidenced by many stories of them appearing at birthday parties and holiday events. Arrange them on a vintage plate or cookie stand to highlight their traditional crisscross pattern and golden-brown edges.
These versatile cookies also make excellent gifts. Package several in a decorative tin or cellophane bag tied with ribbon for a thoughtful homemade present that showcases your baking skills. Teachers particularly appreciate receiving these classic cookies during appreciation weeks or holiday seasons.
For children’s parties or after-school snacks serve the cookies with different milk options such as chocolate milk or plant-based alternatives. The protein-rich peanut butter provides lasting satisfaction making them an ideal treat between meals.
Create an elevated dessert by transforming these cookies into ice cream sandwiches. Simply place a scoop of vanilla ice cream between two completely cooled cookies and freeze until firm for a delightful frozen treat that combines creamy and chewy textures.
Breakfast pairings might seem unconventional but these cookies work surprisingly well alongside a protein-rich yogurt parfait or fruit smoothie for an occasional morning indulgence that balances sweet and nutritious elements.


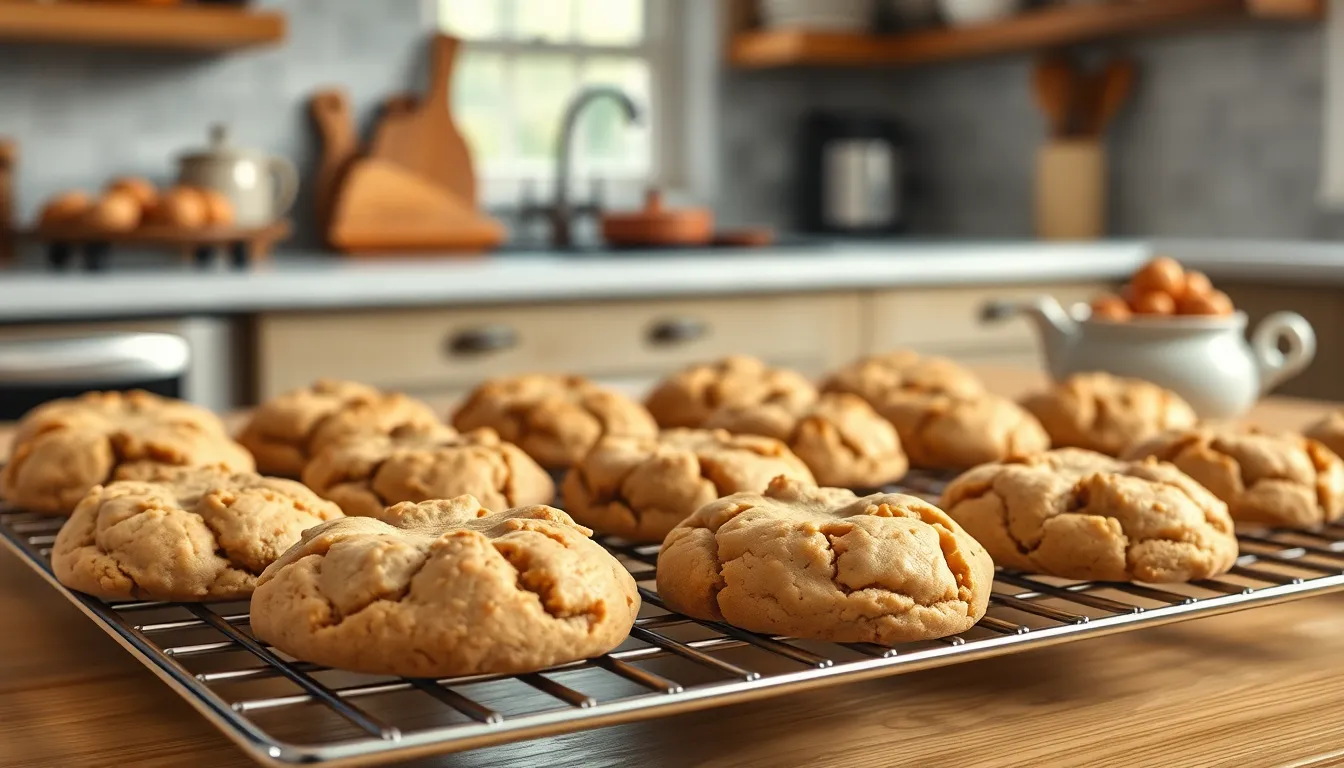
The Joy of Sharing Homemade Peanut Butter Cookies
There’s something magical about pulling a batch of perfect peanut butter cookies from your oven. That distinctive aroma filling your kitchen signals a moment of pure joy that deserves to be shared.
Whether you’re creating these timeless treats for family gatherings or packaging them as heartfelt gifts, these cookies carry the warmth of tradition in every bite. The simple pleasure of that first crisp edge giving way to a tender center creates moments worth savoring.
As you master this classic Joy of Cooking recipe, you’ll find yourself returning to it again and again. The beauty lies not just in the perfect balance of sweet and salty flavors but in the memories created around your kitchen table as you share these beloved cookies with those you cherish most.


Frequently Asked Questions
What makes The Joy of Cooking peanut butter cookies special?
The Joy of Cooking peanut butter cookies are special because of their perfect balance of sweet and salty flavors, combined with a distinctive texture featuring crisp edges and tender centers. This timeless recipe uses simple, quality ingredients like creamy peanut butter and premium vanilla extract to create a nostalgic treat that’s both comforting and delicious. The classic recipe has stood the test of time because it delivers consistent results with minimal effort.
How long do these peanut butter cookies take to make?
These peanut butter cookies take approximately 30 minutes from start to finish. This includes about 15 minutes of preparation time (measuring ingredients, mixing the dough, and shaping the cookies) and 10-12 minutes of baking time. The quick preparation makes this recipe perfect for weeknight baking, last-minute guests, or satisfying sudden cookie cravings.
What ingredients do I need for these cookies?
You’ll need: butter, granulated sugar, brown sugar, egg, creamy peanut butter, all-purpose flour, baking soda, salt, and vanilla extract. This recipe yields about 30 cookies. For best results, use room temperature butter and high-quality peanut butter. Optional add-ins include chocolate chips or chopped peanuts if you want to customize the recipe while maintaining its classic appeal.
Why do peanut butter cookies have a crisscross pattern?
The iconic crisscross pattern serves both functional and aesthetic purposes. Created by pressing fork tines into the dough balls, this technique helps flatten the cookies for even baking. Without this step, the cookies might remain too thick in the center. Additionally, the pattern has become the signature look of peanut butter cookies, making them instantly recognizable and adding a homemade, rustic charm to these classic treats.
How do I know when the cookies are done baking?
The cookies are done when the edges are light golden brown while the centers still appear slightly soft, typically after 10-12 minutes at 350°F. They may look underdone in the center, but they’ll continue to set as they cool. Avoid overbaking, which makes them too crisp. For softer cookies, remove them from the oven a minute earlier; for crispier cookies, bake them a minute longer.
How should I store peanut butter cookies?
Store completely cooled cookies in an airtight container at room temperature for 3-5 days. For longer storage, freeze them for up to 2 months in a freezer-safe container with parchment paper between layers. To refresh stored cookies, microwave them for 10-15 seconds or warm them in a 300°F oven for 3-5 minutes. Proper storage maintains their texture and prevents them from becoming stale.
Can I use crunchy peanut butter instead of creamy?
Yes, you can substitute crunchy peanut butter for creamy in this recipe. This will add texture and more pronounced peanut flavor to your cookies. The measurements remain the same, but expect cookies with more crunch and visible peanut pieces. If you prefer a smoother cookie but still want texture, use creamy peanut butter and add 1/4 cup of chopped peanuts to the dough.
Are these cookies good for people with dietary restrictions?
The traditional recipe contains gluten, dairy, eggs, and peanuts, making it unsuitable for many dietary restrictions. However, adaptations are possible: use gluten-free flour blend for gluten sensitivities, plant-based butter and egg replacers for vegan versions, or almond butter for peanut allergies (though the flavor profile will change). Always check specific dietary needs before serving these cookies to others with restrictions.
Can I make the dough ahead of time?
Yes, you can prepare the dough up to 3 days in advance and store it covered in the refrigerator. You can also freeze the dough for up to 3 months. If refrigerated, let the dough sit at room temperature for 30 minutes before shaping. For frozen dough, thaw overnight in the refrigerator. Pre-portioned dough balls can also be frozen on a baking sheet, then transferred to a freezer bag for easy baking whenever a cookie craving strikes.
What are some creative ways to serve these peanut butter cookies?
Serve these cookies with cold milk for a classic pairing, or with coffee for adults. They make excellent ice cream sandwiches when filled with vanilla ice cream and frozen briefly. For special occasions, dip half the cookie in melted chocolate and sprinkle with chopped peanuts. They’re perfect for gift baskets, bake sales, or holiday cookie exchanges, and can be crumbled over yogurt or ice cream for a delicious dessert topping.