This classic Victoria Sponge Cake brings together centuries of culinary tradition with modern techniques to create a dish that’s both comforting and elegant.
The harmonious balance of vanilla sponge and rich cream creates a memorable dining experience that will have everyone asking for your secret.
I discovered this recipe during my travels through the English countryside, where local bakers have perfected it through generations of careful refinement.
Whether you’re preparing a casual family dinner or hosting a special celebration, this Victoria Sponge Cake delivers impressive results with straightforward preparation.
The History and Cultural Significance
• Mary Berry Recipes traces its origins to Victorian England, where it was originally created by bakers who served the royal court.
• The dish evolved over decades as baking techniques improved and ingredients became more accessible, eventually becoming the beloved version we know today.
• In British culture, this cake traditionally appears at afternoon teas, symbolizing elegance and hospitality.
• While many variations exist across different regions, the authentic version maintains a light and airy sponge that sets it apart from imitations.


Recipe Overview
Nutritional Information (per serving)


Essential Equipment Guide
Electric Mixer: An electric mixer is essential for achieving the perfect light and airy sponge texture. While a hand whisk can be used, a mixer ensures consistent results and an even batter. Look for a mixer with multiple speed settings to control the mixing process.
Springform Cake Tin: A springform cake tin allows for easy removal of the delicate sponge without damaging its structure. Alternatives include regular cake tins lined with parchment paper, but make sure they have a non-stick surface.
Cooling Rack: A cooling rack is crucial for allowing air circulation around the cake, preventing sogginess. If a rack is unavailable, a makeshift version can be created with an oven rack.


Ingredients
For the Sponge
|
|
| Amount | Ingredient | Notes |
|---|---|---|
| 1 cup | unsalted butter | softened for easy creaming |
| 1 cup | caster sugar | adds sweetness |
| 4 large | eggs | room temperature for better emulsification |
| 2 cups | self-raising flour | sifted to prevent lumps |
| 1 teaspoon | baking powder | for added lift |
| 1 teaspoon | vanilla extract | for flavor |
For the Filling
| Amount | Ingredient | Notes |
|---|---|---|
| 1/2 cup | double cream | whipped to soft peaks |
| 1/2 cup | strawberry jam | adds fruity sweetness |


Preparation Methods
Creaming Method: This technique involves beating butter and sugar together until light and fluffy, which incorporates air into the mixture. This is critical for the sponge's rise and texture. Ensure the butter is at room temperature for best results.
Folding: Folding involves gently incorporating dry ingredients into wet without deflating the batter. This technique is crucial for maintaining airiness. Use a spatula and a light hand, moving from the outside in.
Whipping Cream: Whipping cream to soft peaks is essential for the filling. It should hold its shape but still droop slightly. Use a chilled bowl and whisk for optimal results.


Step 1: Preheat Oven

Preheat your oven to 180°C (350°F).
Ensure the oven rack is in the center position.
This allows the cake to bake evenly.
Avoid opening the oven door during preheating.


Step 2: Prepare Cake Tins

Grease two 8-inch springform cake tins with butter.
Line the bottom with parchment paper.
This prevents sticking and aids in easy removal.
Ensure the paper covers the entire base.


Step 3: Cream Butter and Sugar

In a large bowl, beat the butter and sugar until pale and fluffy.
Use an electric mixer on medium speed.
The mixture should double in volume and lighten in color.
Scrape down the sides of the bowl as needed.
Step 4: Add Eggs and Vanilla

Add eggs one at a time, beating well after each addition.
Add vanilla extract with the last egg.
The mixture may look curdled initially but will smooth out.
Ensure eggs are fully incorporated before proceeding.
Step 5: Fold in Dry Ingredients

Sift the flour and baking powder into the wet mixture.
Gently fold using a spatula until just combined.
Avoid overmixing to maintain lightness.
The batter should be smooth with no visible flour.
Step 6: Divide and Bake

Divide the batter evenly between the prepared cake tins.
Smooth the tops with a spatula.
Bake in the preheated oven for 20-25 minutes.
The cakes are done when golden and spring back to the touch.


Step 7: Cool Cakes
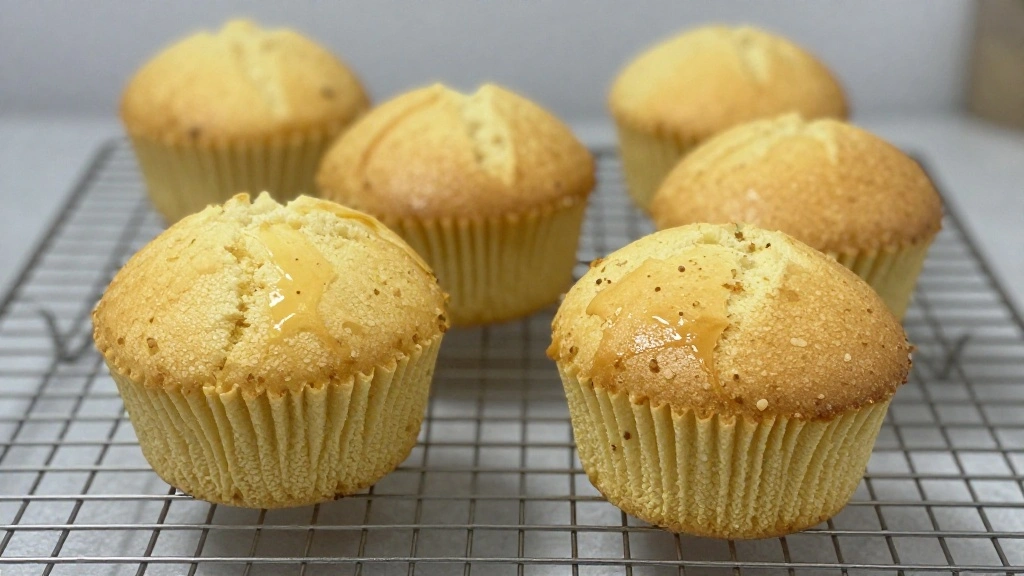
Remove cakes from the oven and cool in tins for 10 minutes.
Transfer to a wire rack to cool completely.
This prevents the cakes from becoming soggy.
Ensure they are completely cool before adding filling.


Step 8: Assemble and Fill
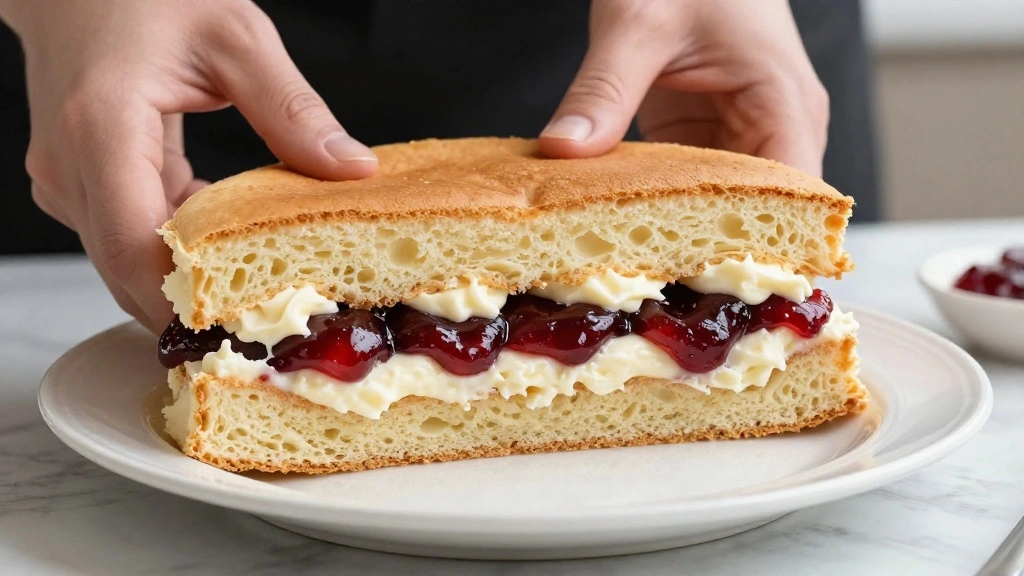
Place one cake layer on a serving plate.
Spread the strawberry jam evenly over the top.
Spread whipped cream over the jam layer.
Top with the second cake layer and dust with icing sugar.
Critical Timing and Temperature Guide
Baking: Bake at 180°C for 20-25 minutes. Look for a golden top and a cake that springs back when touched. Avoid overbaking, which can lead to dryness.
Cooling: Allow cakes to cool for 10 minutes in the tin and then fully on a wire rack. Ensure no condensation forms which can make the cake soggy.
Whipping Cream: Whip cream until soft peaks form. Over-whipping can cause the cream to turn grainy or even split, so stop as soon as peaks hold.
Pro Tips for Mary Berry Recipes
• Ingredient Selection: Use high-quality, unsalted butter and fresh eggs for the best flavor and texture. Self-raising flour should be fresh to ensure proper rise.
• Preparation Secret: Room temperature ingredients blend more easily, resulting in a smoother batter.
• Temperature Management: Keep ingredients, especially eggs and butter, at room temperature to promote even mixing.
• Texture Enhancement: Sifting dry ingredients adds air, creating a lighter cake texture.
• Flavor Layering: Enhance vanilla flavor by using real vanilla extract instead of imitation.
• Make-Ahead Strategies: Cakes can be baked a day in advance, wrapped in cling film, and stored at room temperature.
• Restaurant-Quality Finishing Touches: Dust with icing sugar just before serving for a classic look.
• Equipment Optimization: Use a springform tin for easy removal and a smoother finish.


Troubleshooting Common Issues
• Dense Texture: Caused by overmixing or incorrect ingredient measurements. Ensure precise measurements and gently fold ingredients.
• Sinking in the Middle: Often due to opening the oven door too early. Bake cakes uninterrupted until fully set.
• Cream Splitting: Over-whipping cream can cause it to split. Stop whipping as soon as soft peaks form.
• Uneven Layers: Result of uneven batter distribution. Weigh batter in each tin for even layers.
• Burnt Edges: Caused by high oven temperature or overbaking. Check oven calibration and bake within recommended time.
Variations and Regional Differences
• Devonshire Style: Includes a layer of clotted cream instead of whipped cream, adding a richer texture and flavor.
• Scottish Variation: Often features a touch of whisky in the cream for a unique regional twist.
• Gluten-Free Option: Replace self-raising flour with a gluten-free baking blend, ensuring a similar texture but suitable for dietary needs.
• Fruit Variation: Some versions include fresh strawberries between the layers for added freshness and texture.
Food Science Behind the Recipe
• Leavening Agents: Baking powder in self-raising flour releases carbon dioxide, which helps the cake rise and creates a light texture.
• Emulsification: Creaming butter and sugar creates an emulsion that traps air and sets the stage for a tender crumb.
• Protein Structure: Eggs provide structure to the cake, helping it hold together while remaining moist.
Frequently Asked Questions
What's the most common mistake people make when preparing Victoria Sponge? Overmixing the batter, which can lead to a dense cake. Always fold ingredients gently and stop as soon as they are combined.
Can I use regular flour instead of self-raising? Yes, but you'll need to add 1 teaspoon of baking powder per cup of plain flour.
How can I store leftovers? Store in an airtight container at room temperature for up to 2 days, or refrigerate for up to 5 days.
Is it possible to freeze this cake? Yes, freeze unfrosted layers wrapped in plastic wrap and foil for up to 3 months.
Can I use different jam flavors? Absolutely, raspberry or apricot jam works well as alternatives.
Why is my cake dry? This can be due to overbaking or incorrect ingredient ratios. Ensure accurate measurements and baking times.
How do I prevent my cake from sticking? Properly grease and line the cake tins with parchment paper.
Serving and Presentation Guide
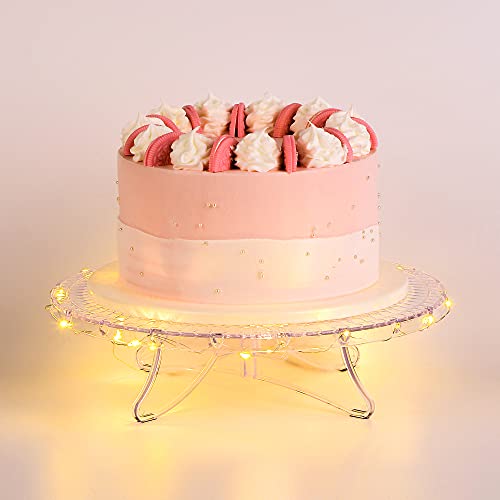
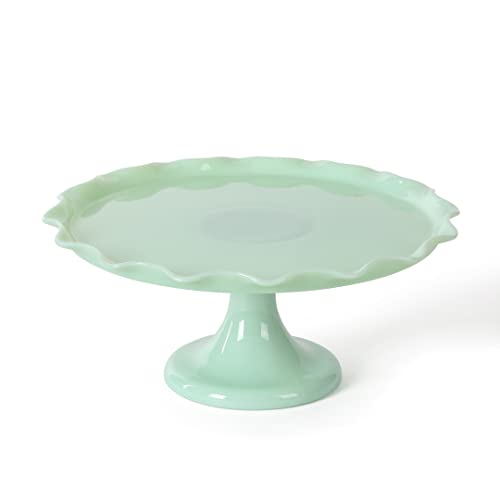
• Traditional Presentation: Serve on a cake stand or platter, dusted with icing sugar, and accompanied by a pot of English tea.
• Modern Twist: Present on individual dessert plates with a dollop of whipped cream and a fresh strawberry on top.
• Layered Elegance: Slice into even wedges and serve upright to showcase the layers of jam and cream.
• Decorative Touch: Add edible flowers or mint leaves for a visually appealing garnish.


Conclusion
This Victoria Sponge Cake is a timeless classic that brings a touch of British charm to any table.
With its light, airy sponge and delightful filling, it's sure to become a favorite in your baking repertoire.
I encourage you to try this recipe and experience the joy of classic British baking in your own home.