What Makes a Quick Neapolitan Pizza Dough Special
Traditional Neapolitan pizza dough typically requires 24-72 hours of fermentation to develop its signature flavor and texture. The quick version achieves similar results in just 2-3 hours without sacrificing the essential characteristics that make this style so beloved.
The secret lies in several key modifications to the traditional process. First is the use of warm water (100-105°F) instead of cold water to activate the yeast more rapidly. This temperature accelerates fermentation dramatically compared to traditional cold fermentation methods.
Active dry yeast quantities are slightly increased in quick dough recipes to jumpstart the rising process. While traditional recipes might use as little as 0.1% yeast (baker’s percentage) a quick dough employs 1-1.5% to create sufficient gas development in a shorter timeframe.
The hydration level is carefully calibrated at 58-62% in quick Neapolitan dough. This exact range provides enough moisture for proper gluten development while ensuring the dough remains manageable for hand stretching without requiring extended resting periods.
“I discovered that using the right flour makes all the difference in quick doughs” Liam Kohn notes from his pizza-making experiments. “Tipo 00 flour with 12-14% protein content gives you that perfect balance of strength and extensibility even with abbreviated fermentation.”
A brief autolyse period where flour and water rest together before adding salt and yeast creates a head start on gluten formation. This 20-30 minute rest period significantly improves dough structure even when total fermentation time is reduced.
The dough’s handling technique differs from traditional methods as well. Quick Neapolitan dough benefits from slightly more intensive kneading upfront to develop gluten structure that would otherwise form during long fermentation periods.
Room temperature proofing at 75-80°F creates the ideal environment for accelerated yeast activity. This controlled warm environment helps the dough rise properly within 2 hours instead of the days required for cold-fermented versions.
Even though these modifications the quick dough still produces the trademark Neapolitan characteristics: a tender yet chewy interior airy cornicione (rim) and that distinctive leopard-spotted char when baked at high temperatures.


Equipment You’ll Need
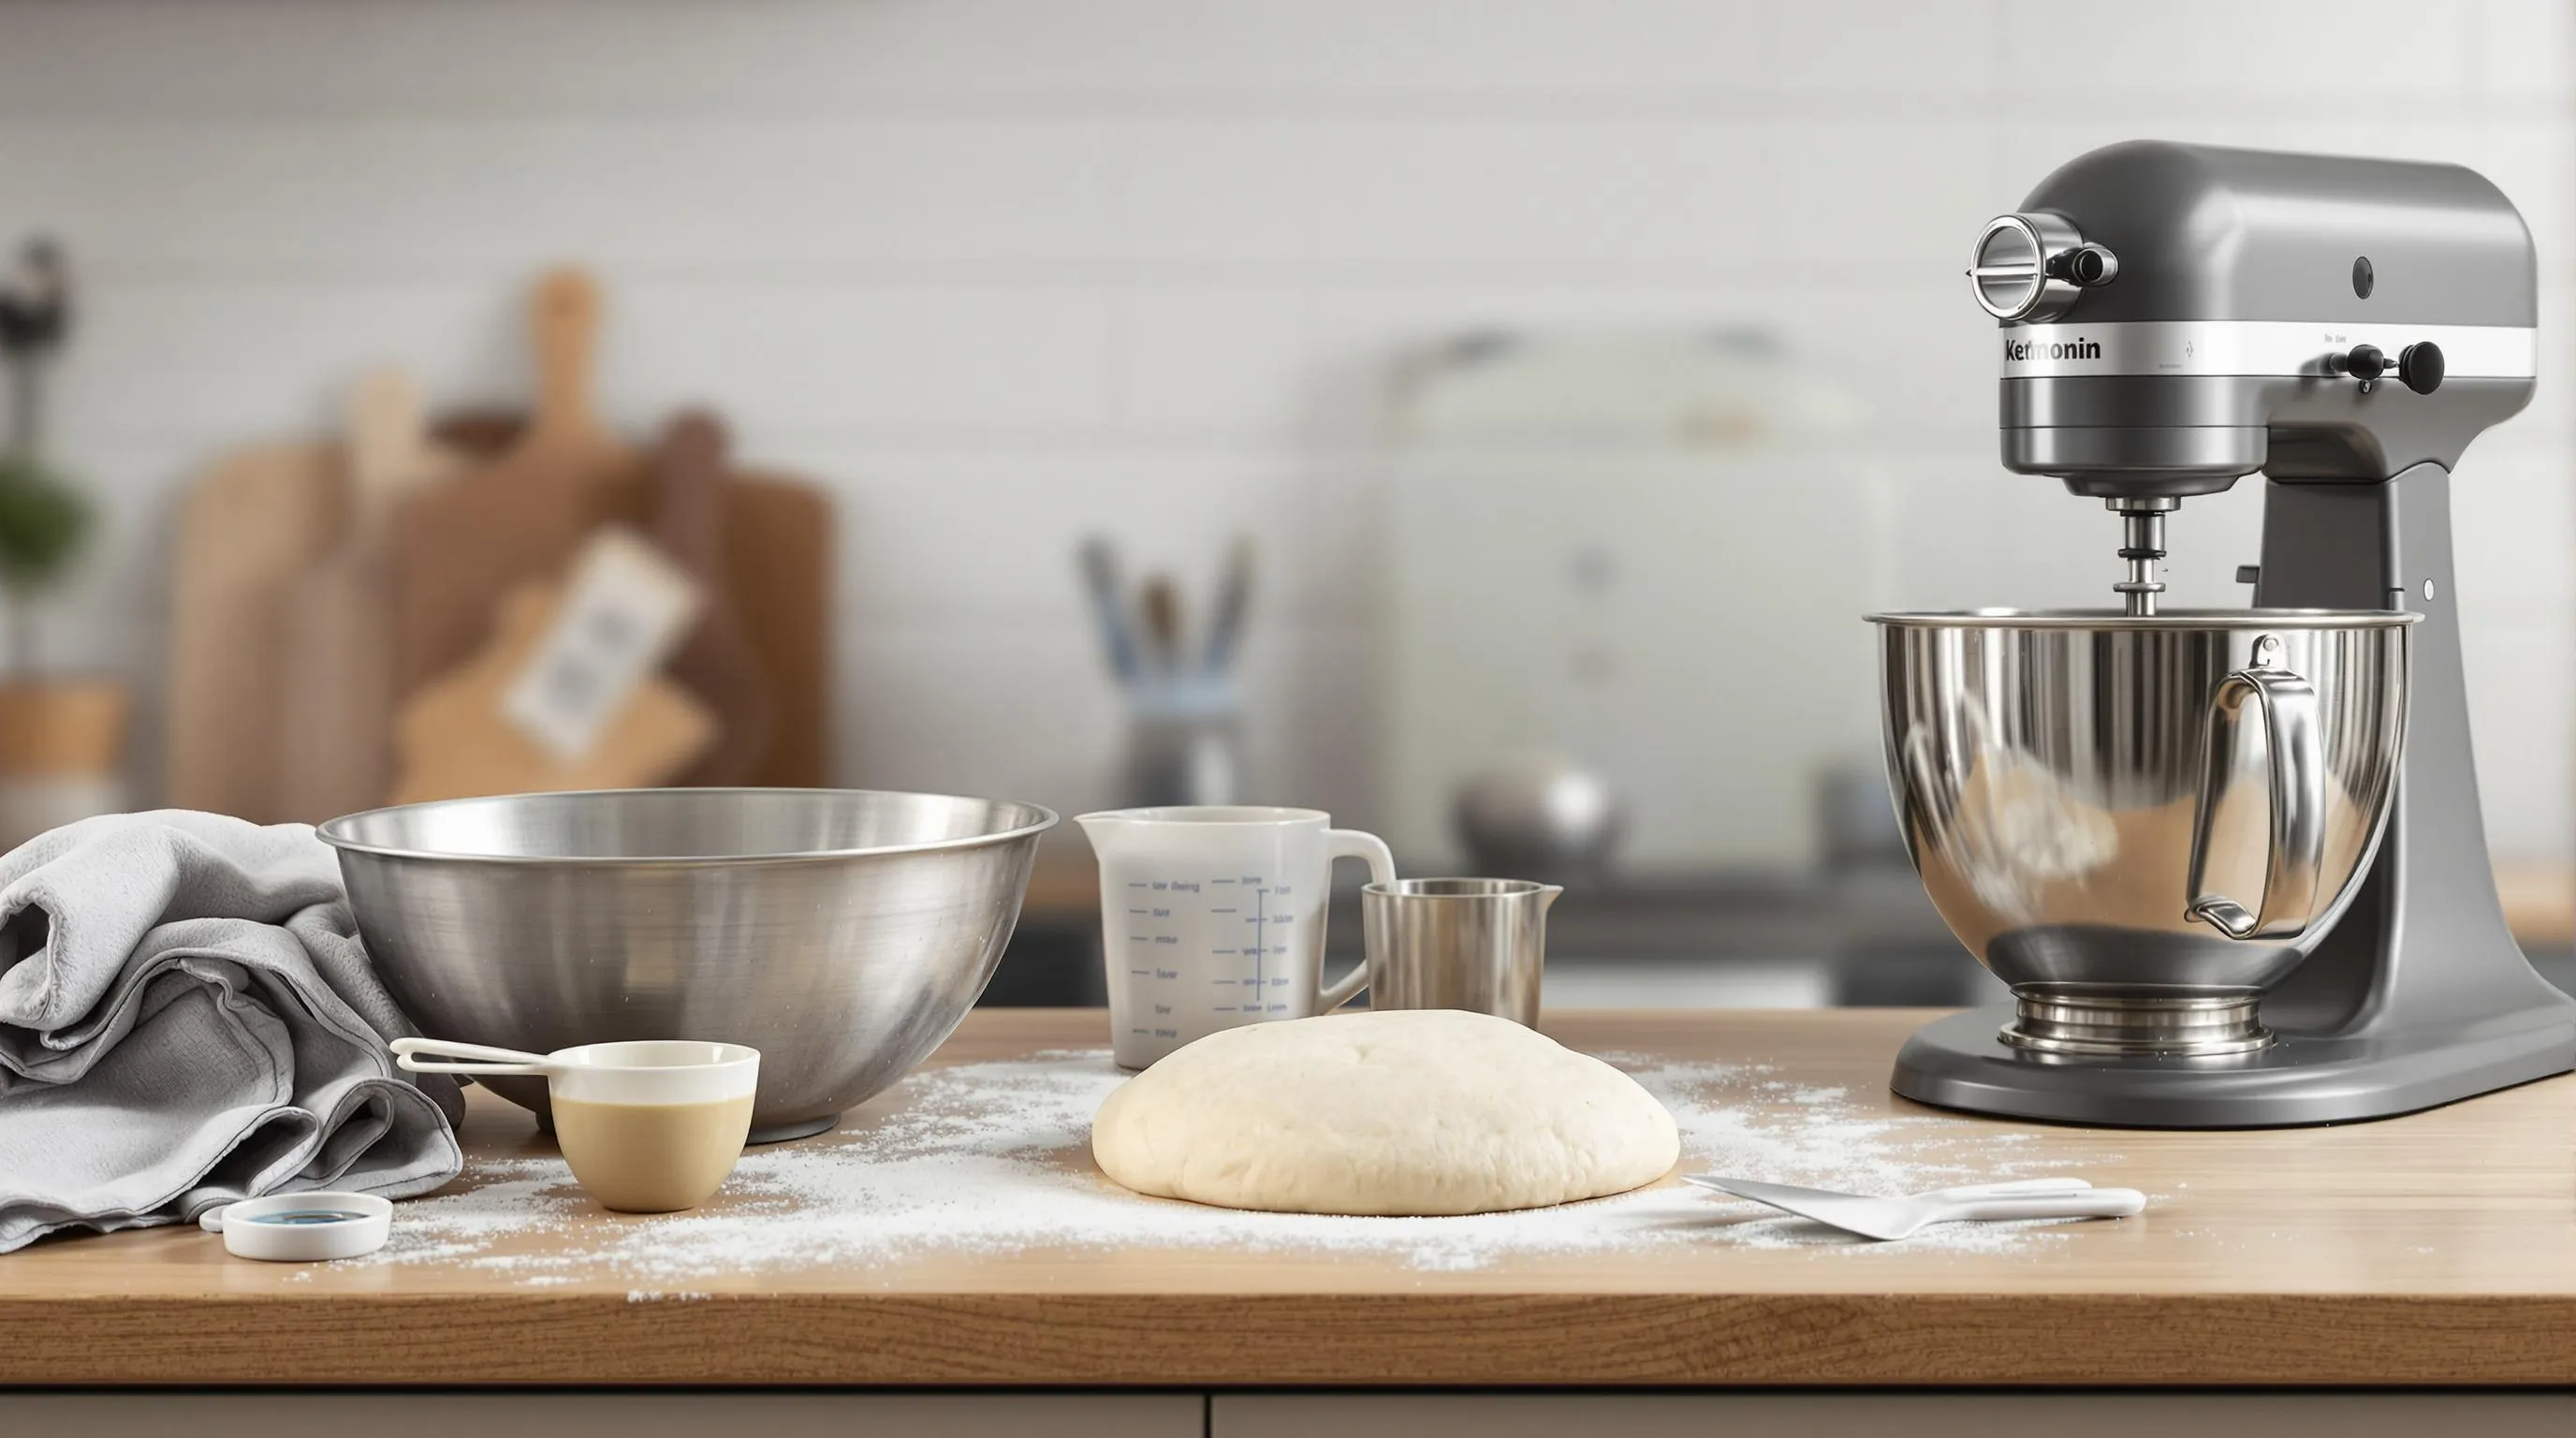
Creating authentic Neapolitan pizza dough at home requires minimal equipment yet proper tools make all the difference in achieving that perfect texture and taste. Your kitchen likely already contains most items needed for this quick version of the traditional recipe.
Basic essentials:
- Large mixing bowl for combining and kneading your ingredients
- Clean work surface or countertop for dough handling
- Digital kitchen scale for precise measurements (essential for consistently good results)
- Measuring cups and spoons as backup or for liquid measurements
- Dough scraper for handling sticky dough without losing elasticity
- Container with lid for fermenting the dough
- Clean kitchen towel to cover dough while resting
Optional but helpful:
- Stand mixer with dough hook attachment to simplify the kneading process
- Dough proofing box or container for controlled fermentation
- Instant-read thermometer to check water temperature
- Spray bottle with water for creating moisture during baking
The beauty of Neapolitan pizza dough lies in its simplicity—your hands become the most important tool throughout the process. Many professional pizzaiolos insist hand-kneading delivers superior results because you can feel the dough changing texture as the gluten develops. Your fingers provide immediate feedback about moisture content and elasticity that machines simply cannot detect.
Remember that authentic Neapolitan pizza requires high heat for baking. While not part of the dough-making equipment list, planning ahead for cooking equipment such as a pizza stone, steel, or dedicated pizza oven will help you achieve that characteristic charred crust once your dough is ready to use.


Ingredients for Quick Neapolitan Pizza Dough
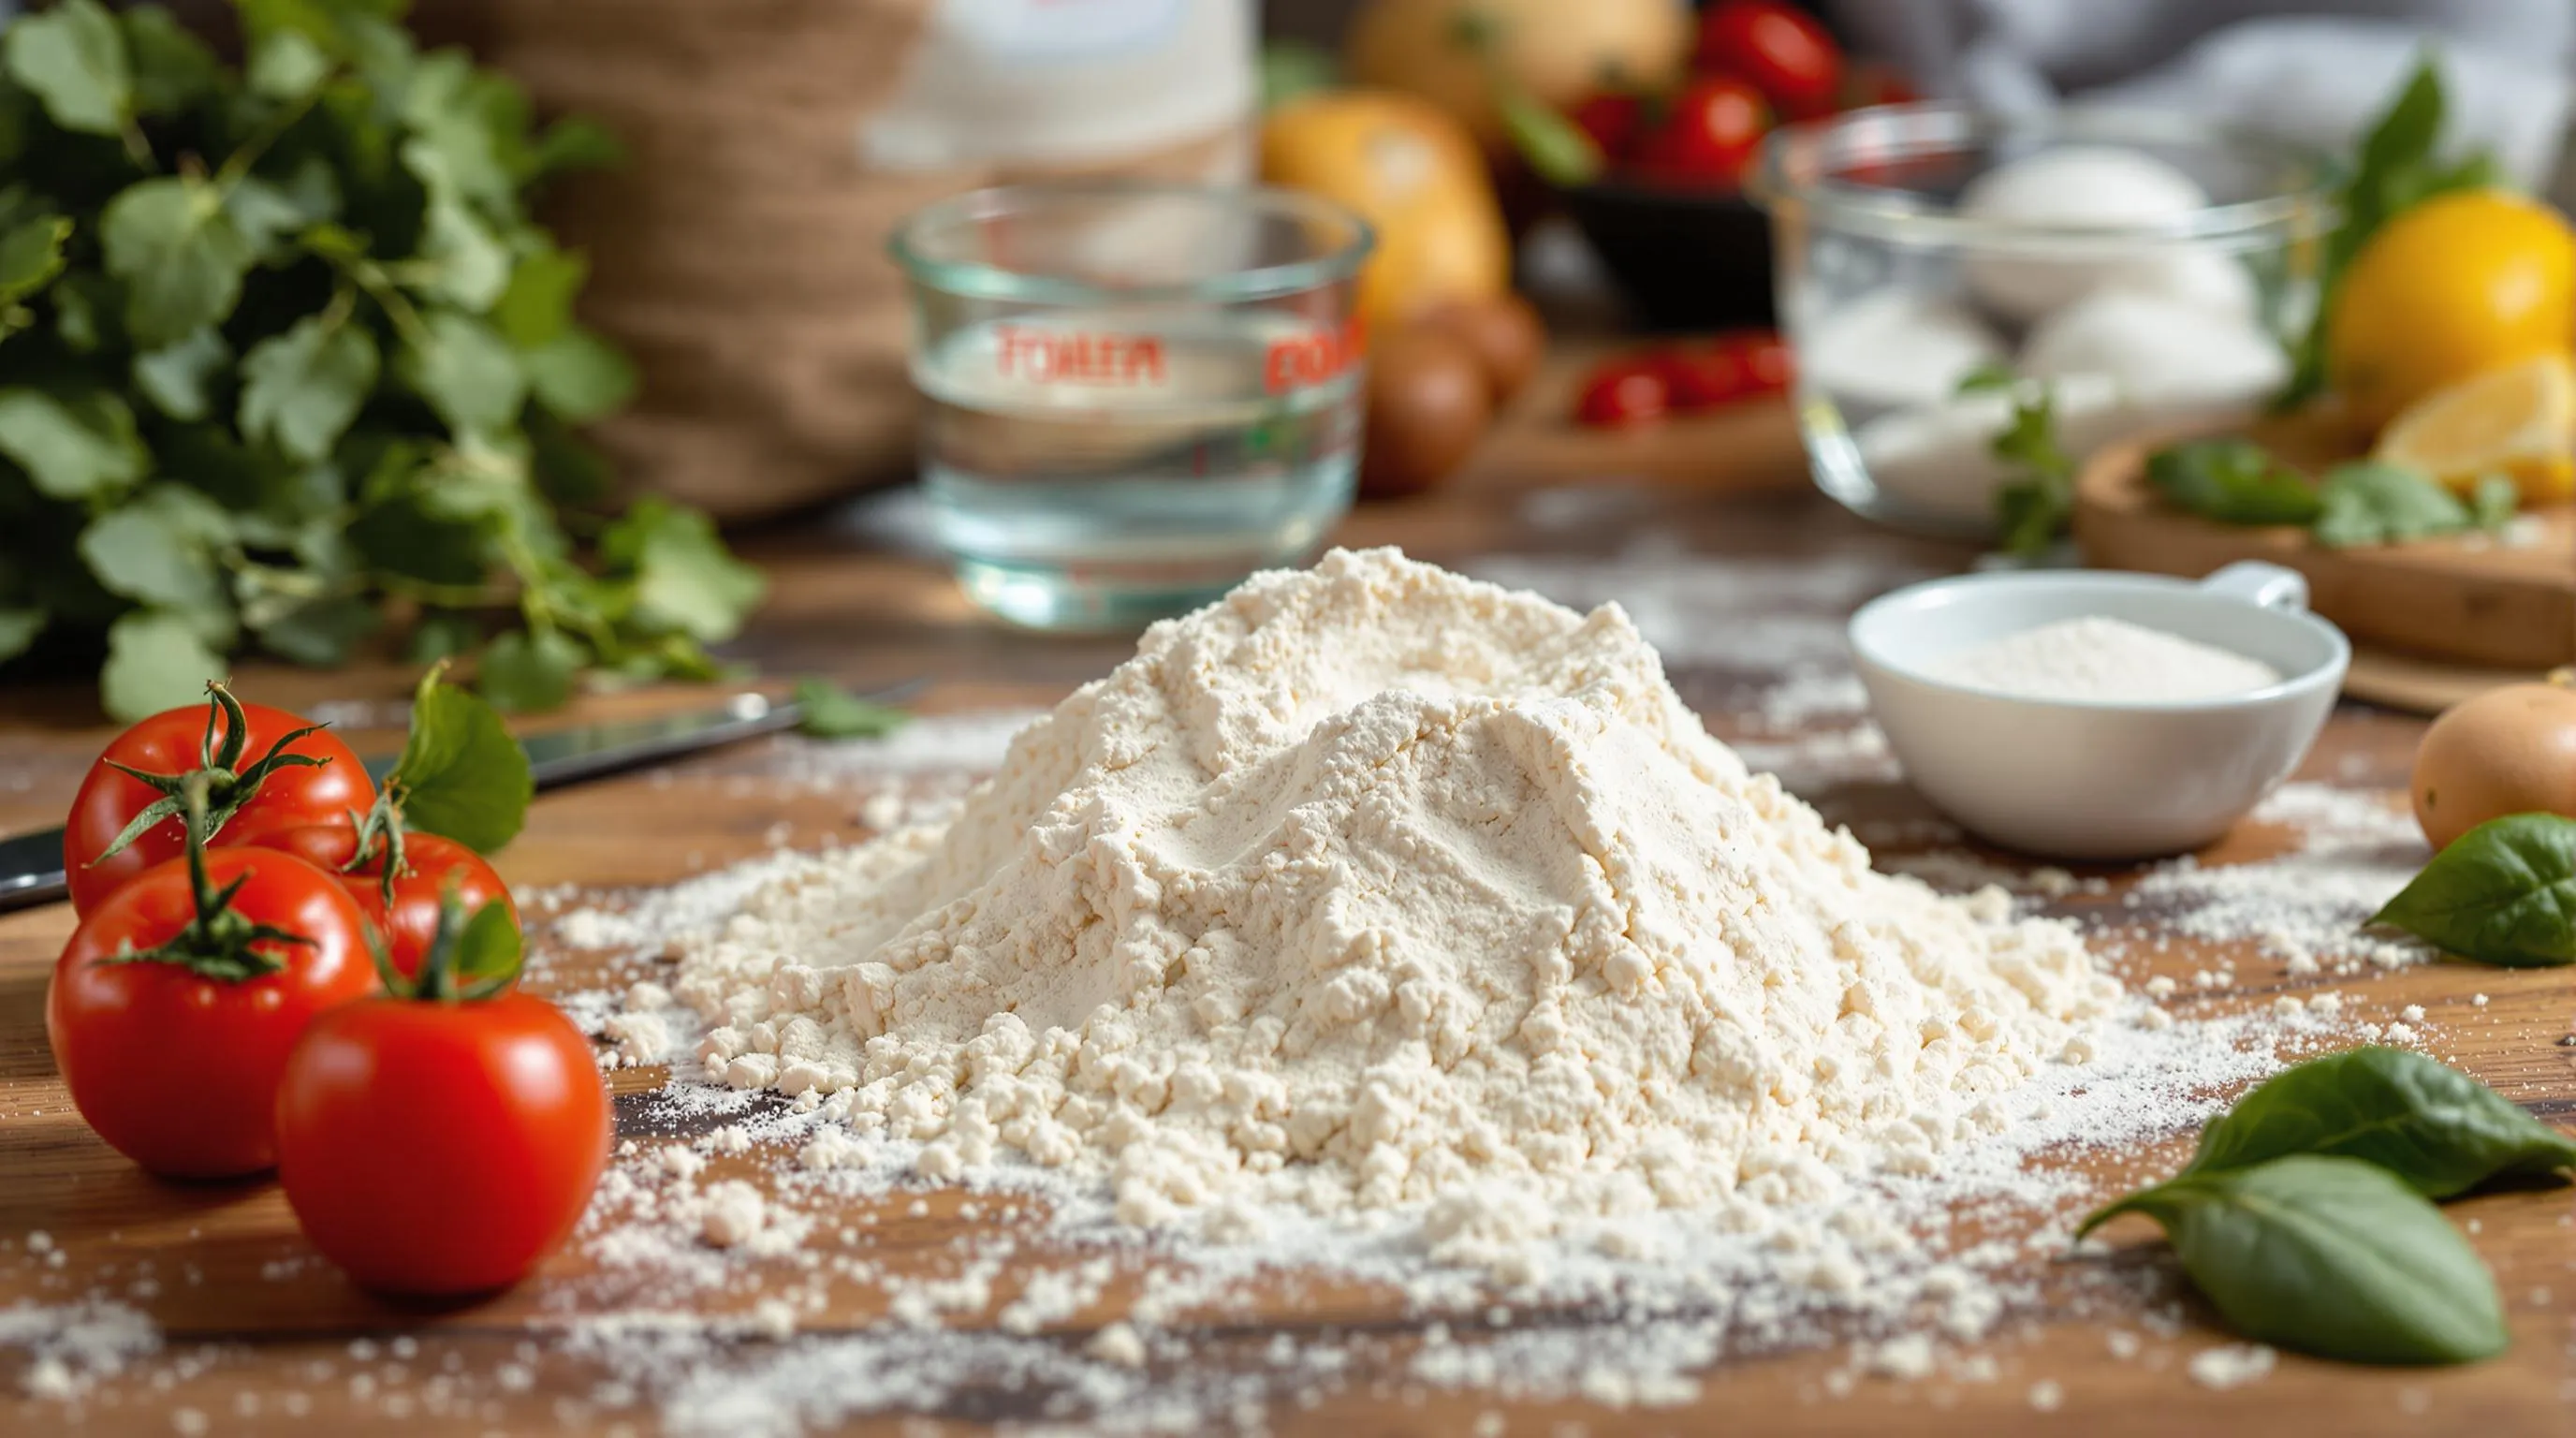
Creating authentic Neapolitan pizza dough at home requires just a few simple ingredients carefully combined to achieve that perfect balance of texture and flavor. Each component plays a critical role in developing the characteristic soft yet chewy crust with its distinctive airy edge.
- 500g Italian 00 flour (4 cups)
- 7g instant yeast (2¼ teaspoons) or 8g active dry yeast
- 10g kosher salt (1¾ teaspoons)
- 300ml lukewarm water (1¼ cups)
- 15ml extra virgin olive oil (1 tablespoon) – optional
Flour Options
The foundation of any great Neapolitan pizza begins with selecting the right flour. Italian Tipo 00 flour stands as the gold standard for authentic Neapolitan dough, offering a finely ground texture that creates the perfect balance of strength and extensibility. This specialized flour produces a remarkably soft and tender crust while maintaining the characteristic chewiness that defines true Neapolitan pizza.
Bread flour serves as a respectable alternative when 00 flour isn’t available, lending additional structure and chewiness to your dough through its higher protein content. You’ll notice a slightly firmer texture compared to 00 flour, but the results remain delicious with proper handling. All-purpose flour can function as a last resort option, though the final texture will differ noticeably from authentic Neapolitan pizza with less elasticity and a denser crumb structure.
Yeast Considerations
Selecting the appropriate yeast significantly impacts both your pizza dough’s development time and final flavor profile. Instant yeast (also called quick-rise) provides maximum convenience for this accelerated recipe, eliminating activation steps and reliably producing consistent results. This variety can be mixed directly with dry ingredients, saving valuable time in your quick dough preparation.
Active dry yeast requires a brief activation period in lukewarm water until foamy before incorporating it into your dough mixture. The activation process adds a few minutes to your preparation but remains widely used and readily available in most grocery stores. Fresh yeast delivers exceptional richness and superior rise compared to dry varieties, though you’ll need to use approximately double the amount compared to dry yeast formulations.
Yeast performs optimally in warm environments around 75-80°F, producing carbon dioxide that creates those desirable air pockets throughout your dough. The increased yeast quantity (1-1.5% of flour weight) in this quick recipe accelerates fermentation without sacrificing flavor development, allowing you to achieve results similar to longer-fermented doughs in just a fraction of the time.


Instructions for Quick Neapolitan Pizza Dough
Follow these step-by-step instructions to create authentic Neapolitan pizza dough in record time. This accelerated method delivers tender, flavorful crust without the traditional long fermentation period.
Mixing the Dough
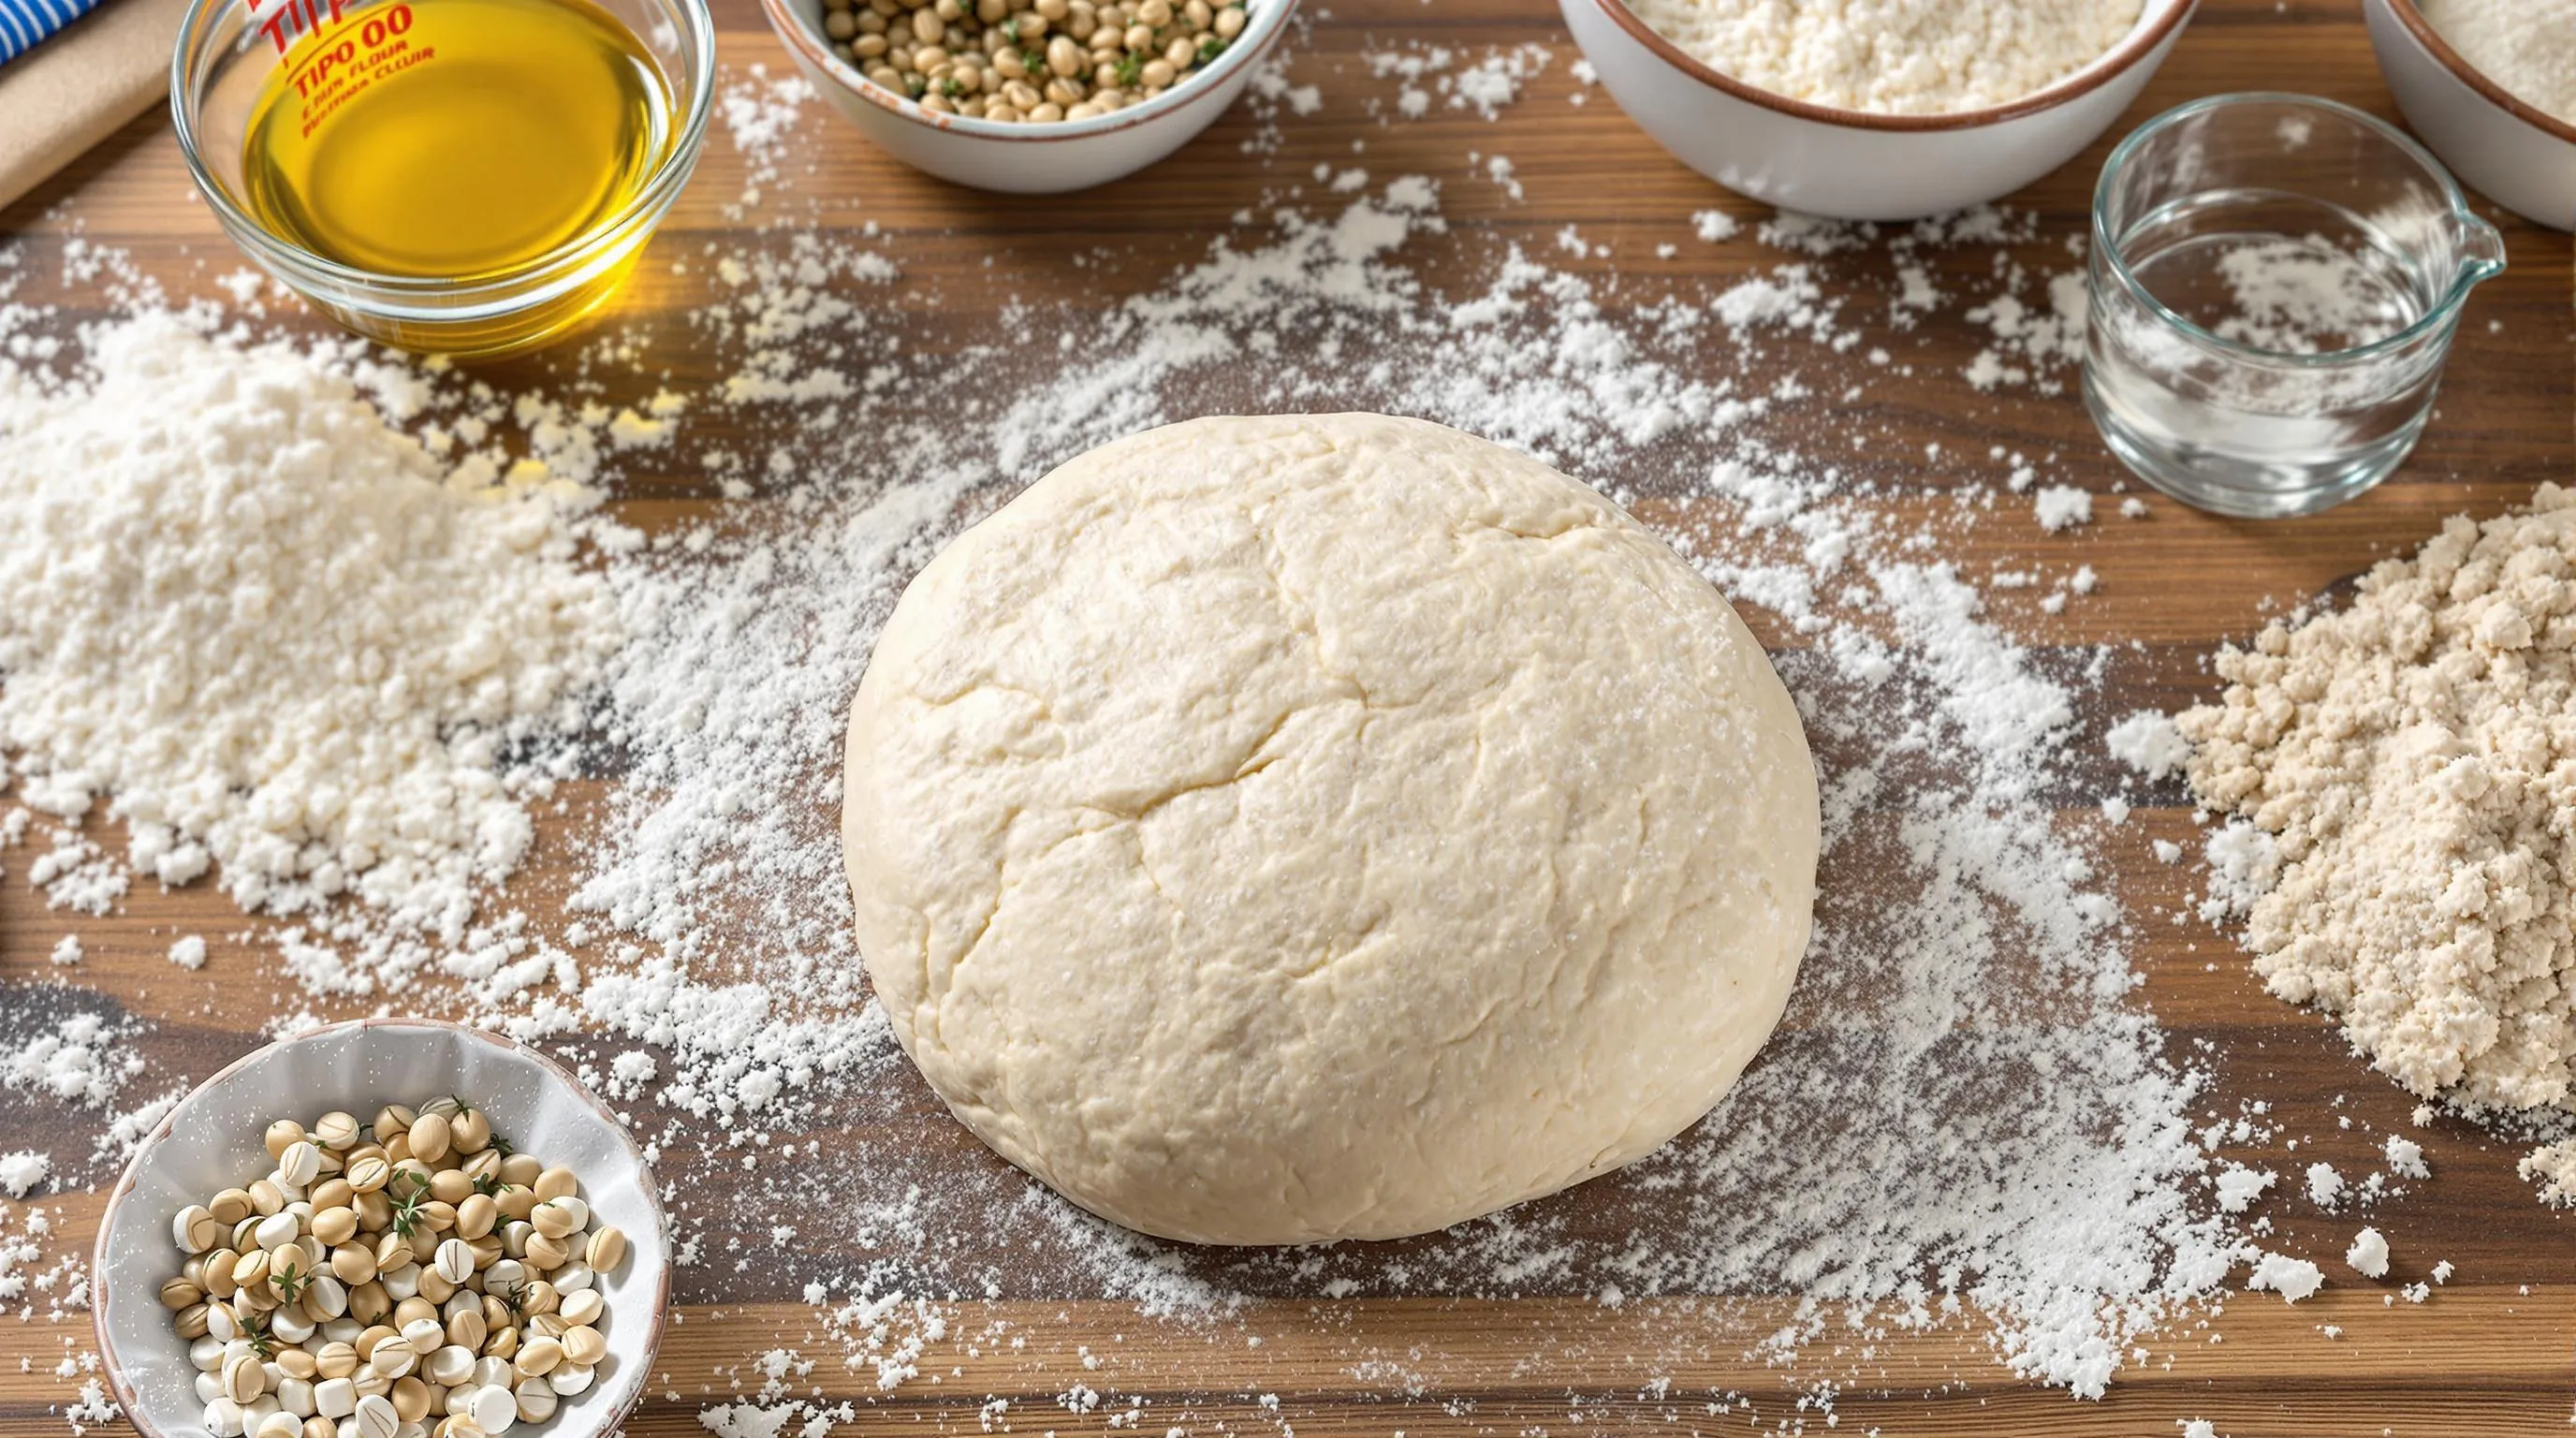
- Combine 1 kilo (2.2 lb) of type 00 flour, 1 gram of dry yeast, and 20 grams of salt in a large mixing bowl.
- Pour 700 grams (1.5 lb) of lukewarm water into the bowl all at once. The warm temperature activates the yeast quickly, kickstarting the fermentation process.
- Mix ingredients with a wooden spoon or your hand until everything comes together. You’ll notice the mixture appears wet and shaggy at this stage, which is exactly what you want.
- Fold the dough inward from the edges toward the center to form a rough ball. This initial folding helps incorporate all dry ingredients without overworking the dough.
Kneading Process
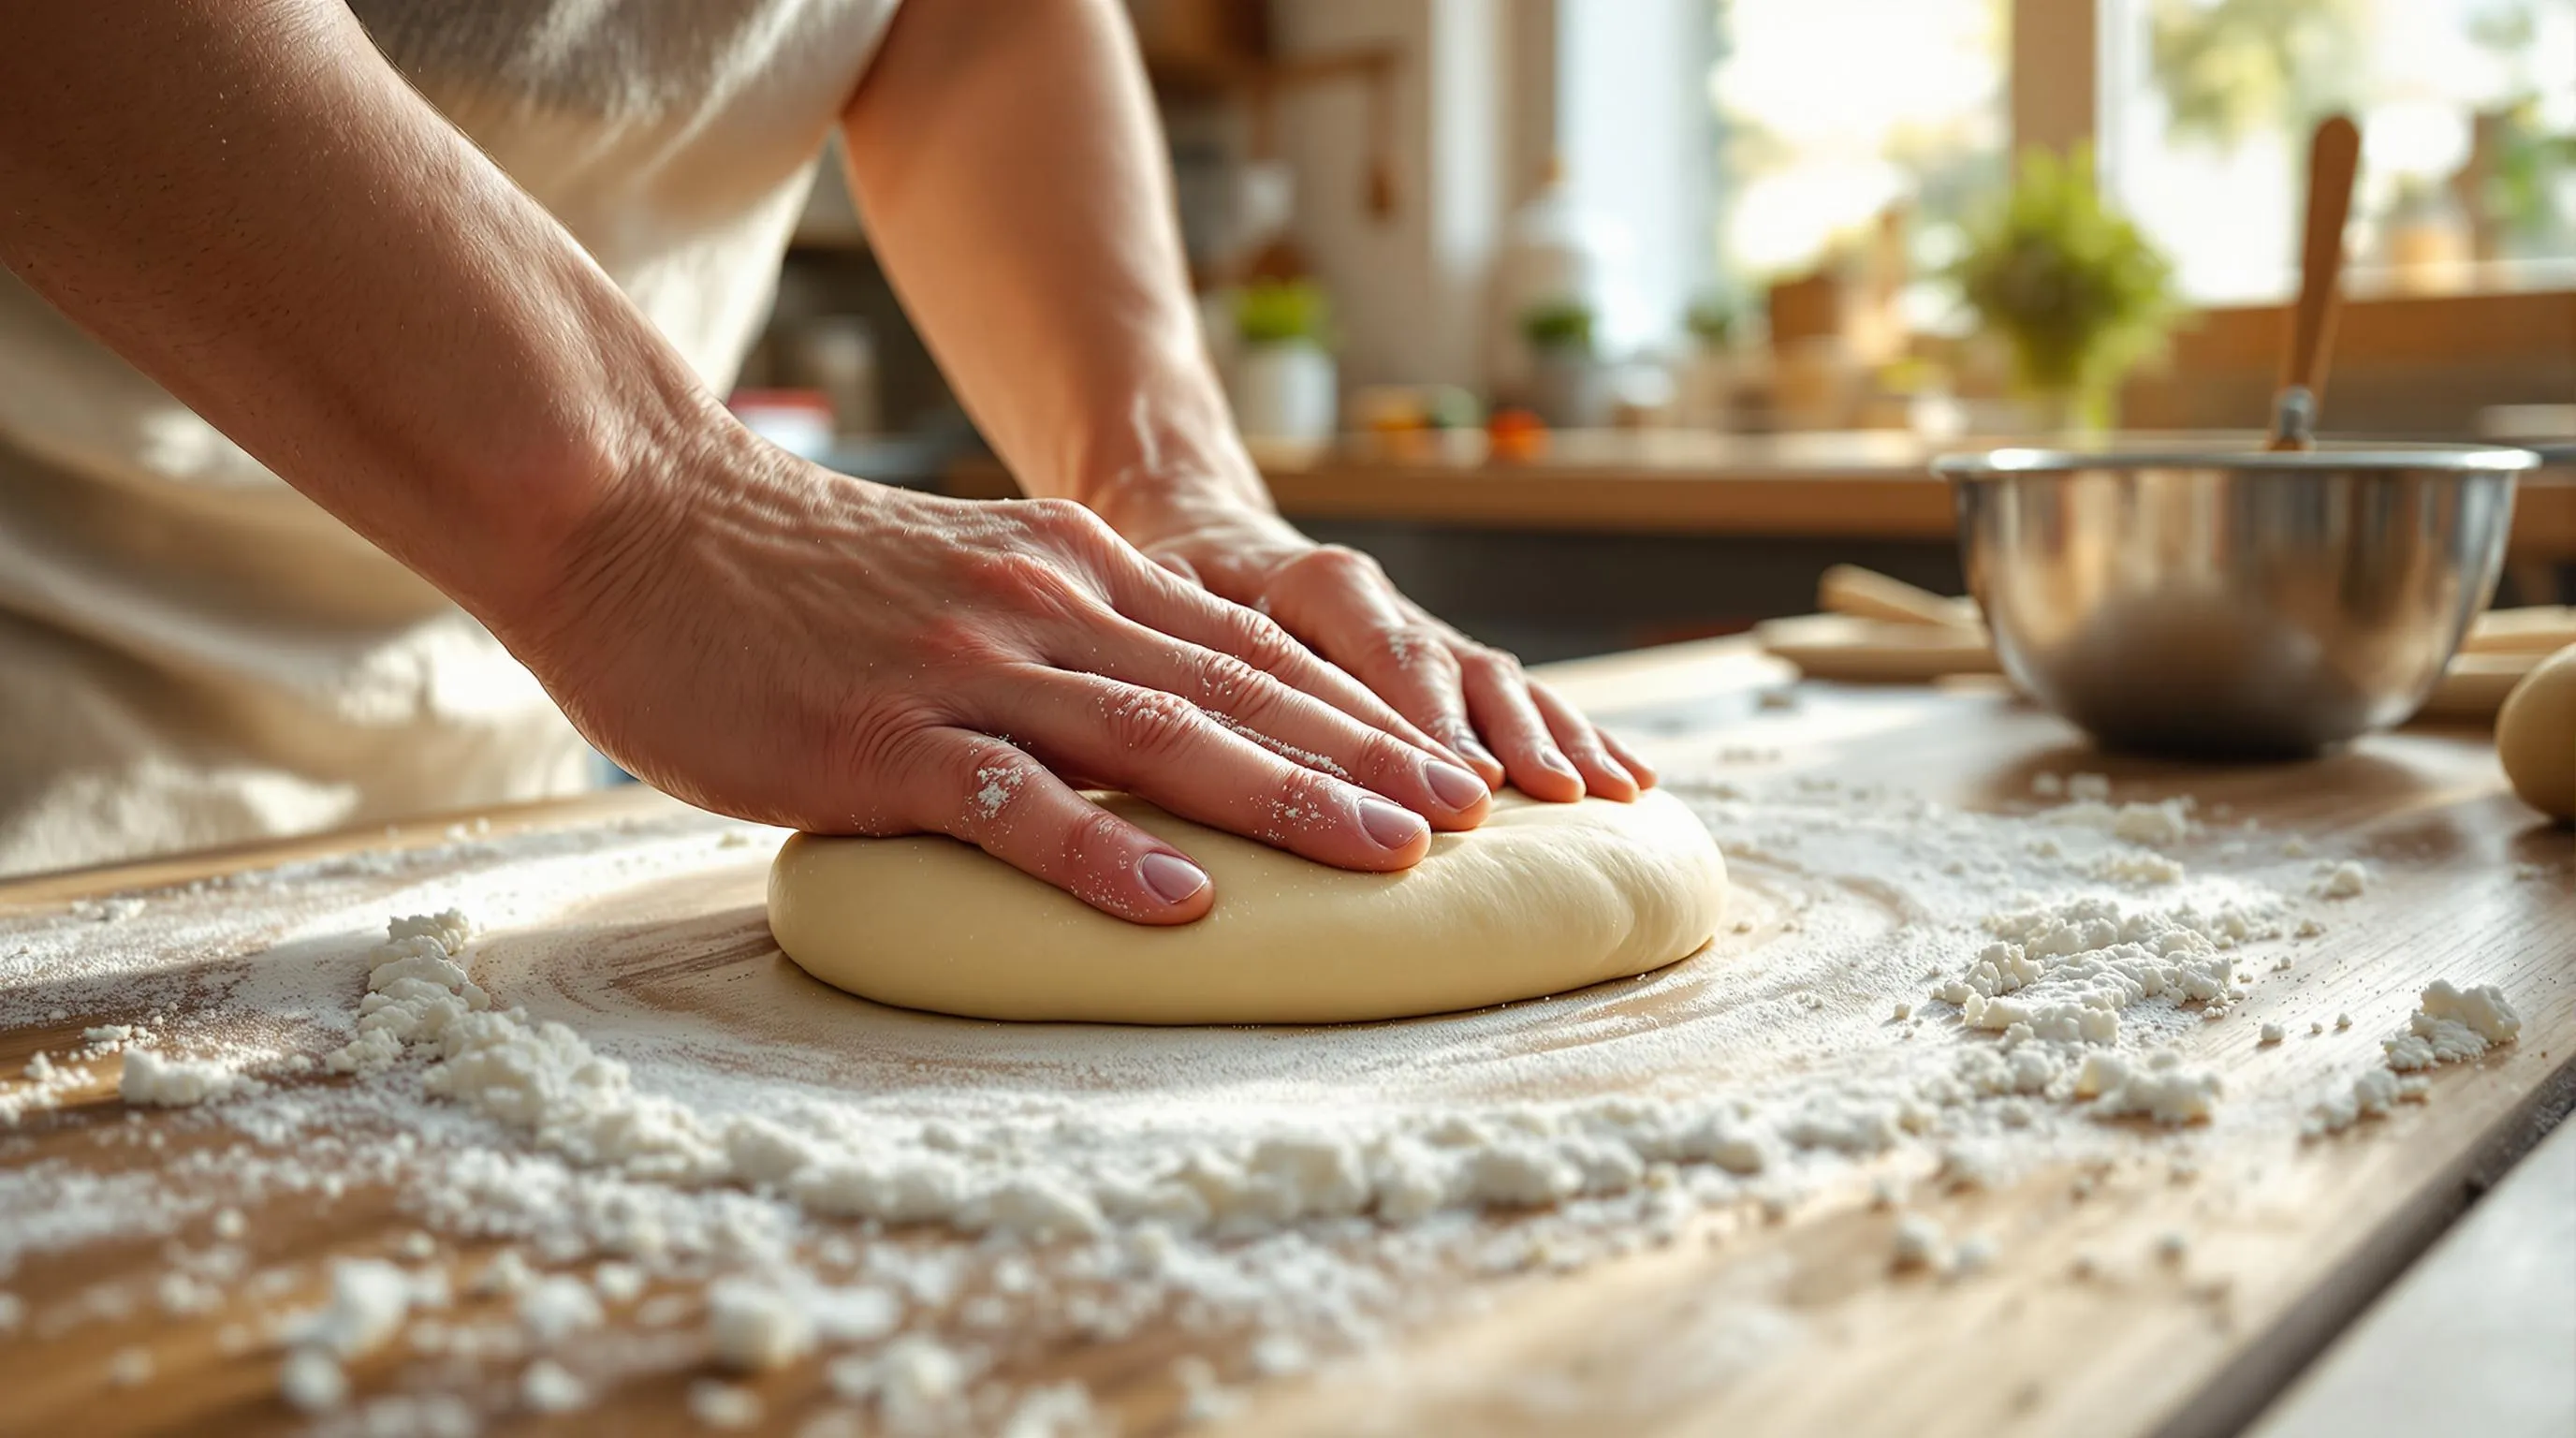
- Transfer your dough ball to a clean work surface lightly dusted with flour. Begin kneading by pushing the dough away with your palm, then folding it back toward you.
- Continue kneading for 15-20 minutes by hand, developing the gluten structure that gives Neapolitan pizza its characteristic chew. The dough transforms from rough and shaggy to smooth and elastic during this process.
- Test for proper development by performing the windowpane test – stretch a small piece of dough between your fingers. It should stretch thin enough to see light through without tearing.
- Adjust consistency as needed. If the dough feels excessively sticky, incorporate small amounts of additional flour. If it seems too dry or stiff, wet your hands slightly and continue kneading to add moisture. Aim for a soft, slightly tacky texture that remains pliable.
First Rise (Quick Method)
- Shape the kneaded dough into a smooth ball and place it in a lightly oiled bowl. Cover with plastic wrap or a damp kitchen towel to prevent a skin from forming.
- Allow the dough to rest at room temperature (ideally 75-80°F) for approximately 1 hour. You’ll notice it becoming slightly puffed as the yeast begins producing gas.
- For an even faster method, rest the covered dough for just 15 minutes after kneading, then divide and shape into individual pizza balls. Cover these balls and let them rest for an additional 45 minutes before shaping.
- While longer cold fermentation (10-16 hours in the refrigerator) develops more complex flavors, this quick 1-hour room temperature rise still produces excellent results when you’re short on time.
- After this abbreviated rise, your dough is ready to be shaped, topped, and baked at high temperature (ideally 500-550°F or higher) to achieve the signature leopard-spotted char of authentic Neapolitan pizza.


Shaping Your Neapolitan Pizza
The perfect Neapolitan pizza begins with proper shaping techniques that preserve those precious air bubbles while creating the iconic thin center and puffy rim. Mastering these methods will elevate your homemade pizza from good to authentically Italian.
Dividing the Dough
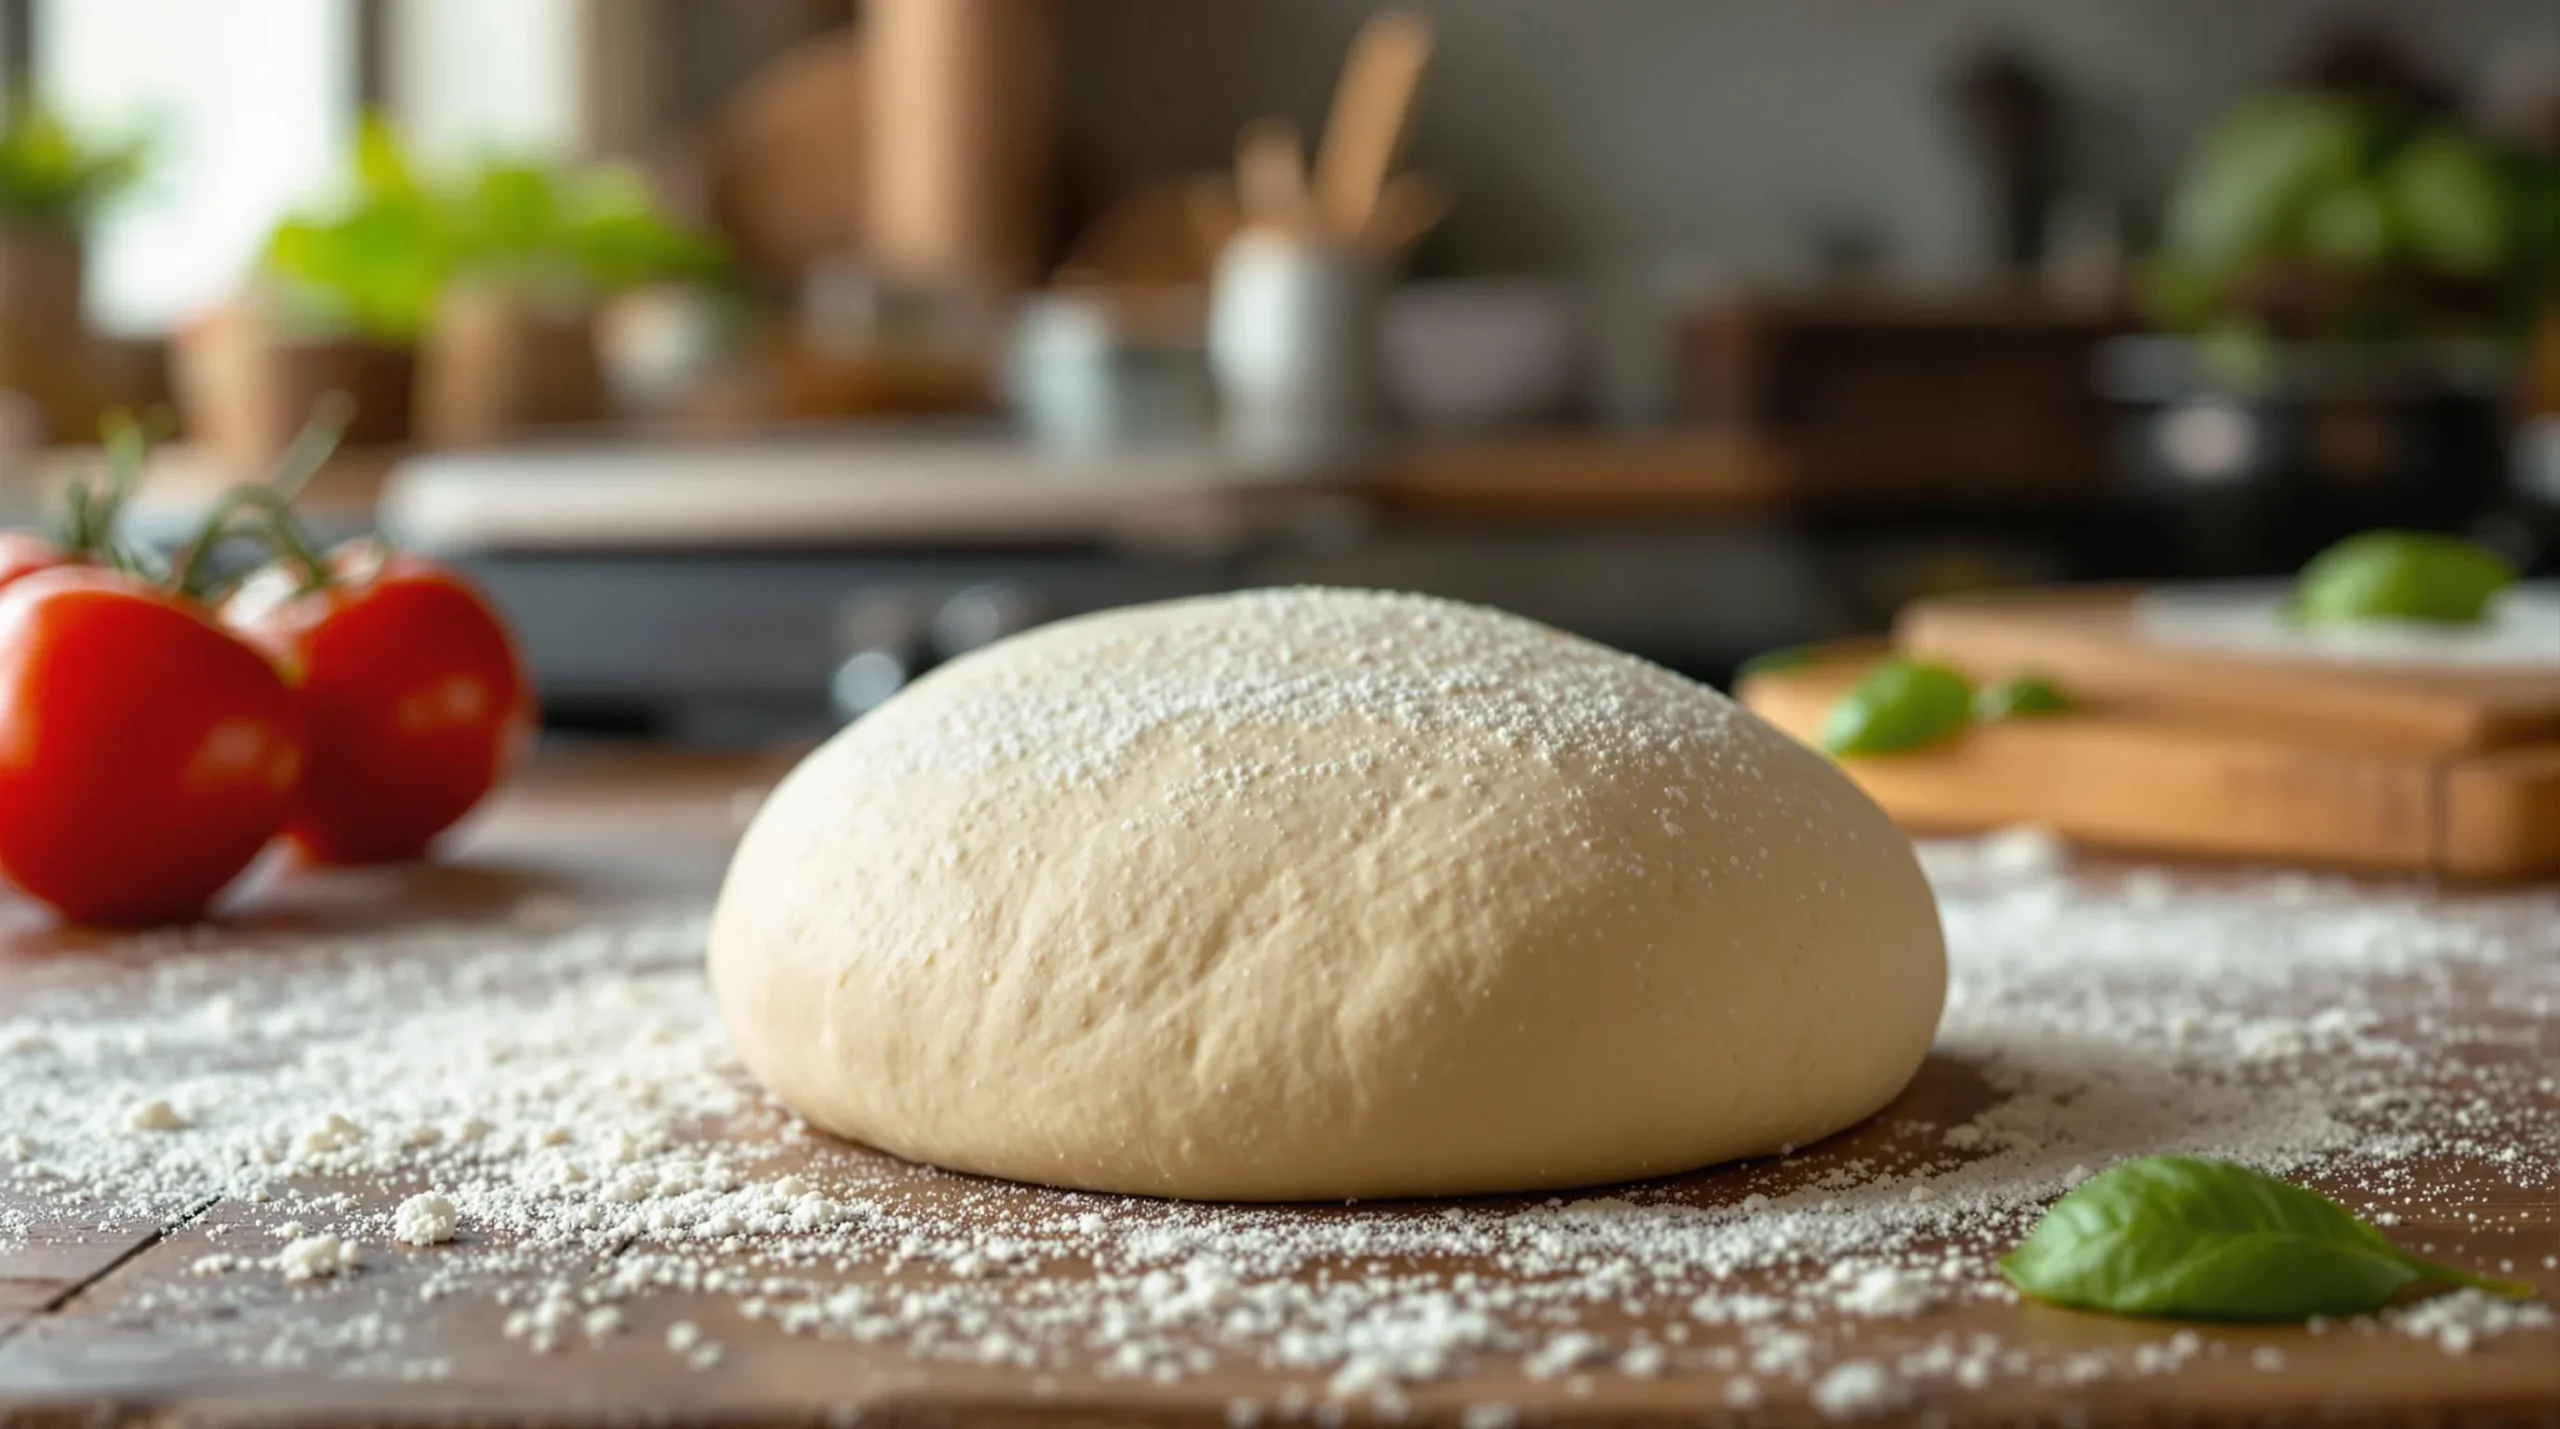
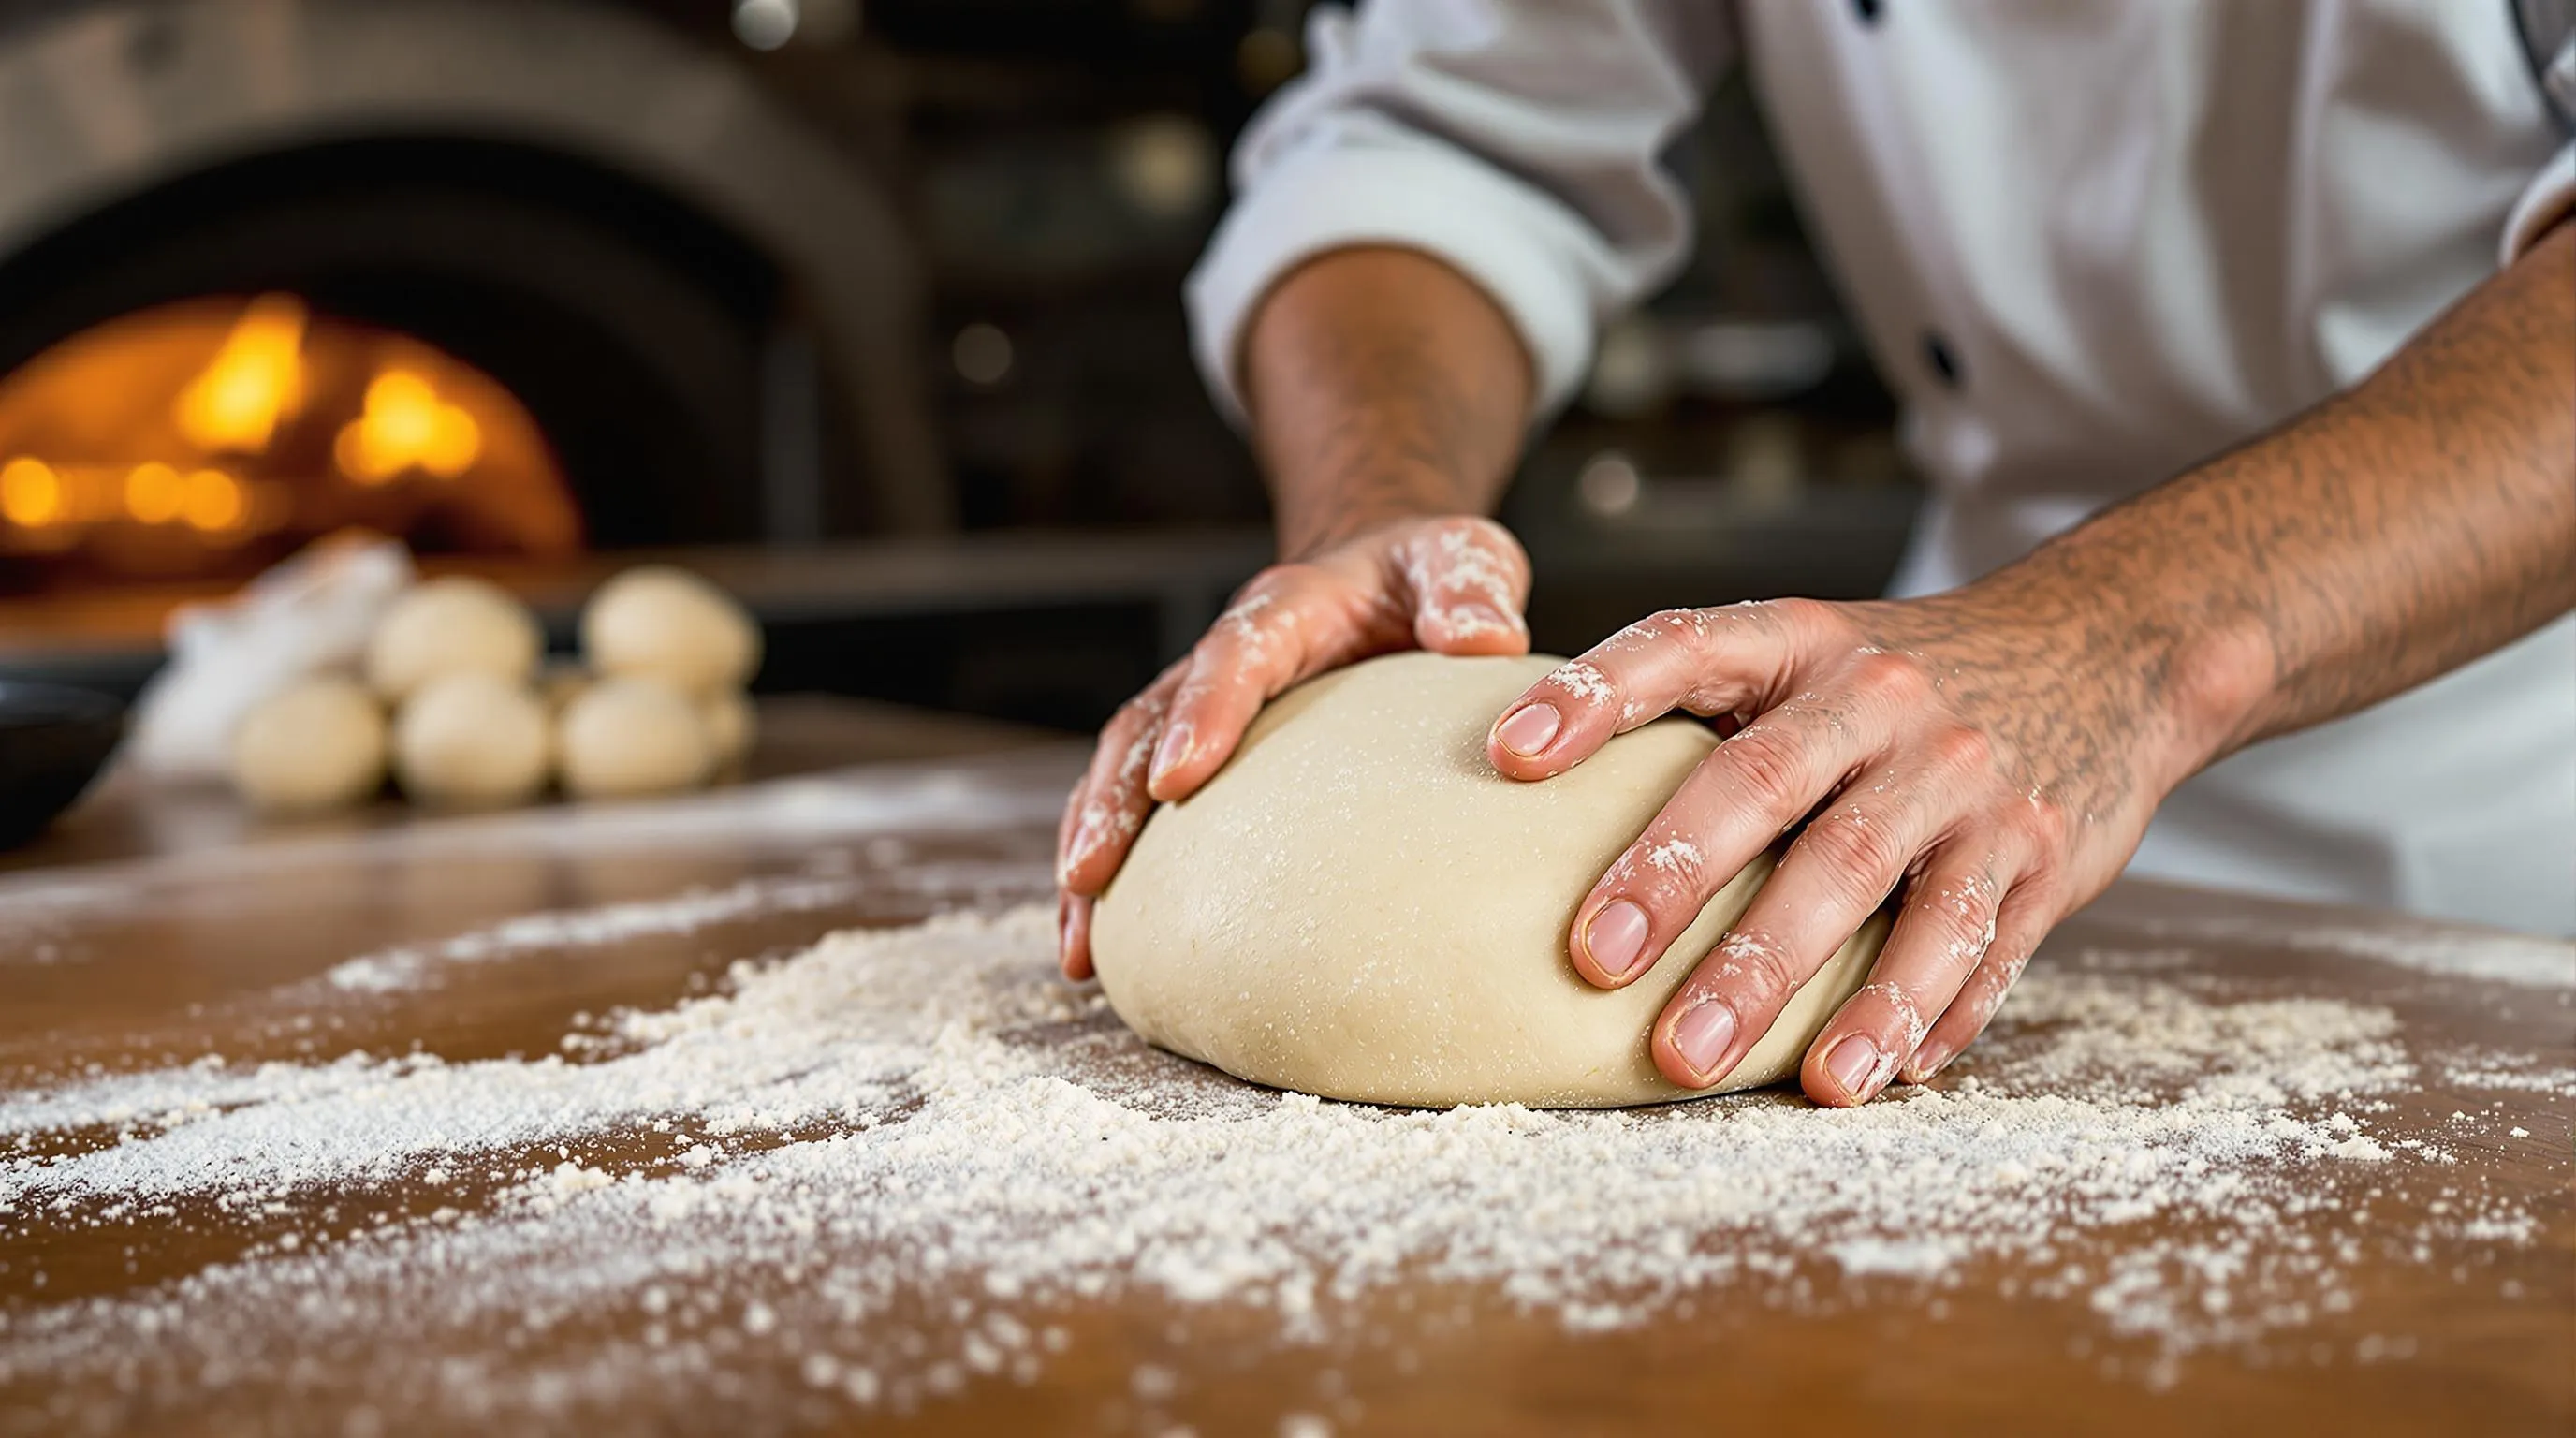
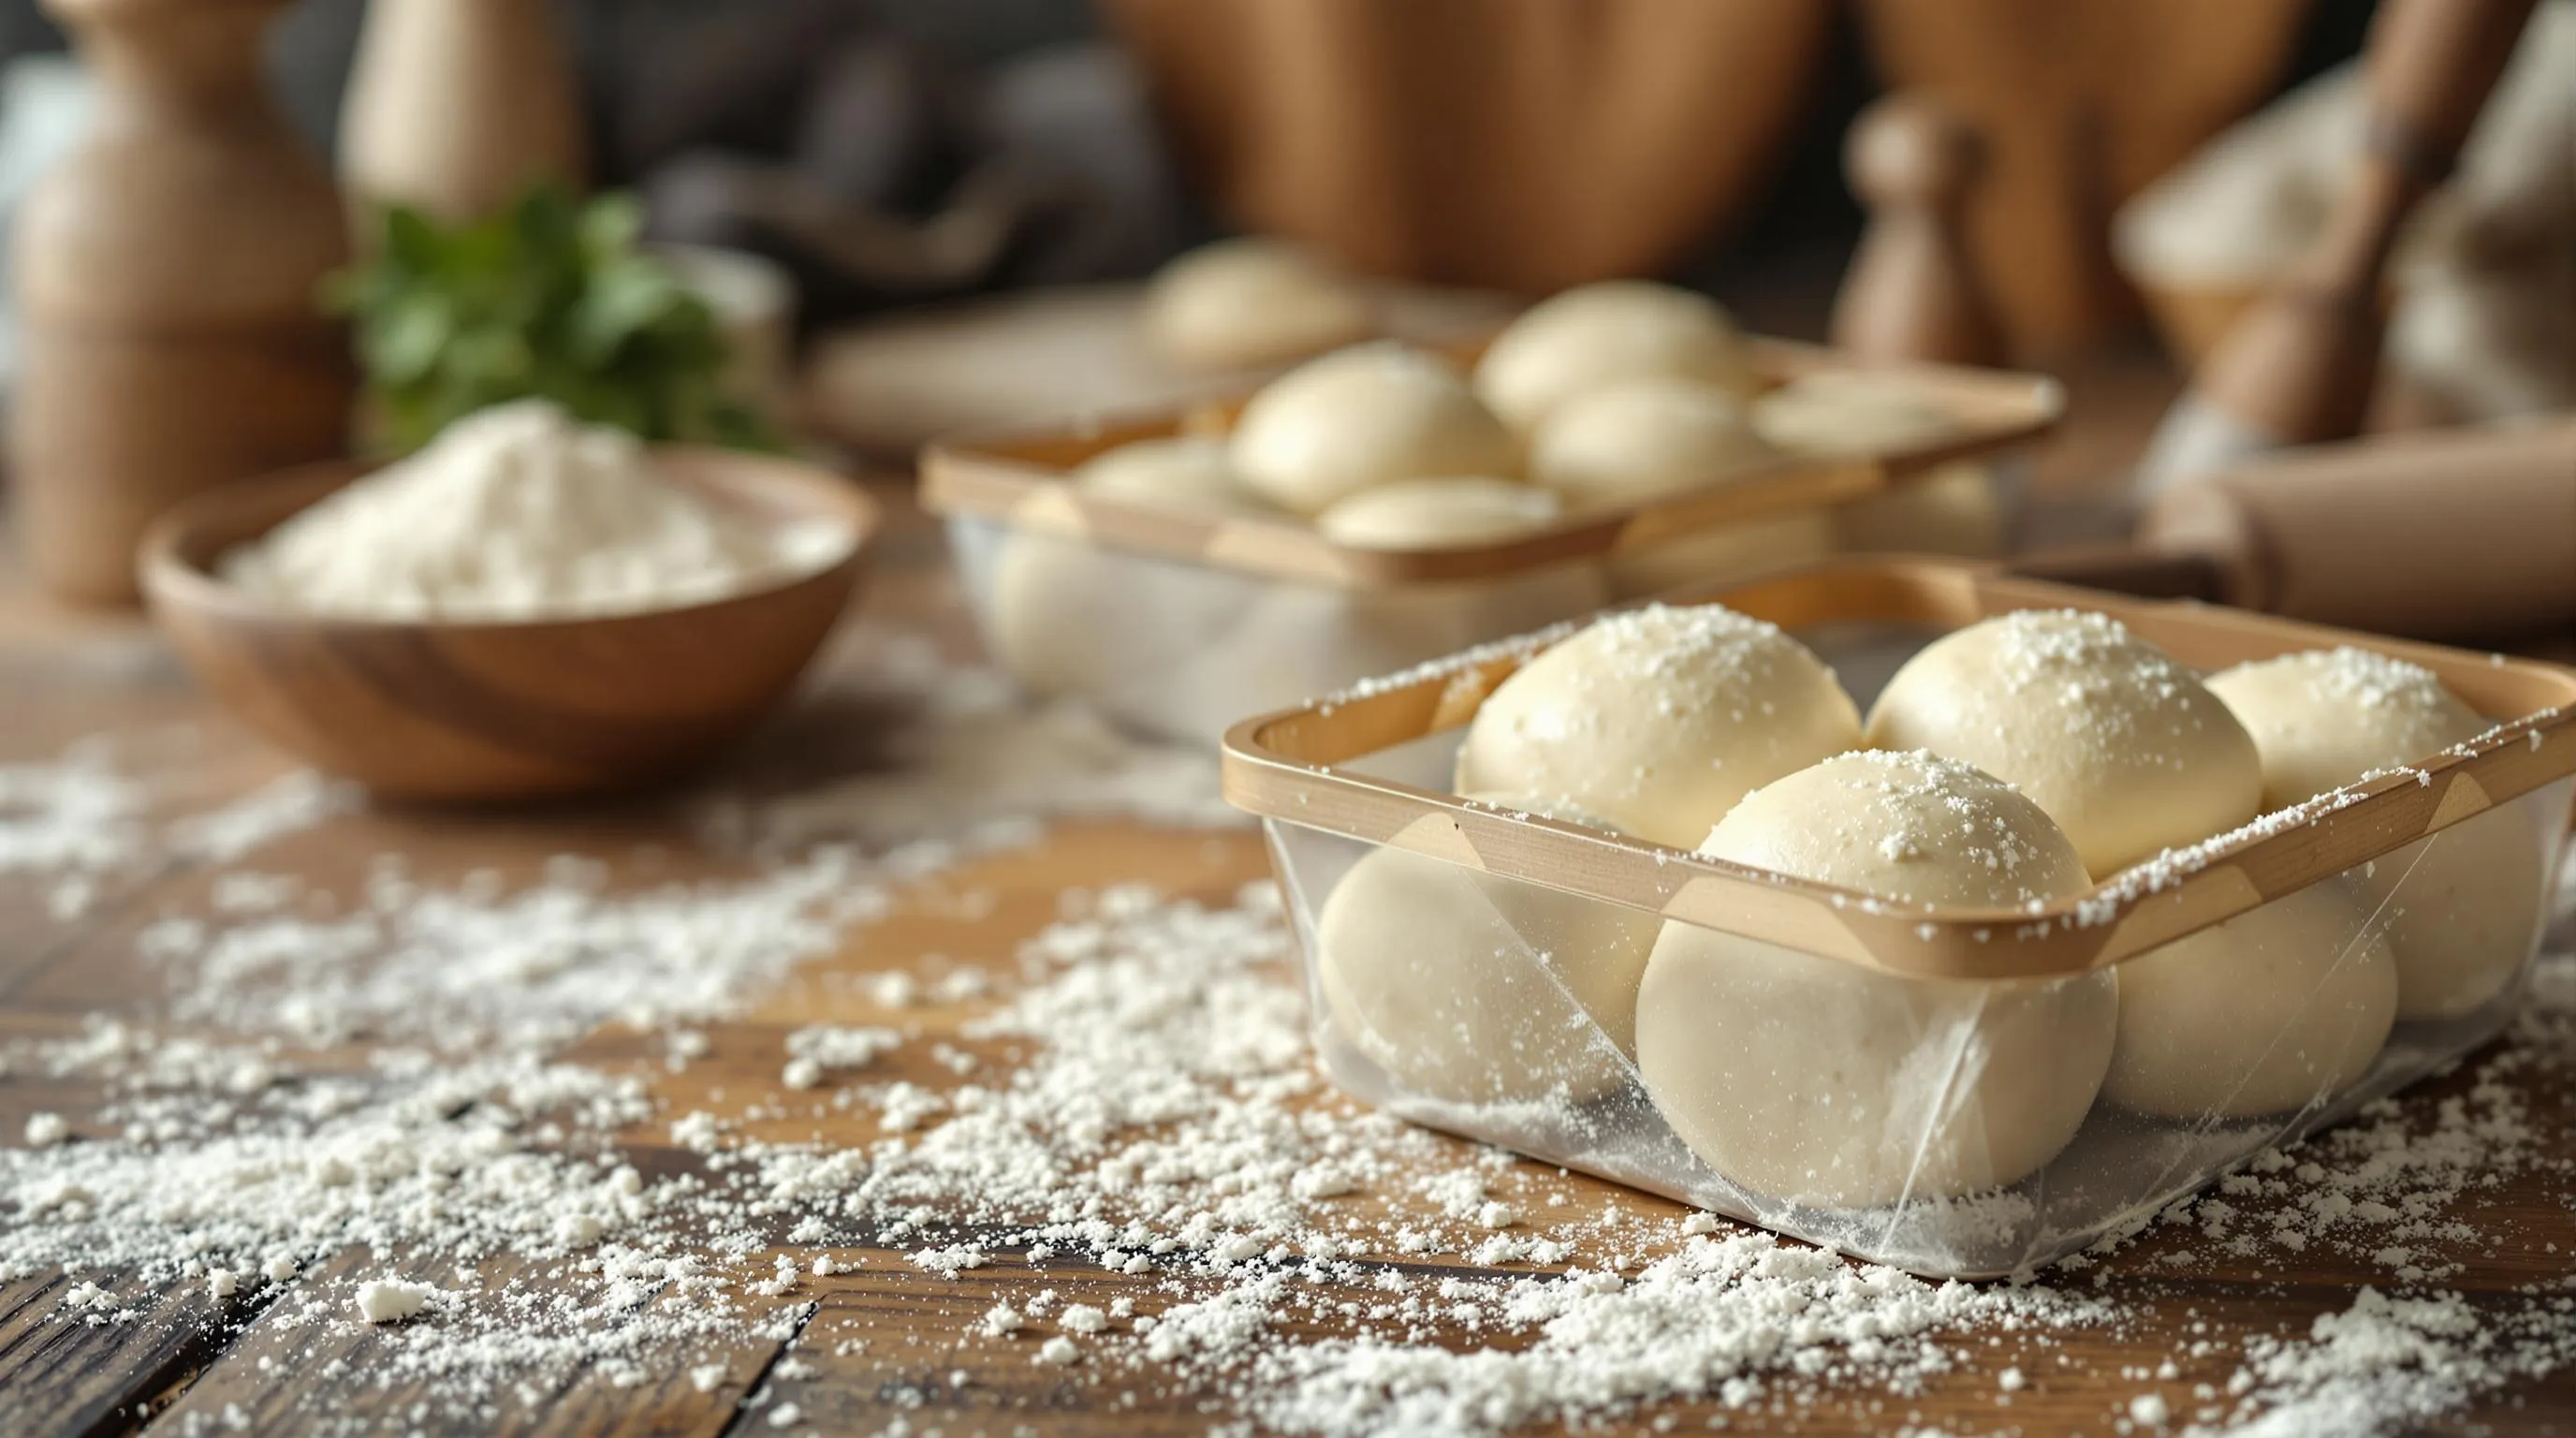
After your dough has completed its fermentation period, it’s time to portion it for individual pizzas. Start by turning the dough onto a lightly floured work surface, handling it gently to preserve the air pockets that have developed. Use a kitchen scale to weigh your dough, then divide it into equal portions—typically 250-280g pieces for traditional 10-inch Neapolitan pizzas.
Weighing each portion ensures consistency across all your pizzas, leading to even cooking times and textures. Form each piece into a tight ball by folding the edges underneath and rotating in your hands to create surface tension. This crucial step creates the foundation for that perfect circular shape later.
Keep your dough balls covered with a damp kitchen towel or plastic wrap after portioning to prevent them from drying out. Professional pizza makers often wet their hands with warm water while handling the dough to prevent sticking without adding excess flour, which can toughen your crust.
Forming Perfect Rounds
Before shaping, allow your dough balls to rest at room temperature for about 30-45 minutes. This relaxes the gluten and makes the dough more pliable for stretching. Place a dough ball on a lightly floured surface and gently press down with your fingertips, working from the center outward while leaving a 1-inch border untouched for the crust.
Lift the flattened disk onto your knuckles and use gravity to your advantage. Rotate and stretch the dough using the backs of your hands, allowing its weight to naturally expand the circle. Authentic Neapolitan pizza requires this hand-stretching technique—never use a rolling pin as it crushes those precious air bubbles that create the light, airy texture.
Your goal is a round approximately 10-12 inches in diameter with a slightly thicker edge and ultra-thin center. The center should be thin enough that when held up to light, you can almost see through it—Neapolitans call this “transparency.” Transfer your shaped dough to a well-floured pizza peel or parchment paper, being careful not to deflate or tear the delicate center.
Professional pizza chefs recommend rotating your dough during baking for even cooking results. The perfect Neapolitan pizza should cook quickly—typically 60-90 seconds in a high-temperature oven (550°F or higher)—resulting in those characteristic leopard spots of char while maintaining a tender, chewy interior.


Topping Suggestions for Authentic Neapolitan Pizza
Traditional Neapolitan Toppings
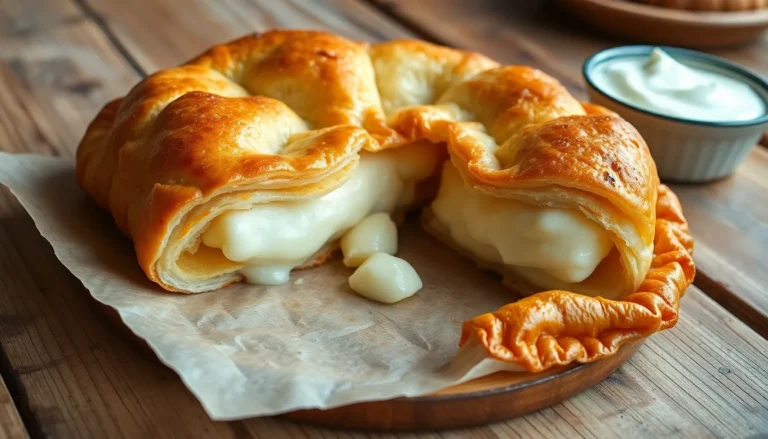
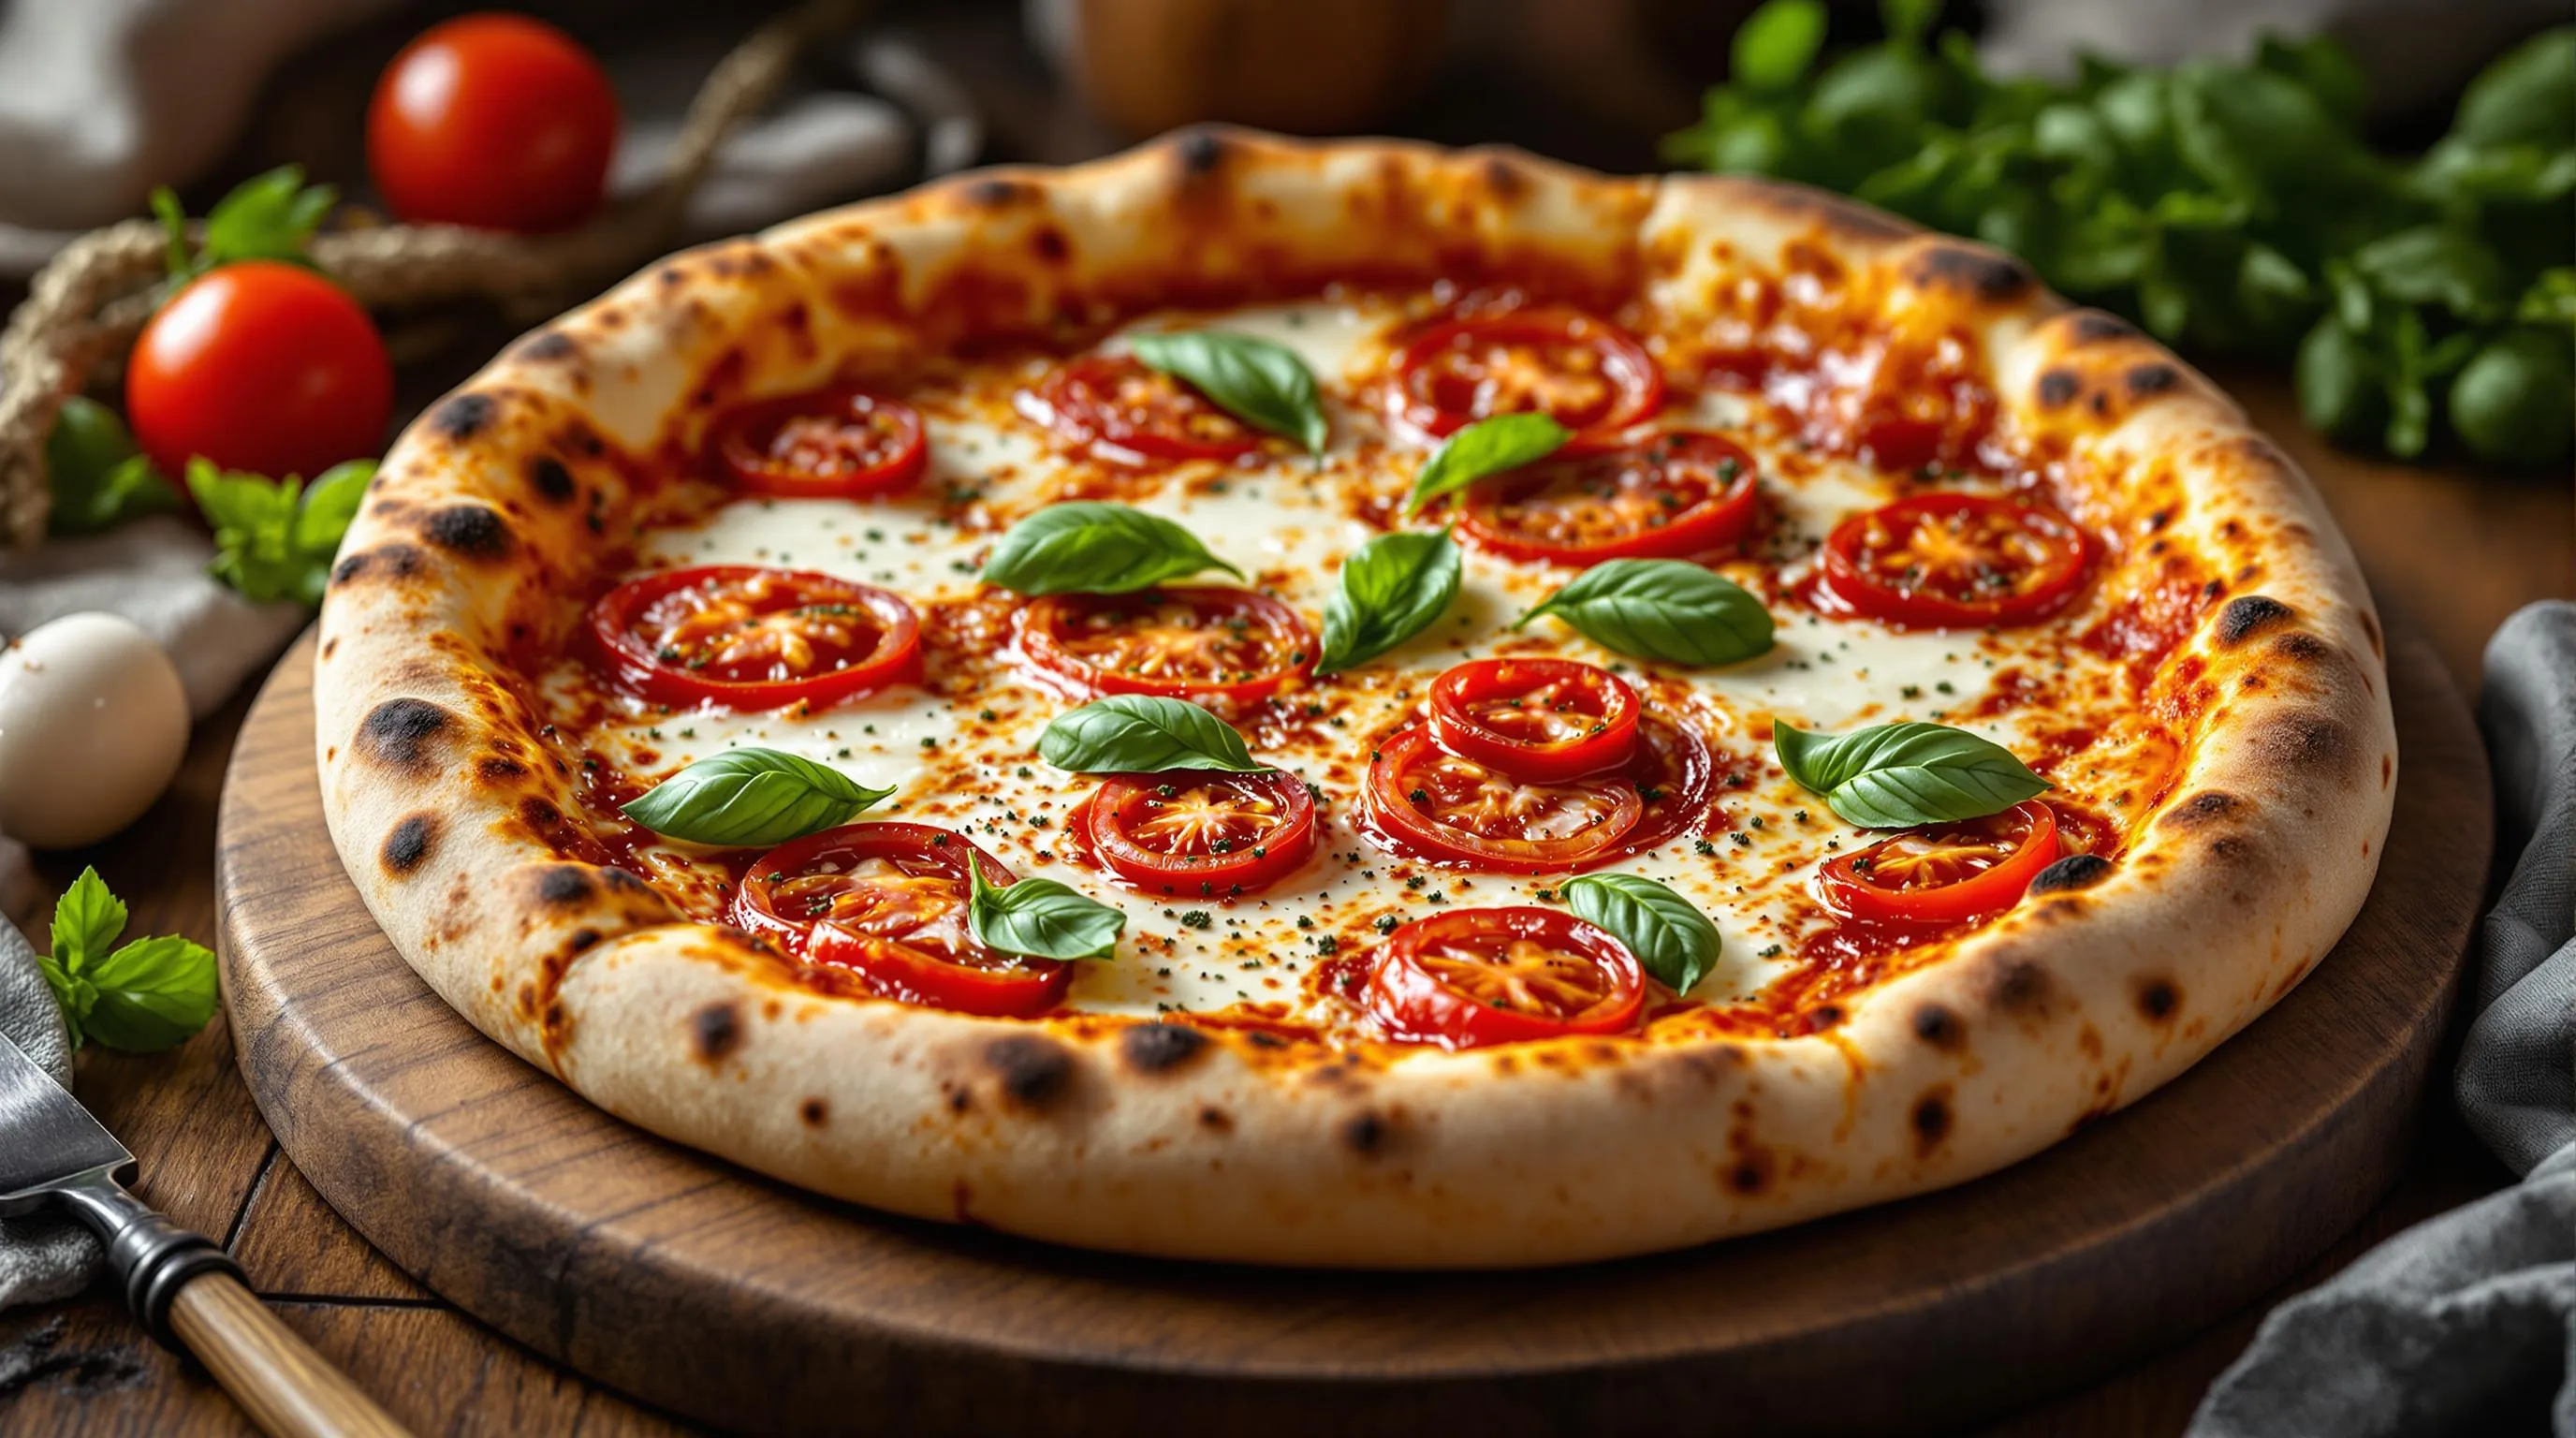
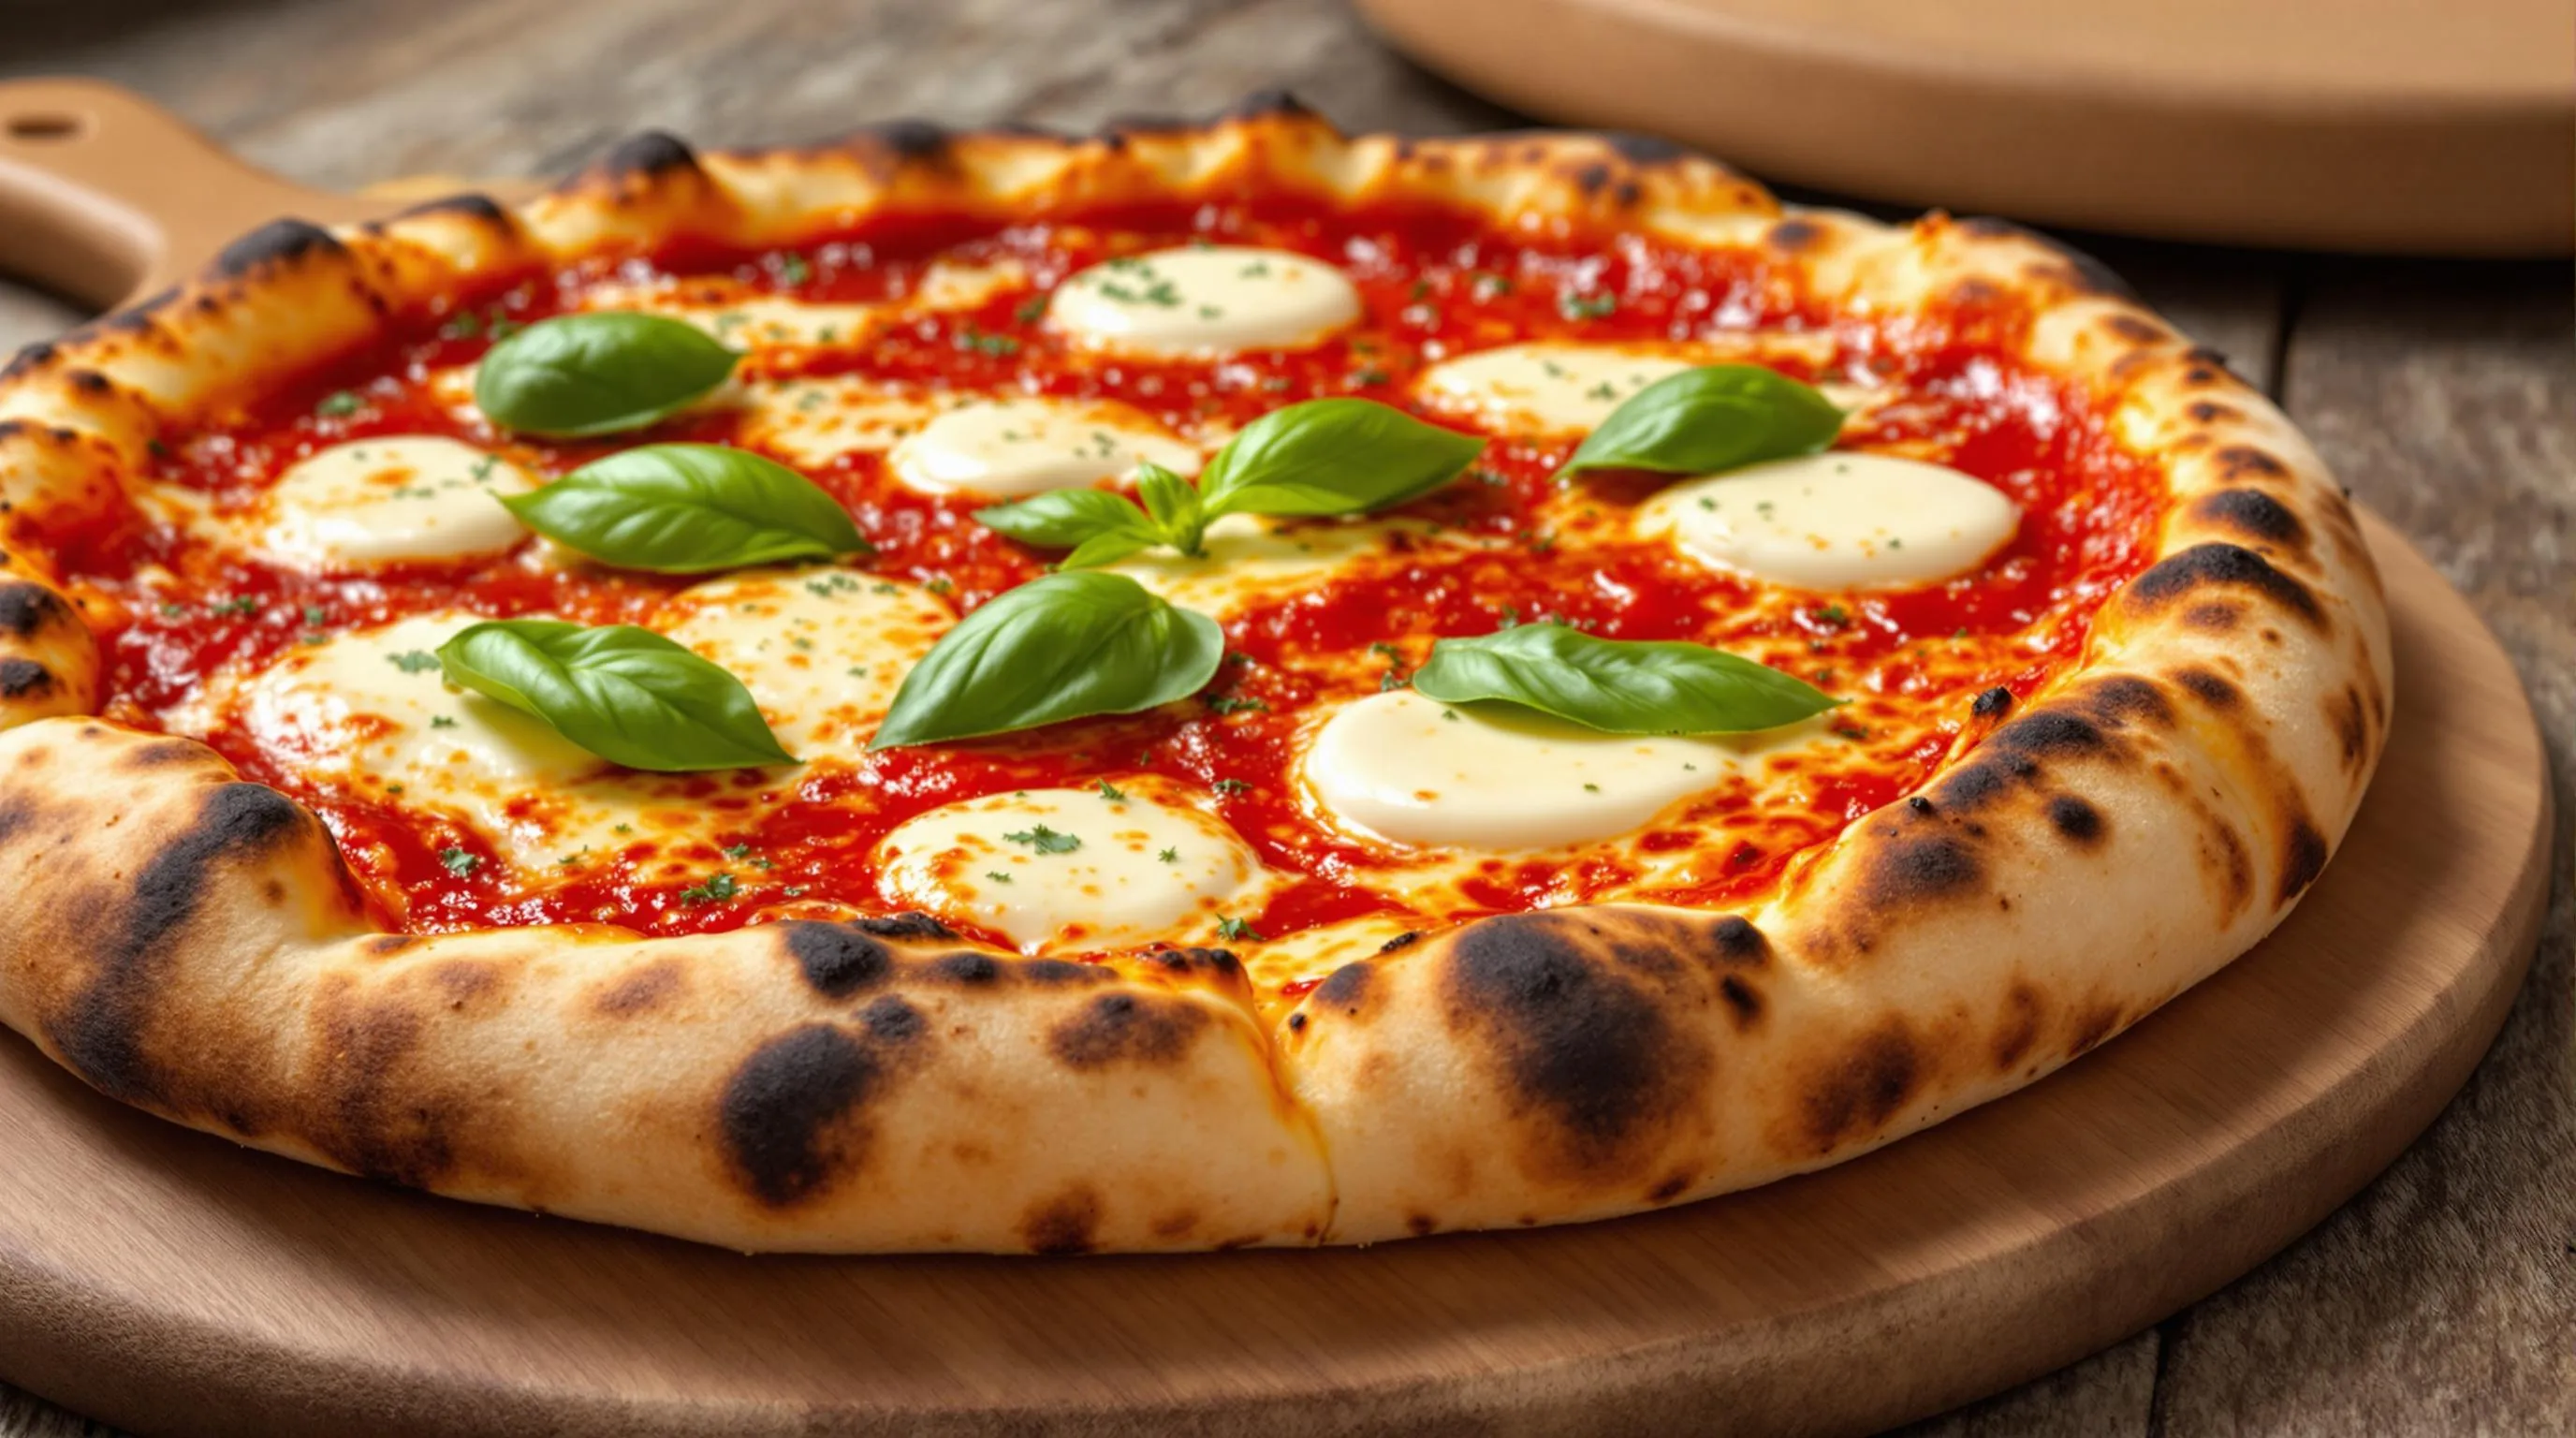
Traditional Neapolitan pizza celebrates simplicity with minimal high-quality ingredients. The classic Margherita pizza requires only a thin layer of San Marzano tomato sauce seasoned with salt vinegar and oregano. Fresh fior di latte or buffalo mozzarella torn into pieces should be distributed sparingly across the surface. After baking finish with fresh basil leaves and a light drizzle of extra virgin olive oil. These simple toppings allow the flavor of your perfectly crafted dough to shine through without overwhelming it.
Modern Creative Combinations
Your quick Neapolitan pizza dough provides an excellent canvas for more adventurous flavor profiles. Try a Chicken Bacon Alfredo pizza featuring a creamy garlic Alfredo sauce base topped with seasoned chicken breast pieces crispy bacon and a blend of mozzarella and parmesan cheeses. Another innovative option combines pesto base with sweet sliced red grapes tangy feta cheese and mozzarella finished with peppery arugula and hot honey after baking. For meat lovers create a spicy combination of your favorite cured meats with dollops of honey-sweetened ricotta to balance the heat.
Topping Application Tips
Apply your sauce in a thin even layer using the back of a spoon to spread it to within half an inch of the edge. This technique preserves the puffy cornicione (rim) that defines authentic Neapolitan pizza. Distribute toppings sparingly as overloading will make the center soggy and prevent proper cooking. Fresh mozzarella contains important moisture so tear it into pieces and pat dry before placing on the dough. Add delicate ingredients like fresh herbs after baking to preserve their vibrant flavors and colors. Remember that authentic Neapolitan pizza cooks extremely quickly at high temperatures so pre-cook any raw meat toppings that require longer cooking times.
Balancing Flavors and Textures
The best Neapolitan pizzas achieve perfect harmony between flavors and textures. Pair salty elements like anchovies or cured meats with sweet components such as caramelized onions or honey. Balance rich cheeses with bright acidic ingredients like lemon zest pickled vegetables or balsamic glaze. Create textural contrast by combining creamy cheeses with crunchy elements added post-bake. Your quick Neapolitan dough creates a beautiful foundation with its tender yet chewy interior and crisp exterior making it versatile enough to support both traditional and creative topping combinations while maintaining its distinctive character.


Cooking Your Neapolitan Pizza
Now that your dough is shaped and topped it’s time to transform it into a perfectly charred Neapolitan pizza with a tender chewy center. The cooking method you choose significantly impacts the final result with high heat being essential to achieving those signature leopard spots.
Oven Method
Your home oven can produce excellent Neapolitan-style pizza even though not reaching the 900°F temperatures of wood-fired ovens. Preheat your oven to its maximum temperature (typically 500-550°F) for at least 45 minutes before baking. Position an oven rack in the top third position to maximize heat exposure and browning.
Transfer your topped pizza to a pizza peel dusted with semolina flour or cornmeal to prevent sticking. Slide the pizza directly onto the preheated surface with a quick forward-backward motion. Bake for approximately 7-10 minutes until the crust develops puffy edges with charred spots and the cheese melts completely.
For an even better result turn on your broiler for the final 1-2 minutes of cooking time. This additional heat from above helps create more authentic charring on the crust and toppings. Remove the pizza carefully using a pizza peel and allow it to rest for 1-2 minutes before slicing to let the cheese set slightly.
Pizza Stone Method
A pizza stone creates the ideal cooking surface by retaining intense heat and drawing moisture from the dough. Place your stone in a cold oven then preheat to the maximum temperature for at least 45-60 minutes. This extended preheating ensures the stone becomes thoroughly hot.
Prepare your pizza on a peel dusted with semolina flour while the stone heats. Ensure your dough moves freely on the peel before adding toppings to prevent sticking. With a quick jerking motion slide the pizza onto the center of the hot stone.
Bake for 6-8 minutes until the crust rises dramatically around the edges and develops the characteristic leopard spotting. The bottom should be crisp with some char marks while the interior remains tender and airy. Use your peel to rotate the pizza halfway through cooking if you notice uneven browning.
For truly authentic results consider using a pizza steel instead of a stone. Steel conducts heat more efficiently than ceramic stones creating even better browning on the bottom of your crust. The intense heat from the stone or steel mimics wood-fired ovens creating that perfect balance of charred exterior and soft interior that defines Neapolitan pizza.


Storage and Make-Ahead Tips
Neapolitan pizza dough offers exceptional flexibility when it comes to preparation timing. Your freshly made dough can actually improve with proper storage allowing for better flavor development while accommodating busy schedules.
Refrigeration Method
Store your pizza dough in the refrigerator for up to 72 hours to develop deeper flavors through slow fermentation. Follow these steps for optimal refrigeration:
- After the initial rise complete the dough ball formation
- Lightly brush each dough ball with olive oil to prevent drying
- Place individual balls in airtight containers or wrap tightly in plastic wrap
- Refrigerate at 38-40°F for anywhere from 24-72 hours
The cold environment slows yeast activity while enzymes continue breaking down starches into sugars creating more complex flavors. Many pizza enthusiasts including our test kitchen prefer dough that has undergone this cold fermentation process for its enhanced taste profile.
Freezing Instructions
Extend your dough’s lifespan significantly by freezing properly:
- Allow dough to complete its initial 2-hour rise at room temperature
- Form into individual dough balls
- Lightly coat each ball with olive oil
- Place in freezer-safe airtight containers or freezer bags
- Freeze for up to 3 months
Frozen dough maintains surprisingly good quality while providing ultimate convenience for impromptu pizza nights. Our readers frequently share how this method has revolutionized their home pizza game.
Thawing Process
Properly thawing your stored dough ensures optimal texture and performance:
For refrigerated dough:
- Remove from refrigerator at least 1-2 hours before use
- Allow to warm at room temperature
- The dough becomes more pliable and easier to stretch
For frozen dough:
- Transfer from freezer to refrigerator 24 hours before planned use
- Remove from refrigerator 1-2 hours before stretching
- Allow to reach room temperature
Pro Tips for Make-Ahead Success
Take advantage of these expert recommendations for the best results with stored dough:
- Avoid over-proofing before refrigeration as this can deplete yeast activity
- Expect a slightly more sour flavor profile with extended fermentation—this adds desirable complexity
- Dust with flour right before using not before storage
- The longer your dough ferments the less kneading it typically requires when ready to use
- Quick-made dough that’s been refrigerated often rivals traditionally slow-fermented versions
This flexible storage approach transforms your quick Neapolitan pizza dough into a convenient pantry staple. The ability to prepare multiple batches in advance streamlines weeknight cooking while still delivering authentic Italian pizza flavor.


Recipe Variations
Whole Wheat Version
Adding whole wheat flour to your Neapolitan pizza dough creates a nuttier flavor profile with additional nutritional benefits. Replace 25-30% of the Tipo 00 flour with whole wheat flour while maintaining the same hydration levels. This variation may require slightly more water (about 10-15ml extra) as whole wheat flour absorbs more moisture than refined flour. The resulting crust will have a more robust texture with a pleasant earthy undertone that pairs wonderfully with stronger toppings like roasted vegetables or bold cheeses.
Olive Oil Enriched Dough
While traditional Neapolitan pizza strictly avoids oil, adding 15ml of extra virgin olive oil creates a more forgiving dough with enhanced flavor. The oil contributes a subtle richness and makes the dough easier to handle for beginners. Your crust will develop a slightly more golden exterior when baked and maintain moisture better during high-heat cooking. This variation works exceptionally well for home ovens that might not reach the extreme temperatures of professional pizza ovens.
Poolish Pre-Ferment Method
For those with just a bit more time to spare, using a poolish pre-ferment delivers complex flavor in a relatively quick timeframe. Mix 150g of your flour with 150ml water and just a pinch (1/8 tsp) of instant yeast the night before. Let this mixture ferment at room temperature for 8-12 hours, then incorporate it with the remaining ingredients the next day. This method provides deeper flavor development while still allowing you to complete the dough within a few hours rather than days.
Herb-Infused Dough
Elevate your pizza base by incorporating dried herbs directly into your dough. Add 1-2 tablespoons of dried oregano, basil, or an Italian herb blend to your dry ingredients before mixing. The herbs will release their essential oils during baking, infusing the entire crust with aromatic flavors that complement your toppings. This variation has become particularly popular among home cooks looking to maximize flavor in quick-preparation scenarios.
Higher Hydration Option
For those comfortable handling wetter doughs, increasing the hydration to 65-70% (325-350ml water for 500g flour) creates an airier crumb structure with larger bubbles. This variation requires careful handling but rewards you with an exceptionally light and tender crust. The higher moisture content helps achieve those coveted air pockets that characterize authentic Neapolitan pizza, even when using the accelerated preparation method.
Sourdough Hybrid
Combine the speed of commercial yeast with the flavor complexity of sourdough by using both in your dough. Add 50-100g of active sourdough starter along with a reduced amount of instant yeast (3-4g instead of 7g). This approach delivers some of the tangy complexity associated with longer fermentation while still allowing you to complete your dough within a 3-4 hour window. The resulting crust features a more complex flavor profile that many find irresistible.
| Variation | Key Modification | Primary Benefit | Recommended Rise Time |
|---|---|---|---|
| Whole Wheat | Replace 25-30% flour with whole wheat | Added nutrition and nuttier flavor | 2-3 hours |
| Olive Oil Enriched | Add 15ml extra virgin olive oil | Easier handling and moisture retention | 1.5-2 hours |
| Poolish Pre-Ferment | Create overnight pre-ferment with portion of flour | Enhanced flavor complexity | 8-12 hours pre-ferment + 2 hours final rise |
| Herb-Infused | Add 1-2 tbsp dried herbs to dry ingredients | Aromatic crust with integrated flavors | 2-3 hours |
| Higher Hydration | Increase water to 65-70% of flour weight | Airier texture with larger bubbles | 2-3 hours |
| Sourdough Hybrid | Add 50-100g sourdough starter, reduce yeast | Complex flavor with faster timeline | 3-4 hours |


Expert Tips for Perfect Quick Neapolitan Pizza Dough

Use a Digital Scale for Precision
Achieving perfect Neapolitan pizza dough requires accuracy in measurements. Digital kitchen scales provide the precision needed for consistent results every time. Weighing ingredients rather than using volume measurements ensures the correct hydration level of 58-62% that’s crucial for quick Neapolitan dough. Professional pizzaiolos never guess measurements because even small variations can dramatically affect your dough structure and texture.
Keep Yeast and Salt Separate Initially
Salt can inhibit yeast activity when in direct contact before hydration. Always mix your salt with the flour first then add your activated yeast mixture separately. This technique prevents yeast cell damage and ensures proper fermentation even in your accelerated timeline. Many home bakers miss this critical step which can result in dough that fails to rise properly even though using fresh ingredients.
Master the Windowpane Test
Your dough is properly kneaded when it passes the windowpane test. Take a small piece of dough and gently stretch it between your fingers until it forms a thin translucent membrane without tearing. This indicates well-developed gluten networks essential for that characteristic Neapolitan chew. Continue kneading if the dough tears easily before achieving transparency.
Control Your Environment
Temperature significantly impacts fermentation speed. For quick Neapolitan dough maintain a warm room temperature between 75-80°F during proofing. Place your covered dough in a warm spot away from drafts to accelerate the rise without compromising structure. Some bakers create a proofing environment by placing the dough near a pilot light or in an oven with just the light turned on.
Handle Dough Gently After Rising
Preserve those precious air bubbles by handling your dough with care after rising. When shaping pizza balls use gentle stretching and folding techniques rather than aggressive punching down. This delicate approach maintains the aerated structure that creates those beautiful air pockets in the crust edge.
Extend Fermentation When Possible
While this recipe focuses on speed a slightly longer fermentation yields better flavor when time permits. Even extending your rise by 30-60 minutes can significantly enhance flavor complexity. The difference between a 2-hour and 3-hour rise can be remarkable in developing those subtle yeasty notes characteristic of authentic Neapolitan pizza.
Adjust Hydration Based on Flour Type
Different flour brands absorb water differently. Italian Tipo 00 flour typically requires less water than all-purpose or bread flour. Start with the recipe’s base hydration then adjust by adding small amounts of water or flour until you achieve a soft elastic dough that isn’t sticky. The perfect dough should feel smooth and pliable without clinging to your hands.
Preheat Your Cooking Surface Thoroughly
For the signature Neapolitan char preheat your pizza stone or steel at maximum oven temperature (around 550°F) for at least 45-60 minutes before baking. This extended preheating ensures your cooking surface reaches the temperature needed to quickly cook the bottom of the pizza creating those desirable leopard spots. Inadequate preheating is the most common reason home pizzas lack proper bottom crust development.
Conclusion
With this quick Neapolitan pizza dough recipe you can now create authentic Italian pizza at home without the traditional days-long wait. The clever adjustments to hydration yeast quantity and technique deliver that coveted thin center and puffy charred crust in just a few hours.
Remember that high-quality ingredients like Tipo 00 flour make all the difference even in this accelerated version. Whether you’re cooking on a pizza stone in your home oven or using specialized equipment the fundamentals remain the same.
Don’t be afraid to experiment with the variations and storage options to fit your schedule and preferences. Your homemade Neapolitan pizza journey doesn’t need to be complicated or time-consuming to be delicious and rewarding.