This classic Chocolate Chip Cookies recipe brings together the nostalgia of childhood with the sophistication of modern baking techniques.
The harmonious balance of sweet, rich chocolate and buttery dough creates a memorable dining experience that will have everyone asking for your secret.
I discovered this recipe during my travels through the United States, where local bakers have perfected it through generations of careful refinement.
Whether you’re preparing a casual family dinner or hosting a special celebration, these cookies deliver impressive results with straightforward preparation.
The History and Cultural Significance
• Chocolate Chip Cookies trace their origins to Massachusetts in the 1930s, where they were originally created by Ruth Wakefield at the Toll House Inn.
• The dish evolved over decades as different types of chocolate and nuts were added, eventually becoming the beloved version we know today.
• In American culture, these cookies traditionally appear at holiday gatherings and bake sales, symbolizing comfort and home.
• While many variations exist across different regions, the authentic version maintains the perfect balance of crispy edges and chewy centers that set it apart from imitations.


Recipe Overview
Nutritional Information (per serving)


Essential Equipment Guide
Mixing Bowls: A good set of mixing bowls is essential for combining ingredients thoroughly. Choose bowls with non-slip bases for stability. Alternatives include using a stand mixer bowl if it’s compatible with hand mixing.
Baking Sheets: Heavy-duty baking sheets ensure even heat distribution and prevent cookies from burning. Look for sheets with a light color to avoid over-browning.
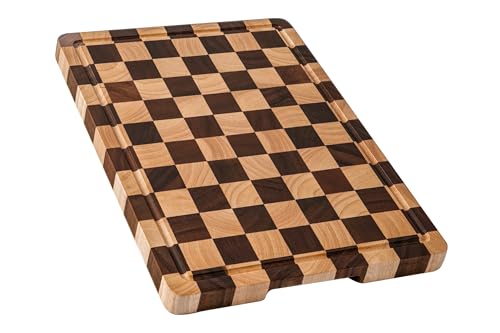
Cooling Rack: A cooling rack allows air to circulate beneath the cookies, preventing them from becoming soggy. Wire racks are ideal, but in a pinch, the top of a clean toaster can work.
Ingredients
For the Cookies
|
|
| Amount | Ingredient | Notes |
|---|---|---|
| 2 cups | all-purpose flour | sifted for light texture |
| 1 teaspoon | baking soda | helps cookies rise |
| 1/2 teaspoon | salt | enhances flavor |
| 1 cup | unsalted butter | softened to room temperature |
| 1 cup | brown sugar | adds moisture and depth |
| 1/2 cup | granulated sugar | for sweetness |
| 2 large | eggs | binds ingredients |
| 2 teaspoons | vanilla extract | for aroma |
| 2 cups | semi-sweet chocolate chips | provides rich chocolate flavor |


Preparation Methods
Creaming Method: Creaming butter and sugar together until light and fluffy incorporates air, which helps the cookies rise and gives them a light texture. Ensure the butter is at room temperature for best results.
Baking in Batches: Baking in batches ensures even cooking and prevents overcrowding on the baking sheet. Rotate sheets halfway through for consistent results.
Chilling the Dough: Chilling the dough for at least 30 minutes prevents spreading and results in thicker cookies. Cover the dough tightly to avoid drying out.


Step 1: Preheat Oven

Preheat your oven to 350°F (175°C).
Ensure racks are in the middle position for even baking.
Double-check the temperature with an oven thermometer.
This step ensures cookies bake evenly and achieve the perfect texture.


Step 2: Mix Dry Ingredients

In a medium bowl, combine flour, baking soda, and salt.
Use a whisk to ensure all ingredients are well mixed.
Look for a uniform mixture with no lumps.
This step prevents pockets of baking soda or salt in the dough.
Step 3: Cream Butter and Sugars

In a large mixing bowl, beat the butter, brown sugar, and granulated sugar until creamy.
Use a hand mixer on medium speed for about 3 minutes.
The mixture should be light and fluffy.
Proper creaming ensures a tender cookie texture.
Step 4: Add Eggs and Vanilla

Add eggs one at a time, beating well after each addition.
Pour in the vanilla extract and mix until combined.
The batter should be smooth and uniform.
This step ensures all wet ingredients are fully incorporated.
Step 5: Combine Wet and Dry Ingredients

Gradually add the dry ingredients to the wet ingredients.
Mix on low speed to prevent flour from scattering.
Stop mixing as soon as the flour is incorporated.
Overmixing can lead to tough cookies.
Step 6: Fold in Chocolate Chips

Gently fold chocolate chips into the dough with a spatula.
Ensure even distribution throughout the dough.
The dough should be thick and dotted with chocolate chips.
This step embeds the chocolate chips without breaking them.
Step 7: Chill the Dough

Cover the bowl with plastic wrap and chill for at least 30 minutes.
Place the bowl in the refrigerator to prevent spreading during baking.
Chilled dough should be firm to the touch.
Proper chilling results in thicker, chewier cookies.
Step 8: Bake the Cookies

Scoop dough onto a parchment-lined baking sheet using a tablespoon.
Leave about 2 inches between cookies for spreading.
Bake for 12-14 minutes or until edges are golden brown.
This step ensures cookies are baked to perfection with chewy centers.


Step 9: Cool on Rack

Remove cookies from the oven and let them cool on the sheet for 5 minutes.
Transfer cookies to a cooling rack to finish cooling.
Look for cookies that are firm and set upon cooling.
Proper cooling prevents cookies from becoming soggy.


Critical Timing and Temperature Guide
Baking Cookies: Bake at 350°F for 12-14 minutes. Look for golden brown edges and set centers. Avoid overbaking as cookies continue to cook while cooling.
Chilling Dough: Chill dough for at least 30 minutes or up to 24 hours. Dough should be firm but scoopable. Chilling too long can dry out the dough.
Cooling Process: Cool cookies on the sheet for 5 minutes, then transfer to a rack. Cookies should be firm but not hard. Avoid stacking warm cookies to prevent sticking.
Pro Tips for Recipes Baking -
• Ingredient Selection: Choose high-quality chocolate chips and pure vanilla extract for the best flavor. These are the ingredients that make the biggest impact on taste.
• Preparation Secret: For extra chewy cookies, underbake slightly and let them finish cooking on the baking sheet.
• Temperature Management: Ensure butter is at room temperature for creaming to achieve the right texture.
• Texture Enhancement: Chill the dough before baking to prevent spreading and ensure thicker, chewier cookies.
• Flavor Layering: Use a combination of brown and white sugar to add complexity and depth to the flavor profile.
• Make-Ahead Strategies: Dough can be made ahead and refrigerated for up to 24 hours or frozen for up to 3 months. Thaw in refrigerator before baking.
• Restaurant-Quality Finishing Touches: Sprinkle a pinch of sea salt on top before baking for a sophisticated finish.
• Equipment Optimization: Use a cookie scoop for even-sized cookies that bake consistently.


Troubleshooting Common Issues
• Cookies Spreading Too Much: Ensure dough is chilled thoroughly before baking. Check oven temperature with a thermometer.
• Cookies Too Hard: Avoid overbaking. Remove cookies from the oven when edges are just golden brown.
• Uneven Baking: Rotate baking sheets halfway through the baking time to ensure even cooking.
• Dough Too Sticky: Chill the dough longer or add a tablespoon of flour if necessary.
• Uneven Chocolate Distribution: Fold chips in gently and ensure they are evenly distributed throughout the dough.
• Cookies Sticking to Sheet: Use parchment paper or a silicone baking mat to prevent sticking.
Variations and Regional Differences
• New England Style: Often includes walnuts for added texture and flavor. The cultural context reflects the abundance of walnuts in the region.
• Double Chocolate: Incorporates cocoa powder into the dough for a rich chocolate flavor throughout. Typically seen in more indulgent settings.
• Oatmeal Chocolate Chip: Adds rolled oats for heartiness and texture, a popular variation in health-conscious areas.
• Gluten-Free Variation: Uses almond or coconut flour in place of all-purpose flour, catering to dietary restrictions.
Food Science Behind the Recipe
• Creaming Method: Incorporates air into the butter and sugar, creating a tender cookie structure by forming micro-bubbles in the dough.
• Baking Soda Activation: Reacts with acidic ingredients to produce carbon dioxide, helping cookies rise and spread appropriately.
• Caramelization: The sugars in the dough caramelize during baking, contributing to the cookie's golden color and rich flavor.
Frequently Asked Questions
What's the most common mistake people make when preparing Chocolate Chip Cookies? Overbaking the cookies is a common mistake that leads to hard cookies. Remove them from the oven when the edges are just golden brown.
Can I substitute butter with margarine? While possible, butter provides a richer flavor and better texture. Margarine can alter the taste and may result in spread-out cookies.
How can I make my cookies chewier? Use more brown sugar than white sugar, chill the dough, and underbake slightly for chewier cookies.
What's the best way to store baked cookies? Store in an airtight container at room temperature for up to a week. For longer storage, freeze them.
Can I use a different type of chocolate? Yes, you can use dark, milk, or white chocolate chips, or even chopped chocolate bars for variation.
How do I prevent cookies from spreading too much? Ensure the dough is chilled and avoid using too much butter or sugar, which can cause spreading.
Can I freeze the dough? Yes, freeze it in portions and bake directly from frozen, adding a few extra minutes to the baking time.
Serving and Presentation Guide
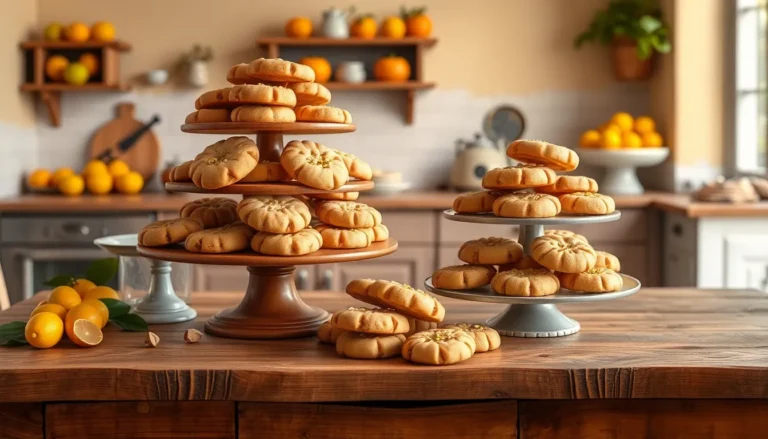
• Traditional Presentation: Serve cookies stacked on a plate or in a basket lined with a cloth napkin for a homely feel.
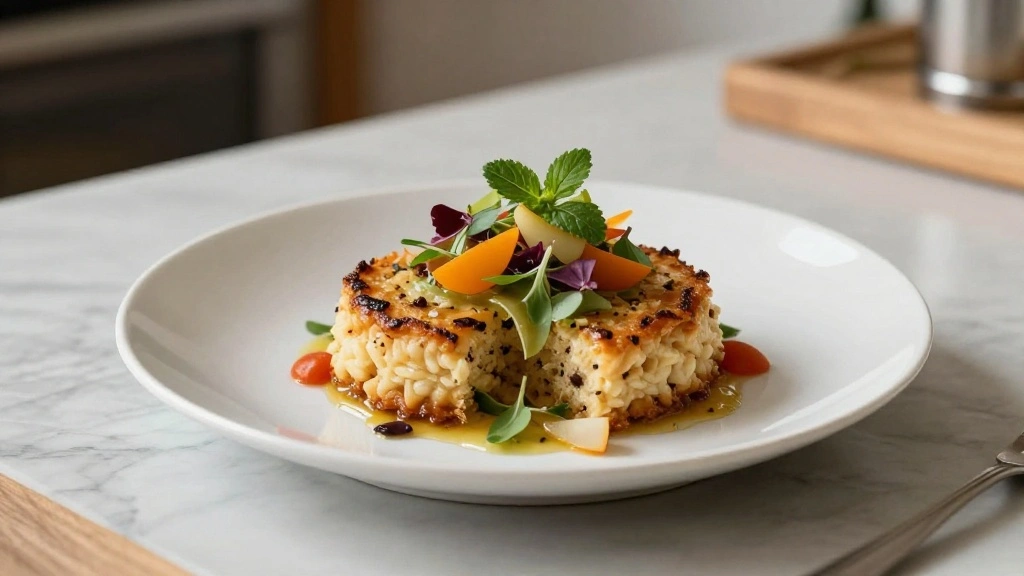
• Gourmet Presentation: Arrange cookies on a slate or wooden board, with a small bowl of warm chocolate dipping sauce on the side.
• Gift Presentation: Stack cookies in a clear jar or tin, tied with a decorative ribbon, for a thoughtful homemade gift.
• Party Presentation: Display cookies on a tiered stand along with other baked goods for a visually appealing dessert table.


Conclusion
These classic chocolate chip cookies combine timeless flavors with simple techniques for irresistible results.
With the right ingredients and a bit of patience, you can create cookies that are both nostalgic and modern.
Whether you're baking for family or friends, these cookies are sure to delight and impress.