The simplicity of baking can often be overshadowed by the complexity of some recipes.
However, this Simple Baking Recipe proves that delicious results can be achieved with minimal ingredients.
I stumbled upon this technique while trying to simplify my weekly baking routine for maximum flavor without the fuss.
With just a few pantry staples, this recipe brings out the natural depth of flavors in each ingredient.
Perfect for a cozy afternoon or a quick weekday treat, this baking method is all about letting the essential flavors shine through.
Don’t let the simplicity fool you; the taste is anything but basic.
The History and Cultural Significance
• Simple Baking Recipes traces its origins to Europe in the 19th century, where it was originally created by home bakers seeking to make the most of limited ingredients.
• The dish evolved over decades as industrial advances made baking ingredients like flour and sugar more accessible, eventually becoming the beloved version we know today.
• In European culture, this dish traditionally appears at family gatherings, symbolizing warmth and togetherness.
• While many variations exist across different regions, the authentic version maintains its minimalistic ingredient list that sets it apart from imitations.


Recipe Overview
Nutritional Information (per serving)


Essential Equipment Guide
Mixing Bowl: A good mixing bowl is crucial for combining ingredients evenly. While any bowl can work, one with a non-slip base is preferable to prevent accidents.
Whisk: Ensures even distribution of ingredients and incorporates air for a light texture. Alternatives include a fork, but a whisk is optimal for consistent results.
Baking Pan: A high-quality baking pan ensures even heat distribution. Look for heavy-duty options with a non-stick surface to prevent sticking and burning.
Ingredients
For the Base
|
|
| Amount | Ingredient | Notes |
|---|---|---|
| 1 cup | all-purpose flour | sifted for light texture |
| 1 cup | granulated sugar | adds sweetness |
| 1/2 cup | unsalted butter | melted, adds richness |
| 2 large | eggs | at room temperature |
| 1 teaspoon | vanilla extract | for flavor |
| 1 pinch | salt | enhances flavor |


Preparation Methods
Creaming: This involves beating butter and sugar together until light and fluffy. It helps to create a tender and airy texture in the baked good, crucial for this recipe.
Sifting: Passing dry ingredients through a fine sieve to remove lumps and aerate them. This ensures a uniform mixture and prevents dense texture.
Folding: Gently combining ingredients without deflating the mixture. This technique is important for maintaining the airiness achieved during the creaming process.


Step 1: Prepare Ingredients

Gather all ingredients and equipment.
Ensure that the butter is melted and eggs are at room temperature.
Sift the flour to remove any lumps.
Check that you have a suitable baking pan ready.


Step 2: Preheat the Oven

Preheat your oven to 350°F (175°C).
Ensure the oven rack is in the middle position for even baking.
Allow the oven to reach full temperature before placing the batter inside.
This ensures consistent results and prevents underbaking.


Step 3: Combine Dry Ingredients

In a mixing bowl, add the sifted flour and salt.
Use a whisk to evenly distribute the salt throughout the flour.
This prevents clumping and ensures a uniform texture.
Set the bowl aside for later use.
Step 4: Cream Butter and Sugar

In a separate bowl, combine the melted butter and sugar.
Use a whisk to beat the mixture until it becomes light and fluffy.
This step is crucial for incorporating air into the batter.
The mixture should appear pale and creamy.
Step 5: Add Eggs and Vanilla

Crack the eggs into the creamed butter and sugar mixture.
Add the vanilla extract for flavor.
Continue whisking until the ingredients are fully combined.
The mixture should be smooth and slightly thickened.
Step 6: Incorporate Dry Ingredients

Gradually add the dry ingredients to the wet mixture.
Use a spatula to gently fold them together.
Be careful not to overmix, as this can deflate the batter.
The batter should be smooth with no visible flour streaks.
Step 7: Pour into Baking Pan

Lightly grease your baking pan to prevent sticking.
Pour the batter evenly into the prepared pan.
Smooth the top with a spatula for even baking.
Ensure the batter is spread to the edges of the pan.


Step 8: Bake the Batter

Place the baking pan in the preheated oven.
Bake for 30 minutes or until a toothpick inserted comes out clean.
Watch for a golden-brown color on the top as an indicator of doneness.
Avoid opening the oven door frequently to maintain temperature.


Step 9: Cool the Cake
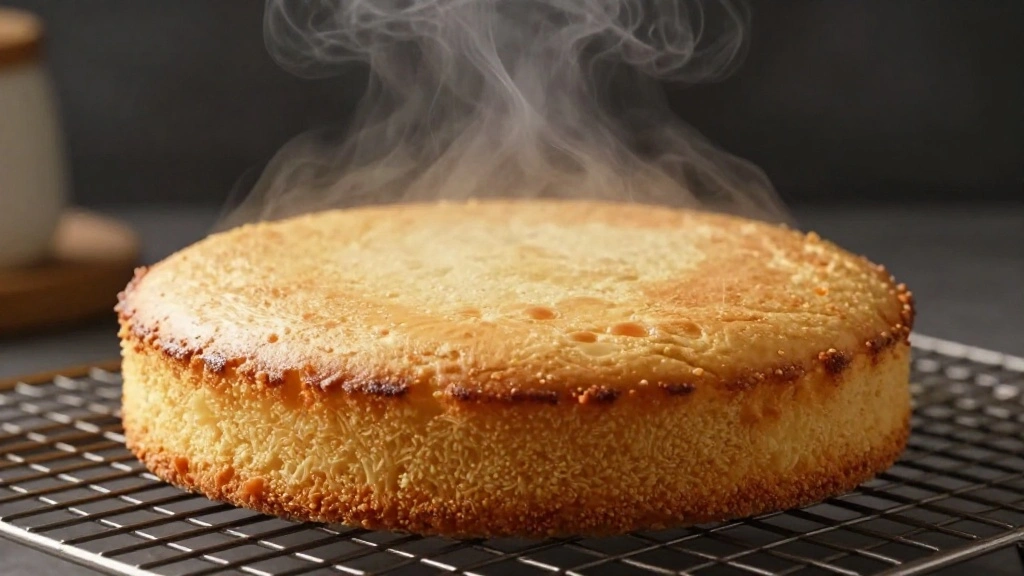
Remove the pan from the oven and place it on a cooling rack.
Allow the cake to cool in the pan for 10 minutes.
Gently remove the cake from the pan and let it cool completely on the rack.
This prevents condensation and sogginess.


Step 10: Serve and Enjoy

Once the cake is fully cooled, slice it into even portions.
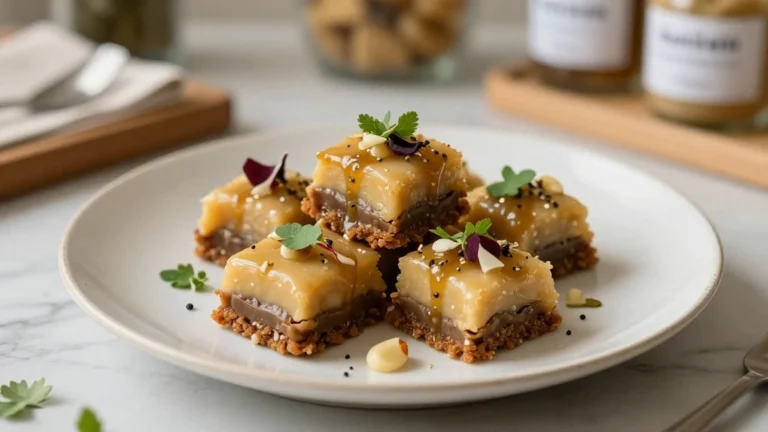
Serve on a plate with optional garnishes like fresh berries or a dusting of powdered sugar.
Enjoy the simple yet rich flavors.
Store any leftovers in an airtight container.


Critical Timing and Temperature Guide
Baking Time: 30 minutes at 350°F (175°C); watch for a golden-brown crust and use a toothpick test for doneness. Avoid opening the oven door frequently.
Cooling Time: Cool in the pan for 10 minutes, then remove and cool completely on a wire rack to prevent sogginess.
Ingredient Temperatures: Ensure eggs are at room temperature and butter is melted before mixing for optimal texture.
Pro Tips for Simple Baking Recipes
• Ingredient Selection: Choose high-quality vanilla extract and fresh eggs for the best flavor.
• Preparation Secret: Allow the butter to cool slightly after melting before mixing to prevent cooked egg texture.
• Temperature Management: Keep all ingredients at room temperature for even mixing and better texture.
• Texture Enhancement: Use the folding technique carefully to retain air and achieve a light, fluffy cake.
• Flavor Layering: Adding a pinch of salt enhances the sweetness and depth of vanilla.
• Make-Ahead Strategies: Prepare batter a day in advance and store in the fridge; bring to room temperature before baking.
• Restaurant-Quality Finishing Touches: Dust with powdered sugar or drizzle with a simple glaze for an elegant presentation.
• Equipment Optimization: Ensure your oven is properly calibrated to avoid over or underbaking.
Troubleshooting Common Issues
• Texture Too Dense: Caused by overmixing the batter; fold gently and stop once ingredients are just combined.
• Flavors Unbalanced: Ensure correct measurements of salt and vanilla; too much can overpower the dish.
• Undercooked Center: Oven temperature may be too low; check with an oven thermometer and bake longer if needed.
• Crumbly Texture: Insufficient binding; make sure eggs are fully incorporated into the batter.
• Sticky Top: Allow cake to cool completely before covering or storing to avoid moisture retention.
Variations and Regional Differences
• French Style: Often includes almond extract and zest of citrus for a fragrant twist on the classic recipe.
• Italian Variation: Incorporates ricotta cheese for a denser, creamier texture and flavor.
• American Southern Version: Adds buttermilk for a tangy note and uses brown sugar for a richer taste.
• Scandinavian Twist: Often features cardamom and sometimes ground nuts for a spicy, nutty profile.


Food Science Behind the Recipe
• Creaming Method: Incorporates air into the batter, leading to a fluffy texture; crucial for leavening in this recipe.
• Maillard Reaction: Occurs during baking, contributing to the golden-brown crust and complex flavors.
• Protein Denaturation: Eggs provide structure by creating a network that holds the cake together as it cooks.
Frequently Asked Questions
What's the most common mistake people make when preparing Simple Baking Recipes? Overmixing the batter, which leads to a dense cake instead of light and fluffy.
Can I substitute any ingredients in this recipe? Yes, you can substitute butter with a dairy-free alternative or use gluten-free flour with a binder like xanthan gum.
How do I store leftovers? Store in an airtight container at room temperature for up to three days or refrigerate to extend freshness.
Can I freeze the cake? Yes, wrap it tightly in plastic wrap and aluminum foil before freezing for up to three months.
What should I do if my cake is too dry? Brush with a simple syrup or serve with whipped cream to add moisture.
Why is my cake not rising? Check the freshness of your baking powder and ensure proper mixing of ingredients.
Is it necessary to sift the flour? Sifting helps remove lumps and aerate the flour, leading to a lighter cake.
Serving and Presentation Guide
• Traditional Presentation: Serve on a simple white plate to let the golden color of the cake stand out.
• Garnished Version: Add fresh berries or mint leaves for a pop of color and freshness.
• Festive Touch: Drizzle with a glaze of powdered sugar and lemon juice for added sweetness and tang.
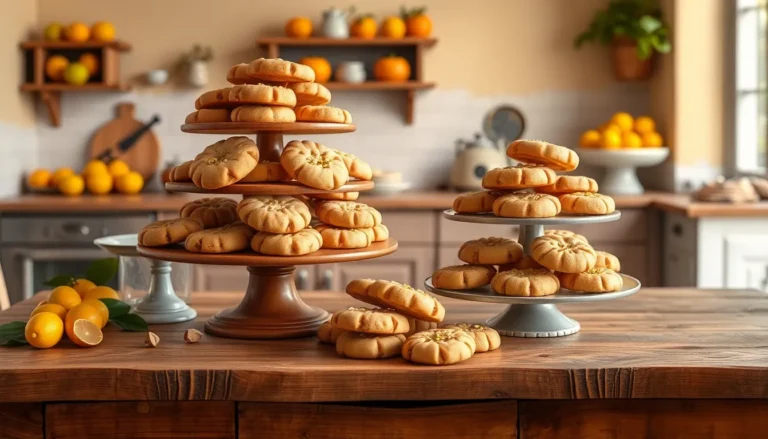
• Individual Servings: Cut into small squares and serve on a tiered cake stand for parties.
Conclusion
This Simple Baking Recipe is a testament to the idea that less can be more in the kitchen.
With just a few ingredients, you can create a delightful cake that is sure to impress friends and family.
Give this recipe a try for a taste of simplicity at its finest.
Share your creations and discover the joy of minimalist baking.