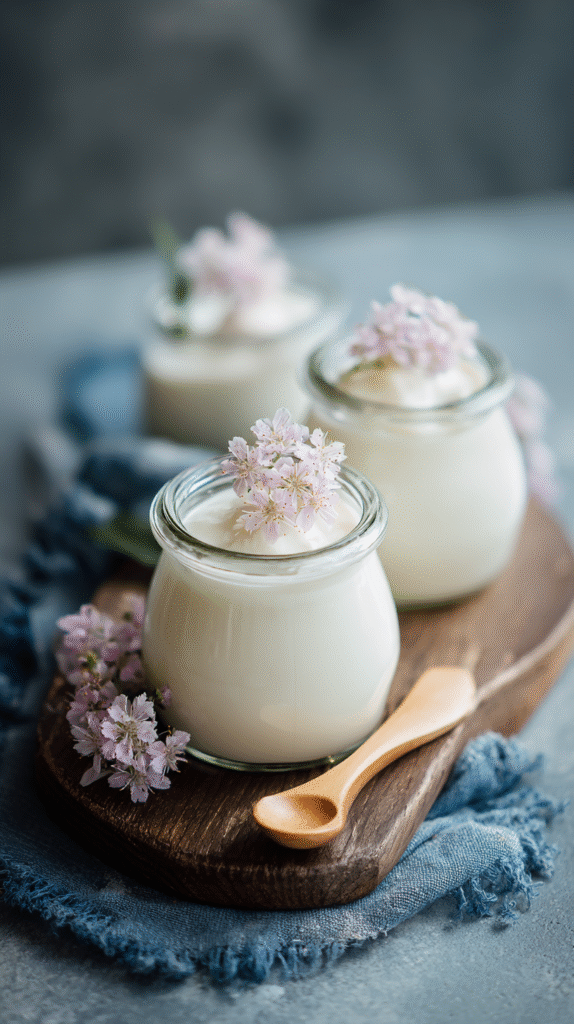
There’s something magical about the simplicity of sua chua, Vietnam’s beloved yogurt. Creamy, tangy, and just a touch sweet, it’s a treat that has been a staple in Vietnamese households for decades. Made with just a handful of ingredients, this dessert is as comforting as it is refreshing, perfect for any time of the day.
What Is Sua Chua?
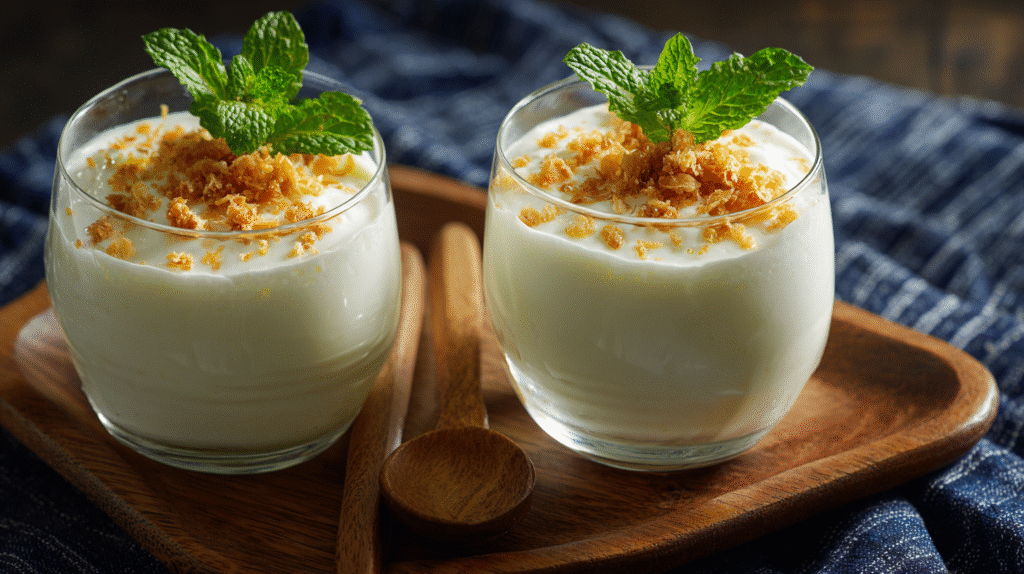
Sua chua, also known as Vietnamese yogurt, is a delightful blend of creamy texture and tangy sweetness. Its origins are rooted in Vietnam’s culinary traditions, where it has become a beloved staple in both homes and street-side shops. Unlike Western-style yogurt, sua chua has a slightly firmer consistency and a uniquely smooth, custard-like quality that melts in the mouth. The flavor strikes a perfect balance of sweet and sour, making it incredibly refreshing.
One of the things that makes sua chua special is its preparation. It’s made with simple ingredients like sweetened condensed milk, whole milk, and live cultures or store-bought yogurt. These elements combine to create a unique fermentation process that gives the yogurt its signature tang. The result? A charming treat that’s as nutritious as it is delicious.
Not only is sua chua perfect as a standalone dessert, but it also pairs wonderfully with fresh fruits, granola, or even a drizzle of honey. For many of us, sua chua carries a nostalgic feel, often reminiscent of warm afternoons spent enjoying it straight out of a small jar or cup.


Ingredients
Creating sữa chua requires just a handful of simple ingredients, each playing a crucial role in achieving the creamy, tangy yogurt we all love. Here’s what we’ll need:
Main Ingredients:
- 380g to 400g sweetened condensed milk: This is the base of the yogurt, providing sweetness and richness.
- 1 liter whole milk or water: For a creamier texture, opt for whole milk. Water can be used if you prefer a lighter, dairy-reduced version.
- 100g unsweetened unflavored yogurt: This acts as the starter culture. Make sure it contains live active bacteria for proper fermentation.
Optional Ingredients (for variations):
- Black sticky rice: Perfect for a delicious twist like the Yogurt Black Sticky Rice Pudding (Sua Chua Nep Cam).
- Pandan leaves or vanilla extract: These add fragrance and depth of flavor to the pudding variation.
- Salt: A pinch to balance flavors.
- Honey: For drizzling and additional sweetness.
- Crushed ice and mint leaves: To serve alongside for a refreshing touch.


Necessary Tools And Equipment
When making sữa chua, having the right tools and equipment is essential to achieving that perfectly smooth and creamy texture. Let’s go over the must-haves for this recipe to ensure every step is seamless.
1. Large Pot or Container
We’ll need a large pot or tall container to create a hot water bath for incubating the yogurt. It’s important to choose a pot that provides at least 1 inch of clearance between the top of our yogurt jars and the rim of the pot. This setup helps maintain a consistent warm temperature, which is necessary for fermentation.
2. Glass Jars, Glasses, or Plastic Containers
To hold the yogurt mixture during incubation, we recommend using clean glass jars with lids. Alternatively, food-safe plastic containers, cups, or even sturdy glasses covered with aluminum foil or plastic wrap work just as well. These containers keep the yogurt secure and ensure successful fermentation.
3. Kettle
A kettle is crucial for boiling water to pour into the pot or container to create the hot water bath. The hot water bath helps maintain the optimal temperature needed for the yogurt cultures to thrive.
4. Mesh Strainer
Before transferring the yogurt mixture into jars, we’ll use a mesh strainer to ensure the mixture is smooth and free of lumps. This step guarantees the final yogurt has a consistently creamy texture.
5. Ladle or Measuring Cup
To carefully pour the yogurt mixture into the individual jars or containers, we’ll rely on a ladle or a measuring cup. This tool helps distribute the yogurt evenly while keeping the process clean and mess-free.


Directions
Making sữa chua (Vietnamese yogurt) at home is a simple process that requires a bit of patience and attention to detail. Let’s walk through each step to create this delicious, tangy dessert.
Prepare The Ingredients
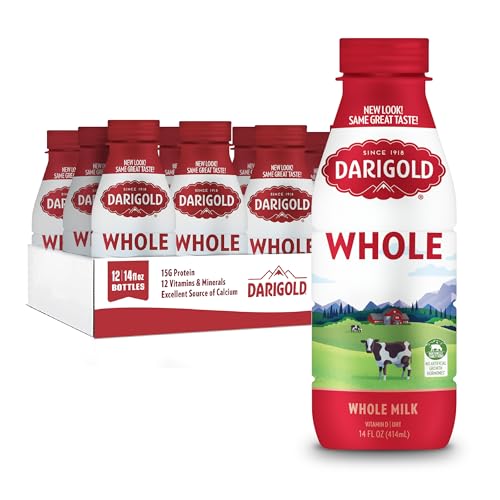
- Sweetened Condensed Milk: Measure 380g to 400g of sweetened condensed milk. We recommend using the Longevity Brand (Sữa Ông Thọ) for its rich, traditional flavor profile.
- Milk: Use 1 liter of whole milk for a creamier yogurt. Alternatively, substitute with 1 liter of water for a lighter version.
- Unflavored Yogurt: Prepare 100g of unflavored, unsweetened yogurt with active bacteria cultures. Whole milk yogurt works best for optimal creaminess.
Prepare The Starter Culture
- Remove the 100g of yogurt from the refrigerator and let it come to room temperature. This step is crucial as it ensures the active bacteria from the yogurt mix well with the warm milk without being shocked by temperature differences.
- Stir the yogurt gently to achieve a smooth consistency, breaking up any lumps.
Mix The Ingredients
- In a pot, add the sweetened condensed milk and whole milk. Heat the mixture over medium heat, stirring continuously until fully combined. Avoid boiling the mixture as this can affect the fermentation process.
- Once combined, remove the mixture from heat. Let it cool until it reaches a warm temperature between 105°F and 110°F. Use a food thermometer for accuracy.
- Gradually whisk in the room-temperature yogurt starter until fully integrated. Stir gently to ensure an even distribution of the bacterial cultures.
Fermentation Process
- Pour the yogurt mixture into clean, dry glass jars or food-safe plastic containers. Seal them with lids or cover them with plastic wrap.
- Prepare a hot water bath in a large pot or container. The water should be warm, around 115°F, to create the perfect environment for fermentation.
- Place the jars in the water bath, ensuring the water level reaches about three-quarters of the jar height. Cover the pot or container with a towel to maintain warmth.
- Allow the yogurt to ferment for 6 to 8 hours, or until it achieves your desired tartness. For a milder flavor, check after 6 hours. Warmer temperatures may speed up fermentation.
Store The Sữa Chua
- Once fermentation is complete, remove the jars from the water bath. Let them cool to room temperature.
- Store the jars in the refrigerator for at least 2 hours to fully set the yogurt and enhance its creamy texture.
- Keep the sữa chua refrigerated and enjoy within 7 days for the best flavor and freshness. You can serve it plain or elevate it with toppings like fresh fruits, granola, or honey.


Tips For Perfect Sua Chua
1. Use Fresh and Quality Ingredients
Invest in high-quality ingredients to ensure the best flavor and texture. We recommend using sweetened condensed milk like the Longevity Brand (Sữa Ông Thọ) and whole milk for creaminess. Always check the expiration date on your milk and yogurt starter to ensure optimal results. Fresh, active bacteria cultures in your yogurt starter are key to a successful fermentation process.
2. Maintain the Right Ratios
The balance of ingredients is crucial. For the creamiest consistency, use the ratio of 380g to 400g of sweetened condensed milk, 1 liter of whole milk (or water for a lighter alternative), and 100g of yogurt starter. Avoid adding too much water or milk, as it will make the yogurt runnier than desired.
3. Heat Milk Gently
When warming the milk, keep it below boiling point. Heat it until just warm to the touch, around 110°F (43°C). Overheating can kill the beneficial bacteria in the yogurt starter, which are essential for fermentation.
4. Mix Thoroughly
Dissolve the sweetened condensed milk completely in the milk or water. Stir thoroughly to avoid any undissolved chunks. When adding the yogurt starter, ensure it’s well mixed for even fermentation. Strain the mixture using a fine mesh strainer to remove any lumps for a smooth texture.
5. Ensure Proper Fermentation Temperature
Consistency in temperature is critical. During fermentation, keep the jars at around 95–113°F (35–45°C). Use a water bath to create a stable environment, ensuring the water level is high enough to cover at least two-thirds of the jars. If the temperature drops too low, fermentation will slow down, and if it’s too high, the bacteria may die.
6. Use Clean and Sterile Equipment
To prevent contamination, clean all equipment thoroughly beforehand. Wash jars, lids, and utensils with hot water and soap and let them dry completely. Sterile tools keep unwanted bacteria from interfering with yogurt-making.
7. Be Patient with Fermentation
Fermentation usually takes 6 to 8 hours, depending on the surrounding temperature. Avoid disturbing the jars during this time, as it may hinder the process. For a tangier flavor, you can extend fermentation up to 10 hours. Monitor the yogurt and stop the process once it reaches your desired consistency and taste.
8. Refrigerate Before Serving
Once fermented, refrigerate the yogurt for at least 2 hours to allow it to settle and cool. This resting period enhances the creaminess and chilled refreshment sua chua is known for. Enjoy it plain or pair it with fresh fruits, honey, or granola for added flavor!
9. Store Properly
Sua chua stays fresh for up to 7 days when stored in an airtight container in the refrigerator. Label the jars with the preparation date to keep track of freshness. Avoid leaving the yogurt at room temperature for long periods to maintain its quality.
These tips will guide us to create deliciously creamy and tangy sua chua every time! Stay consistent, and our homemade yogurt will rival even the best store-bought versions.


Variations And Add-Ins
One of the joys of making sua chua at home is its versatility. With just a few add-ins or variations, we can transform this creamy yogurt into something unique, catering to different tastes and occasions. Let’s explore some popular options and how we can incorporate them into our sua chua creations.
1. Fresh Fruits
Adding fresh fruits is a classic way to elevate sua chua. We can choose fruits like mango, banana, dragon fruit, strawberries, or kiwi for a burst of natural sweetness and color. Simply chop the fruit into small pieces and layer or mix them into the yogurt before serving. For a tropical twist, toss in some cubed pineapple or papaya.
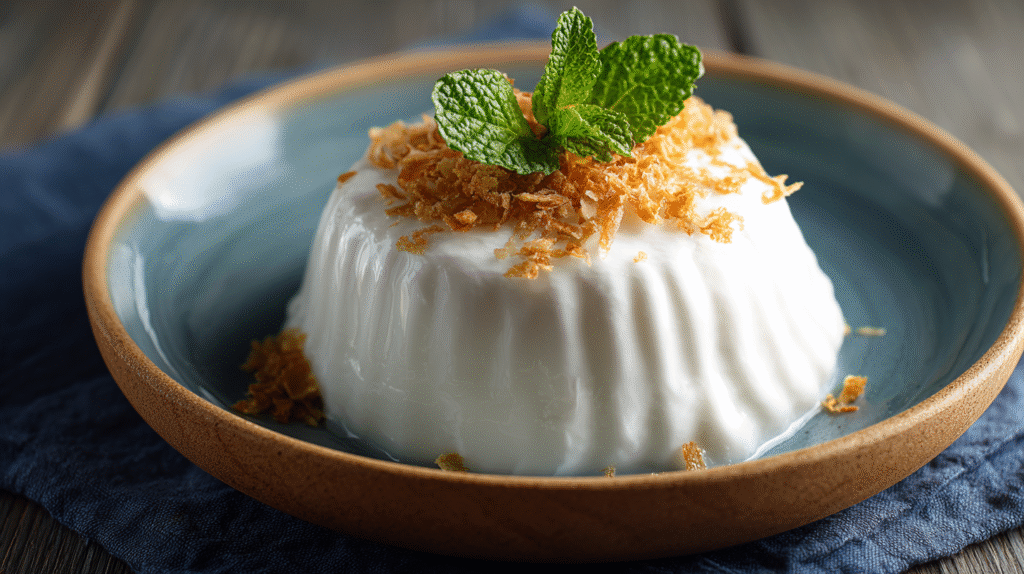
2. Black Sticky Rice
In Vietnam, black sticky rice paired with sua chua is a beloved treat. To prepare, cook the black sticky rice with a pinch of salt and sweeten it with a little sugar or coconut milk. Let it cool before layering it with sua chua. The chewy texture of the rice perfectly complements the creamy, tangy yogurt, turning it into a satisfying dessert.
3. Coffee (Ca Phe Sua Chua)
For coffee enthusiasts, combining sua chua with coffee is a match made in heaven. Brew a strong black coffee and chill it thoroughly. To create the coffee yogurt, mix the chilled coffee directly into the yogurt, or pour it over as a topping along with crushed ice. This combination offers a refreshing balance of robust coffee flavor and tart yogurt.
4. Pandan Flavor
Pandan leaves are often used in Vietnamese cuisine for their distinct fragrance. To incorporate pandan, boil the leaves with the milk during the preparation process, then remove them before mixing in the condensed milk and starter yogurt. This method adds a subtle, delightful aroma to the yogurt and pairs well with toppings like shredded coconut or toasted sesame seeds.
5. Crunchy Granola
For a wholesome breakfast or snack, top our sua chua with granola. We can include nuts, seeds, or dried fruits for added texture and flavor. Sprinkle the granola over chilled yogurt just before eating to keep it crunchy.
6. Honey and Lime
Drizzling honey over sua chua is a simple way to sweeten it naturally. For an added tang, we can also squeeze a bit of fresh lime juice over the top. This pairing enhances both the sweetness and the tartness, making it incredibly refreshing.
7. Salted Yogurt
A unique variation is salted yogurt, where a pinch of salt is added during preparation. The saltiness highlights the natural flavors of the yogurt while balancing its sweetness, and it can be topped with a mix of herbs like mint or basil for a savory twist.
8. Jelly Toppings
For a fun, colorful dessert, include jelly cubes. Whether using grass jelly, agar jelly, or fruit jelly, they add a playful chewiness to the yogurt. Cut the jelly into small cubes and mix them with sua chua for a dessert that is as delightful to look at as it is to eat.
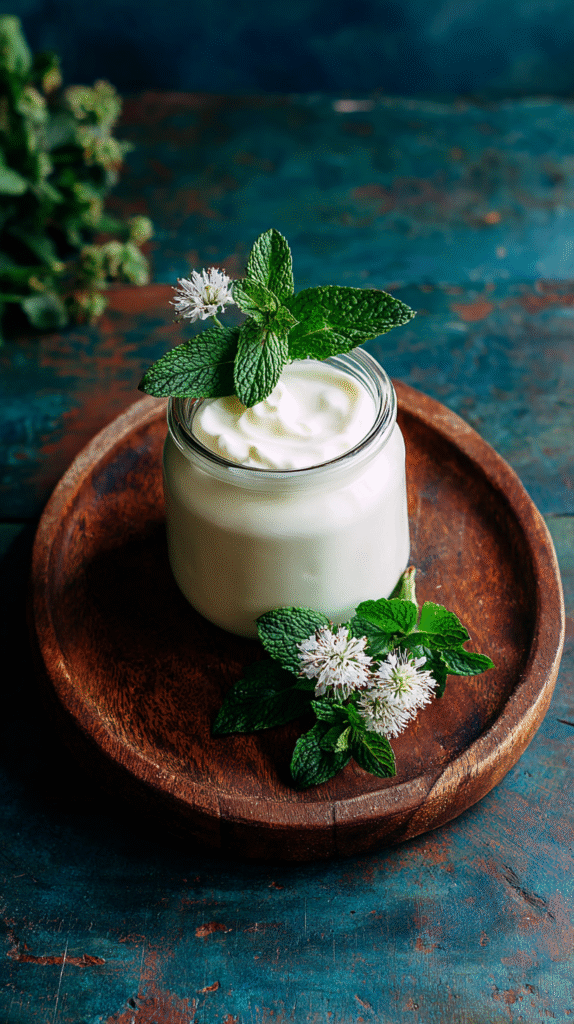
9. Mint and Crushed Ice
For a cooling treat, especially in the summer, we can blend sua chua with crushed ice and mint leaves. This variation is light and refreshing, almost like a frozen yogurt slushie, and is perfect for hot days.
10. Coconut Milk or Shredded Coconut
Adding a drizzle of coconut milk or a sprinkle of shredded coconut gives our sua chua a rich, tropical dimension. This combination works especially well with the addition of fruits like mango or pineapple.
With so many variations and add-ins, sua chua becomes a versatile dessert or snack that adapts to our cravings. By experimenting with these options, we can create new and exciting yogurt recipes that suit any mood or occasion.


Serving Suggestions
With Black Glutinous Rice (Nếp Cẩm)
One of the most beloved ways to enjoy sữa chua is with black glutinous rice, known as nếp cẩm. The rice is cooked to a tender and chewy texture, often flavored with aromatic pandan leaves and creamy coconut milk. We love pairing the slightly sweet and tangy yogurt with the earthy and nutty flavors of the rice. To serve, place a generous spoonful of black glutinous rice at the bottom of a bowl or cup, layer it with sữa chua, and optionally drizzle some coconut milk or sprinkle roasted sesame seeds on top. The combination creates a dessert with contrasting textures and a refreshingly sweet flavor.
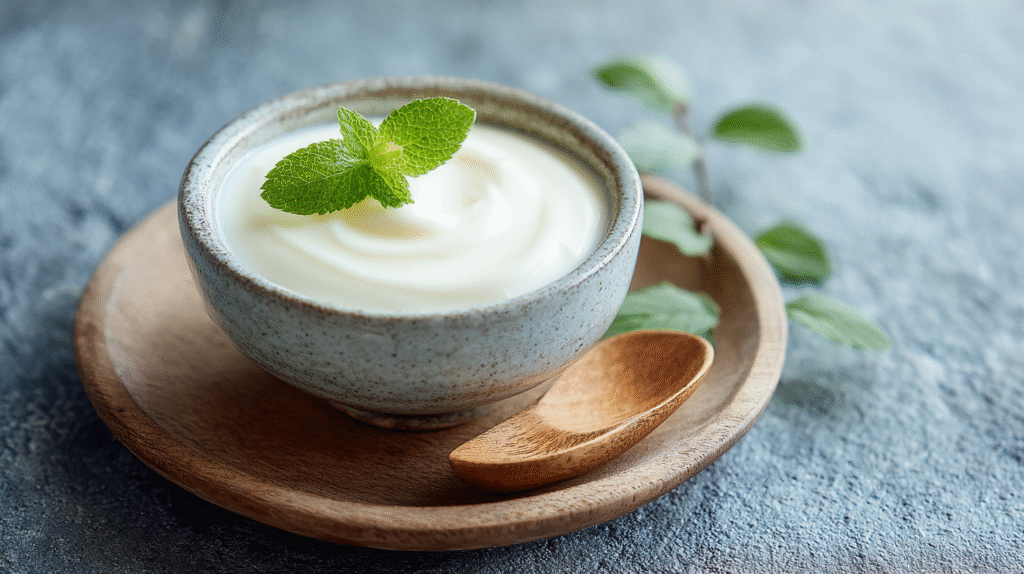
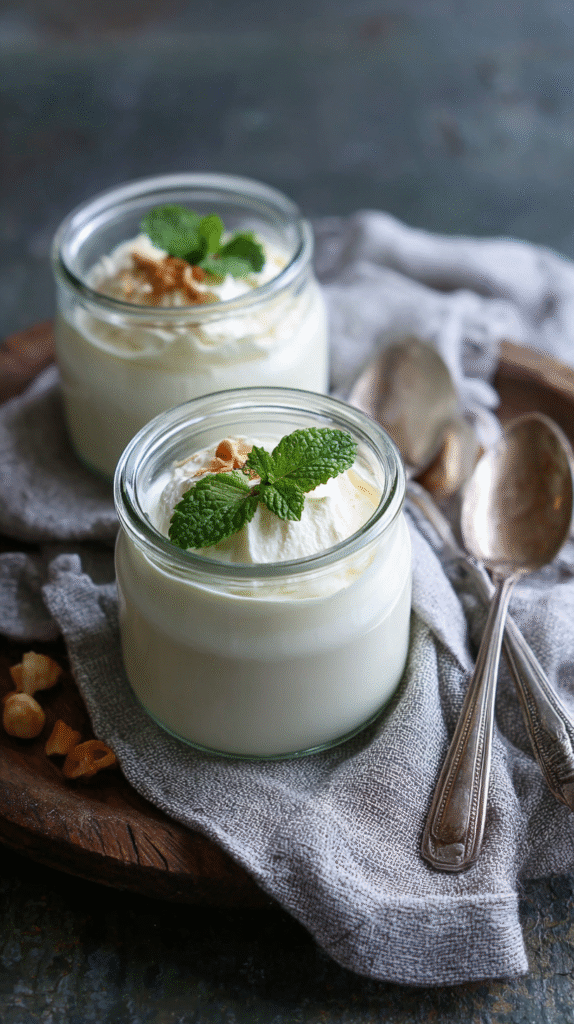
Plain or with Fresh Fruit
Sữa chua is delightfully simple and can be served on its own. Its creamy and tangy profile is perfect for those who enjoy minimalist desserts. For a vibrant twist, we recommend pairing it with fresh fruits. Strawberries, blueberries, mangoes, or even slices of kiwi complement the yogurt beautifully. Arrange the fruit on top or to the side for a visually appealing presentation and a burst of natural sweetness in every bite.
In Refreshing Iced Drinks
On warmer days, transform sữa chua into a refreshing iced drink known as sữa chua đá. Combine yogurt, crushed ice, your favorite fruit juice (such as orange or passion fruit), and a touch of sweetened condensed milk in a glass. Stir well and garnish with a sprig of mint or a slice of lime. This drink is both hydrating and satisfying, offering creamy tanginess with a fruity and icy freshness.
Additional Toppings and Pairings
Experimenting with toppings can elevate sữa chua to a whole new level. Try drizzling honey for added sweetness or sprinkling granola for a satisfying crunch. For a more luxurious touch, include a handful of shredded coconut or chopped nuts. You can even add a dash of cinnamon or vanilla extract for a hint of warmth. These pairings let us customize each serving and cater to different cravings or occasions.


Storage And Shelf Life
Proper storage ensures our homemade sua chua remains fresh and safe to eat while preserving its creamy, tangy flavor. Let’s break down the key steps for keeping your yogurt in its best condition.
Refrigeration
We should always store suas chua in the refrigerator at 40°F or below. This prevents bacterial growth and spoilage. After the fermentation process, refrigerate the yogurt immediately. Allow it to chill for at least 2 hours before enjoying it for the best texture and taste.
Storage Location
For optimal results, place the yogurt containers on a lower shelf or near the back of the fridge where it’s coldest. Avoid storing them in the fridge door because this area experiences temperature fluctuations, which can shorten the shelf life.
Sealing and Hygiene
Always seal the containers tightly to prevent air exposure and protect the yogurt from absorbing strong odors from other foods. When serving, use a clean spoon to scoop out portions. Refrain from dipping used utensils into the yogurt to avoid cross-contamination, which can introduce new bacteria and speed up spoilage.
Freezing (Optional)
If we need to store sua chua for an extended period, freezing is an option. While freezing may alter its texture and flavor slightly, the yogurt will remain safe to eat. To freeze, transfer it to an airtight, freezer-safe container and consume within one to two months for the best quality.
Conclusion
Sua chua is more than just a yogurt; it’s a blend of tradition, flavor, and creativity. Whether we’re savoring it plain, pairing it with fresh fruits, or experimenting with unique toppings, it never fails to bring a sense of comfort and joy.
Making sua chua at home allows us to truly appreciate its simplicity and versatility while customizing it to suit our taste. With a little patience and the right ingredients, we can create a treat that’s as nostalgic as it is delicious.
Let’s keep exploring the endless possibilities sua chua offers and enjoy every creamy, tangy spoonful!
Frequently Asked Questions
What is sua chua?
Sua chua is a traditional Vietnamese yogurt known for its creamy, tangy, and slightly sweet flavor. Made from simple ingredients like sweetened condensed milk, whole milk, and live cultures, it has a custard-like texture and is enjoyed as a refreshing dessert or snack.
What ingredients are needed to make sua chua?
To make sua chua, you need 380g-400g of sweetened condensed milk, 1 liter of whole milk (or water for a lighter version), and 100g of plain unflavored yogurt as the starter culture. Optional add-ins include black sticky rice, pandan leaves, or fresh fruits.
What tools are essential for making sua chua at home?
Key tools include a large pot or container for a hot water bath, glass jars or food-safe plastic containers, a kettle for boiling water, a mesh strainer, and a ladle or measuring cup for pouring the yogurt mix.
How long does sua chua take to ferment?
Sua chua usually takes about 6 to 8 hours to ferment. The fermentation time can be adjusted depending on the desired level of tanginess; longer fermentation results in a tangier flavor.
How do I store homemade sua chua?
Store homemade sua chua in the refrigerator at a temperature of 40°F or below. Keep it in sealed containers on a lower fridge shelf to maintain freshness. Consume it within 7 days for the best flavor.
Can I freeze sua chua?
Yes, you can freeze sua chua for longer storage, though it may slightly alter the texture and flavor. Use airtight containers and thaw in the refrigerator before consuming.
What are some popular variations of sua chua?
Sua chua is highly versatile. Popular variations include mixing it with black sticky rice, topping with fresh fruits, drizzling honey, or adding granola. You can also create a refreshing yogurt drink by blending it with crushed ice or fruit juice.
Why is the fermentation temperature important when making sua chua?
Maintaining the correct fermentation temperature (warm but not too hot) is crucial because it allows beneficial bacteria to thrive while preventing them from dying. This ensures smooth fermentation and proper texture.
Can I make a lighter version of sua chua?
Yes, you can use water instead of whole milk for a lighter version of sua chua. Adjust the sweetness by reducing or increasing the amount of condensed milk used.
How can I enhance the flavor of sua chua?
Enhance sua chua by adding pandan leaves for aroma, mixing in vanilla extract, or topping with shredded coconut, honey, or granola. You can also use fresh fruits or black glutinous rice as flavorful sides.