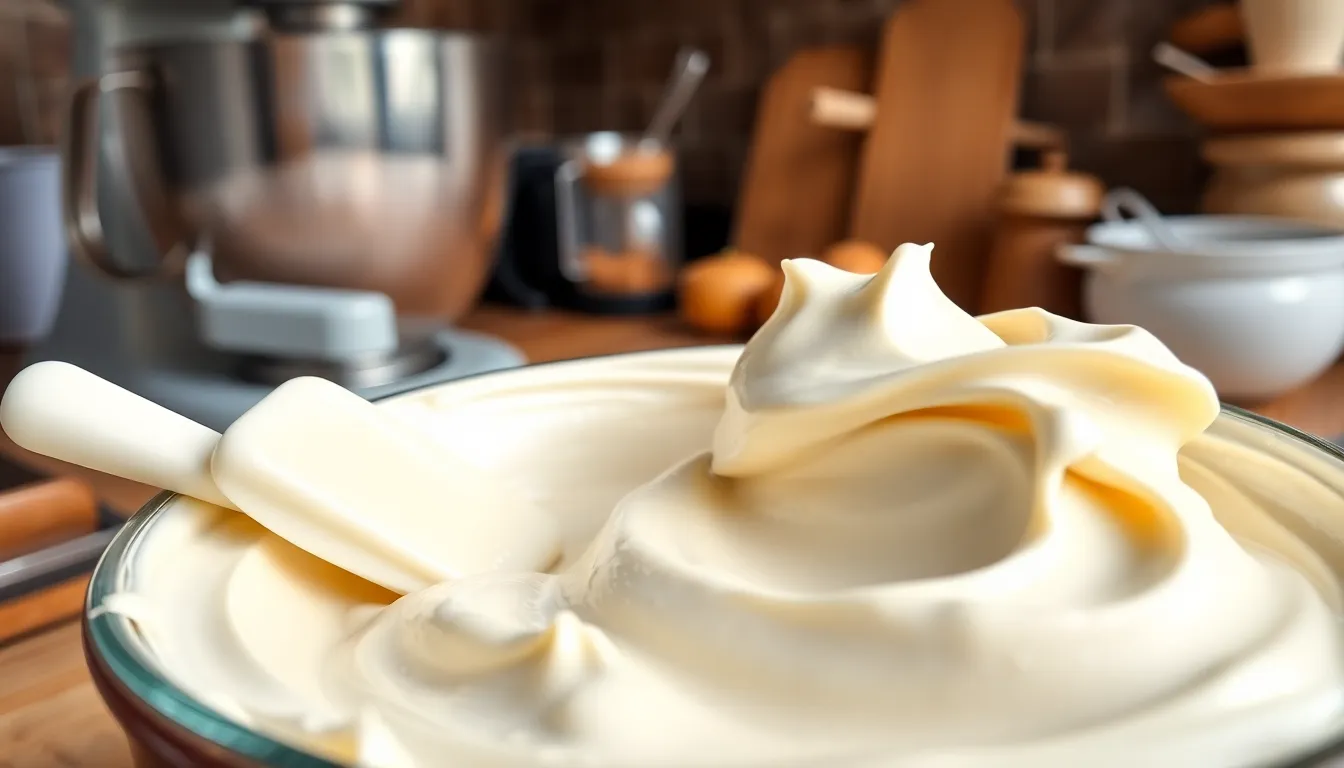
Is your cream cheese frosting turning out lumpy instead of smooth and silky? Don’t worry—this common baking frustration has simple answers that’ll transform your frosting game forever.
Nothing ruins a beautiful cake or cupcake faster than lumpy cream cheese frosting. Those pesky little bumps can appear for several reasons: cold ingredients, improper mixing techniques, or even the wrong cream cheese type. The good news? You can easily fix lumpy frosting and prevent it from happening again.
I’ll walk you through why your cream cheese frosting develops lumps and share professional tips to achieve that picture-perfect, velvety smooth consistency every baker dreams about. With a few simple adjustments to your technique, you’ll never struggle with lumpy frosting again.
Common Causes of Lumpy Cream Cheese Frosting
Understanding why your cream cheese frosting develops lumps is the first step toward creating that perfect silky texture. Let’s examine the most common culprits behind lumpy frosting and how each affects your final product.
Cold Ingredients
Using cold cream cheese straight from the refrigerator is perhaps the most frequent cause of lumpy frosting. Cold cream cheese remains firm and resists blending smoothly with other ingredients. When you attempt to mix cold cream cheese with butter and powdered sugar, the cream cheese breaks into small pieces that refuse to incorporate properly. This temperature issue also extends to butter – if it’s too cold, it won’t cream properly with the cream cheese. For best results, allow your cream cheese and butter to sit at room temperature for at least 30-45 minutes before you begin mixing your frosting.
Undermixed Cream Cheese
Insufficient mixing of the cream cheese before adding other ingredients can lead to persistent lumps. You need to beat the cream cheese alone first until it becomes completely smooth and creamy. Many bakers rush this crucial first step, adding butter or sugar before the cream cheese has properly softened and broken down. This premature addition creates a situation where lumps become trapped in the mixture and become increasingly difficult to eliminate. Take your time with the initial cream cheese beating stage – it should look completely smooth before you proceed to the next ingredient.
Overmixed Frosting
Surprisingly, mixing your frosting too much can also create texture problems. Overmixing introduces too much air into the frosting, which can cause the mixture to curdle or separate. This typically happens after all ingredients have been combined and you continue beating at high speed. The fat molecules in the cream cheese and butter begin to separate from the liquid components, resulting in a grainy or lumpy texture. Once you’ve incorporated all ingredients, mix just until they’re combined and the frosting looks smooth – usually no more than 2-3 minutes on medium speed.
Poor Quality Cream Cheese
The type and quality of cream cheese you select significantly impacts your frosting’s texture. Block-style Philadelphia cream cheese (or similar quality brands) produces the most reliable results for smooth frosting. Whipped cream cheese contains additional air and often yields inconsistent results. Low-fat or fat-free varieties have altered chemical structures that don’t behave the same way as full-fat versions when mixed. These alternatives often contain stabilizers and fillers that can create lumps or a grainy texture in your frosting. Always use full-fat, block-style cream cheese for the smoothest frosting texture.


Essential Ingredients for Smooth Cream Cheese Frosting
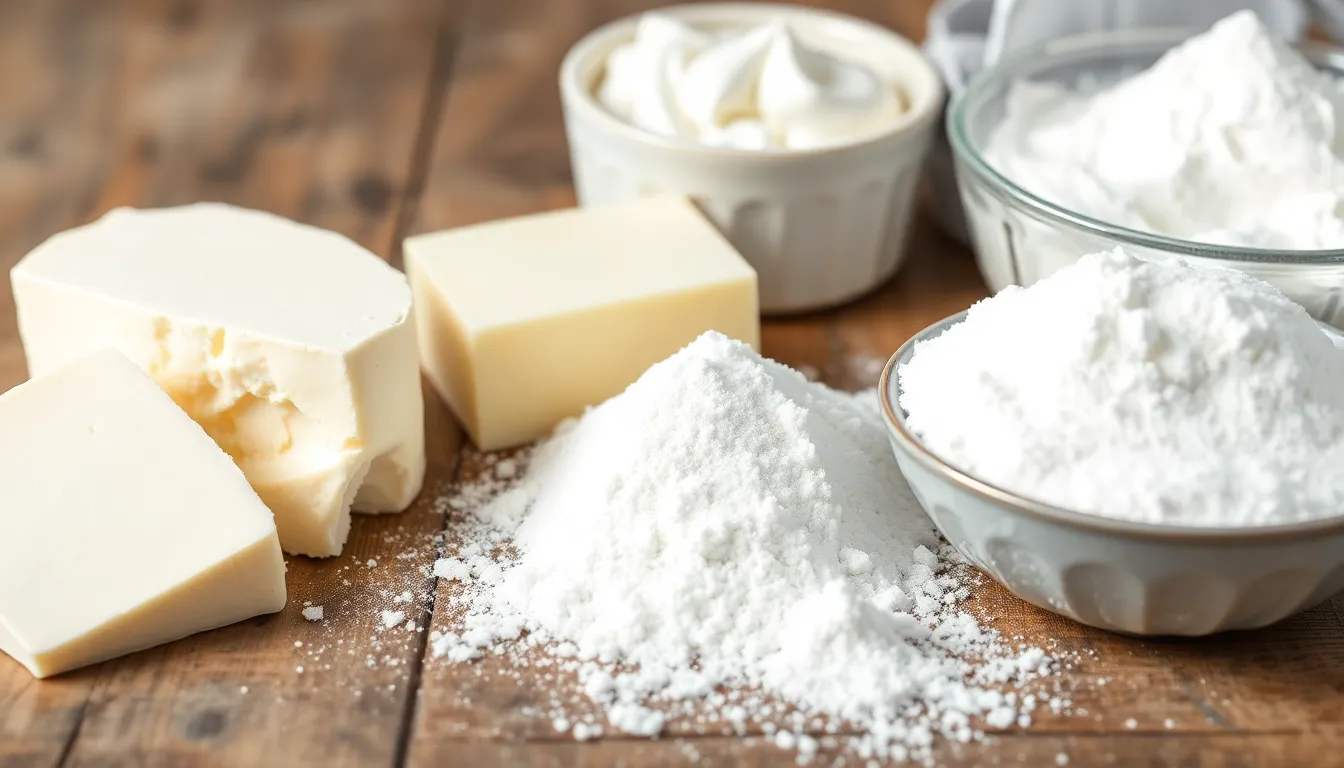
Creating velvety smooth cream cheese frosting requires starting with the right ingredients. The quality and type of each component directly impacts your final texture and can help prevent those frustrating lumps.
Choosing the Right Cream Cheese
Full-fat block-style cream cheese is essential for perfect frosting. This variety contains less water and more fat than tub versions which helps create a stable emulsion. Philadelphia brand is preferred by many professional bakers for its consistent quality and texture. Always avoid whipped or low-fat varieties as they contain additives and extra moisture that can destabilize your frosting. Look for cream cheese in foil packaging rather than plastic tubs for best results. The density and structure of block cream cheese provides the ideal foundation for smooth frosting while offering superior flavor.
The Role of Butter
Unsalted butter gives you complete control over the flavor profile of your frosting. European-style butters with higher fat content (82-84%) produce a richer more stable frosting than standard American butters (80% fat). Quality matters significantly here as butter contributes to both texture and flavor. Butter should be softened to about 65-68°F—cool room temperature where it yields to gentle pressure but still maintains structure. This temperature range ensures the butter will properly emulsify with the cream cheese without becoming too soft. Using butter that’s too warm can cause separation while butter that’s too cold creates those stubborn lumps.
Powdered Sugar Selection
Confectioners’ sugar with a fine texture produces the smoothest frosting possible. Look for 10X powdered sugar which indicates it’s been ground ten times for ultimate fineness. Always sift your powdered sugar before adding it to your mixture to eliminate any hard lumps that might not dissolve during mixing. Some premium brands contain a small amount of cornstarch which helps stabilize the frosting and prevent weeping. Organic powdered sugar typically uses tapioca starch instead of cornstarch and can work well for those with corn sensitivities. The quantity matters too—adding too much creates a stiff frosting prone to tearing while too little results in a loose mixture that won’t hold shape.


Step-by-Step Guide to Smooth Cream Cheese Frosting
Creating silky cream cheese frosting requires attention to detail and proper technique. Follow this comprehensive guide to eliminate lumps and achieve professional-quality results every time.
Proper Temperature Guidelines
Room temperature ingredients form the foundation of smooth cream cheese frosting. Take cream cheese out of the refrigerator 1-2 hours before mixing to reach 65-70°F for optimal workability. Your butter should also sit at room temperature until slightly softened but still cool to the touch – approximately 65°F is ideal. Cold ingredients will resist blending while overly warm components can create a runny consistency that never properly sets.
During summer months or in warm kitchens place partially softened ingredients in the refrigerator for 5-10 minutes if they become too soft. The powdered sugar can remain at room temperature as its temperature doesn’t significantly impact the frosting texture. Testing ingredient readiness is simple – press your finger lightly into the cream cheese or butter; it should leave an indentation without sinking in completely.
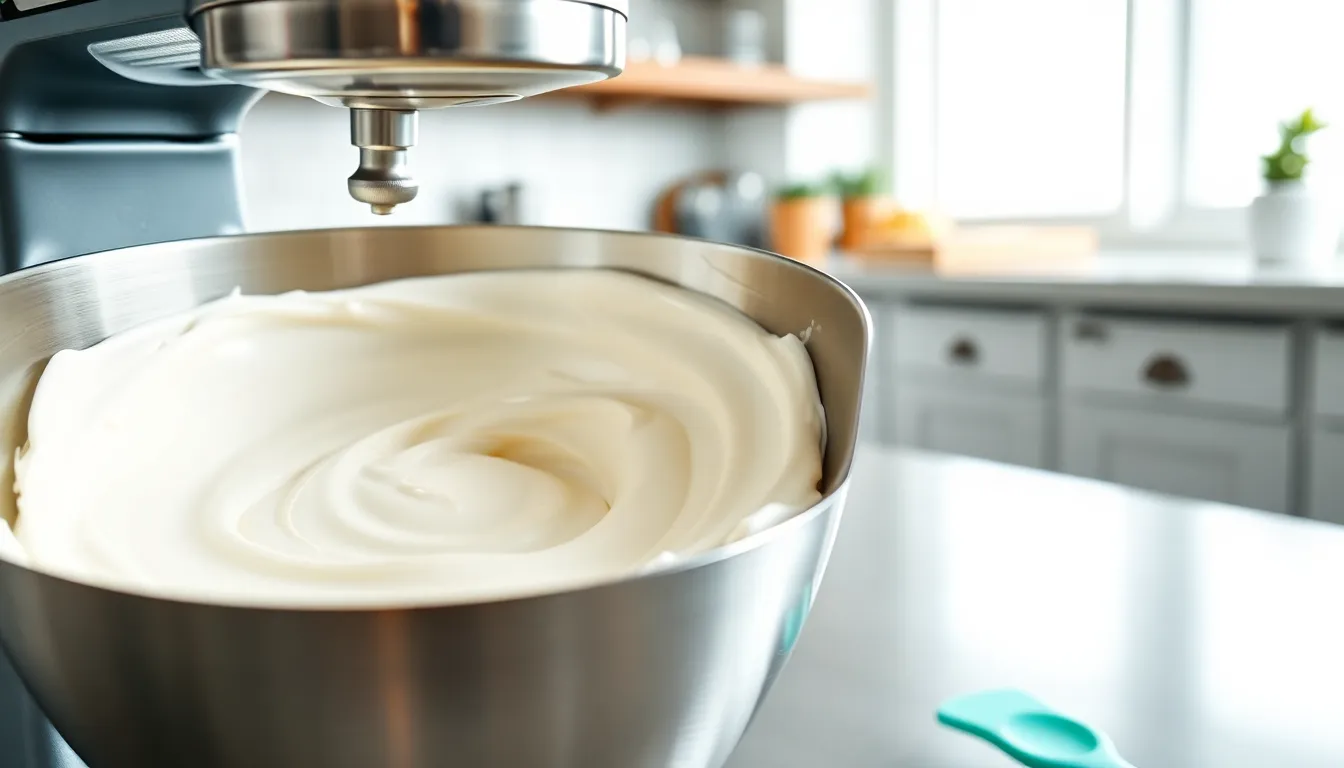
Mixing Technique
Start by beating the softened cream cheese alone for 2-3 minutes until completely smooth with no visible lumps. Add room temperature butter gradually in small chunks while continuing to mix at medium speed. Scrape down the sides and bottom of your bowl frequently throughout the process to catch unmixed portions. Incorporate powdered sugar one cup at a time on low speed to prevent a sugar cloud from forming in your kitchen.
Mix just until ingredients are combined – typically 30-45 seconds after each addition. Overmixing introduces excessive air which can cause the frosting to separate or develop a grainy texture. The finished frosting should be smooth and hold soft peaks when the beater is lifted. If lumps appear during mixing stop immediately and allow ingredients to warm further before resuming at a slower speed.
Recommended Tools
| Tool | Purpose | Recommendation |
|---|---|---|
| Stand Mixer | Provides consistent power for thorough mixing | KitchenAid with paddle attachment |
| Hand Mixer | Good alternative with at least 5 speed settings | Cuisinart 9-Speed Hand Mixer |
| Silicone Spatula | Essential for bowl scraping | OXO Good Grips Silicone Spatula |
| Sifter/Fine Mesh Strainer | Removes lumps from powdered sugar | Cuisinart Fine Mesh Strainer |
The paddle attachment for stand mixers works better than the whisk attachment as it incorporates less air while thoroughly combining ingredients. Your mixing bowl should be at room temperature rather than cold from the dishwasher or cabinet. Stainless steel bowls conduct temperature efficiently and help maintain proper ingredient temperature throughout the mixing process.
Use a rubber or silicone spatula to scrape down the sides of the bowl at least twice during mixing. This prevents unmixed portions from creating lumps later. For professional-level smoothness pass your finished frosting through a fine-mesh sieve or briefly process it in a food processor fitted with the blade attachment.


Troubleshooting Lumpy Frosting
Even experienced bakers occasionally end up with lumpy cream cheese frosting even though their best efforts. Fortunately several effective techniques can rescue your frosting when lumps appear unexpectedly.
Saving Already Lumpy Frosting
You can salvage lumpy frosting with a few corrective measures rather than starting over. First assess the type of lumps present—butter chunks require different treatment than powdered sugar clumps. For minor lumpiness continue mixing on medium speed for an additional 1-2 minutes which often integrates smaller lumps naturally. Try pressing the frosting against the side of the bowl with a spatula to break down stubborn lumps manually. Adding 1-2 tablespoons of warm heavy cream or milk can help loosen the mixture and help better incorporation of ingredients. Remember that patience is key—sometimes allowing the frosting to rest at room temperature for 15-20 minutes followed by additional mixing resolves the issue as ingredients reach optimal temperature.
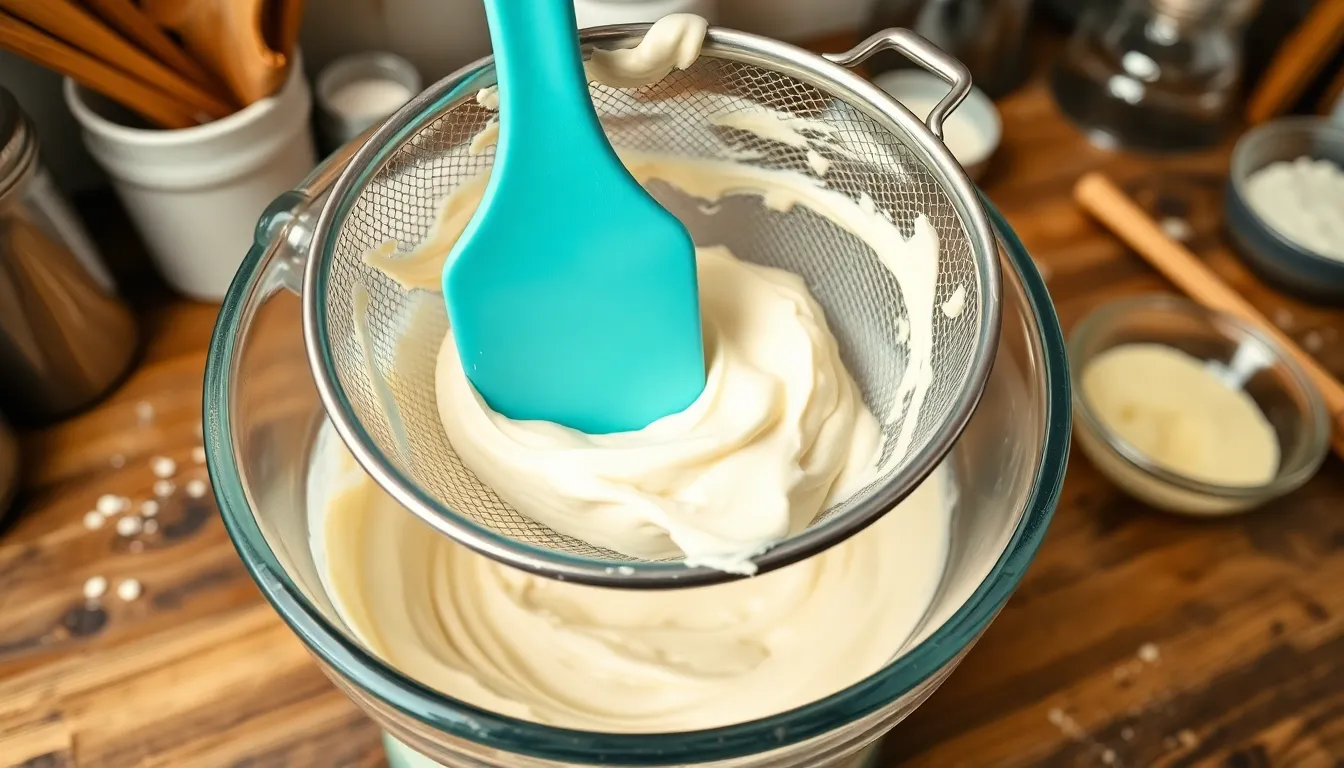
Straining Method
The straining method works wonders for frosting with stubborn small lumps that won’t blend away. Push your lumpy frosting through a fine-mesh sieve or strainer positioned over a clean bowl. Use a flexible silicone spatula to press the frosting through the mesh leaving behind any unincorporated lumps of cream cheese or butter. This technique creates ultra-smooth results though you may lose some volume in the process. For especially problematic frosting consider straining twice for guaranteed smoothness. The straining method works best for frostings with a thinner consistency—if yours is too thick add 1-2 teaspoons of milk before straining to improve flow through the mesh. This approach proves particularly effective for salvaging frosting that contains unmixed powdered sugar clumps.
Warming Method
The warming method addresses the most common cause of lumpy frosting—cold ingredients that refuse to blend properly. Place your mixing bowl over a pan of warm (not hot) water creating a gentle double boiler effect. Stir constantly as the bowl warms allowing the heat to gradually soften the cream cheese and butter lumps. Remove from heat once you feel the edges beginning to warm up then beat with your mixer until smooth. For microwave users place the lumpy frosting in a microwave-safe bowl and heat in 5-second intervals stirring between each until you feel the frosting just starting to warm at the edges. Be extremely cautious with this approach as overheating will melt the frosting completely ruining its texture. The warming method proves particularly effective for butterfat lumps but requires careful attention to prevent the frosting from becoming too liquid. Properly executed this technique can transform problematic frosting into a silky spread ready for your baked creations.


Prevention Tips for Future Batches

Preventing lumpy cream cheese frosting starts with proper planning and technique. Follow these professional tips to ensure silky-smooth results every time.
Storage and Preparation
Store cream cheese properly to set yourself up for frosting success. Always use block-style cream cheese rather than the spreadable tub varieties which contain additives that affect texture. Remove cream cheese from refrigeration at least 1-2 hours before making frosting. Cut it into smaller cubes to speed up the softening process and ensure even temperature throughout. When measuring ingredients use a digital scale for accuracy as improper ratios can lead to textural issues. Keep your cream cheese in the main part of your refrigerator rather than the door where temperature fluctuations occur more frequently. Before opening the package check the expiration date as older cream cheese may have developed microscopic lumps that are difficult to remedy.
Timing Considerations
Plan your baking schedule to accommodate proper ingredient preparation. Set a timer for 1-2 hours before you intend to make frosting to remind yourself to take ingredients out of the refrigerator. Avoid rushing the softening process by using a microwave which can partially melt the cream cheese and create uneven temperature zones. Schedule your baking when your kitchen is at a comfortable room temperature (68-72°F) as cold environments can cause ingredients to stiffen prematurely. Beat the cream cheese alone for a full 2-3 minutes until completely smooth before adding other ingredients. Allow an extra 30 minutes in your baking timeline for troubleshooting if lumps do appear. Test cream cheese softness by gently pressing with your finger – it should yield easily with slight resistance for optimal mixing conditions.


Conclusion
Achieving silky-smooth cream cheese frosting doesn’t have to be complicated. With room temperature ingredients proper mixing technique and high-quality cream cheese you’ll be creating bakery-worthy toppings in no time.
Remember that patience pays off when preparing your ingredients and taking your time during the mixing process. If you do encounter lumps don’t panic! The troubleshooting methods will help rescue even the most challenging batches.
Your cakes and cupcakes deserve a flawless finishing touch. By applying these professional tips and understanding the science behind cream cheese frosting you’ll consistently create that perfect velvety texture that makes your baked goods truly irresistible.
Frequently Asked Questions
Why does my cream cheese frosting get lumpy?
Cream cheese frosting gets lumpy primarily due to cold ingredients, improper mixing techniques, or using the wrong type of cream cheese. Cold cream cheese and butter resist blending smoothly. Additionally, insufficient mixing of cream cheese before adding other ingredients or overmixing the final frosting can cause textural issues. Using whipped or low-fat cream cheese varieties instead of full-fat block-style cream cheese can also result in lumps.
What type of cream cheese is best for smooth frosting?
Full-fat block-style cream cheese is ideal for smooth frosting. Philadelphia brand is highly recommended for its consistent quality and performance. Avoid whipped, spreadable, or low-fat varieties as they contain additives that affect texture and stability. Block-style cream cheese has the perfect fat content and consistency to create a silky frosting that holds its shape while remaining smooth and spreadable.
How long should I let cream cheese reach room temperature?
Allow cream cheese to sit at room temperature for 1-2 hours before using it in frosting. The ideal temperature is between 65-70°F (18-21°C). To speed up the process safely, cut the block into smaller pieces. Properly softened cream cheese should yield slightly to gentle pressure but still maintain its structure. Never microwave cream cheese to soften it, as this can cause uneven heating.
Can I fix lumpy cream cheese frosting?
Yes, lumpy frosting can be salvaged. For small lumps, continue mixing on medium speed for 2-3 minutes. For stubborn lumps, use a silicone spatula to press them against the bowl’s side or add 1-2 tablespoons of warm heavy cream. For persistent lumps, press the frosting through a fine-mesh sieve using a spatula. As a last resort, gently warm the frosting using a double boiler method.
Why should I avoid overmixing cream cheese frosting?
Overmixing cream cheese frosting introduces too much air, which can cause the mixture to separate and become grainy. It also activates the proteins in the cream cheese, making the texture less smooth. Mix just until ingredients are combined and the frosting appears smooth and cohesive. Stop mixing once you achieve the desired consistency to prevent breaking down the frosting’s structure.
Should I sift powdered sugar for cream cheese frosting?
Yes, sifting powdered sugar is essential for smooth cream cheese frosting. Even the highest quality powdered sugar can contain small lumps that won’t dissolve during mixing. Sifting removes these lumps before they enter your frosting. For best results, use fine-textured 10X powdered sugar and sift it directly into your mixing bowl as you add it to the cream cheese mixture.
What tools do I need for perfect cream cheese frosting?
The ideal tools for perfect cream cheese frosting include a stand mixer with a paddle attachment (preferred over a whisk attachment), a hand mixer as a viable alternative, a silicone spatula for scraping the bowl and breaking down lumps, and a fine-mesh strainer for removing stubborn lumps. These tools help achieve the proper mixing technique while allowing you to monitor texture throughout the process.
How can I prevent lumpy frosting in the future?
Prevent lumpy frosting by planning ahead—allow cream cheese and butter to reach room temperature for 1-2 hours before mixing. Always use full-fat block-style cream cheese and measure ingredients accurately with a digital scale. Beat cream cheese alone until completely smooth before adding other ingredients. Mix just until combined, and sift powdered sugar before adding it to the mixture.