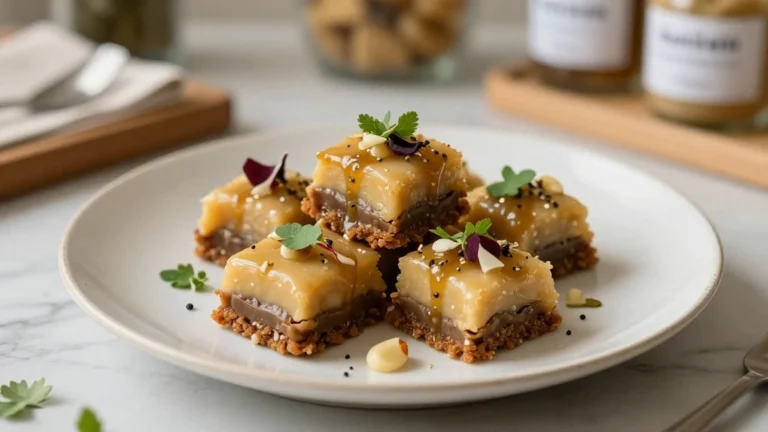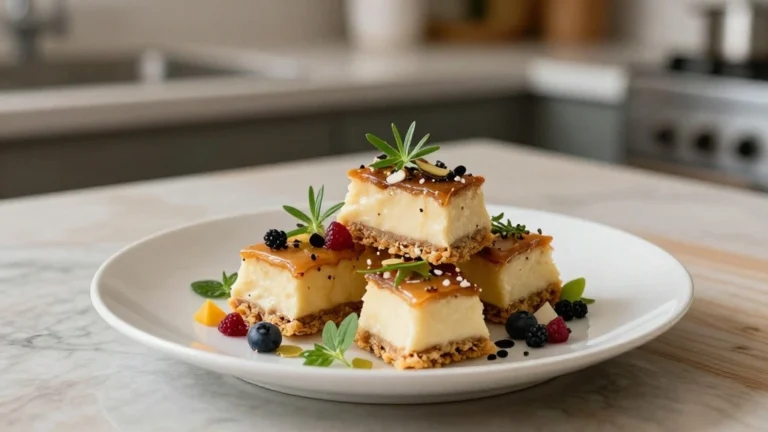
Winter Baking Recipes bring warmth and comfort to the coldest days of the year.
The rich aromas of spices and the sweetness of baked goods fill your home, creating a cozy atmosphere.
These recipes are perfect for gathering loved ones around the table during the holiday season.
From spiced cookies to hearty breads, each bake offers a delightful escape from the chilly weather.
Whether you’re a seasoned baker or a beginner, these recipes are approachable and rewarding.
The History and Cultural Significance
• Winter Baking Recipes trace their origins to medieval Europe, where they were originally created by home cooks using seasonal ingredients.
• The dish evolved over decades as trade routes expanded, introducing spices and sweeteners, eventually becoming the beloved versions we know today.
• In many Northern European cultures, these dishes traditionally appear at Christmas and New Year’s celebrations, symbolizing warmth and community.
• While many variations exist across different regions, the authentic version maintains a rich, spiced flavor that sets it apart from imitations.


Recipe Overview
Nutritional Information (per serving)


Essential Equipment Guide
Baking Stone: A baking stone is important for achieving an even, crispy crust on breads and pizzas. While alternatives like a heavy baking sheet can work, a stone provides better heat retention and distribution. Look for a stone that’s at least 1/2 inch thick for optimal results.
Stand Mixer: A stand mixer is essential for efficiently creaming butter and sugar or kneading dough. While a hand mixer or manual mixing can suffice, a stand mixer saves time and ensures consistency. Opt for a model with a powerful motor and a sturdy build.
Cooling Rack: Cooling racks allow baked goods to cool evenly by circulating air around them. Alternatives like a clean towel can work, but racks prevent sogginess. Choose racks with a grid pattern to prevent smaller cookies from falling through.


Ingredients
For the Dough
|
|
| Amount | Ingredient | Notes |
|---|---|---|
| 3 cups | all-purpose flour | sifted for light texture |
| 1 packet | active dry yeast | ensures rise |
| 1 teaspoon | salt | enhances flavor |
| 1/4 cup | sugar | adds sweetness |
For the Filling
| Amount | Ingredient | Notes |
|---|---|---|
| 1 cup | brown sugar | adds depth of flavor |
| 2 tablespoons | cinnamon | provides warmth |
| 1/2 cup | butter | softened for spreading |
| 1/2 cup | raisins | optional, for added texture |
Preparation Methods
Proofing Yeast: Proofing yeast involves dissolving it in warm water with a bit of sugar to activate it. This step is crucial for ensuring that the yeast is alive and will cause the dough to rise. To master it, make sure the water is between 100°F to 110°F.
Creaming Butter and Sugar: Creaming is the process of beating butter and sugar together until light and fluffy. This technique is important for incorporating air, which helps leaven baked goods. Use room-temperature butter for best results.
Folding Dough: Folding involves gently incorporating ingredients into dough without deflating it. This technique is essential for maintaining a light texture in baked goods. Use a spatula to fold from bottom to top, turning the bowl as you go.


Step 1: Prepare Ingredients

Gather all ingredients and equipment.
Ensure butter is softened and all ingredients are at room temperature.
Measure out each ingredient accurately.
Set the stage for a smooth cooking process.


Step 2: Proof the Yeast

Dissolve yeast in warm water with a teaspoon of sugar.
Let it sit for 5-10 minutes until frothy.
Check for bubbles as a sign of activation.
This step ensures the dough will rise properly.
Step 3: Mix the Dough

Combine flour, salt, and sugar in a large mixing bowl.
Add the yeast mixture and mix until a dough forms.
Knead on a floured surface for 5-7 minutes until smooth.
The dough should be elastic and slightly tacky.
Step 4: Let the Dough Rise

Place the dough in a greased bowl and cover with a damp towel.
Let it rise in a warm area for 1 hour until doubled in size.
Check if the dough has risen by pressing it gently.
The dough should spring back slightly.
Step 5: Prepare the Filling

In a small bowl, mix brown sugar and cinnamon.
Add softened butter and stir until smooth.
Ensure the mixture is evenly combined.
This creates a flavorful filling for the dough.


Step 6: Roll Out the Dough

On a floured surface, roll the dough into a large rectangle.
Spread the filling evenly over the dough.
Leave a small border around the edges.
This step ensures even distribution of flavors.
Step 7: Shape the Rolls

Roll the dough tightly from one long side to the other.
Pinch the seam to seal.
Cut into equal pieces using a sharp knife.
This forms the individual rolls ready for baking.
Step 8: Second Rise

Arrange rolls in a greased baking dish.
Cover and let rise for 30 minutes.
The rolls should puff up slightly.
This step ensures a light, fluffy texture.
Step 9: Bake the Rolls
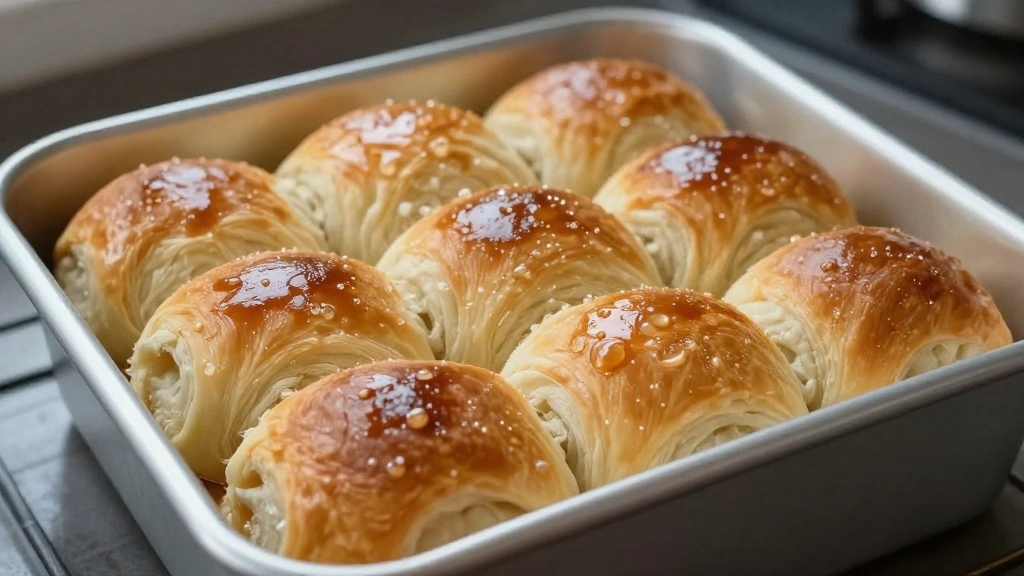
Preheat oven to 350°F (175°C).
Bake rolls for 25-30 minutes until golden brown.
Check for doneness by tapping the top; it should sound hollow.
This step gives the rolls their final texture and flavor.


Step 10: Cool and Serve
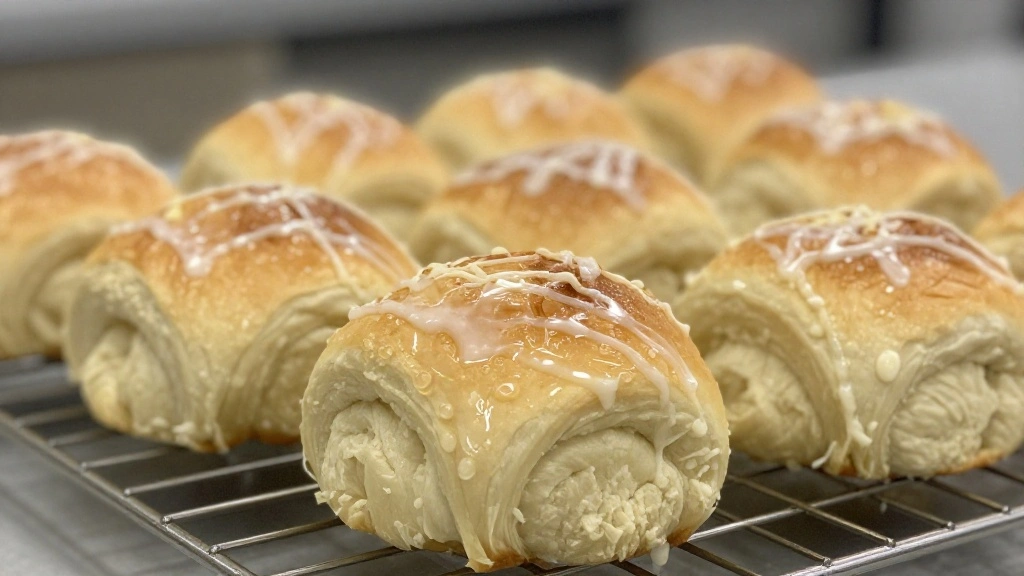
Remove rolls from the oven and let cool on a rack.
Drizzle with optional glaze if desired.
Serve warm for best flavor.
This final step enhances the overall experience of the dish.


Critical Timing and Temperature Guide
Proofing Yeast: Proof for 5-10 minutes at 100°F to 110°F. Look for a frothy texture. Avoid water that's too hot to prevent killing the yeast.
Baking Rolls: Bake at 350°F for 25-30 minutes. Rolls should be golden and sound hollow when tapped. Avoid underbaking, which can lead to a doughy center.
Cooling Time: Allow rolls to cool for at least 10 minutes. The texture firms up as they cool. Avoid cutting too early to prevent collapse.
Pro Tips for Winter Baking Recipes
• Ingredient Selection: Use high-quality cinnamon and fresh yeast, as these have a significant impact on the flavor and rise of the dough.
• Preparation Secret: Allowing the dough to rise in a slightly warm oven (turned off) can speed up the process without compromising texture.
• Temperature Management: Ensure all ingredients, especially butter and eggs, are at room temperature for better integration.
• Texture Enhancement: For a softer roll, brush melted butter over the dough before adding the filling.
• Flavor Layering: Adding a pinch of nutmeg to the filling can enhance the spiciness and depth of flavor.
• Make-Ahead Strategies: Prepare the rolls up to the second rise the night before and refrigerate. Let them come to room temperature before baking.
• Restaurant-Quality Finishing Touches: A light dusting of powdered sugar or a drizzle of icing adds a professional touch.
• Equipment Optimization: Use a sharp serrated knife to cut dough smoothly without compressing it.
Troubleshooting Common Issues
• Dense Texture: Caused by over-kneading or insufficient rise. Ensure dough doubles in size during the first rise.
• Burnt Tops: Oven too hot or rolls too close to the top. Adjust oven rack to the middle and monitor closely.
• Dough Not Rising: Yeast may be inactive. Always check expiration date and proof yeast before using.
• Uneven Baking: Caused by uneven roll sizes. Ensure uniform cutting and spacing in the baking dish.
• Sticky Dough: Can result from too much liquid. Add flour gradually as needed during kneading.
Variations and Regional Differences
• Swedish Style: Incorporates cardamom in the dough for a distinct aroma and flavor profile unique to Scandinavian baking.
• German Variation: Known as 'Schnecken,' these rolls often include nuts and are finished with a sugar glaze.
• Italian Influence: Uses a filling of ricotta and chocolate chips, offering a rich, dessert-like experience.
• American Cinnamon Rolls: Often topped with cream cheese frosting for an extra layer of sweetness.


Food Science Behind the Recipe
• Role of Yeast: Yeast fermentation produces carbon dioxide, which causes the dough to rise and creates a light texture.
• Gluten Development: Kneading develops gluten, providing structure and elasticity to the dough, crucial for shaping and rising.
• Maillard Reaction: During baking, this chemical reaction between amino acids and sugars gives the rolls their golden brown color and complex flavor.
Frequently Asked Questions
What's the most common mistake people make when preparing cinnamon rolls? Over-kneading the dough, which can result in a tough texture.
Can I freeze the rolls before baking? Yes, freeze after shaping and before the second rise. Thaw overnight in the refrigerator before baking.
How do I know when the rolls are done? They should be golden brown and sound hollow when tapped. Use a thermometer to ensure an internal temperature of at least 190°F.
Why didn't my dough rise? The yeast may have been inactive or the dough kept in too cool an environment. Ensure proper proofing temperature.
Can I substitute whole wheat flour? Yes, but it may result in a denser texture. Consider using a mix of whole wheat and all-purpose flour.
What can I use instead of raisins? Try substituting with dried cranberries, chopped nuts, or chocolate chips for variation.
Why are my rolls dry? Overbaking can cause dryness. Ensure proper baking time and consider adding a glaze or icing for moisture.
Serving and Presentation Guide
• Traditional Presentation: Serve on a large platter, with rolls slightly overlapping, dusted with powdered sugar.
• Casual Gathering: Present in a rustic wooden basket lined with a cloth napkin, ideal for sharing.
• Elegant Dessert: Plate individually with a drizzle of cream cheese icing and a sprig of mint for color.
• Breakfast Spread: Accompany with fresh fruit and coffee, arranged on a large serving board.


Conclusion
Embrace the warmth and comfort of winter baking with these delightful recipes.
The rich flavors and cozy aromas are sure to bring joy to your home.
Try these recipes with family and friends for a memorable winter experience.