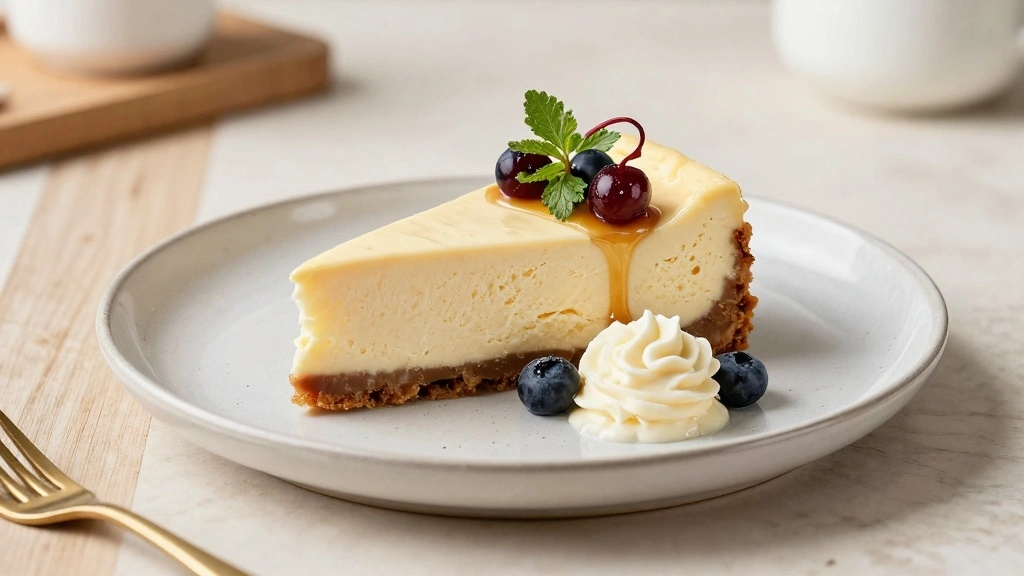
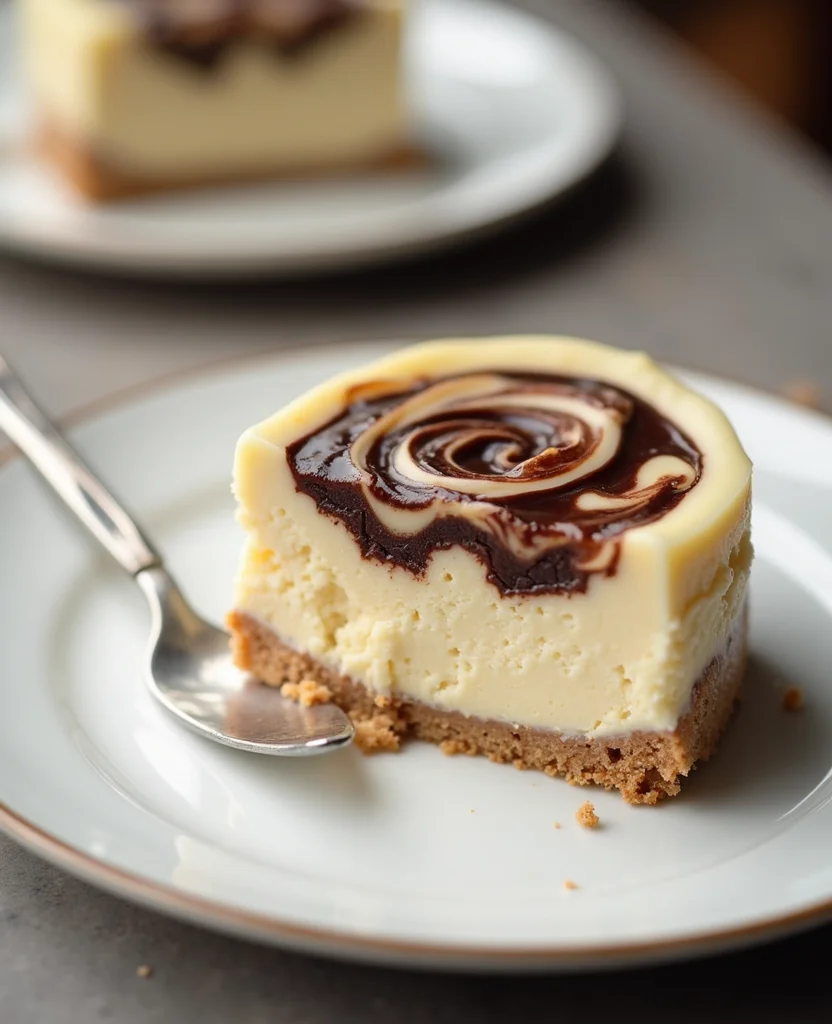
I first stumbled upon the No-Bake Ice Cream Cheesecake during a sweltering summer in the south, where the only relief from the heat was a cool, creamy dessert.
This delightful treat combines the richness of cheesecake with the refreshing chill of ice cream, offering a perfect balance of flavors and textures.
Its simplicity and lack of baking make it an ideal choice for those warm days when turning on the oven is unthinkable.
Whether you’re hosting a backyard barbecue or simply craving a sweet escape, this cheesecake promises to satisfy with minimal effort.
The marriage of sweet and tangy notes in this dish creates a dessert that’s both indulgent and light.
Prepare to be the star of your next gathering with this irresistibly cool creation.
The History and Cultural Significance
• No-Bake Ice Cream traces its origins to the early 20th century in America, where it was originally created by innovative home cooks seeking a cool dessert without the use of an oven.
• The dish evolved over decades as refrigeration technology improved, with variations incorporating different ice cream flavors and crusts, eventually becoming the beloved version we know today.
• In American culture, this dish traditionally appears at summer picnics and Fourth of July celebrations, symbolizing the joy of summer and the convenience of modern appliances.
• While many variations exist across different regions, the authentic version maintains the creamy ice cream layer that sets it apart from imitations.
Recommended Products
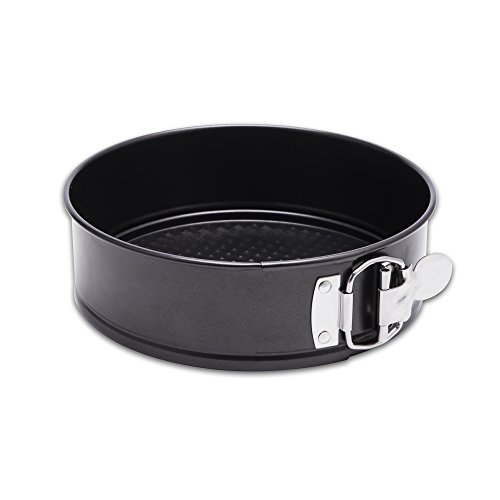
HEALTHY COATING: Our Non-stick coating is a food grade safety coating with no harsh chemicals or hazardous substances. The true double layer coating allows the cake be easily removed without damage. Avoid making it difficult to clean the cake because it sticks to the pan or leaves a lot of cake residue.

TOXIN-FREE & DURABLE 304 STAINLESS STEEL - Crafted with food-grade 304 stainless steel, the springform pan resists rust, deformation, and corrosion for lifelong use. Oven safe up to 500°F, pressure cooker compatible, and multiple baking options for you to choose from
HEALTHY COATING: Our Non-stick coating is a food grade safety coating with no harsh chemicals or hazardous substances. The true double layer coating allows the cake be easily removed without damage. Avoid making it difficult to clean the cake because it sticks to the pan or leaves a lot of cake residue.
Recipe Overview
Recommended Products

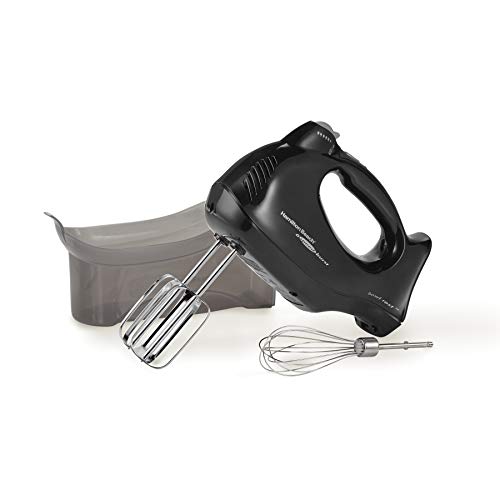
NO MORE LOST BEATERS: The snap-on storage case that comes with the Hamilton Beach hand mixer neatly holds the 2 beaters and whisk in one easy-to-find place, reducing the chance that the attachments are lost or misplaced.

SELF-CONTROL SPEED – Features 5 adjustable speeds, ranging from 1 (Lowest) to 5 (Highest), allowing you to choose the ideal mixing speed for perfectly customizable texture and consistency in any recipe. Perfect for whipping cream, making butter, beating egg whites and batter, or preparing mashed potatoes and other dishes.

SELF-CONTROL SPEED – Features 5 adjustable speeds, ranging from 1 (Lowest) to 5 (Highest), allowing you to choose the ideal mixing speed for perfectly customizable texture and consistency in any recipe. Perfect for whipping cream, making butter, beating egg whites and batter, or preparing mashed potatoes and other dishes.
Nutritional Information (per serving)
Recommended Products

Ready-to-Use Graham Cracker Crumbs – Finely crushed and prepared for quick, convenient use in baking and dessert recipes.
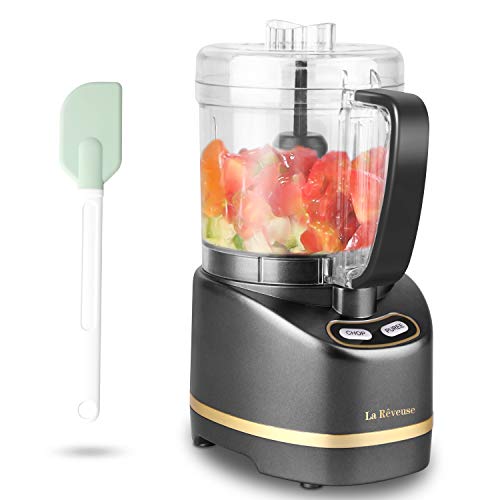
Compact Design,Space Saving - 200-Watt food processor with 2-Cup plastic chopping bowl,single serving, ideal for everyday food preperation and baby food

Perfect Texture for Baking - Finely ground crumbs create smooth, even crusts ideal for cheesecakes, pies, bars, and layered desserts.
Essential Equipment Guide
Springform Pan: The springform pan is crucial for easily releasing the cheesecake without damaging its delicate structure. Alternatives include a pie dish, but the presentation might not be as clean. Look for a non-stick surface to ensure easy release.
Electric Mixer: An electric mixer is essential for achieving a smooth and creamy filling, ensuring all ingredients are thoroughly combined. A hand whisk can work, but it requires more effort and may not achieve the same smoothness. Opt for a mixer with variable speeds for better control.
Food Processor: A food processor is ideal for creating a fine, even crumb crust. While a rolling pin can substitute by crushing the crackers in a sealed bag, a processor ensures uniformity and saves time. Choose one with a pulse function for better control over texture.
Recommended Products

Ben & Jerry's Strawberry Cheesecake Ice Cream with Strawberries & a Thick Graham Cracker Swirl

Contains 6 individually wrapped frozen dairy dessert sandwiches

Item Package Dimension:9.652 cm L X9.779 cm W X10.16 cm H
Ingredients
Recommended Products

Great Value Pack: Set includes 100 x 3 oz Dessert Cups, 100 lids, and 100 spoons. Suitable for picnics, birthdays, weddings, and other kinds of parties. Small and cute, stackable, easy to store after cleaning

Complete 3-IN-1 Dessert Table Display Set – Elevate your event with this all-in-one cupcake stand set, including two 3-tier square stand (13.4" height), two round stand (13" height), and six large rectangular trays (14.5"x9.3"). The square stands hold 16 cupcakes each, the round stands hold 12 each, and the rectangular trays hold 72 in total, offering a combined capacity of 128 cupcakes. With sturdy trays and reinforced pillars, this display set is perfect for birthdays, weddings, baby showers, and more.

For the Base
|
|
| Amount | Ingredient | Notes |
|---|---|---|
| 1.5 cups | graham cracker crumbs | provides a crunchy foundation |
| 0.5 cups | melted butter | binds the crumbs together |
| 2 tablespoons | sugar | adds a touch of sweetness |
For the Filling
| Amount | Ingredient | Notes |
|---|---|---|
| 16 ounces | cream cheese | softened for easy mixing |
| 1 cup | sugar | sweetens the cheesecake |
| 2 teaspoons | vanilla extract | enhances flavor |
| 2 cups | vanilla ice cream | softened, adds creaminess |
Preparation Methods
Softening Cream Cheese: Always soften cream cheese to room temperature for a smooth, creamy texture. This prevents lumps in the filling, ensuring a velvety consistency. Leave it out for about 30 minutes before starting, or use a microwave at low power for short bursts, stirring frequently.
Combining Ingredients: When combining ingredients, start with the cream cheese and sugar, mixing until smooth before adding other elements. This ensures an even distribution of sugar and prevents a gritty texture. Use a spatula to scrape down the sides of the bowl for thorough mixing.
Freezing the Cheesecake: Allow the cheesecake to freeze for at least 4 hours to achieve the right firmness. This step is vital for slicing cleanly and maintaining shape. Cover with plastic wrap to prevent ice crystals from forming.
Recommended Products

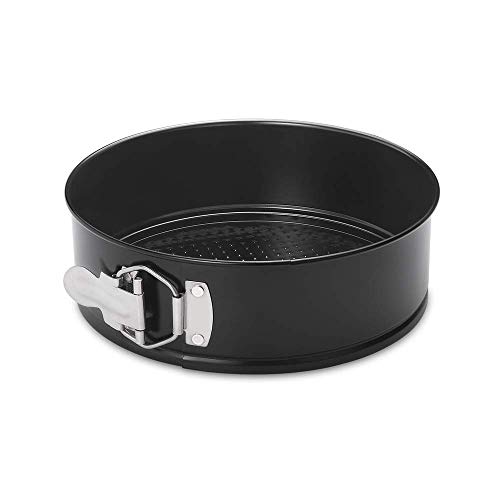
7-Inch Size for Small Bakes: Ideal for mini cheesecakes, desserts and small-batch baking; please check the pan size before ordering

High Quality Springform Pan 9 Inch Nonstick - Leakproof springform pan set comes with 1pcs 9 inch springform pan, 1pcs cheesecake pan protector for water bath and 50pcs pre-cut parchment paper. The spring form pan for cheesecake is ideal for making cheese cake, yogurt cake, mousse, coffee cake, lasagna, quiche, paella, cookies and any similar recipes, and the spring pans for baking cheesecake also makes a great and practical gift for your friends.

BAKE ALL YOUR FAVORITE TREATS - This high value premium spring form pan set for cheesecakes includes 4-inch, 7-inch and 9-inch springform pans, a reusable food-grade silicone leakproof cheese cake pan protector, 50 parchment paper liners, and 3 cake scraper smoothers. Perfect for cheesecakes, layered cakes, or savory quiches! From birthdays to Sunday baking, the multiple sizes cover all your baking needs—from individual treats to family-sized cakes. You’ll be ready for holidays, family dinners, or everyday moments.
Step 1: Prepare the Base
Combine graham cracker crumbs, melted butter, and sugar in a bowl.
Mix until the crumbs are evenly coated and resemble wet sand.
Press the mixture firmly into the bottom of a springform pan to form an even crust.
Refrigerate the crust while preparing the filling.
Recommended Products

REDUCES MESSY SPLATTERS WITH SLOW START TECHNOLOGY. This 5 speed hand mixer starts slowly on the lowest speed, making it easier to gradually add ingredients without making messy splatters.

This hand mixer has the right speed for the task at hand, from mixing in nuts and chocolate chips at speed one, to whipping perfect meringues at speed five
NO MORE LOST BEATERS: The snap-on storage case holds the included attachments, reducing the chance that beaters for the electric hand mixer get lost or misplaced. A convenient access door makes it easy to add attachments or remove them from the case
Step 2: Soften the Ice Cream
Take the ice cream out of the freezer and let it sit at room temperature for about 10 minutes.
This softens the ice cream, making it easier to mix with the other ingredients.
The ice cream should be soft but not melted.
Stir occasionally to check for consistency.
Recommended Products

Use for cheesecake crust, pies shells, toppings, and garnish
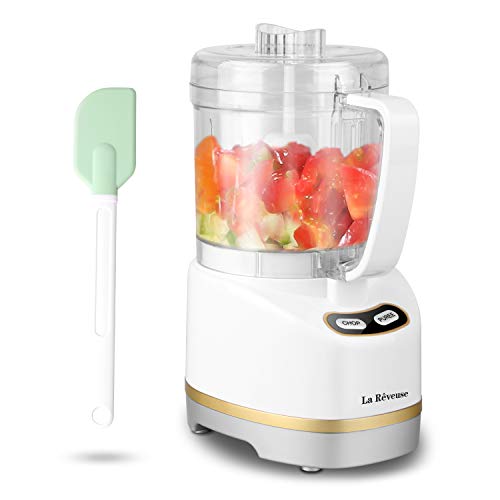
Compact Design,Space Saving - 200-watt small food processor with 2-Cup plastic chopping bowl,single serving, ideal for everyday food preperation and baby food

Ready-to-Use Graham Cracker Crumbs – Finely crushed and prepared for quick use in baking, dessert making, and topping applications.
Step 3: Mix Cream Cheese and Sugar
Place the softened cream cheese in a mixing bowl.
Add the sugar and beat with an electric mixer until smooth and creamy.
Scrape down the sides of the bowl to ensure all ingredients are incorporated.
Continue mixing until no lumps remain.
Recommended Products

DELICIOUS FLAVOR - Vanilla: Seen as “boring.” “Safe.” Or “if beige could yawn it would be vanilla.” Well, no more. We’re bringing out vanilla’s more non-vanilla-ey traits by using Tahitian vanilla beans, cold-ground whole. Don’t screw it up from here, vanilla.

One 48 fluid ounce box of Vanilla Bean Ice Cream

Product Type:Dairy Based Ice Cream
Step 4: Add Vanilla Extract
Pour the vanilla extract into the cream cheese mixture.
Mix on low speed until the extract is fully integrated.
The mixture should be fragrant and smooth.
Ensure there are no streaks of vanilla visible.
Recommended Products

【 10-piece set for various needs 】 This dessert table display set consists of 4 three-tier square dessert racks and 6 dessert tray to meet your needs for different dessert display and display, Ideal for most events and parties such as tea parties, baby showers, graduations, housewarming parties, weddings, Christmas, Easter, Valentine's Day, Thanksgiving, or home decorations

Made of clear plastic

【Complete Serving Set】Get everything you need in one pack! Includes 3 sturdy 3-tier round stands, 3 square 2-tier stands and 4 large rectangle trays - ideal for displaying desserts, snacks or party favors.
Step 5: Incorporate Ice Cream
Add the softened ice cream to the cream cheese mixture.
Mix on low speed until the ice cream is fully blended in.
The filling should be smooth and slightly thickened.
Avoid overmixing to prevent melting.
Step 6: Pour Filling into Crust
Remove the crust from the refrigerator.
Pour the filling over the crust, spreading it evenly with a spatula.
Ensure the top is smooth and level.
Tap the pan gently on the counter to remove air bubbles.
Step 7: Freeze the Cheesecake
Cover the cheesecake with plastic wrap or aluminum foil.
Place it in the freezer for at least 4 hours or overnight.
The cheesecake should be firm to the touch when ready.
Check periodically to ensure no ice crystals form on the surface.
Step 8: Serve and Enjoy
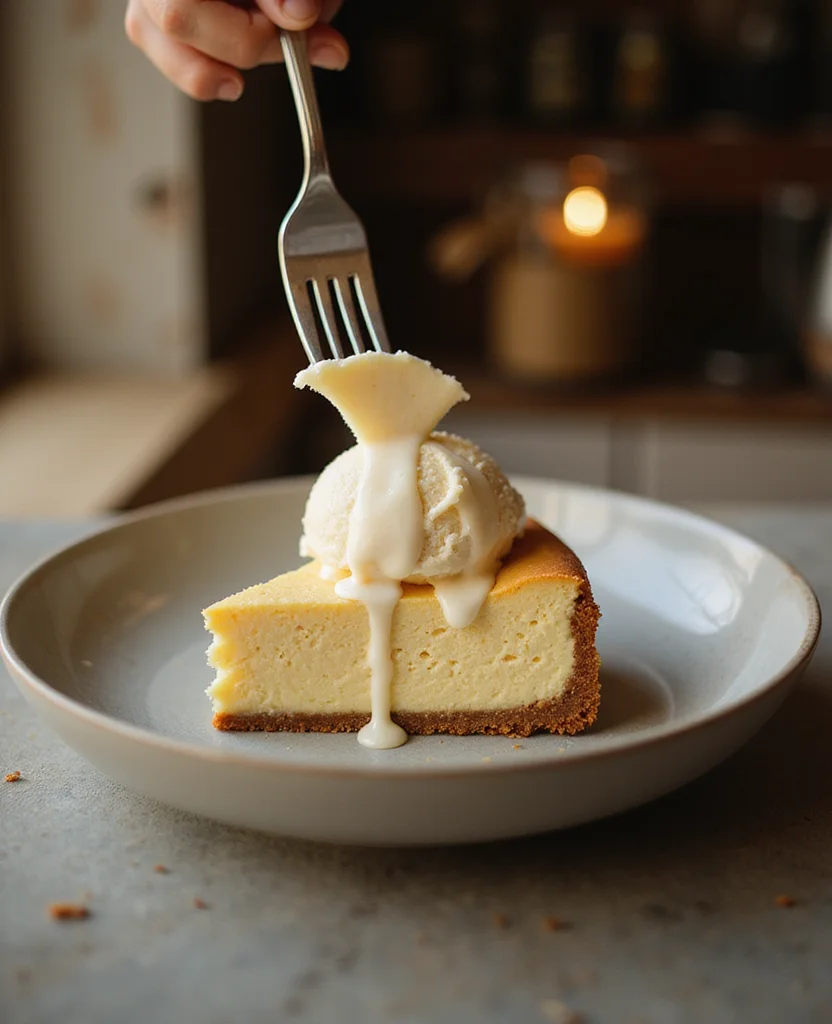
Remove the cheesecake from the freezer 10 minutes before serving.
Release the springform pan and carefully transfer the cheesecake to a serving plate.
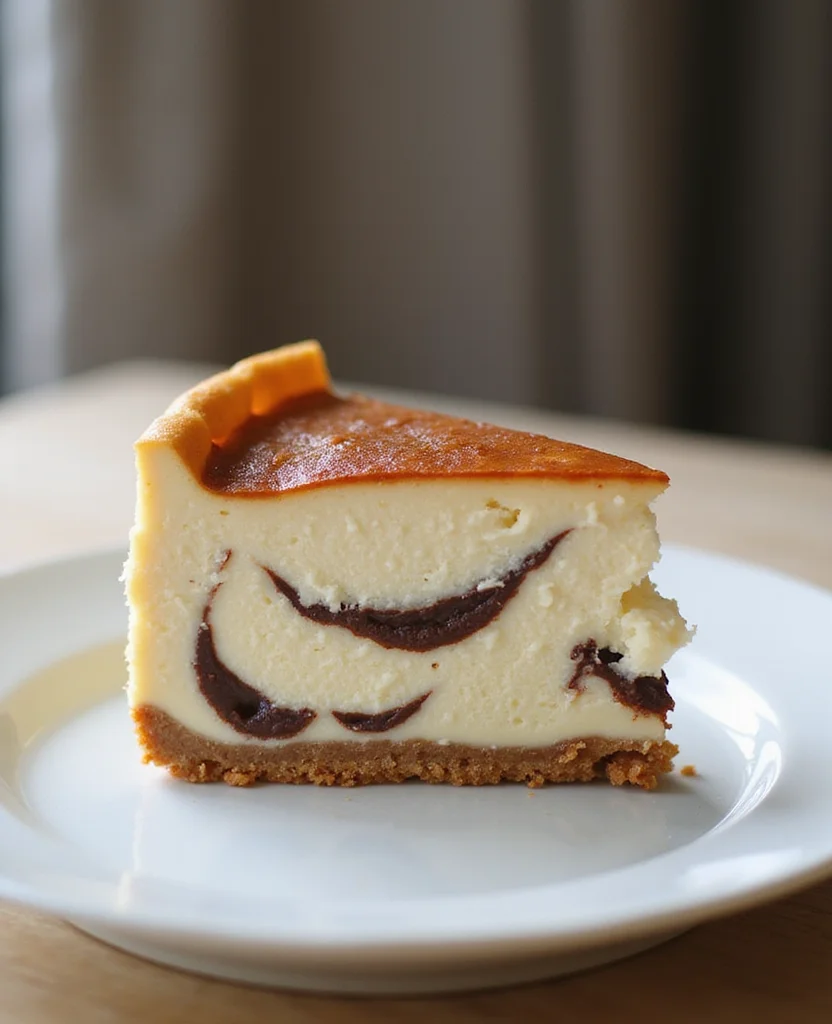
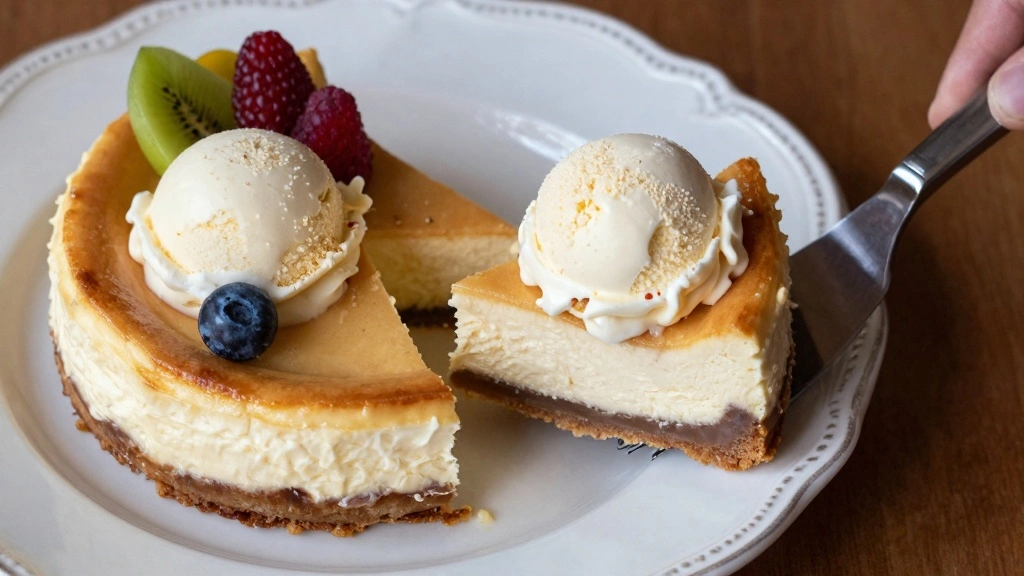
Slice with a warm knife for clean cuts.
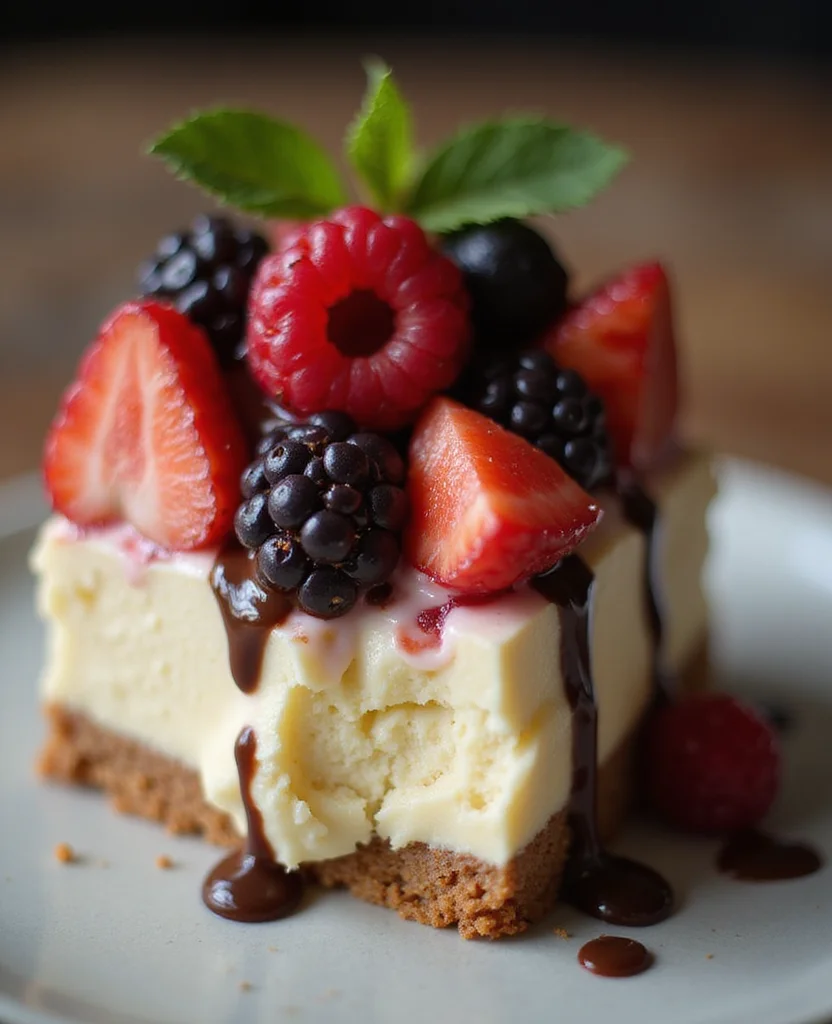
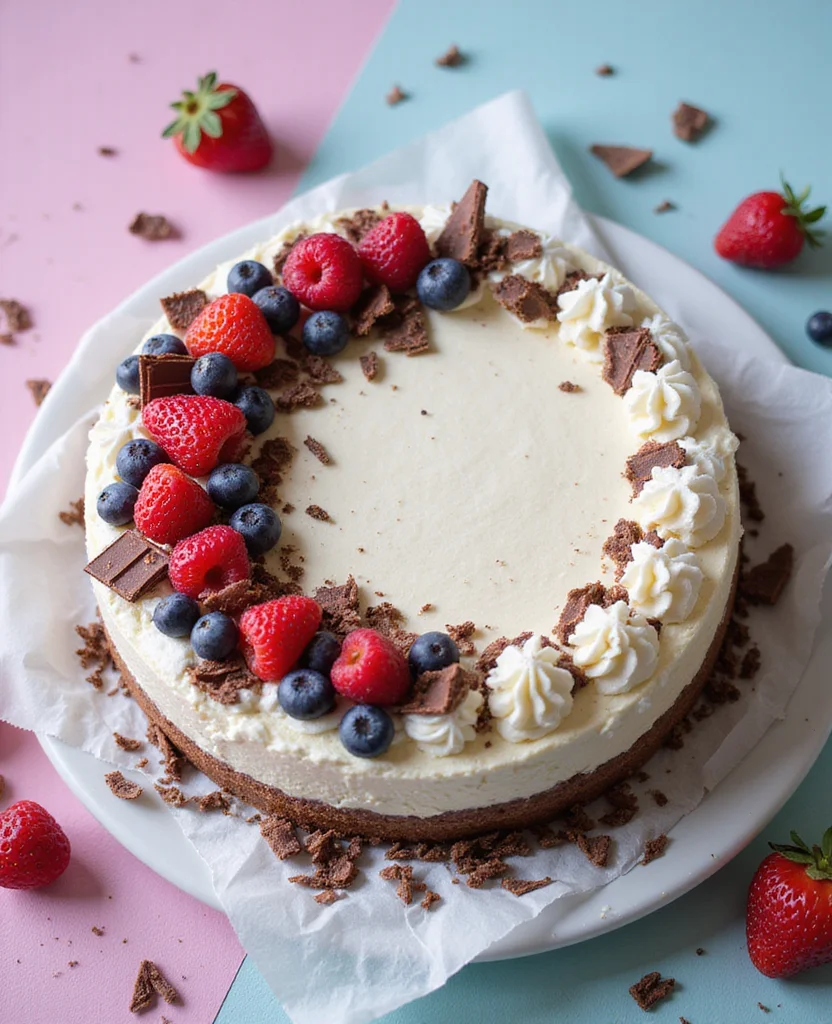
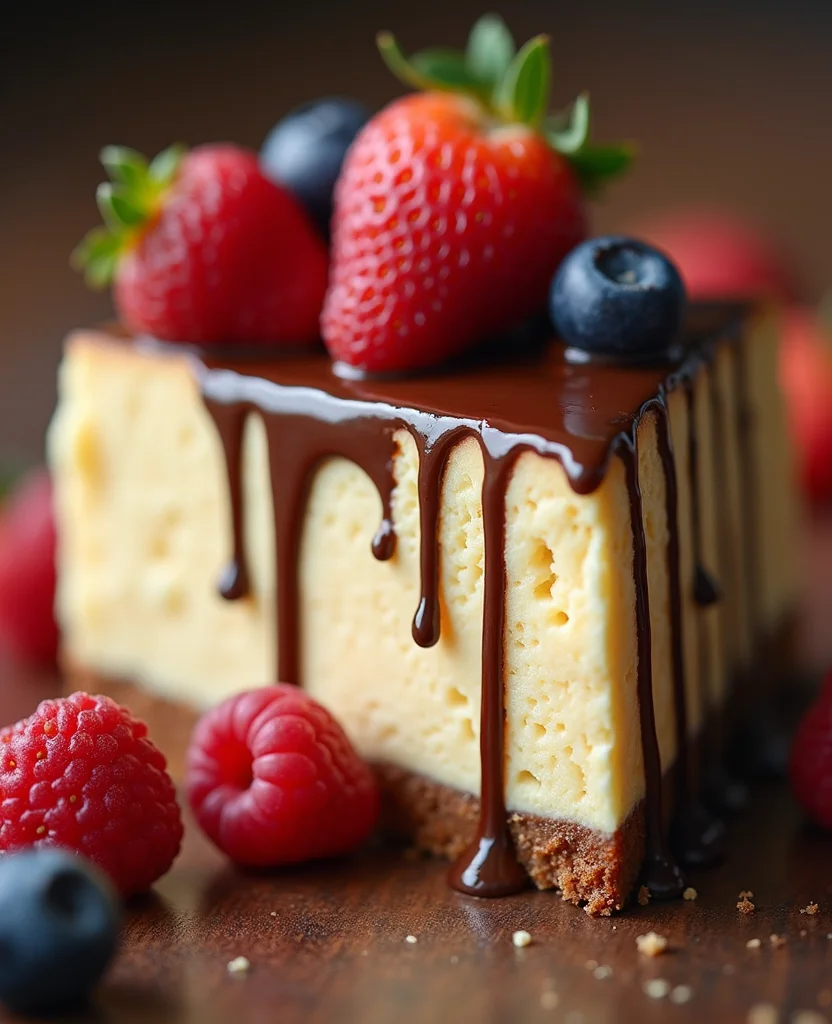
Garnish with fresh fruit or chocolate shavings as desired.
Critical Timing and Temperature Guide
Freezing the Cheesecake: Freeze for at least 4 hours at 0°F (-18°C). The cheesecake should be firm but not rock hard. Avoid frequent opening of the freezer to maintain a consistent temperature.
Softening Ice Cream: Allow ice cream to soften for 10 minutes at room temperature. It should be soft enough to mix but not melted. Stir occasionally to ensure even softening.
Serving Temperature: Allow cheesecake to sit at room temperature for 10 minutes before serving. It should be slightly softened but still cold. Avoid leaving it out too long to prevent melting.
Pro Tips for No-Bake Ice Cream
• Ingredient Selection: Choose high-quality cream cheese and real vanilla extract for the richest flavor. These ingredients greatly impact the final taste and texture.
• Preparation Secret: Whip the cream cheese with sugar first before adding other ingredients to ensure a smooth, lump-free filling.
• Temperature Management: Keep ingredients cold until just before use to maintain the integrity of the ice cream and prevent melting during mixing.
• Texture Enhancement: Use a food processor for the crust to achieve a fine, even texture that holds together well.
• Flavor Layering: Add a hint of lemon zest to the filling for a subtle tang that enhances the overall flavor profile.
• Make-Ahead Strategies: Prepare the crust and filling separately up to two days ahead. Assemble and freeze the day before serving.
• Restaurant-Quality Finishing Touches: Garnish with a drizzle of chocolate sauce or fresh berries for a professional presentation.
• Equipment Optimization: Use a springform pan for easy removal and a professional look. Ensure it's well-greased to prevent sticking.
Troubleshooting Common Issues
• Texture Too Dense: This can occur if the cream cheese is not fully softened. Ensure it reaches room temperature before mixing.
• Filling Not Setting: If the cheesecake doesn't firm up, it may be due to insufficient freezing time. Ensure at least 4 hours in the freezer.
• Crust Falling Apart: A crumbly crust may result from too little butter. Ensure the crumbs are well-coated and pressed firmly.
• Ice Cream Separating: This can happen if the ice cream is too melted when mixed. Soften it just enough to combine smoothly.
• Flavors Unbalanced: If the vanilla flavor is too strong, consider using a mix of vanilla and almond extract for a more nuanced taste.
• Cheesecake Sticking to Pan: To prevent sticking, line the bottom of the springform pan with parchment paper before pressing in the crust.
Variations and Regional Differences
• Italian Gelato Version: Uses gelato instead of traditional ice cream, offering a denser, richer texture. Often includes espresso flavors for a Tiramisu twist.
• Japanese Matcha Variation: Incorporates matcha powder into the filling for a green tea flavor, often accompanied by red bean paste as a topping.
• French Lavender Twist: Infuses the cream cheese mixture with lavender essence for a floral note, commonly paired with honey and almond toppings.
• Tropical Coconut Style: Replaces some of the cream cheese with coconut cream, adding shredded coconut to the crust for a tropical flair.
Food Science Behind the Recipe
• Emulsification: The cream cheese acts as an emulsifier, blending the water and fat of the ice cream for a smooth texture. Understanding this helps achieve a consistent filling.
• Crystallization: Freezing forms ice crystals, which can affect texture. Rapid freezing minimizes crystal size, maintaining the creamy consistency.
• Maillard Reaction: Although not baked, the graham crust undergoes a mild Maillard reaction when combined with butter, contributing to its flavor profile.
Frequently Asked Questions
What's the most common mistake people make when preparing No-Bake Ice Cream Cheesecake? The most common mistake is not allowing enough time for the cheesecake to freeze properly, resulting in a soft and unstructured dessert.
Can I use low-fat cream cheese? Yes, but be aware that it may affect the creaminess and richness of the final product.
How can I prevent ice crystals on the cheesecake? Cover the cheesecake tightly with plastic wrap to prevent moisture from forming ice crystals.
Is it possible to make this dessert without a springform pan? Yes, a pie dish can work, but it may be challenging to remove clean slices.
Can I substitute the graham cracker crust? Absolutely, try using crushed cookies or a nut-based crust for different flavors.
How long can the cheesecake be stored in the freezer? It can be stored for up to 2 weeks, but for best texture, consume within one week.
What can I do if the cheesecake is too hard to slice? Allow it to sit at room temperature for a few more minutes to soften slightly before slicing.
Serving and Presentation Guide
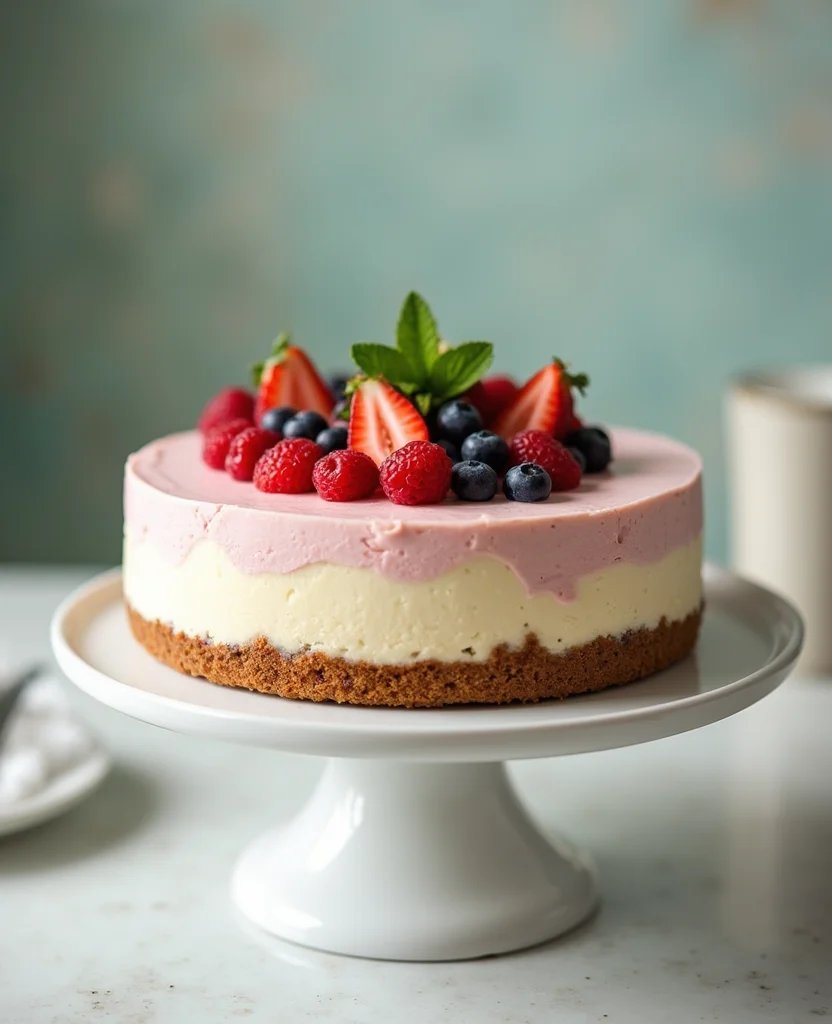
• Traditional Presentation: Serve on a large, flat plate with a garnish of fresh berries and a sprig of mint for a classic look.
• Modern Minimalist: Slice into small squares and present on individual dessert plates with a drizzle of berry coulis.
• Rustic Charm: Place on a wooden board, slice, and serve with a scattering of edible flowers for a rustic touch.
• Elegant Layering: Use a clear glass pedestal dish to showcase the layers of the cheesecake for a sophisticated presentation.
Conclusion
Embark on a culinary adventure with this No-Bake Ice Cream Cheesecake, a fusion of simplicity and flavor.
Perfect for any occasion, it promises to delight both the palate and the eye.
Try this recipe and watch as it becomes a new favorite in your dessert repertoire.