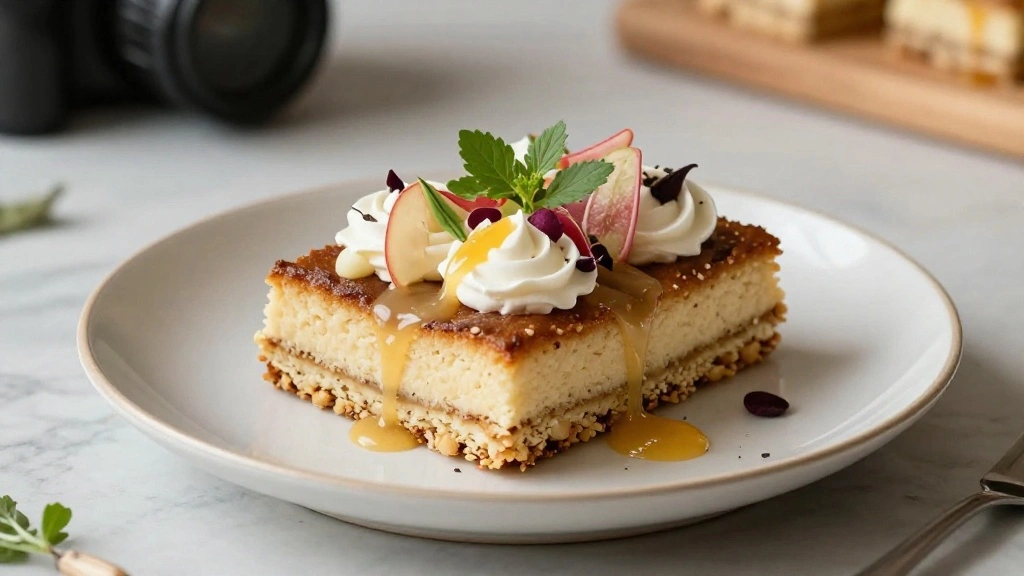
This classic aesthetic cake marries the art of baking with visual delight, making it perfect for those who savor both taste and elegance.
Its harmonious blend of vanilla and almond flavors creates a dreamy, melt-in-your-mouth experience.
Inspired by the delicate pastries of Parisian patisseries, this cake brings a touch of sophistication to your dessert table.
Whether you’re celebrating a birthday or hosting a chic afternoon tea, this aesthetic cake promises to impress with both its taste and appearance.
The History and Cultural Significance
• Aesthetic Baking Recipes trace their origins to the 18th-century Europe, where they were originally created by skilled patissiers in France.
• The dish evolved over decades as techniques improved and ingredients like fondant and food coloring became more accessible, eventually becoming the beloved version we know today.
• In French culture, this dish traditionally appears at weddings and grand celebrations, symbolizing elegance and refinement.
• While many variations exist across different regions, the authentic version maintains a light, airy texture and intricate decoration that sets it apart from imitations.
Recommended Products
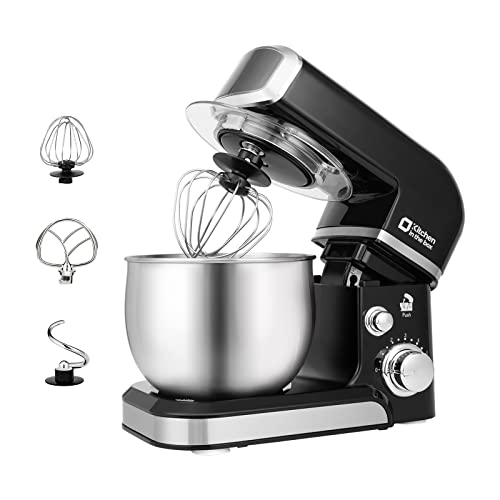
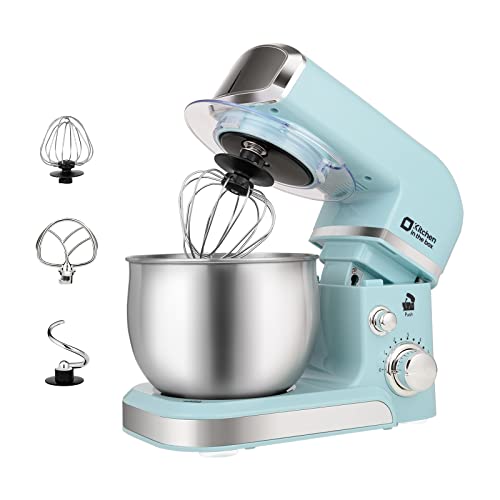
Compact Designed And More Color Options - The stand mixer is less than 7lbs with dimension 12.9*7*10.2 In, small and easy to storage,which could help space-saving. Perfectly suitable for small kitchen,apartment,or limited storage space. And multiple colors to choose,meet a variety of aesthetic needs for your kitchen.
Compact Designed And More Color Options - The stand mixer is less than 7lbs with dimension 12.9*7*10.2 In, small and easy to storage,which could help space-saving. Perfectly suitable for small kitchen,apartment,or limited storage space. And multiple colors to choose,meet a variety of aesthetic needs for your kitchen.

Recipe Overview
Recommended Products

Small Offset spatula by Ateco
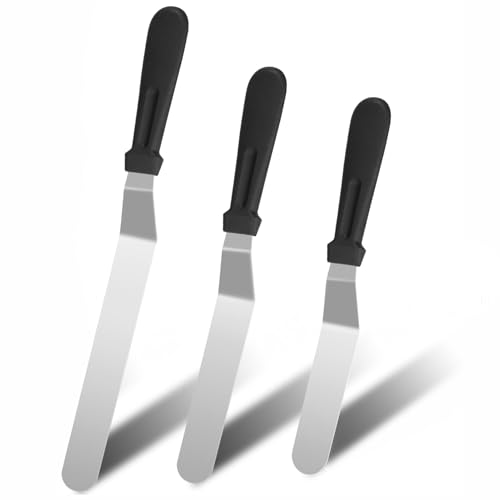
【MULTIPLE SIZES] Icing spatula set comes in Three different sizes 6, 8, 10 inches for different applications. It's great for icing cakes, cheese, pizzas, sandwiches, even cutting curds. This is your best choice to decorate a cake perfectly.

Two Professional Cake Decorating Spatulas: PUCKWAY offset spatula set comes in two different sizes: 6 inch and 8 inch blade. This is your best choice to decorate a cake perfectly.
Nutritional Information (per serving)
Recommended Products
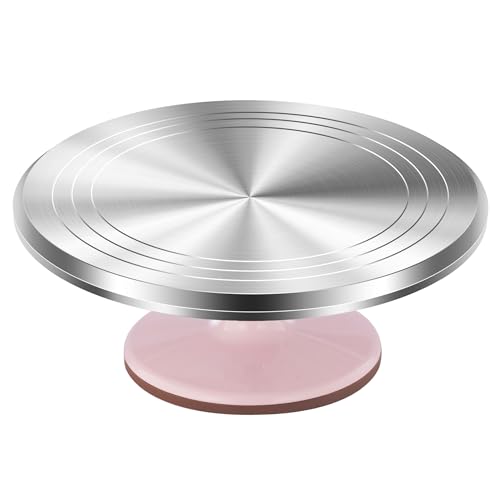
Heavy-duty Turntable: Crafted from durable ALUMINUM ALLOY renowned for its strength, this cake decorating turntable ensures longevity and reliability, capable of withstanding frequent use. Additionally, it offers excellent stability on countertops, minimizing the risk of tipping or wobbling during use.
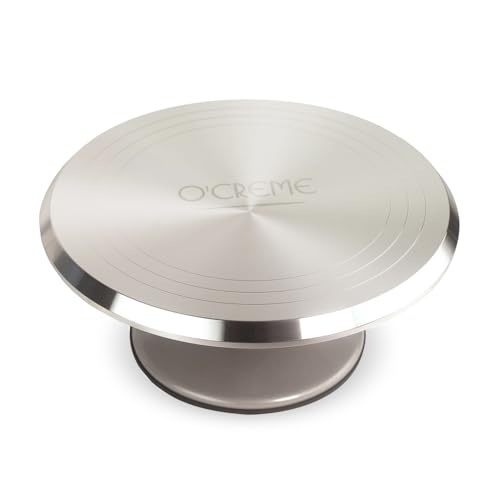
Heavy-Duty Aluminum Alloy Construction – Crafted from food-grade, non-BPA aluminum, this metal cake turntable is built to last, ensuring stability and durability for both professional bakers and home enthusiasts.

❉SAFE MATERIAL: Food grade plastic,food contact safe. Please do not immerse the turntable in water or wash it, just wipe it with a wet cloth.
Essential Equipment Guide
Stand Mixer: Essential for achieving a smooth, lump-free batter and perfectly whipped frosting. An electric hand mixer can work as a substitute, though with more manual effort. Key features include multiple speed settings and a sturdy base.
Offset Spatula: Crucial for spreading frosting evenly and achieving a polished finish. Alternatives include a butter knife, though it won’t provide the same precision. Look for a spatula with a comfortable grip and flexible blade.
Rotating Cake Stand: Makes decorating much easier by allowing smooth, continuous movement. A lazy Susan can be used in a pinch. Choose a stand with a stable base and smooth rotation.
Recommended Products

NON-STICK COATING allows for simple upkeep and maintenance, as well as easy release. This also makes it easy to clean, so you can spend less time cooking, and more time enjoying.

Almond Cake Pan - 12 1/2" x 4 1/2" x 1 5/8" - Recipe Included
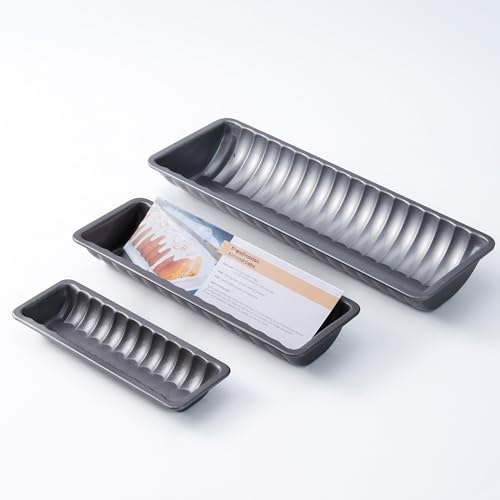
Authentic Scandinavian Almond Cake Pan – Specially designed for baking Swedish and Norwegian almond cakes, this traditional loaf pan delivers the perfect crisp edges and soft center.
Ingredients
Recommended Products

Food Grade Cake Food Coloring - Approved by MSDS with food grade material.Non-toxic, dairy-free,nut-free and gluten-free. Food coloring set 26 colors are odorless and tasteless.It doesn't change the taste of the food, just makes your desserts more lively and interesting. Any questions about how to add or use our baking food colors, please contact us via Amazon

Vibrant Food Coloring Set for Cake Food Baking: Brighter and more concentrated food coloring liquid for cake decorating, frosting, icing, cream, batter, cupcakes and cookies. The large capacity of 10ml x 12 bottles allows you to easily prepare colorful food without worrying about running out. Contains 12 highly concentrated food colorings that can be mixed and matched to make a variety of colorful foods. 12 food coloring for baking: Red, Pink, White, Black, Brown, Sky Blue, Blue-Green, Fruit Green, Taro Purple, Grape Purple, Lemon Yellow, Sunset Yellow. Just need a little coloring to get the bright colors you need
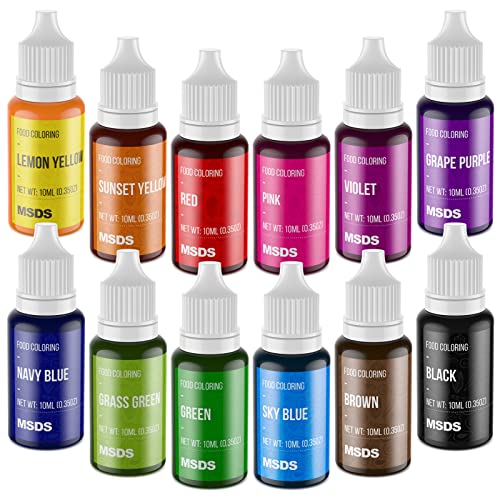
VIVID COLORS FOR CAKE DECORATING - Comes with 12 virbant color highly concentrated edible food coloring in a wide range of bright vivid colors. Includes: Lemon Yellow, Sunset Yellow, Grass Green, Violet, Grape Purple, Navy Blue, Sky Blue, Red, Brown, Pink, Green and Black. (each color is 0.35 fl.oz). You just need a little bit coloring to get the bright color you want. Colors could be mixed together to create new shades
For the Cake
|
|
| Amount | Ingredient | Notes |
|---|---|---|
| 2 cups | all-purpose flour | sifted for light texture |
| 1 cup | sugar | adds sweetness |
| 1 cup | butter | softened, adds richness |
| 4 large | eggs | room temperature, for structure |
| 1 teaspoon | vanilla extract | enhances flavor |
| 1/2 teaspoon | almond extract | adds depth |
| 1 tablespoon | baking powder | for leavening |
| 1/4 teaspoon | salt | enhances flavor |
For the Frosting
| Amount | Ingredient | Notes |
|---|---|---|
| 2 cups | powdered sugar | sifted for smoothness |
| 1/2 cup | butter | softened, adds creaminess |
| 2 tablespoons | milk | for consistency |
| 1 teaspoon | vanilla extract | adds flavor |
| 1 drop | food coloring | optional, for aesthetics |
Preparation Methods
Creaming Method: This technique involves beating butter and sugar together until light and fluffy, creating a stable base for the batter, which leads to a tender crumb. Mastery comes with patience and ensuring the butter is at room temperature.
Folding: Gently incorporating dry ingredients into wet ingredients to maintain airiness. Critical for a light cake texture. Use a spatula, making broad, sweeping motions to avoid deflating the batter.
Crumb Coating: Applying a thin layer of frosting to trap crumbs, ensuring a smooth final layer. Let this layer set in the fridge before applying the final coat for best results.
Recommended Products
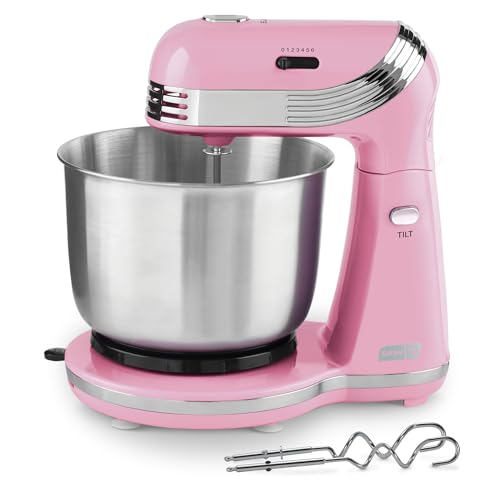
Stand Mixer Power: The Dash Everyday Stand Mixer offers 6-speed power for cakes, cookies, and whipped cream in a space-saving design for small kitchens

Compact Designed And More Color Options - The stand mixer is less than 7lbs with dimension 12.9*7*10.2 In, small and easy to storage,which could help space-saving. Perfectly suitable for small kitchen,apartment,or limited storage space. And multiple colors to choose,meet a variety of aesthetic needs for your kitchen.

Pro-Grade Copper Motor & <55dB Quiet Operation: Features a pure copper motor with magnetic levitation bearings for high-torque kneading of heavy bread and pizza dough. Operates under 55dB with advanced cooling, ensuring powerful, library-quiet performance without overheating during long mixing sessions.
Step 1: Preheat the Oven

Set your oven to 350°F (175°C) and allow it to reach the temperature before you start baking.
This ensures the cake bakes evenly.
Always use an oven thermometer to verify the temperature.
A properly preheated oven is key to achieving a perfect rise in your cake.
Recommended Products
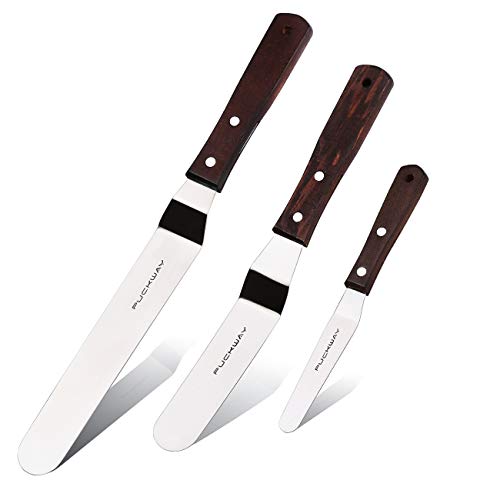
Three Professional Cake Decorating Spatulas: Our offset spatula set comes in three different sizes: 4" - 6" - 8" blade (total 7.5''-10.8''-12.8''), This is your best choice to decorate a cake perfectly.

【Three Multi-sizes】 6,8,10 inches decorative spatulas. You can choose the appropriate size to apply the filling and evenly spread the frosting on the cake. Multiple sizes Icing Spatulas enable you to easily handle various baking and decorating tasks,and are highly suitable for beginners and professional bakers.

MULTIPLE SIZES: 3 different practical sizes. 6", 8",10" blade to meet your daily baking needs
Step 2: Prepare Cake Pans

Grease two 8-inch round cake pans with butter.
Line the bottom with parchment paper for easy release.
Dust the sides with flour to prevent sticking.
Proper preparation of pans ensures the cake comes out cleanly and maintains its shape.
Recommended Products

Natural Material: Crafted from Acacia wood, renowned for its durability and elegance. Finished with a rustic charm, it enhances any setting, from a wedding dessert table to a kitchen counter or birthday party spread
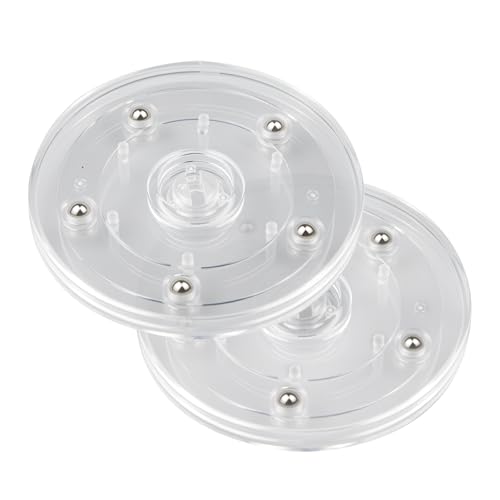
2 Pack 4 Inch Lazy Susan Square Turntable.

Heavy-duty Turntable: Crafted from durable ALUMINUM ALLOY renowned for its strength, this cake decorating turntable ensures longevity and reliability, capable of withstanding frequent use. Additionally, it offers excellent stability on countertops, minimizing the risk of tipping or wobbling during use.
Step 3: Beat Butter and Sugar

In a stand mixer, cream together 1 cup of butter and 1 cup of sugar.
Beat on medium speed until light and fluffy, about 3-4 minutes.
The mixture should turn pale and increase in volume.
This step is crucial for incorporating air into the batter, resulting in a tender cake.
Recommended Products

Just six simple and nutrient-rich ingredients
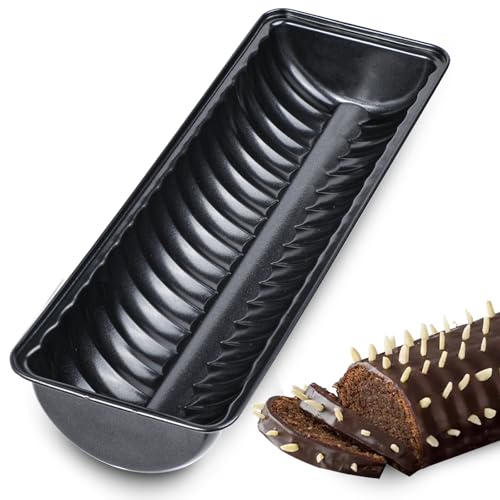
Almond Cake Pan - 13 x 4 x 2 inch

Bake quick breads and traditional Scandinavian almond cakes in this classic formed aluminum ribbed pan
Step 4: Add Eggs and Extracts

Add eggs one at a time to the butter mixture, beating well after each addition.
Mix in 1 teaspoon of vanilla extract and 1/2 teaspoon of almond extract.
Scrape down the sides of the bowl to ensure even mixing.
This stage builds the cake's structure and flavor profile.
Recommended Products

FOOD GRADE INGREDIENTS: Made with food grade ingredients and supported by MSDS documentation, this food coloring set is made without dairy ingredients. The 26-color food coloring liquid collection is odorless and tasteless, so it will not change the flavor of your desserts, only the look, making it a reliable pick for baking supplies for home bakers, baking essentials for home bakery, & bakery supplies.

12 Colors Included: Comes with Kelly Green, Copper, Brown, Black, Burgundy, Violet, Royal Blue, Teal, Lemon Yellow, Golden Yellow, Pink, and No-Taste Red

QUALITY YOU CAN SEE: Our high quality liqua-gel food colorings are true-to-shade and add vibrant, fade-resistant color to your desserts without altering the taste, texture or consistency of the final product.
Step 5: Incorporate Dry Ingredients

In a separate bowl, sift together 2 cups of flour, 1 tablespoon of baking powder, and 1/4 teaspoon of salt.
Gradually add the dry ingredients to the wet ingredients.
Use the folding technique to combine until just mixed.
Avoid overmixing to keep the batter airy.
Step 6: Divide and Bake

Divide the batter evenly between the prepared cake pans.
Smooth the tops with a spatula for even baking.
Bake for 25-30 minutes or until a toothpick inserted into the center comes out clean.
Even division ensures both layers cook uniformly.
Step 7: Make the Frosting

In a clean bowl, beat 1/2 cup butter until creamy.
Gradually add 2 cups of powdered sugar, beating until smooth.
Mix in 2 tablespoons of milk and 1 teaspoon of vanilla extract.
For color, add a drop of food coloring and mix until combined.
Step 8: Assemble and Decorate
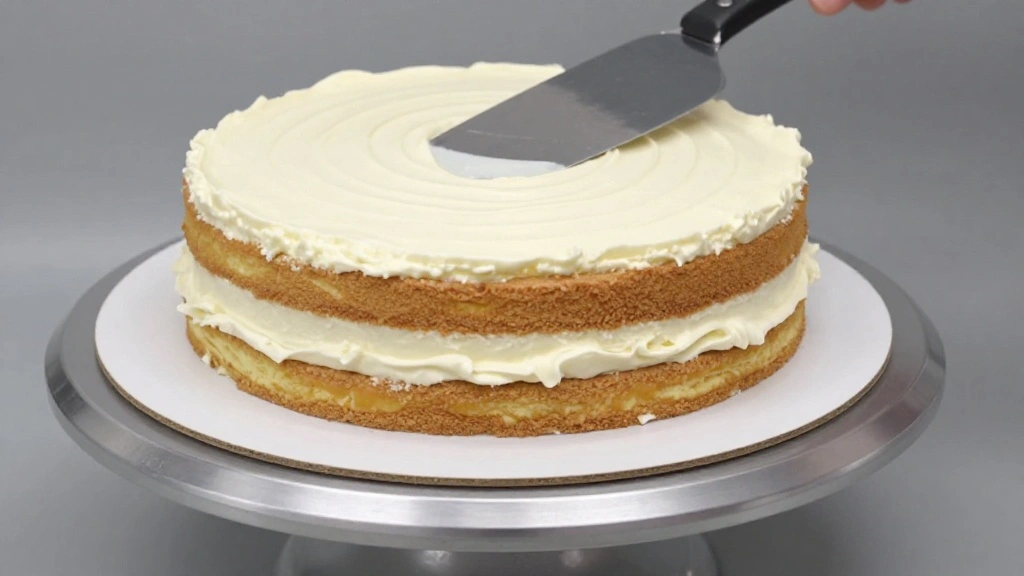
Place one cake layer on a serving plate and spread a layer of frosting on top.
Add the second cake layer and apply a crumb coat of frosting.
Refrigerate for 15 minutes to set the crumb coat.
Finish with a final layer of frosting and decorative touches.
Critical Timing and Temperature Guide
Baking the Cake: Bake at 350°F (175°C) for 25-30 minutes. Look for a golden top and a toothpick that comes out clean. Overbaking leads to dryness.
Creaming Butter and Sugar: Beat for 3-4 minutes until pale and fluffy. Under-creamed mixture won't incorporate enough air, affecting texture.
Setting the Frosting: Refrigerate the crumb coat for 15 minutes. Skipping this step can cause crumbs to mix with the final layer.
Pro Tips for Aesthetic Baking Recipes
• Ingredient Selection: Choose high-quality butter and pure vanilla extract for the best flavor. These ingredients make a noticeable difference in the taste of the cake.
• Preparation Secret: Sift the flour and powdered sugar to ensure a smooth batter and frosting free of lumps.
• Temperature Management: Always use room temperature eggs and butter to ensure proper mixing and texture.
• Texture Enhancement: Use cake flour instead of all-purpose flour for an even lighter crumb.
• Flavor Layering: Add a hint of almond extract to the frosting for a complementary flavor profile that enhances the cake.
• Make-Ahead Strategies: Bake the cake layers a day in advance and store tightly wrapped at room temperature.
• Restaurant-Quality Finishing Touches: Use edible flowers or gold leaf for a luxurious garnish.
• Equipment Optimization: Ensure your stand mixer bowl and beaters are clean and free of grease for best results.
Troubleshooting Common Issues
• Dense Texture: Caused by overmixing the batter. Recognize by a heavy, compact crumb. Fix by folding gently and mixing only until ingredients are combined.
• Crumbly Cake: Occurs if the cake is overbaked. Noticeable by dry, crumbly slices. Prevent by checking doneness early and using an oven thermometer.
• Uneven Layers: Happens if the batter is not distributed evenly. Check by using a scale to divide batter equally. Correct by leveling the batter in the pans.
• Sinking Center: Results from underbaking or opening the oven door too early. Recognize by a concave surface. Prevent by following exact baking times and keeping the oven closed.
• Frosting Separation: Occurs if butter is too warm. Identify by a greasy, separated texture. Remedy by chilling the frosting and re-beating.
Variations and Regional Differences
• Japanese Style: Uses matcha in the batter and a light whipped cream frosting, offering a unique green tea flavor and a softer texture.
• Italian Style: Known as Torta Paradiso, this version incorporates lemon zest and uses ricotta for a moist, rich cake.
• American Style: Often includes vibrant food coloring layers and a cream cheese frosting, focusing on bold aesthetics and flavors.
• Scandinavian Style: Features almond flour and cardamom, providing a nutty, spiced aroma, and often topped with a simple glaze.
Food Science Behind the Recipe
• Leavening Agents: Understanding the role of baking powder helps achieve the cake's rise and light texture by releasing carbon dioxide during baking.
• Emulsification: Creaming butter and sugar creates an emulsion, trapping air bubbles that expand during baking, crucial for a tender crumb.
• Maillard Reaction: This browning process enhances flavor and gives the cake its golden crust, activated by the sugars and proteins in the batter.
Frequently Asked Questions
What's the most common mistake people make when preparing an aesthetic cake? Overmixing the batter, which can lead to a dense cake.
Can I use a different type of flour? Yes, cake flour is preferable for a lighter texture, but all-purpose flour can be used if sifted.
How can I prevent my frosting from being too sweet? Balance the sweetness by adding a pinch of salt or a splash of lemon juice.
How do I store leftover cake? Cover the cake and keep it refrigerated for up to three days. Let it sit at room temperature before serving.
Can I freeze the cake? Yes, wrap the unfrosted cake layers in plastic wrap and freeze for up to three months.
How do I achieve smooth frosting? Use an offset spatula and apply the frosting in a thin layer to start, adding more gradually while smoothing.
What if I don't have a stand mixer? A hand mixer can be used, though it may require more effort to achieve the same results.
Serving and Presentation Guide
• Traditional Presentation: Serve the cake elegantly on a vintage cake stand with a few fresh flowers as garnish.
• Modern Minimalist: Opt for a simple white cake plate and use geometric shapes or lines in the frosting decoration.
• Rustic Style: Use natural elements like fresh berries and herbs for decoration, served on a wooden platter.
• Festive Approach: Add colorful sprinkles or edible glitter for a celebratory look, perfect for parties.
Conclusion
Try this aesthetic cake recipe to bring a touch of elegance to your next dessert table.
With its balanced flavors and stunning presentation, it's sure to be a hit among family and friends.
Embrace the art of baking and create a masterpiece that tastes as good as it looks.