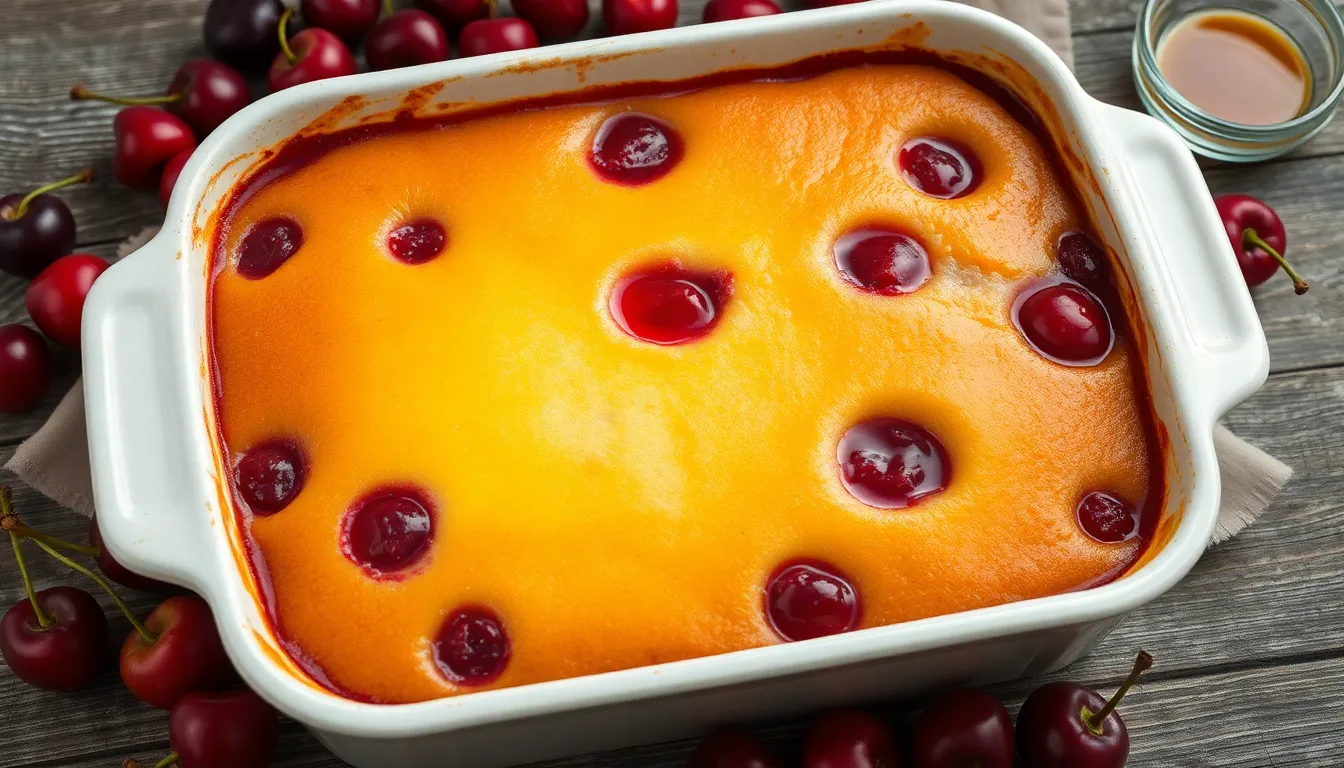
Looking for a cherry pudding recipe that’ll transport your taste buds to dessert heaven? This classic treat combines the perfect balance of sweet-tart cherries with creamy pudding for a dessert that’s impossible to resist.
Cherry pudding has been delighting families for generations with its simple yet satisfying combination of flavors. Whether you’re using fresh summer cherries or the convenience of canned cherries during off-seasons, this versatile dessert delivers that perfect balance of fruity and sweet. The contrast between the smooth pudding base and the bright pops of cherry creates a texture and flavor experience that’s truly unforgettable.
You’ll love how this cherry pudding comes together with minimal effort but maximum impact. It’s perfect for weeknight treats, Sunday dinners, or even special occasions when you need a reliable crowd-pleaser that never disappoints.
The Perfect Cherry Pudding Recipe
This classic cherry pudding brings together the perfect balance of sweet-tart cherries and creamy pudding texture. You’ll find this recipe straightforward to follow with ingredients you likely already have in your pantry. Let’s jump into creating this delightful dessert that works beautifully for both everyday enjoyment and special occasions.
Ingredients
For the Cherry Base:
- 4 cups fresh cherries pitted (or 2 cans of sour cherries drained)
- ¾ cup granulated sugar
- 2 tablespoons cornstarch
- ¼ teaspoon almond extract
- 1 tablespoon lemon juice
For the Pudding Topping:
- 1 cup all-purpose flour
- ¾ cup granulated sugar
- 1 ½ teaspoons baking powder
- ½ teaspoon salt
- ½ cup milk
- 3 tablespoons butter melted
- 1 teaspoon vanilla extract
Preparation Steps
- Preheat your oven to 375°F (190°C) and lightly grease a 9-inch square baking dish.
- Combine the pitted cherries with sugar cornstarch almond extract and lemon juice in a medium saucepan.
- Cook the cherry mixture over medium heat for 5-7 minutes until it begins to thicken and the cherries release their juices.
- Pour the cherry mixture into your prepared baking dish spreading it evenly across the bottom.
- In a separate bowl whisk together the flour sugar baking powder and salt for the pudding topping.
- Add the milk melted butter and vanilla extract to the dry ingredients. Stir until just combined—the batter will be thick.
- Drop spoonfuls of the batter over the cherry mixture. Don’t worry about covering the entire surface as the batter will spread during baking.
- Bake for 30-35 minutes until the topping turns golden brown and a toothpick inserted into the pudding layer comes out clean.
- Remove from the oven and let the pudding cool for 15 minutes before serving.
Serving Suggestions
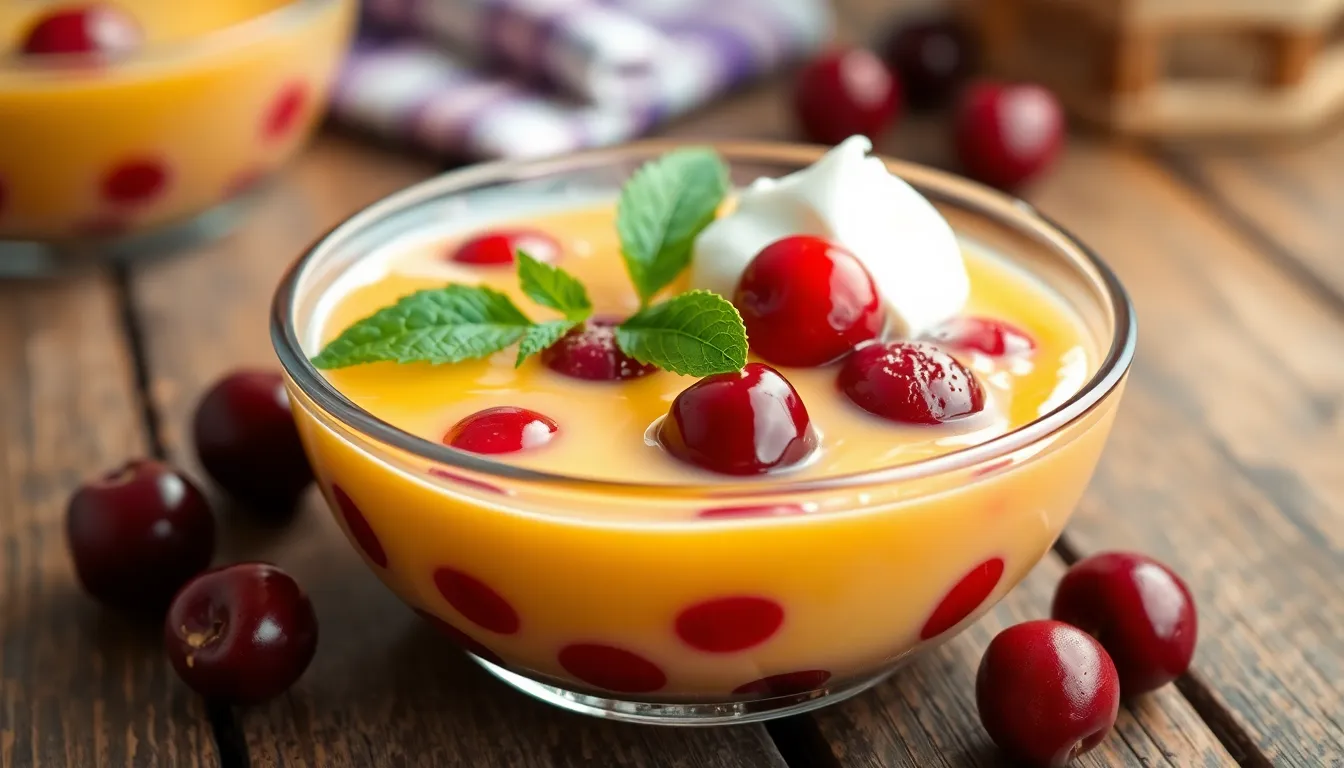
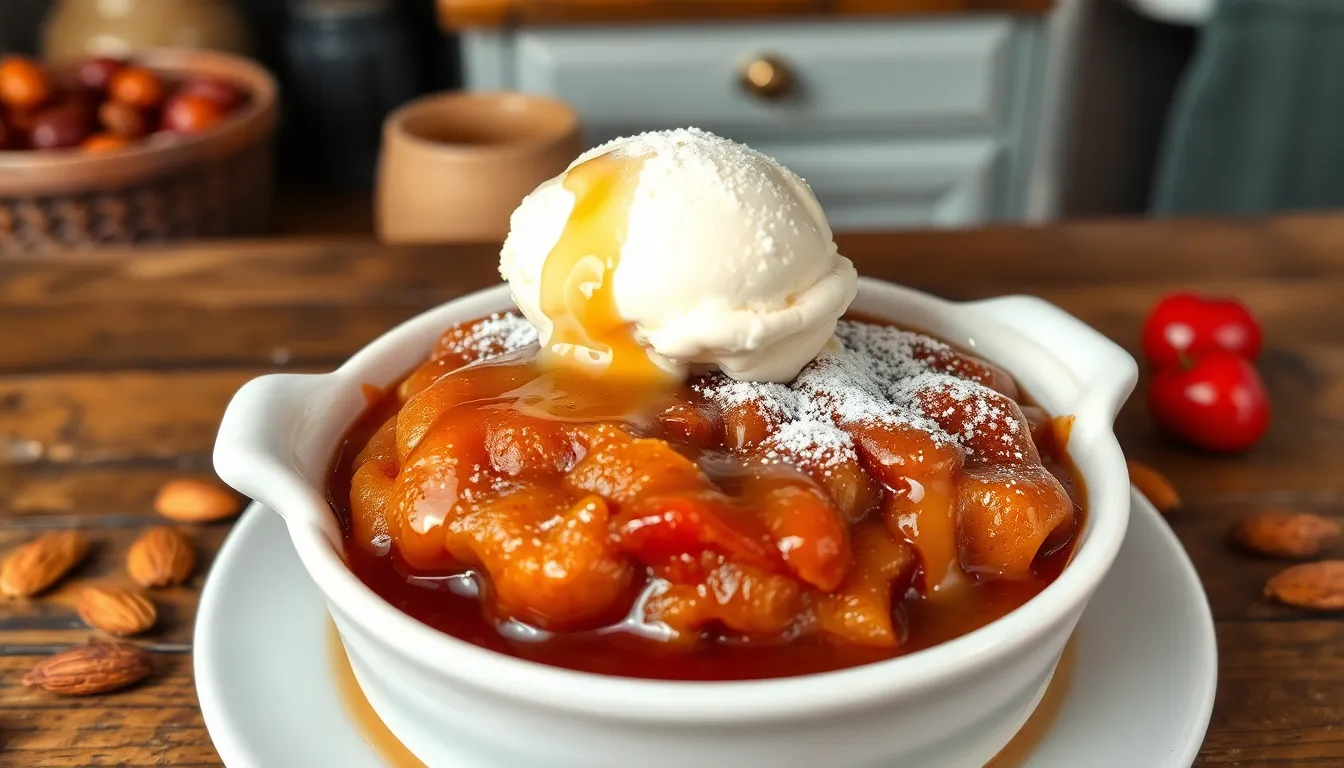
Your cherry pudding tastes best served warm with a scoop of vanilla ice cream or a dollop of freshly whipped cream. The contrast between the warm pudding and cold topping creates a delightful temperature difference that enhances the overall experience.
For an extra touch of indulgence sprinkle some toasted sliced almonds on top just before serving to add a pleasant crunch that complements the soft textures of the pudding.
This pudding keeps well in the refrigerator for up to 3 days. Simply reheat individual portions in the microwave for about 30 seconds before serving.


Why This Cherry Pudding Is Irresistible
This cherry pudding stands out from other desserts for several compelling reasons. The magical combination of tart cherries and sweet pudding creates a flavor profile that dances on your taste buds with each spoonful. Fresh cherries provide vibrant bursts of juice while the creamy pudding offers a velvety contrast that makes this dessert truly special.
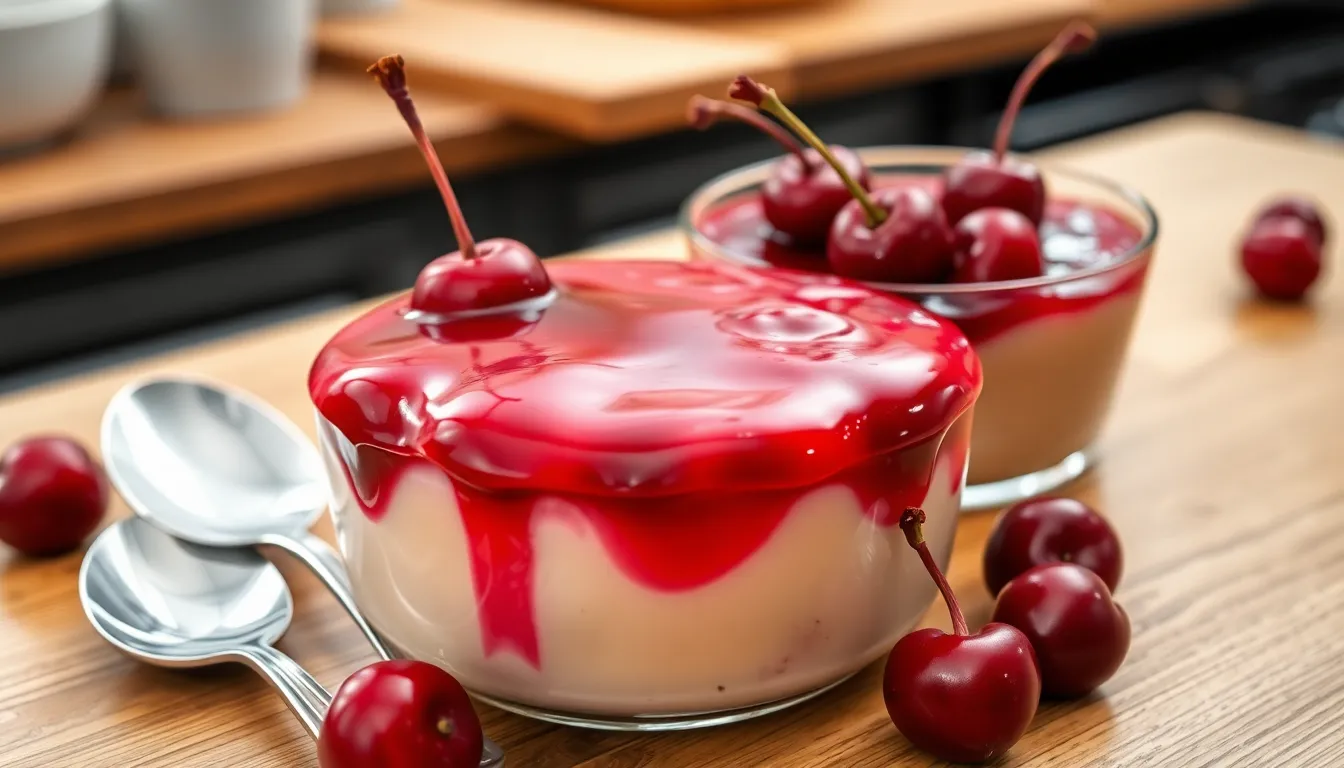
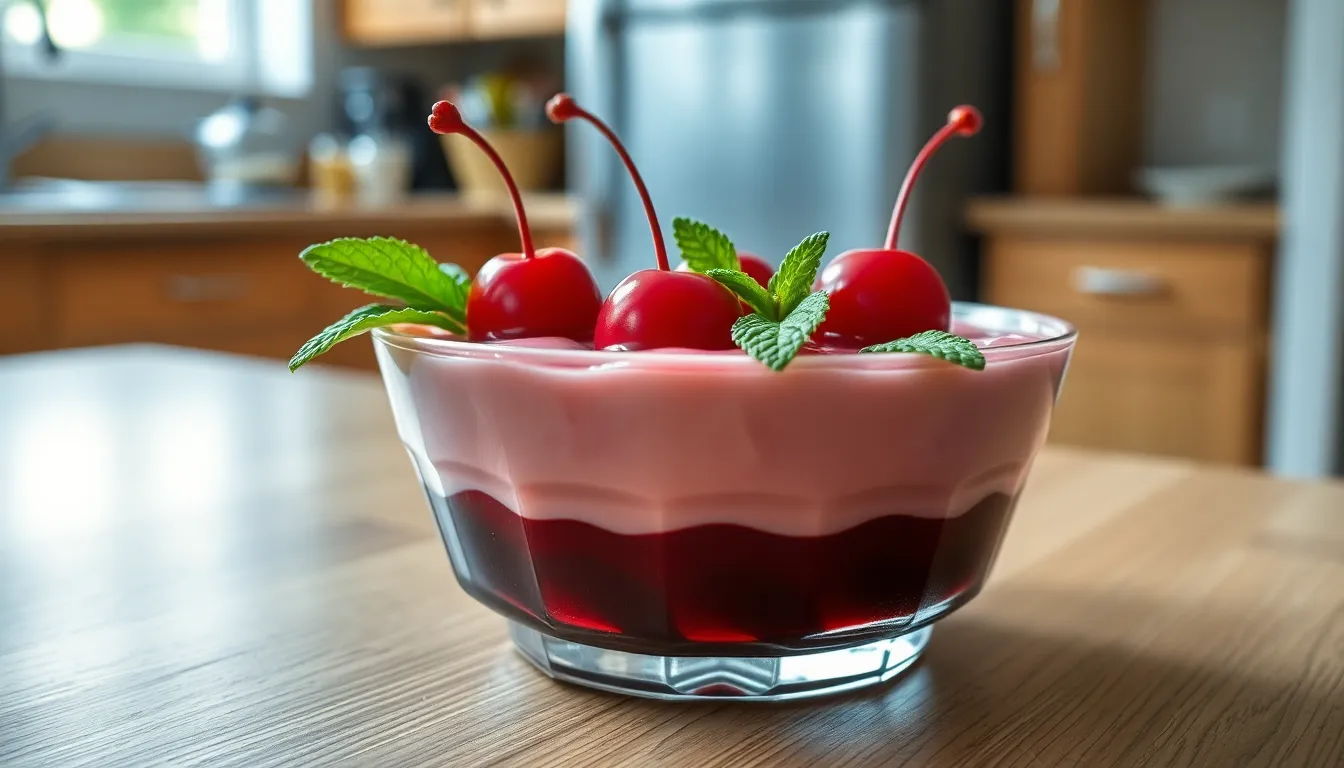
The visual appeal cannot be overlooked – ruby red cherries bubbling through golden pudding creates an Instagram-worthy dessert that promises satisfaction before you even take your first bite. Every serving delivers that perfect balance of fruit and cake-like texture that dessert enthusiasts crave.
Family traditions often form around recipes like this one because it appeals to multiple generations simultaneously. Children love the sweet elements while adults appreciate the sophisticated interplay between the tart cherries and warm spices. Many guests will request the recipe after their first taste, surprised by how something so delicious could be so straightforward to prepare.
The versatility of this pudding makes it suitable for any occasion from casual weeknight treats to holiday gatherings. You can dress it up with elegant servings of whipped cream for dinner parties or keep it simple for family dessert. The recipe scales easily whether you’re serving a small family or a large gathering.
Unlike complicated desserts that require special equipment or techniques, this cherry pudding relies on simple ingredients and straightforward methods that guarantee success even for novice bakers. The simplicity belies the sophisticated flavors you’ll achieve, making this recipe a reliable standby in your dessert collection.


Ingredients You’ll Need
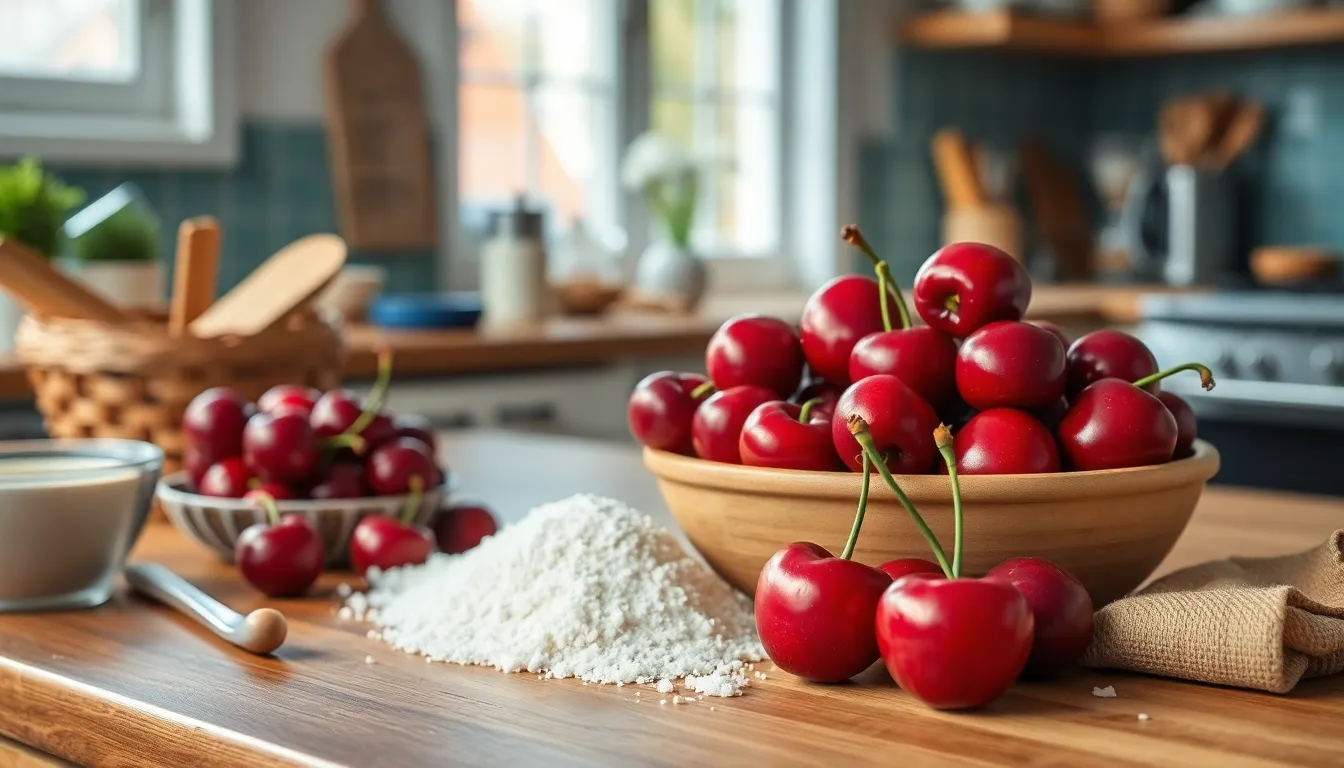
Creating this delectable cherry pudding requires just a handful of everyday ingredients separated into two components. Let’s break down exactly what you’ll need to gather before starting.
For the Cherry Base
- 4 cups fresh cherries pitted and halved (or 2 cans [15 oz each] of tart cherries in water drained)
- 3/4 cup granulated sugar
- 1 tablespoon cornstarch
- 1/4 teaspoon almond extract
- 1 tablespoon lemon juice
- Pinch of salt
For the Pudding Batter
- 1 cup all-purpose flour
- 1 cup granulated sugar
- 2 teaspoons baking powder
- 1/2 teaspoon salt
- 2 tablespoons unsalted butter melted
- 1 cup whole milk
- 1 teaspoon vanilla extract
- 1/4 teaspoon ground cinnamon (optional)
- 1 tablespoon cornmeal (optional for extra texture)


Kitchen Tools Required
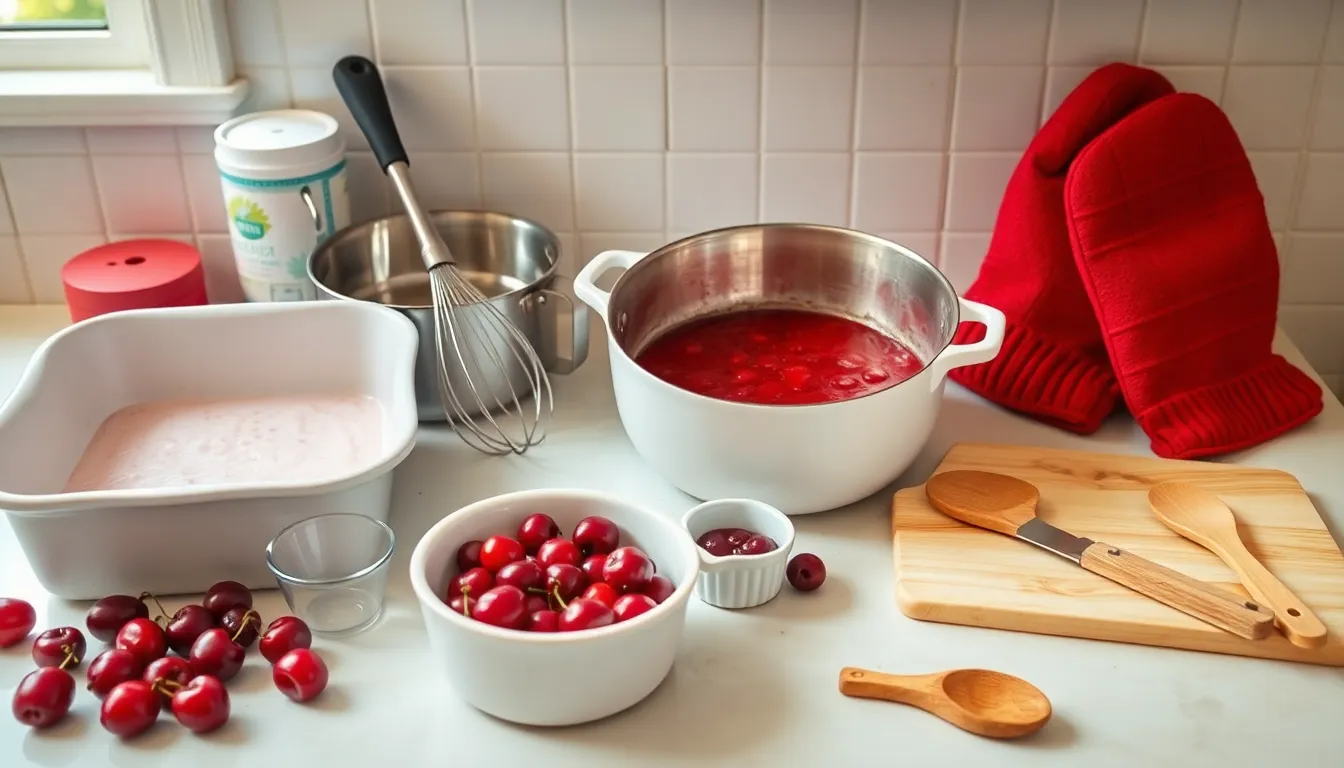
Gathering the right tools before starting your cherry pudding adventure ensures a smooth cooking process. Here’s what you’ll need:
- 9×9 inch baking dish – The perfect size for achieving the ideal ratio of cherry base to pudding topping
- Medium saucepan – For cooking the cherry mixture to perfection
- Large mixing bowl – To combine your pudding batter ingredients thoroughly
- Whisk – Essential for creating a smooth lump-free batter
- Measuring cups and spoons – For precise ingredient measurements
- Rubber spatula – Helps scrape every bit of batter into your baking dish
- Cherry pitter – A time-saving tool if using fresh cherries
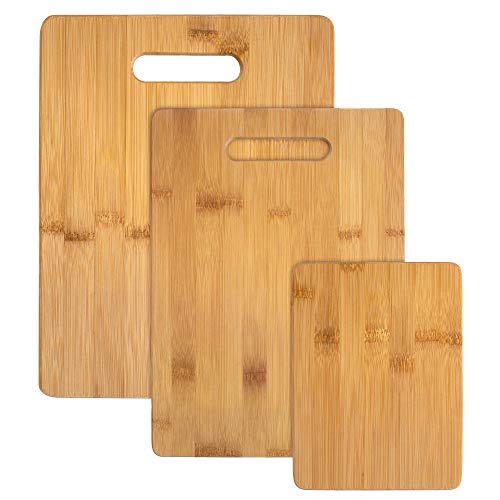
- Cutting board – Provides a clean surface for preparing fresh cherries
- Paring knife – Useful for halving pitted cherries if desired
- Wooden spoon – For stirring the cherry mixture as it cooks
- Oven mitts – Protects your hands when handling the hot baking dish
The equipment needed is straightforward with no specialized tools required. Most kitchens already have these basic items making this cherry pudding even more accessible for home bakers. Having everything ready before you begin allows you to focus on the enjoyable process of creating this delightful dessert without interruptions.


How to Prepare Fresh Cherries
Fresh cherries are the star ingredient in cherry pudding but require some preparation before they can shine in your dessert. Follow these methods to get your cherries ready for this delicious treat.
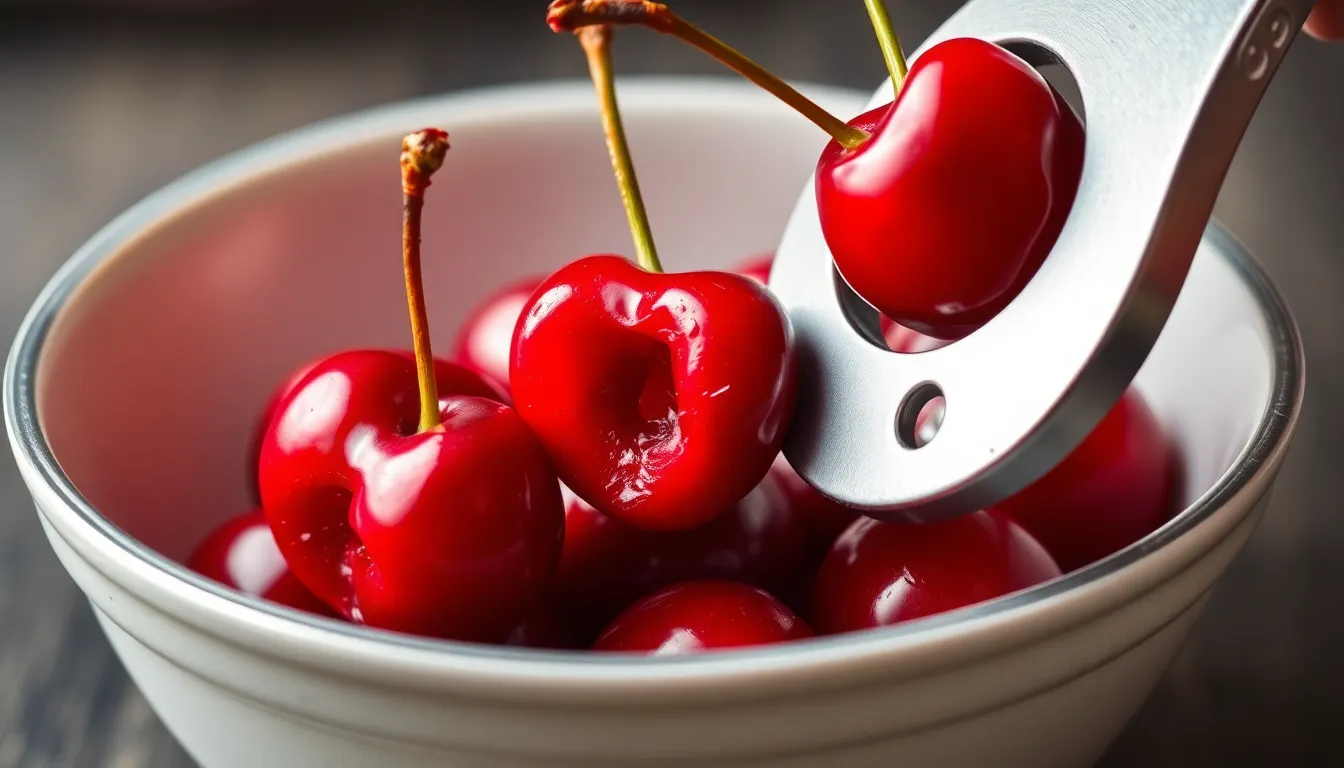
Pitting Cherries
You need to remove the pits from cherries before using them in your pudding. A cherry pitter makes this task quick and efficient by removing pits with a single press. If you don’t have a cherry pitter, push a sturdy straw or the tip of a pastry tip through the stem end and out the bottom to force the pit out. Another method involves using a paperclip – unfold it into an S-shape then insert one end into the cherry where the stem was attached and hook the pit to pull it out. For those without specialized tools, slice each cherry in half around the pit using a paring knife then pop out the pit with your fingertip or the knife tip. Whichever method you choose, work over a bowl to catch juices and wear an apron to protect against stains since cherry juice can permanently mark clothing.
Freezing Cherries Option
Freezing cherries allows you to prepare this pudding year-round even when fresh cherries aren’t in season. Start by washing and thoroughly drying your pitted cherries. Arrange them in a single layer on a parchment-lined baking sheet to prevent clumping. Place the sheet in your freezer for 2-3 hours until cherries are completely frozen. Transfer the frozen cherries to airtight freezer bags or containers labeled with the date. These properly stored frozen cherries remain usable for up to 6 months. When you’re ready to make cherry pudding with frozen cherries, you can use them directly from the freezer without thawing first. The recipe may require a slightly longer cooking time for the cherry base to account for the frozen fruit. Frozen cherries often release more liquid than fresh ones so you might need to add an extra teaspoon of cornstarch to achieve the perfect consistency.


Making the Cherry Pudding
Now it’s time to bring together the star components of this beloved dessert. Follow these straightforward steps to create a cherry pudding with the perfect balance of sweet pudding and tangy fruit.
Preparing the Cherry Mixture
Place your pitted cherries in a medium saucepan over medium heat. Add sugar, cornstarch, lemon juice, almond extract, and salt to the cherries. Stir the mixture gently with a wooden spoon until the sugar begins to dissolve. Bring everything to a simmer and cook for 5-7 minutes until the cherries release their juices and the mixture slightly thickens. Remove the saucepan from heat once the cherry mixture has a syrupy consistency but still contains whole cherry pieces. Allow it to cool slightly while you prepare the batter. This cherry base provides the tart foundation that contrasts beautifully with the sweet pudding layer.
Creating the Perfect Batter
Whisk together the flour, sugar, baking powder, and salt in a large mixing bowl until well combined. Melt the butter in a microwave or small saucepan until just liquified. Pour the melted butter, milk, and vanilla extract into the dry ingredients. Mix everything with a rubber spatula using gentle folding motions until just combined – a few small lumps are perfectly fine. Avoid overmixing the batter as this can make your pudding tough rather than tender. If you’re including the optional cinnamon and cornmeal, fold these in at the final mixing stage for added flavor and texture complexity.
Combining Everything
Preheat your oven to 350°F (175°C) before assembling the pudding. Pour the warm cherry mixture into your prepared 9×9 inch baking dish, spreading it evenly across the bottom. Gently spoon the batter over the cherry layer, working from the center outward. Don’t worry about covering every spot perfectly – the batter will spread during baking. For visual appeal, leave small areas where cherries peek through. Bake the pudding for 35-40 minutes until the top is golden brown and a toothpick inserted into the batter comes out clean. The pudding layer should feel set but still have a slight spring when touched. Let the cherry pudding rest for 10-15 minutes before serving to allow the layers to settle and flavors to meld together.


Baking Instructions
Following these precise baking instructions ensures your cherry pudding achieves the perfect consistency and flavor. The magic happens in your oven as the pudding batter rises through the cherries creating distinct layers of cakey sweetness and juicy fruit.
Temperature and Timing
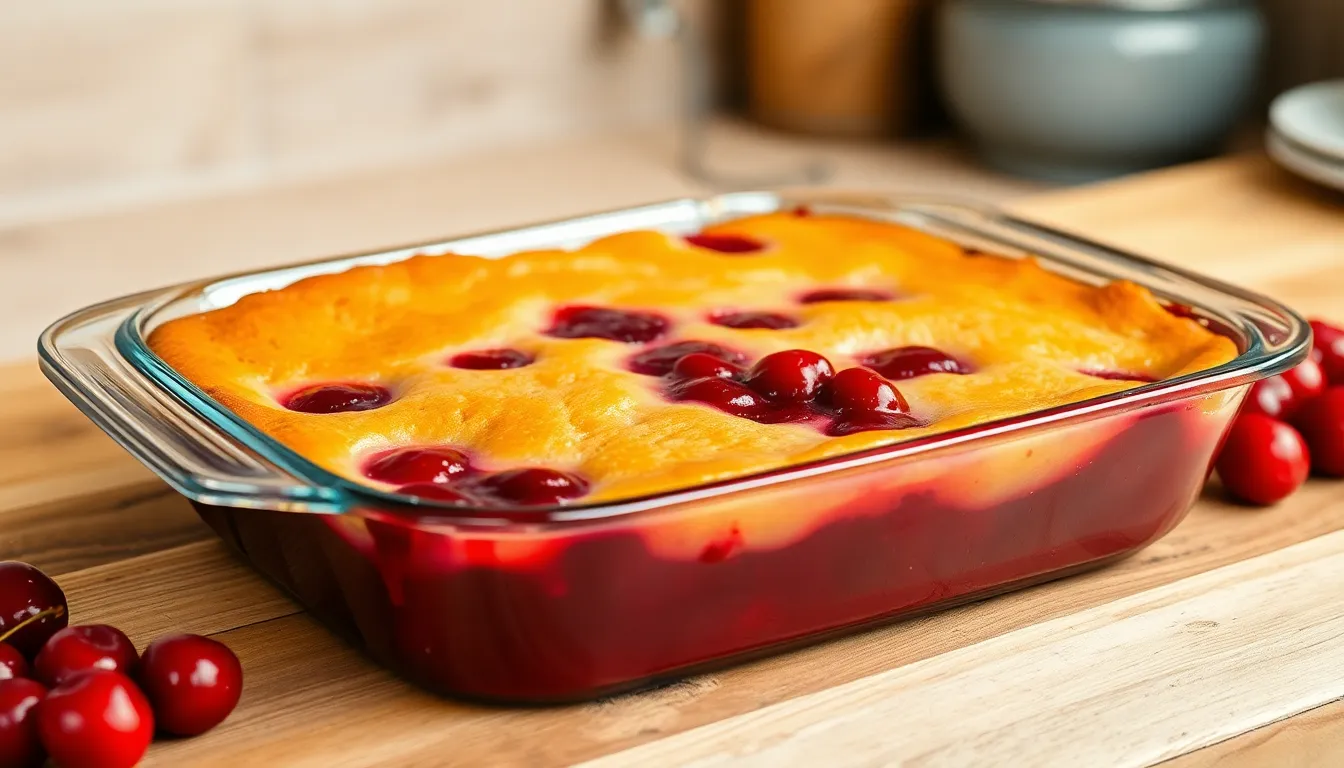
Preheat your oven to 350°F (175°C) before assembling your pudding. Place the assembled cherry pudding on the middle rack of your preheated oven and bake for 40-45 minutes. The relatively moderate temperature allows the pudding to cook through evenly without burning the top while giving the cherry mixture enough time to bubble and thicken. For glass baking dishes you might need to reduce the temperature to 325°F (165°C) as glass retains heat more efficiently than metal pans. If your oven has hot spots rotate the baking dish halfway through cooking for more even browning. Avoid opening the oven door frequently during the first 30 minutes as temperature fluctuations can cause the pudding to collapse.
How to Know When It’s Done
Your cherry pudding is ready when the top turns golden brown and appears set in the center. Insert a toothpick into the cake portion – it should come out with a few moist crumbs but no wet batter. The cherry filling around the edges should be actively bubbling which indicates the cornstarch has fully activated and thickened the fruit mixture. Look for visual cues like the pudding pulling slightly away from the sides of the baking dish. The center might still have a slight jiggle but shouldn’t appear liquid. A properly baked cherry pudding will have risen considerably during baking but will settle somewhat as it cools. Allow the pudding to rest for at least 15 minutes before serving to let the layers set properly and reach a safe temperature for enjoying.


Serving Suggestions
Cherry pudding offers versatility in how you can present and enjoy it. The rich flavors pair beautifully with various accompaniments whether served warm from the oven or chilled from the refrigerator.
Warm Serving Options
Enjoy your cherry pudding straight from the oven for a comforting treat that highlights the contrast between the warm pudding and your choice of toppings. A scoop of vanilla ice cream creates the perfect temperature contrast as it melts into the warm pudding. Freshly whipped cream makes an excellent alternative offering a lighter complement to the rich cherry flavors. Try drizzling warm caramel sauce over the top for an indulgent twist that enhances the fruit’s natural sweetness. Toasted sliced almonds or crushed pistachios add wonderful texture and a nutty dimension that balances the tartness of the cherries. For special occasions dust the warm pudding with powdered sugar just before bringing it to the table for an elegant presentation.
Chilled Serving Ideas
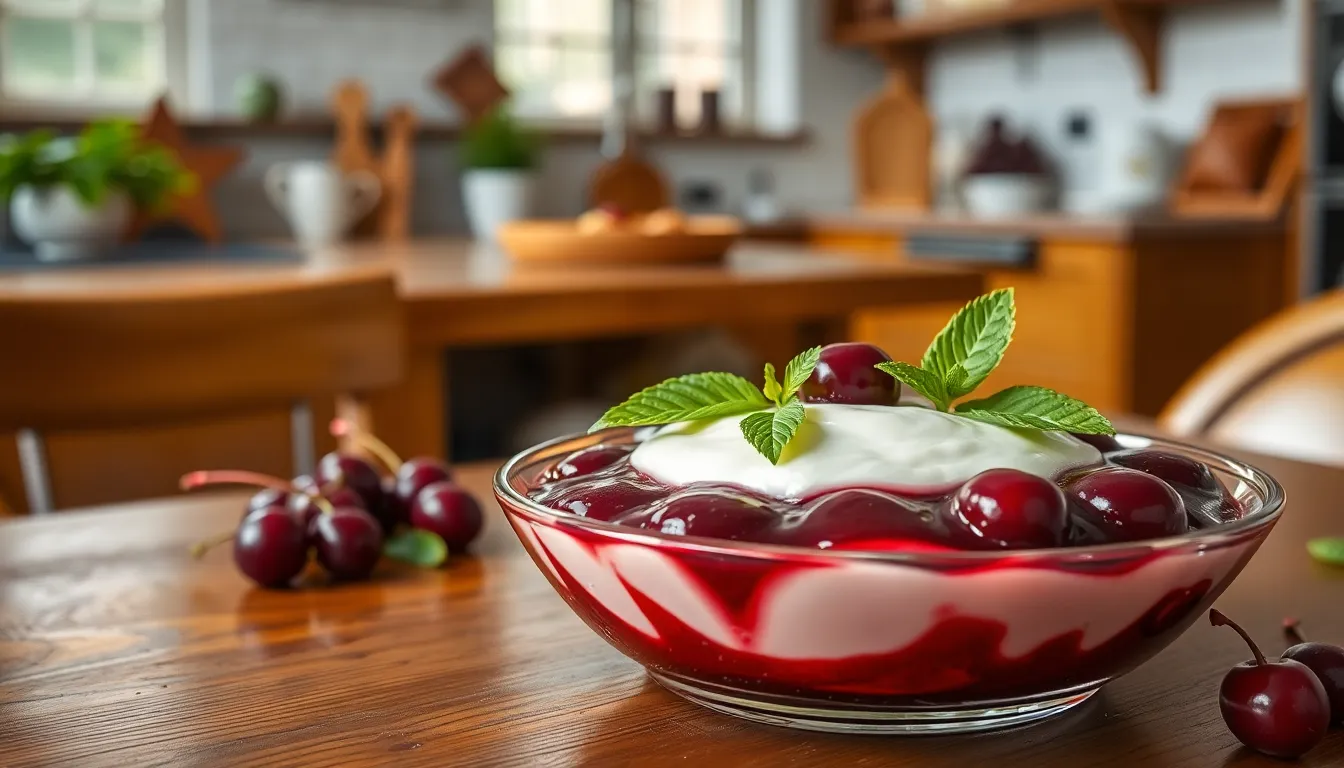
Refrigerated cherry pudding develops deeper flavors and a firmer texture making it perfect for summer enjoyment. Serve it with a dollop of Greek yogurt for a tangy counterpoint that cuts through the sweetness. Cold cherry pudding pairs wonderfully with fresh berries like raspberries or blueberries creating a medley of fruit flavors. Crumbled shortbread cookies sprinkled over the top add a pleasant crunch and buttery notes. For brunch gatherings consider serving small portions alongside coffee or tea as a sophisticated sweet option. Transform leftover chilled pudding into a trifle by layering it with custard and whipped cream in clear glasses for an impressive dessert. The firmer texture of chilled cherry pudding also makes it ideal for packing into picnic baskets or lunchboxes.


Storage Tips
Proper storage of your cherry pudding ensures you can enjoy this delightful dessert for several days after preparation. Refrigerate any leftover pudding within two hours of baking to maintain food safety standards. Cover the baking dish with plastic wrap or transfer portions to airtight containers before placing in the refrigerator. Your cherry pudding will stay fresh for up to 4 days when properly refrigerated.
For longer preservation refrigerated pudding can be frozen for up to 3 months. Portion the pudding into individual servings before freezing for easier thawing and reheating later. Wrap each portion tightly in plastic wrap then place in freezer-safe containers or heavy-duty freezer bags. Label each container with the date to keep track of freshness.
Thawing frozen cherry pudding requires patience for best results. Move the frozen pudding to the refrigerator and allow it to thaw overnight. Room temperature thawing works in a pinch but monitor closely to prevent bacterial growth. Never thaw pudding on the counter for more than two hours.
Reheating your cherry pudding properly restores its original warm comfort. For individual portions microwave at 50% power for 1-2 minutes checking frequently to avoid overheating. Alternatively warm pudding in a 300°F oven for about 15 minutes until heated through. Add a tablespoon of water before reheating to prevent the pudding from drying out.
Signs of spoilage include any mold growth sour smell or important texture changes. Discard the pudding immediately if you notice these warning signs regardless of how long it has been stored. Trust your senses when determining if stored pudding remains safe to eat.


Variations to Try
Get creative with your cherry pudding by exploring these delicious alternatives that build on the classic recipe. These variations offer new flavor combinations while maintaining the comfort of the original dessert.
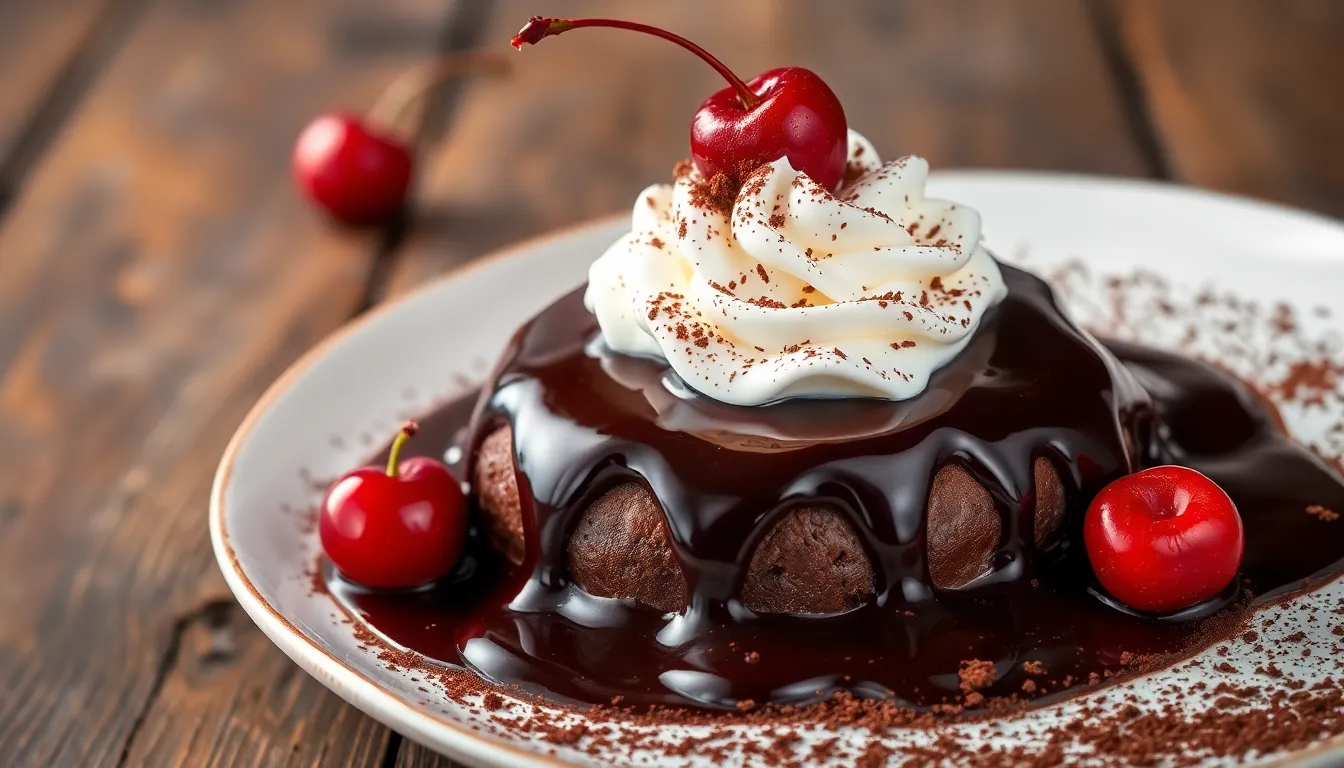
Black Forest Cherry Pudding
Transform your cherry pudding into an elegant Black Forest-inspired dessert by adding chocolate elements to the recipe. Replace one-third of the all-purpose flour with unsweetened cocoa powder to create a rich chocolate pudding batter. Fold 1/2 cup of chocolate chips into the batter before pouring it over the cherry mixture for extra decadence. After baking, drizzle the top with melted chocolate and add a generous dollop of whipped cream sweetened with a splash of kirsch (cherry liqueur) for an authentic Black Forest touch. This sophisticated variation pairs the tartness of cherries with deep chocolate notes for a dessert that’s perfect for special occasions.
Quick Cherry Cobbler Pudding
For a rustic twist on traditional cherry pudding, try this cobbler-style variation that comes together in minutes. Instead of making a smooth pudding batter, create a cobbler topping by cutting 6 tablespoons of cold butter into the dry ingredients until crumbly. Add 1/4 cup of rolled oats and 1/4 cup of chopped nuts for texture. Drop this mixture by spoonfuls over the cherry base rather than pouring it as a batter. The result is a textured, biscuit-like topping with crisp edges that contrasts beautifully with the juicy cherries below. Sprinkle the top with turbinado sugar before baking for an extra crunch and golden appearance. This variation works exceptionally well for breakfast or brunch alongside coffee.


Make-Ahead Instructions
Cherry pudding works beautifully as a make-ahead dessert for entertaining or busy weeknights. You can prepare the entire pudding up to 24 hours before serving by following these simple steps:
- Bake the cherry pudding as directed in the recipe
- Allow it to cool completely at room temperature
- Cover tightly with plastic wrap or an airtight lid
- Refrigerate until ready to serve (within 1-2 days)
- Reheat individual portions in the microwave for 30-45 seconds or until warm
For longer preparation timelines you can also make components separately. The cherry base can be prepared up to 3 days ahead and stored in an airtight container in the refrigerator. When ready to serve simply prepare the pudding batter fresh pour it over the pre-made cherry mixture and bake as directed.
Another time-saving option involves freezing the unbaked assembled pudding. Prepare both components assemble in a freezer-safe baking dish and cover tightly with multiple layers of plastic wrap and aluminum foil. Freeze for up to 1 month. Thaw overnight in the refrigerator before baking adding an extra 10-15 minutes to the baking time.
The pudding’s texture is best when freshly baked but these make-ahead methods ensure you can enjoy this delightful dessert without last-minute preparation stress. For optimal flavor when using the refrigerated method allow the pudding to sit at room temperature for 15-20 minutes before reheating.


The History of Cherry Pudding
Cherry pudding traces its roots to early American colonial cooking when settlers adapted European dessert traditions to local ingredients. Native to North America cherries were abundant in many regions allowing colonists to incorporate these vibrant fruits into their favorite comfort foods. During the 18th century handwritten recipe books began featuring variations of fruit puddings including the beloved cherry version.
The dessert gained important popularity during the 19th century when cherry cultivation expanded across the United States. Regions like Michigan Wisconsin and Oregon became known for their cherry harvests making this fruit more accessible to home cooks nationwide. Traditional cherry pudding recipes from this era often featured a simple batter poured over stewed cherries then baked until golden.
Farm cookbooks from the 1800s reveal that cherry pudding was commonly served as both a special occasion treat and practical way to preserve summer fruit harvests. Families would gather to pick cherries then transform them into puddings preserves and pies. The pudding version was particularly favored for its ability to stretch limited ingredients while creating a satisfying dessert.
During the Great Depression cherry pudding saw renewed interest as a frugal yet delicious dessert. Home economists promoted recipes that required minimal ingredients while delivering maximum flavor. The self-saucing nature of cherry pudding made it especially appealing during this period as it created its own sauce while baking requiring no additional components.
By the mid-20th century cherry pudding had evolved to include variations like the cobbler-style version with drop biscuit toppings and the cake-like pudding we often recognize today. Community cookbooks and women’s magazines regularly featured cherry pudding recipes highlighting regional differences in preparation methods. Some versions incorporated dairy products while others relied on water as the main liquid ingredient.
The modern interpretation of cherry pudding represents a fusion of these historical influences combining the best elements of traditional recipes with contemporary preferences. Today’s versions often feature almond extract which enhances the natural flavor of cherries a pairing that became popular in American kitchens during the 1950s. The dessert continues to evoke nostalgia while adapting to current tastes proving its enduring place in American culinary tradition.


Conclusion
Cherry pudding stands as a timeless dessert that beautifully balances simplicity with sophisticated flavor. Whether you’re using Grandma’s recipe or trying one of the modern variations like Black Forest Cherry Pudding you’ll find this dessert delivers comfort in every spoonful.
The beauty of cherry pudding lies in its adaptability. You can enjoy it year-round with fresh seasonal cherries or preserved options. Its make-ahead potential makes entertaining stress-free while its humble origins remind us that the most beloved recipes often come from practical necessity.
Next time you’re craving a dessert that combines fruity tartness with creamy sweetness give cherry pudding a try. Your family will thank you and you might just start a new tradition in your home.
Frequently Asked Questions
Can I use frozen cherries for this cherry pudding recipe?
Yes, frozen cherries work perfectly in this recipe. Thaw them first and drain any excess liquid to prevent the pudding from becoming too watery. You may need to adjust the sugar slightly as frozen cherries can be less sweet than fresh ones. The cooking time remains the same, and the result will be just as delicious as using fresh cherries.
How do I know when the cherry pudding is fully baked?
The cherry pudding is done when the top is golden brown and springs back lightly when touched. A toothpick inserted into the pudding portion should come out clean with no wet batter. The cherry filling underneath will still be somewhat saucy. Total baking time is typically 30-35 minutes at 350°F (175°C).
Can I make cherry pudding ahead of time for a party?
Absolutely! You can prepare cherry pudding up to 24 hours in advance. Bake it completely, cool to room temperature, then cover and refrigerate. Reheat individual portions in the microwave for 30 seconds or the entire pudding in a 300°F oven for 15-20 minutes until warmed through. You can also prepare the cherry filling and pudding batter separately and combine just before baking.
Is cherry pudding gluten-free?
The traditional recipe is not gluten-free due to the flour in the pudding batter. However, you can easily adapt it by substituting the all-purpose flour with a 1:1 gluten-free flour blend. Ensure all other ingredients, including cornstarch and baking powder, are certified gluten-free. The texture may be slightly different but still delicious.
How long does cherry pudding stay fresh?
Cherry pudding stays fresh in the refrigerator for up to 3 days when stored in an airtight container. The pudding portion may absorb more of the cherry liquid over time, changing the texture slightly but not affecting the flavor. For best results, consume within 2 days and always reheat before serving for optimal taste and texture.
Can I reduce the sugar in this recipe?
Yes, you can reduce the sugar in both the cherry filling and pudding batter. For the filling, you can decrease sugar by up to half if using sweet cherries. In the pudding batter, reducing sugar by 25% works well without affecting texture. Consider adding a teaspoon of honey or maple syrup to maintain some sweetness while using less refined sugar.
What’s the difference between cherry pudding and cherry cobbler?
Cherry pudding typically has a soft, cake-like layer on top of the cherry filling that partially sinks in during baking, creating a pudding-like texture. Cherry cobbler features a distinct biscuit or dough topping that remains separate from the filling. Pudding has a more unified, moist consistency, while cobbler offers more textural contrast between topping and fruit.
Can I substitute almond extract with something else?
Vanilla extract makes an excellent substitute if you don’t have or prefer not to use almond extract. Other options include orange extract, which pairs beautifully with cherries, or a splash of amaretto liqueur for adults. Use the same amount as called for in the recipe. The almond flavor complements cherries naturally, but these alternatives will still produce a delicious dessert.