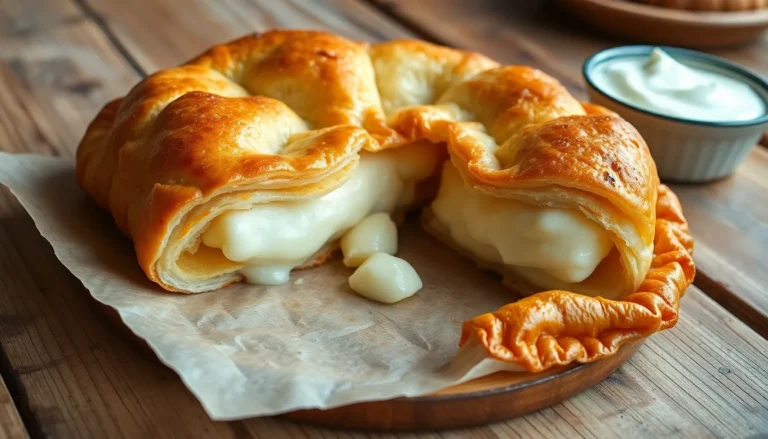
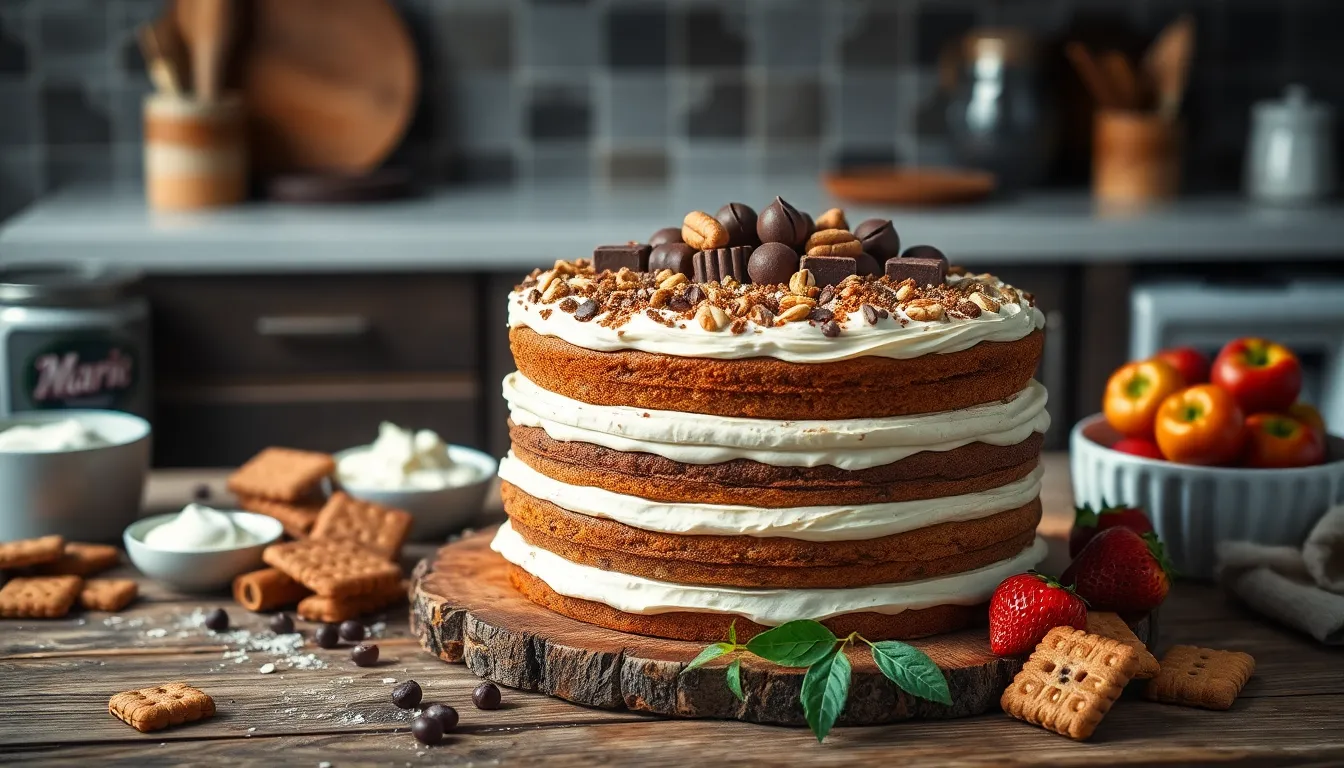
Looking for a nostalgic Marie cake recipe that’ll transport you back to childhood? This classic no-bake dessert combines the perfect balance of creamy filling and crunchy Marie biscuits for a treat that’s impossible to resist.
Marie cake has been a beloved dessert across generations with its origins tracing back to European tea-time traditions. The beauty of this dessert lies in its simplicity—layers of Marie biscuits soaked in coffee or milk, alternated with velvety cream that sets to perfection in the refrigerator. You’ll love how this no-bake wonder transforms humble ingredients into an impressive dessert.
Whether you’re preparing for a family gathering or simply craving something sweet, this Marie cake recipe is your answer. It requires minimal effort but delivers maximum flavor, making it a go-to dessert for both novice bakers and seasoned pros alike.
What is Marie Cake?
Marie cake is a delightful no-bake dessert made with layers of Marie biscuits and creamy filling that transforms simple ingredients into an impressive treat. This refrigerator cake features plain Marie biscuits soaked in coffee or milk until slightly softened then stacked with layers of silky cream mixture. The humble Marie biscuit serves as the foundation for this dessert—a lightly sweetened tea biscuit with a distinctive imprint that originated in England during the late 19th century.
The beauty of Marie cake lies in its versatility. You can find many variations across different countries with regional twists using local flavors and ingredients. Some versions incorporate chocolate ganache while others feature fruit fillings or nutty elements. Traditional Marie cake typically includes a filling made with whipped cream sweetened with condensed milk or a simple custard.
After assembly the cake requires several hours of refrigeration allowing the biscuits to absorb moisture from the filling creating a cake-like texture. The final result delivers a harmonious blend of textures—soft biscuit layers against creamy filling—that slices beautifully to reveal attractive striped layers. Marie cake demonstrates how simple ingredients can transform into an elegant dessert without requiring any baking skills or oven time.


Why You’ll Love This Marie Cake Recipe
This Marie cake recipe will quickly become a family favorite for many compelling reasons. The most appealing aspect is that it requires absolutely no baking—perfect for hot summer days or when you don’t have access to an oven. Your dessert sets perfectly in the refrigerator after mixing the ingredients together.
The ingredient list couldn’t be more straightforward. You’ll need basic pantry staples like Marie biscuits, cocoa powder, milk, butter, sweetened condensed milk, eggs, and vanilla extract. Many home bakers appreciate that this recipe uses items they already have on hand.
Preparation takes only about 40 minutes of active time, though you’ll need additional chilling hours for proper setting. This makes Marie cake an ideal solution for last-minute entertaining or satisfying sudden sweet cravings without extensive preparation.
The texture achieves a perfect balance between soft and firm. Your biscuits transform magically as they soak in the rich chocolate custard made from cocoa, butter, condensed milk, sugar, and eggs. After refrigeration, this combination creates an indulgently creamy consistency that melts in your mouth.
Customization options abound with this versatile dessert. Feel free to incorporate chopped fruits, nuts, or even a splash of coffee to create your own signature version. The basic recipe serves as an excellent foundation for countless delicious variations.
The simple step-by-step process makes this recipe accessible even to novice bakers:
- Quarter your Marie biscuits into manageable pieces
- Create a velvety chocolate custard by combining cocoa powder with hot water, butter, condensed milk, sugar, vanilla, and eggs
- Fold the biscuit pieces gently into your custard mixture
- Transfer everything to a lined loaf pan and press firmly
- Refrigerate for several hours or overnight until completely set
Marie cake delivers impressive results with minimal effort—a dessert that combines nostalgic biscuit flavors with rich chocolate notes in a slice-and-serve treat that requires no special equipment or baking skills.


Ingredients for Marie Cake
Gathering the right ingredients is essential for creating this delightful no-bake dessert. Each component plays a crucial role in achieving the perfect balance of texture and flavor that makes Marie cake so beloved.
For the Marie Biscuit Layers
- 20-30 Marie biscuits (also called Maria biscuits) – the exact number depends on your pan size
- 2 tablespoons melted butter (optional, for binding crushed biscuits if making a base layer)
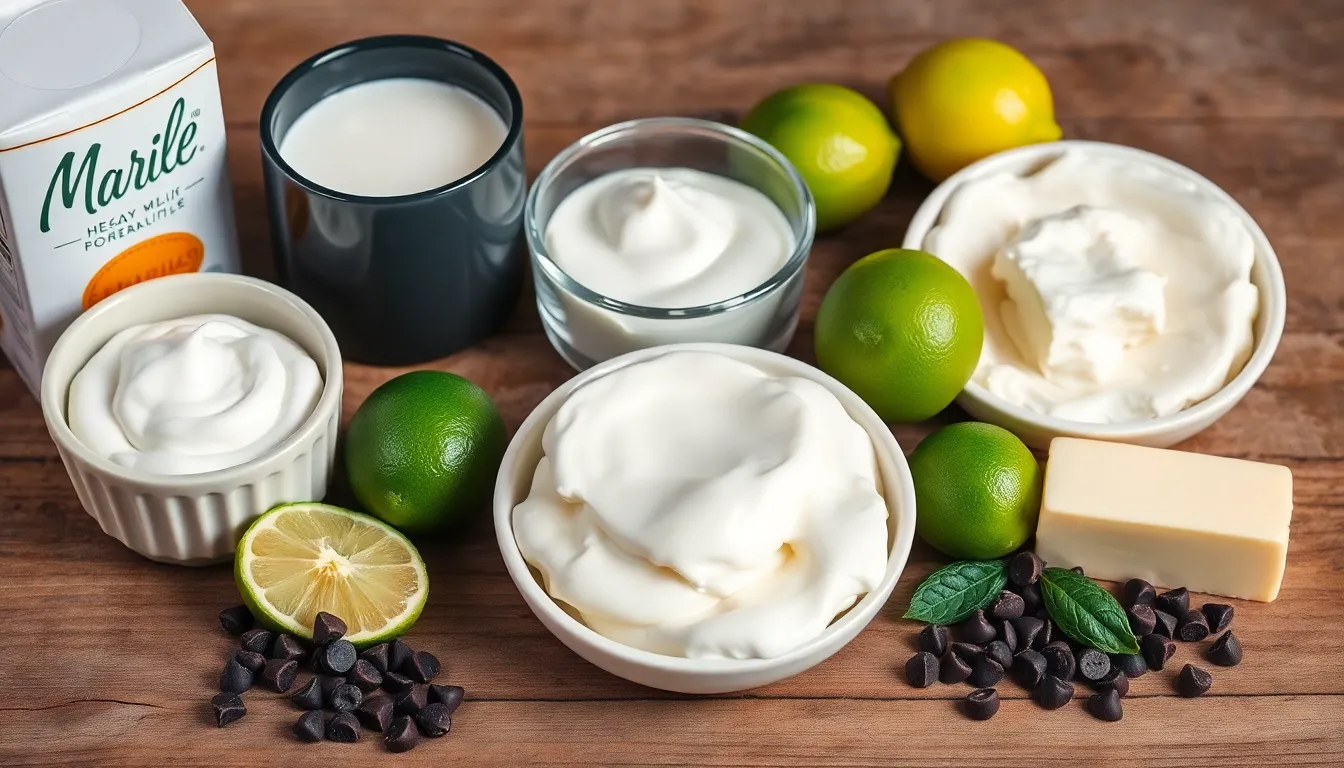
For the Cream Filling
- 2 cups heavy cream or whipping cream
- 125g mascarpone cream or cream cheese
- 1/3 cup granulated sugar
- 1 can (14 oz) sweetened condensed milk (for traditional versions)
- 1/4 cup fresh lime juice (for citrus variations)
- 1 can evaporated milk (optional, for richer versions)
For the Chocolate Ganache Topping
- 125g dark chocolate chips or high-quality dark chocolate
- 2 tablespoons unsalted butter
- 2 tablespoons cocoa powder (for dusting)
- 2 eggs (for cooked chocolate sauce variations)
- 1/4 cup sugar (for sweetening chocolate sauce)


Tools and Equipment Needed
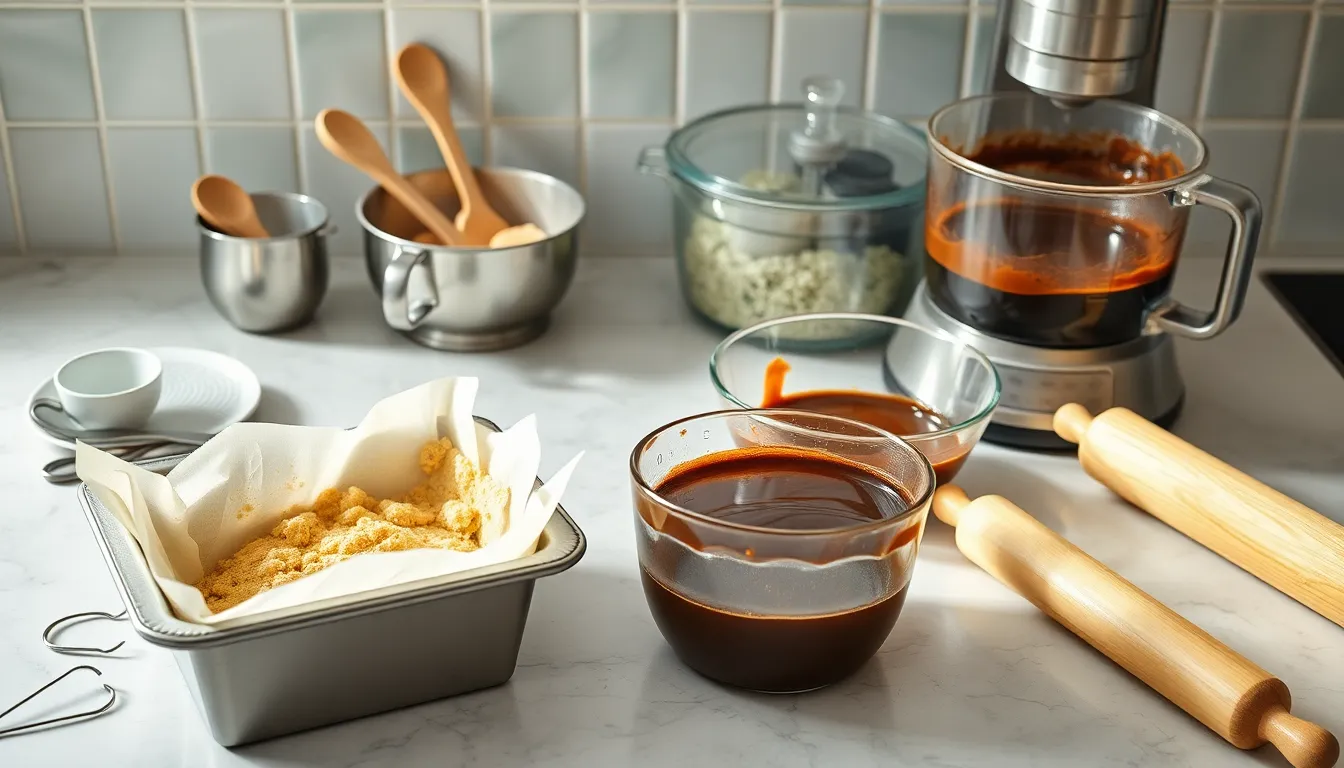
Creating a delicious Marie cake requires minimal kitchen equipment making it perfect for bakers of all experience levels. Here’s everything you’ll need to prepare this no-bake dessert:
- Loaf tin or rectangular baking pan (8×4 inches works well) to shape your cake
- Parchment paper or plastic wrap for lining the pan and easy removal
- Mixing bowls – at least two, one for the biscuit mixture and another for the cream filling
- Double boiler or heat-proof bowl placed over a pot of simmering water for melting chocolate and preparing custard safely
- Measuring cups and spoons for accurate ingredient proportions
- Wooden spoon or silicone spatula for folding the biscuits into the custard mixture
- Whisk for preparing the cream filling or chocolate mixture
- Food processor or zip-top bag with rolling pin for crushing biscuits if needed
- Refrigerator for chilling and setting the cake
- Serving plate wide enough to accommodate the finished cake
- Sharp knife for clean slices when serving
The beauty of Marie cake lies in its simplicity – you don’t need specialized baking equipment or an oven. Most tools required are standard kitchen items you likely already own. Setting up your workspace with these tools before beginning will streamline the cake assembly process and ensure nothing is forgotten during preparation.


How to Make Marie Cake
Transform simple Marie biscuits into an elegant dessert with this straightforward process. Follow these five essential steps to create a delicious no-bake Marie cake that’s sure to impress your guests.
Step 1: Prepare the Marie Biscuit Layers
Begin by crushing your Marie biscuits according to your preferred texture. For a traditional cake base, pulverize the biscuits into fine powder using a food processor or place them in a zip-top bag and crush with a rolling pin. Mix the crushed biscuits with melted butter until the mixture resembles wet sand. Press this mixture firmly into the bottom of your loaf tin or springform pan to create a solid foundation. Place in the refrigerator for 15-20 minutes to set properly. Alternatively, break the biscuits into chunks or quarters if you’re making a mixed version where biscuit pieces will be folded into the chocolate mixture.
Step 2: Make the Cream Filling
Pour heavy cream into a large mixing bowl and whip until soft peaks begin to form. Add granulated sugar gradually while continuing to whip until the mixture achieves medium-firm peaks. Gently fold in the mascarpone cheese or cream cheese until fully incorporated without deflating the whipped cream. The filling should be light and airy yet stable enough to hold its shape. For a simpler variation, combine milk with powdered sugar and vanilla extract to create a quick cream filling that complements the biscuit layers perfectly.
Step 3: Assemble the Cake Layers
Spread half of your prepared cream mixture evenly over the refrigerated biscuit base. Arrange a layer of whole Marie biscuits on top of the cream, placing them close together to create a solid layer. Cover this biscuit layer with the remaining cream mixture, ensuring an even distribution. For the chocolate-style Marie cake, mix your quartered biscuit pieces directly into the prepared chocolate sauce until fully coated. Transfer this mixture to your prepared pan and press down firmly to eliminate any air pockets.
Step 4: Prepare the Chocolate Ganache
Create a rich chocolate ganache by melting dark chocolate chips with butter in a double boiler or microwave in short intervals. Stir frequently until completely smooth and glossy. For a more traditional chocolate sauce, combine butter, sugar, eggs, and cocoa powder in a saucepan over medium-low heat. Whisk continuously until the mixture thickens to a pudding-like consistency. Pour your chocolate ganache over the assembled cake layers or use it as the binding agent for your biscuit pieces depending on your chosen recipe variation.
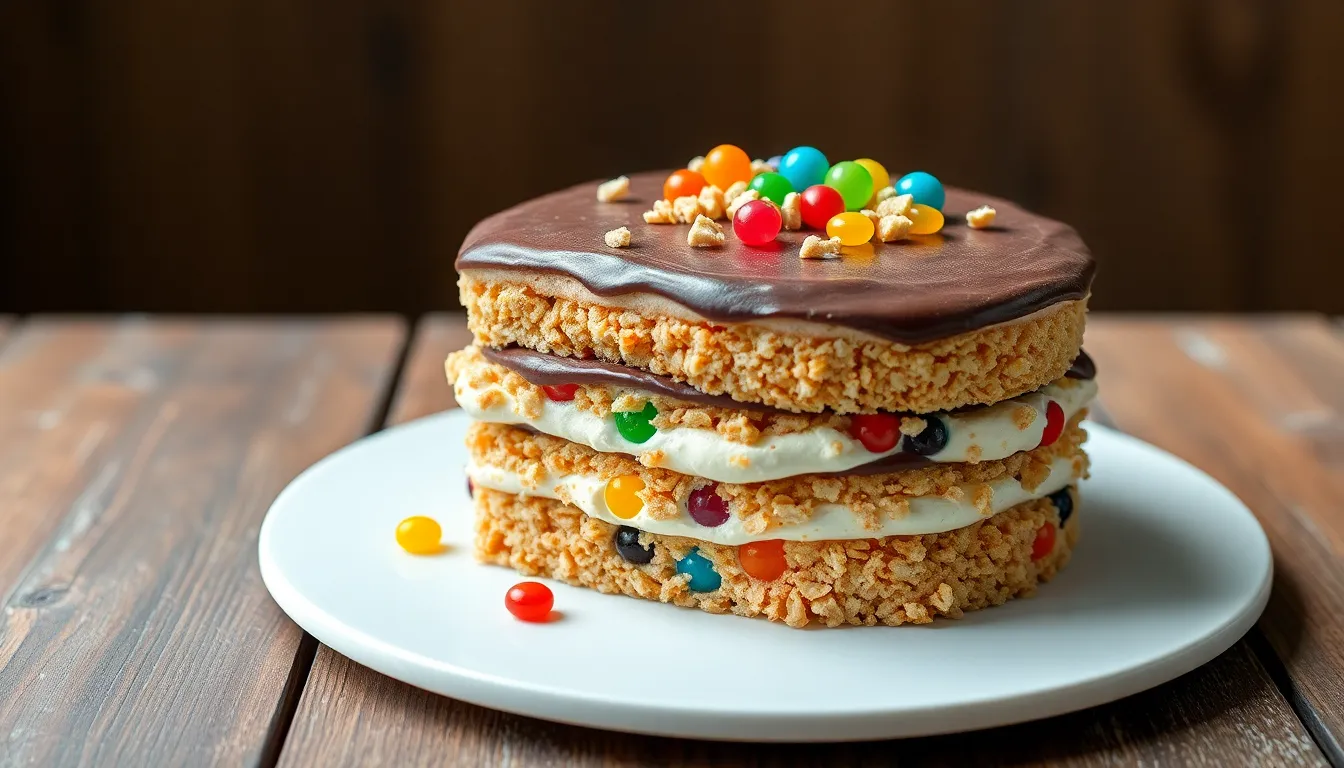
Step 5: Finish and Decorate
Add visual appeal and flavor complexity to your Marie cake with thoughtful finishing touches. Dust the top with a light layer of cocoa powder using a fine-mesh sieve for an elegant finish. Sprinkle chopped nuts such as almonds or pistachios along the edges for textural contrast. Add colorful tutti-frutti pieces for a festive appearance if desired. Transfer your completed cake to the refrigerator and allow it to chill for at least 4 hours or preferably overnight. This resting period is crucial as it allows the biscuits to soften slightly and the flavors to meld together perfectly. Your Marie cake will remain fresh in an airtight container in the refrigerator for 3-4 days.


Tips for the Perfect Marie Cake
Creating a flawless Marie cake requires attention to detail from ingredient selection to final presentation. Follow these expert recommendations to elevate your no-bake dessert experience.
Choosing Ingredients
Select high-quality Marie biscuits as your foundation, as their crisp yet light texture perfectly absorbs flavors without becoming overly soggy. Premium biscuits maintain structural integrity while soaking up the creamy elements.
For the creamy components, use heavy cream, mascarpone, or whipped cream to achieve that luxuriously smooth texture that contrasts beautifully with the biscuit layers. Fresh ingredients make a noticeable difference in the final taste profile.
Preparing the Biscuit Base
Break or crumble your Marie biscuits according to your recipe requirements—whether you need fine crumbs for a pressed crust or larger pieces for distinct layers.
When making a crust, combine crushed biscuits thoroughly with melted butter before pressing firmly into your pan. This technique creates a stable foundation that holds together when sliced.
Dip individual biscuits quickly in milk or flavored liquid when creating layered versions, but remember that brief immersion prevents excessive sogginess while still allowing flavor absorption.
Flavor and Texture Balance
Incorporate cocoa powder or melted chocolate to add depth and richness to your cake. Gently cook chocolate sauce until it thickens for a more integrated flavor profile that coats the biscuits evenly.
Add subtle complexity with vanilla extract or a small amount of fruit salt like ENO, which enhances the overall taste without overwhelming the delicate Marie biscuit flavor.
Assembly and Chilling
Layer your biscuits and cream mixtures alternately to create visual appeal and ensure consistent flavor distribution throughout each slice. Maintain even layers for the most professional appearance.
Allow your assembled cake to chill in the refrigerator for at least 4 hours or preferably overnight. This crucial resting period allows the flavors to meld beautifully and the textures to transform into a cohesive dessert.
Presentation
Finish your Marie cake with a dusting of cocoa powder, finely grated chocolate, or a swirl of whipped cream for an elegant presentation that hints at the flavors within.
Use a springform pan for assembly whenever possible, as it allows for easy removal and creates clean, professional-looking edges when serving your finished dessert.


Make-Ahead and Storage Instructions
Marie cake is perfect for preparing in advance of special occasions or weekend treats. Both no-bake and baked versions offer different make-ahead possibilities with proper storage techniques to maintain freshness and flavor.
No-Bake Marie Cake Storage
Your no-bake Marie cake can be made up to two days before serving for optimal freshness. After assembling your cake with coffee-dipped biscuits and chocolate coating, wrap it thoroughly with aluminum foil and refrigerate for a minimum of 3 hours to set properly.
The refrigerated no-bake version maintains its quality for up to one week when stored properly. Always keep this cake chilled to prevent the chocolate mixture from melting or spoiling. Slice the cake at a 30-degree angle just before serving for the most attractive presentation.
For longer storage periods, you can portion individual slices and wrap them separately in plastic wrap. This method allows you to enjoy small servings without exposing the entire cake to air each time.
Baked Marie Cake Storage
The baked version of Marie cake offers different storage requirements. After baking your crushed Marie biscuit batter at 180°C for 30-35 minutes and cooling it completely on a wire rack, transfer the cake to an airtight container.
Store your baked Marie cake in the refrigerator where it will remain fresh for 3-4 days. You can serve this version either chilled directly from the refrigerator or at room temperature. For a warm serving option, gently reheat individual slices in the microwave for 15-20 seconds.
Freezing Instructions
Both versions can be frozen for extended storage:
- No-bake Marie cake: Wrap tightly in plastic wrap followed by aluminum foil and freeze for up to 1 month
- Baked Marie cake: Wrap cooled cake in plastic wrap and aluminum foil, then freeze for up to 2 months
Thaw frozen cakes overnight in the refrigerator before serving for the best texture and flavor restoration.
Serving After Storage
When ready to serve your stored Marie cake, let the refrigerated no-bake version sit at room temperature for 5-10 minutes to soften slightly for easier slicing. The baked version can be served directly from the refrigerator or allowed to come to room temperature for about 30 minutes.
Both versions benefit from a brief rest period after storage, allowing the flavors to fully develop before serving to your guests.


Variations of Marie Cake
Marie cake’s versatility allows for many creative interpretations beyond the classic recipe. These variations maintain the essence of the original dessert while introducing exciting new flavors and presentations to suit different preferences and occasions.
Classic Marie Biscuit Cake
The traditional no-bake version combines crushed Marie biscuits with a rich chocolate mixture that transforms simple ingredients into an indulgent treat. You’ll need to mix broken Marie biscuits with a chocolate sauce made from butter, sugar, eggs, and cocoa powder. This mixture is then chilled until set, creating a cake with the perfect balance of chocolate richness and biscuit crunch. The beauty of this classic version lies in its simplicity and the contrast between the smooth chocolate and the textural elements of the biscuits.
Vintage Marie Cake
Drawing inspiration from elegant pastry traditions, the Vintage Marie Cake (sometimes called Marie Antoinette Cake) features refined decorative elements and sophisticated flavors. This variation showcases pastel colors, intricate buttercream swirls, and detailed piping work that creates a visually stunning dessert. Large French star tips and small petal tips are commonly used to create beautiful ruffles and rosettes on the cake’s surface. The interior can feature various cake flavors according to preference, making this elaborate version perfect for special celebrations like Mother’s Day or elegant afternoon teas.
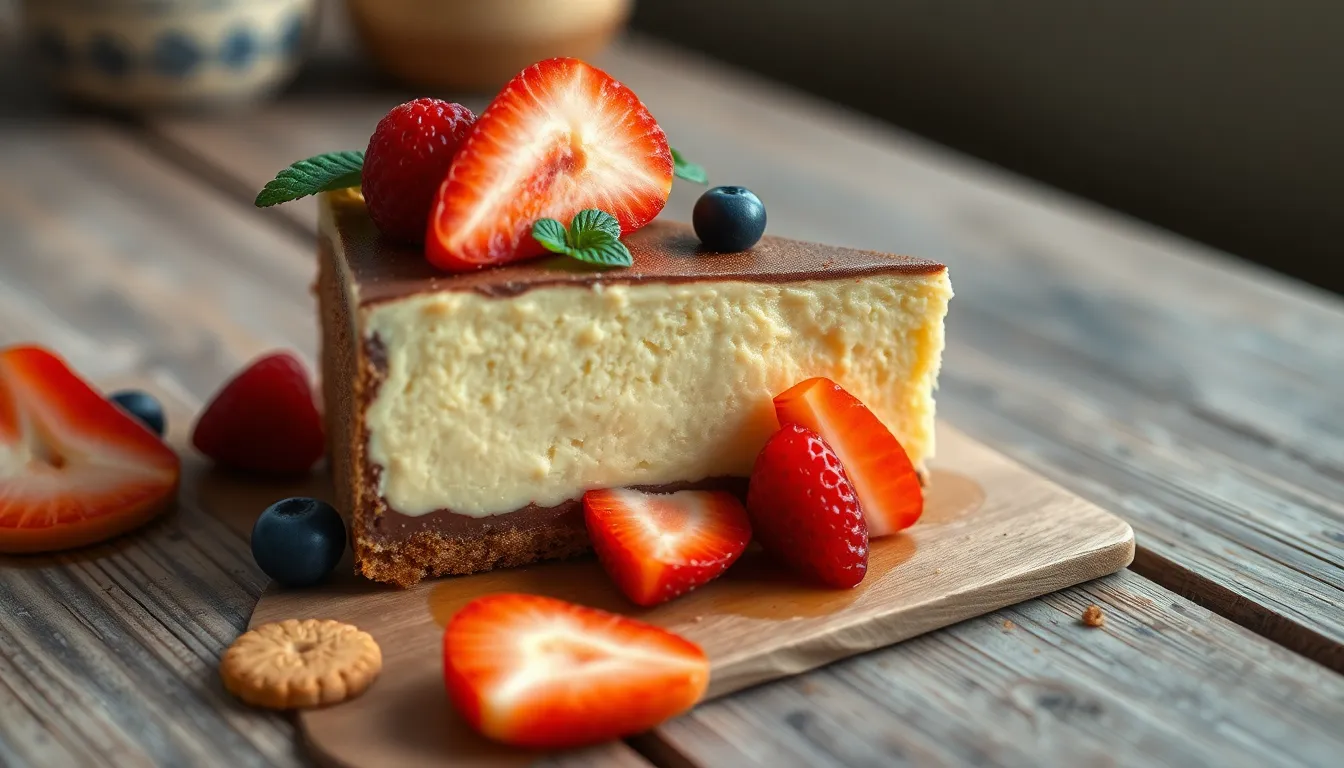
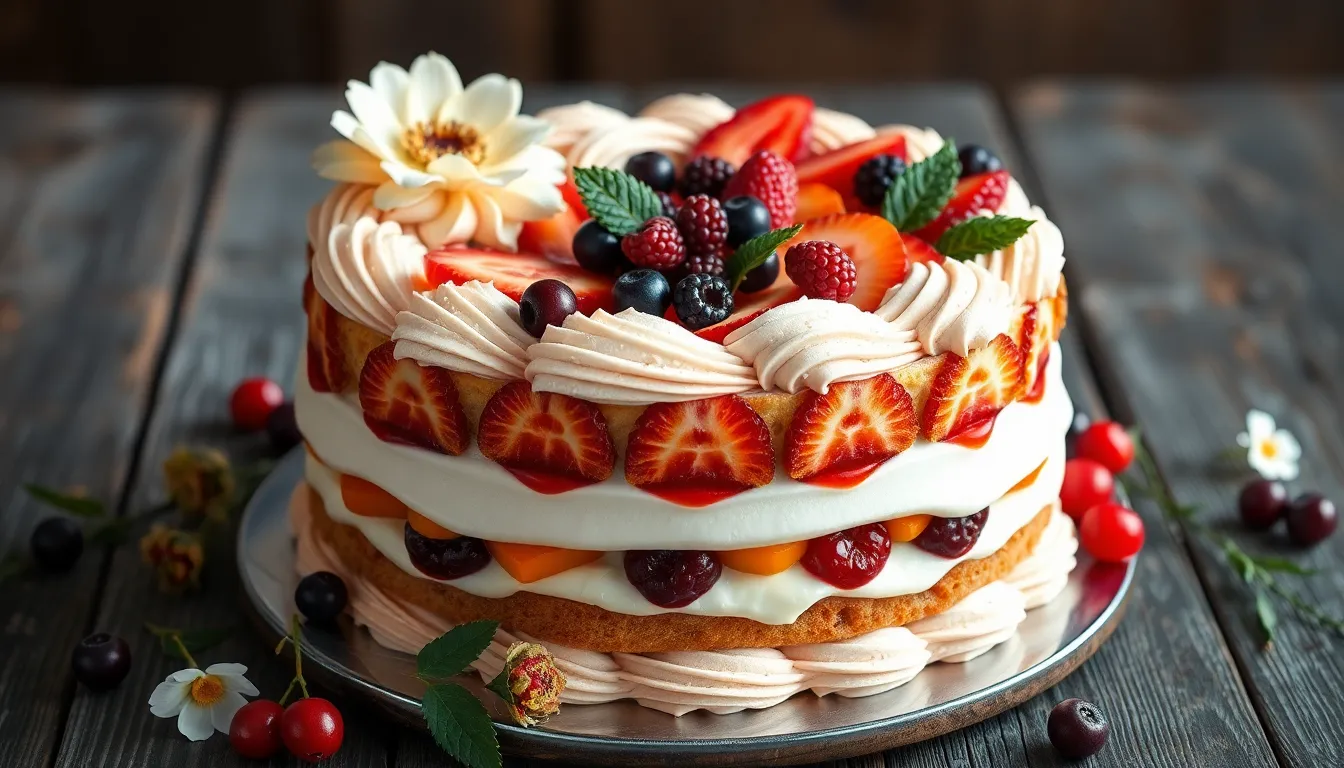
Fruity Marie Cake
Adding fruit elements to Marie cake creates a refreshing contrast to the sweet biscuit base and creamy filling. You can incorporate fruit in several ways—layering fruit jam between biscuit layers, adding fresh fruit pieces to the cream filling, or topping the finished cake with seasonal berries. Raspberry, strawberry, and lemon variations are particularly popular, with lemon curd or raspberry rose jam creating bright, tangy notes that balance the dessert’s sweetness. The addition of fruits transforms the traditional Marie cake into a lighter, more refreshing treat perfect for summer gatherings.
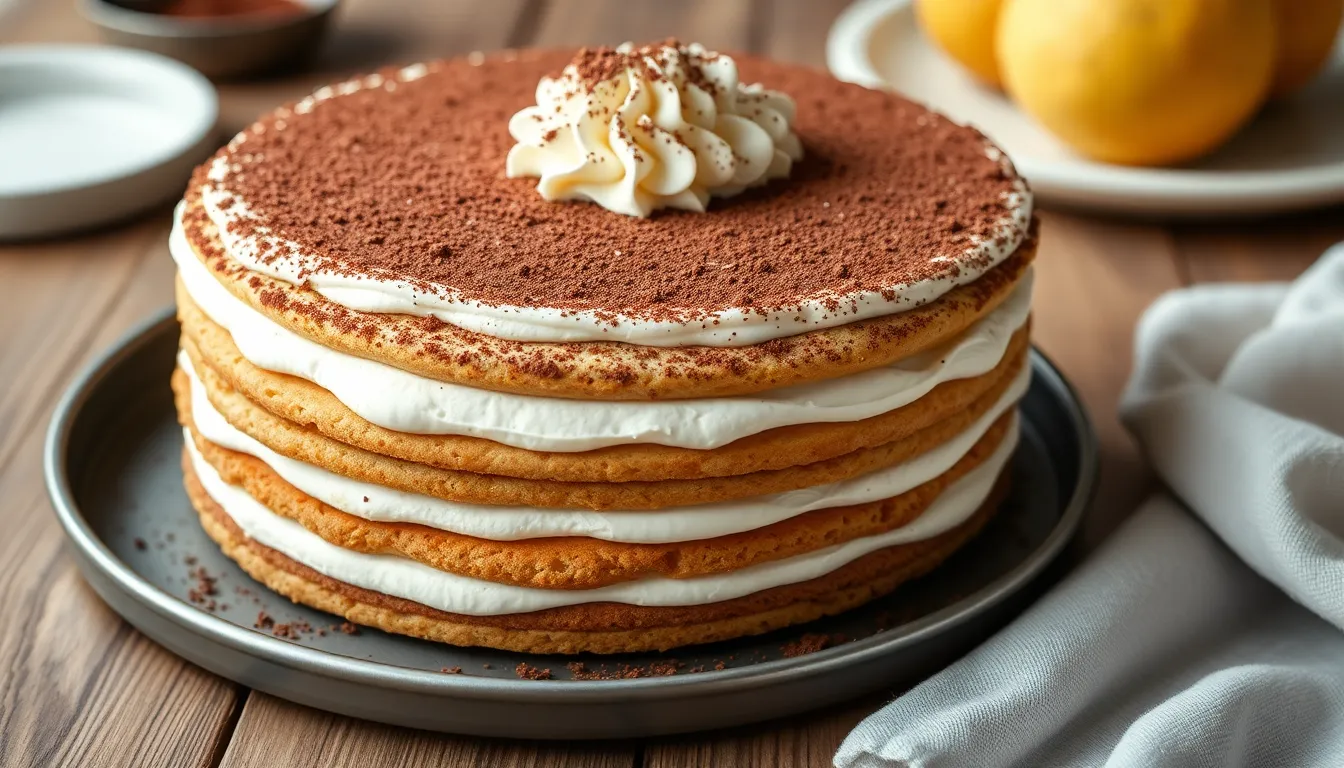
Coffee-Flavored Marie Cake
Coffee and biscuits form a natural pairing in this sophisticated variation of Marie cake. The deep, roasted notes of coffee complement the subtle sweetness of Marie biscuits perfectly. To create this version, simply infuse the soaking liquid for the biscuits with strong espresso or coffee extract. Alternatively, add espresso powder or coffee essence to the cream filling for a tiramisu-inspired dessert. The resulting cake offers complex flavor notes with hints of bitterness from the coffee that enhance rather than compete with the underlying sweetness of the traditional recipe.
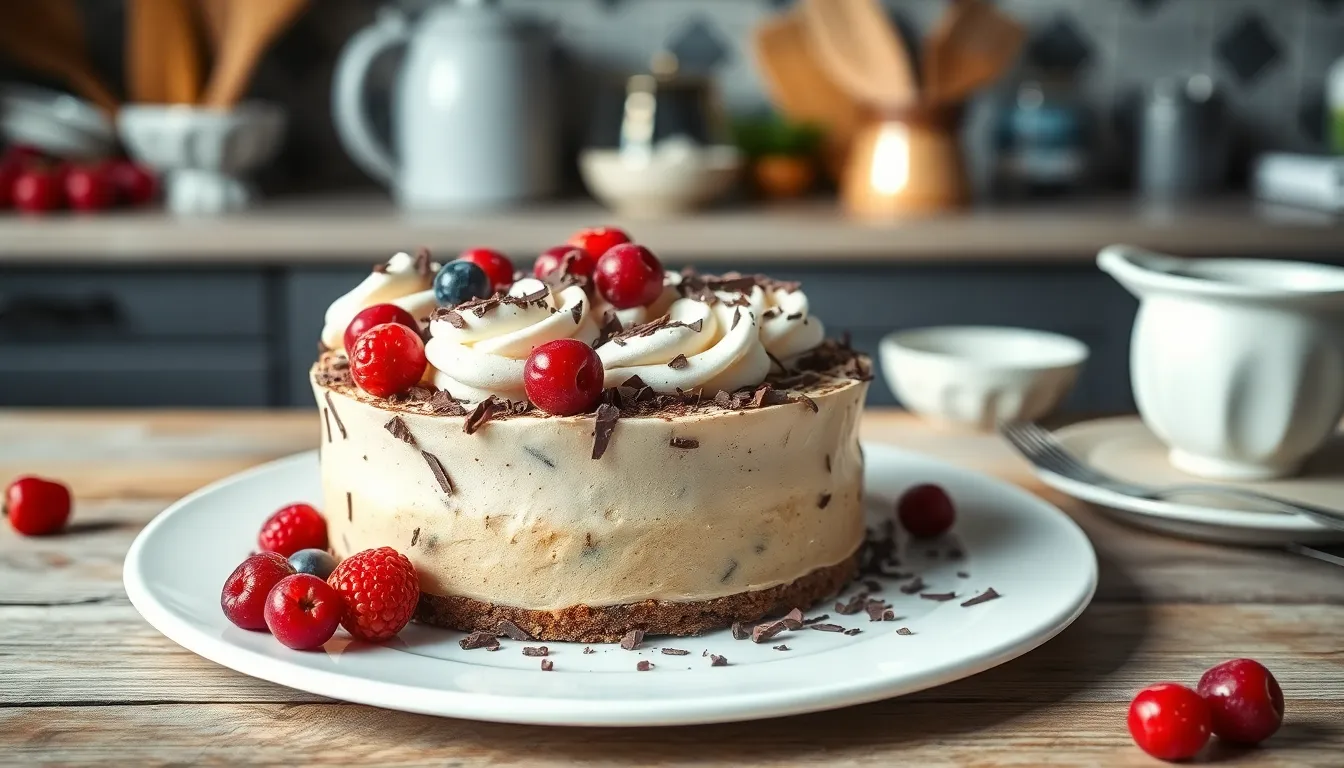
No-Bake Marie Cake Truffles
These bite-sized delights transform the Marie cake concept into portable, party-friendly treats. Start by crushing Marie biscuits into fine crumbs and mixing them with chocolate ganache or sweetened condensed milk until the mixture holds together. Form this mixture into small balls, then roll them in cocoa powder, melted chocolate, or colorful sprinkles for the finishing touch. These truffles require minimal preparation yet deliver the signature Marie cake flavors in an elegant, portion-controlled format. They make excellent additions to dessert platters or thoughtful homemade gifts when packaged in decorative boxes.


Serving Suggestions
Transform your Marie cake from a simple dessert to an elegant centerpiece with these serving ideas that complement its delicate flavors and textures.
For No-Bake Marie Biscuit Cakes:
- Serve your cake thoroughly chilled for the best texture and flavor definition
- Slice into neat portions using a sharp knife dipped in hot water for clean cuts
- Present on a decorative cake stand with extra Marie biscuits arranged around the base
- Garnish the top with chocolate shavings or a light dusting of cocoa powder for visual appeal
- Pair with a steaming cup of coffee or tea to balance the sweetness of the dessert
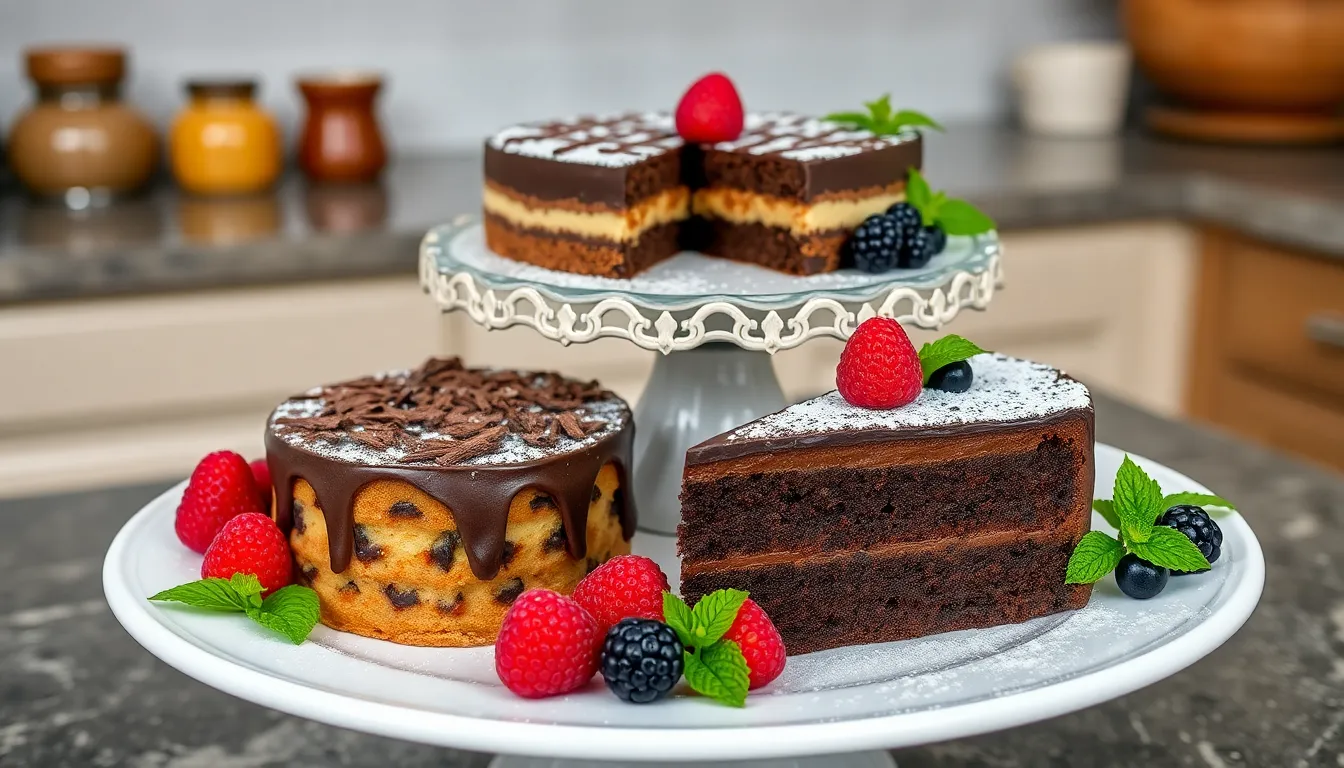
For Marie’s Chocolate Cake:
- Dust the top generously with powdered sugar for a classic, elegant finish
- Add a dollop of freshly whipped cream to each slice just before serving
- Enhance the presentation with fresh strawberry or peach slices arranged alongside each portion
- Consider serving slightly warm to accentuate the rich chocolate flavor
- Offer vanilla ice cream as an optional side for a delightful temperature contrast
For Vanilla and Apple Marie Cakes:
- Serve vanilla Marie cake slightly chilled with a handful of fresh berries scattered around the plate
- Present apple Marie cake at room temperature to fully appreciate its complex flavors
- Accompany each slice with a delicate cream or custard sauce drizzled around the plate
- Add a scoop of premium vanilla ice cream to apple cake for a comforting dessert experience
- Garnish with mint leaves for a pop of color and fresh aroma
Presentation Tips:
- Use white plates to make the colors and textures of your Marie cake stand out
- Drizzle decorative patterns of chocolate or caramel sauce on the plate before placing the cake
- For special occasions, create height by stacking cake layers with cream filling visible from the sides
- Incorporate seasonal elements like edible flowers in spring or cinnamon sticks in winter
- Serve individual portions in glass dessert cups or mason jars for a trendy presentation at gatherings
Remember that Marie cakes benefit from resting after refrigeration for about 10-15 minutes before serving to enhance their full flavor profile while maintaining their structure.


The History of Marie Cake
Marie biscuits, the foundation of the beloved Marie cake, have a fascinating history that dates back to the 19th century. These crisp, lightly sweetened biscuits originated in England when the London bakery Peek Freans created them in 1874 to commemorate the marriage of Grand Duchess Maria Alexandrovna of Russia to the Duke of Edinburgh. Their simple yet distinctive design with the name “Marie” imprinted on top quickly gained popularity across Europe and eventually worldwide.
Even though popular belief, Marie cake has no direct connection to Marie Antoinette, the Queen of France. The commonly attributed quote “Let them eat cake” was never actually spoken by her. This phrase, originally “Qu’ils mangent de la brioche” (Let them eat brioche), first appeared in Jean-Jacques Rousseau’s writings in 1765, well before Marie Antoinette arrived in France. The association between the queen and this statement only developed decades after her death.
Marie Antoinette did influence French culinary traditions by introducing pastries from her native Austria. She helped popularize the croissant (derived from the Austrian kipfel) and possibly the kugelhopf, a yeasted cake with origins in Austria, Alsace, or Poland. These contributions established her place in culinary history, though not in connection with Marie biscuits or the modern Marie cake.
The transformation of Marie biscuits into the layered dessert we know today as Marie cake occurred gradually as home cooks discovered the biscuits’ versatility. The no-bake cake format emerged as an ingenious solution for creating elegant desserts without using an oven. This preparation method made the dessert particularly popular in warmer regions and during summer months.
Regional variations of Marie cake developed as the recipe spread globally. In India, Marie biscuit cake often features chocolate and nuts. Portuguese versions might include coffee-soaked biscuits, while Filipino adaptations frequently incorporate condensed milk for extra sweetness. Each culture embraced the basic concept of layered biscuits and cream while adding local flavors and ingredients.
The enduring popularity of Marie cake stems from its perfect balance of simplicity and elegance. Its humble ingredients transform into a sophisticated dessert through a straightforward assembly process. The refrigerator does most of the work as the biscuits soften to a cake-like consistency while absorbing the flavors of the surrounding cream mixture.
Today’s Marie cake recipes honor this rich heritage while embracing modern adaptations. From chocolate-laden versions to fruit-filled variations, the dessert continues to evolve while maintaining its connection to the original Marie biscuit’s storied past.


Conclusion
Marie cake stands as a testament to culinary simplicity transformed into something extraordinary. This no-bake wonder brings together humble ingredients to create a dessert that’s both nostalgic and impressive.
Whether you’re making the classic version with its perfect balance of soft biscuits and creamy filling or experimenting with fruity chocolate or coffee variations you’ll appreciate how accessible this recipe truly is.
The beauty of Marie cake lies in its versatility. You can prepare it days ahead store it easily and customize it to suit any occasion. With minimal equipment and straightforward techniques you’ll create a dessert that tastes like it required hours of expert baking.
Try this timeless treat for your next gathering and discover why this effortless dessert has delighted generations of dessert lovers around the industry.
Frequently Asked Questions
What is a Marie cake?
Marie cake is a no-bake dessert made with layers of Marie biscuits soaked in coffee or milk, alternated with creamy filling. This refrigerated treat transforms simple biscuits into a cake-like texture as they absorb moisture. The result is a harmonious blend of soft biscuit layers and velvety cream that’s elegant yet requires no baking skills.
How long does Marie cake need to chill?
Marie cake needs to chill for at least 4-6 hours, but overnight refrigeration yields the best results. This chilling time is crucial as it allows the biscuits to soften properly and the flavors to meld together. The patience pays off with the perfect texture – not too soft or too firm – and enhanced flavor development.
Can I make Marie cake ahead of time?
Yes, Marie cake is perfect for making ahead! The no-bake version can be prepared up to two days in advance and stored in the refrigerator for up to a week. For longer storage, you can freeze it properly wrapped for 2-3 months. In fact, making it ahead often improves the flavor as the ingredients have more time to blend together.
What ingredients do I need for Marie cake?
The basic ingredients include 20-30 Marie biscuits, heavy cream (2 cups), mascarpone or cream cheese (125g), granulated sugar, and sweetened condensed milk. Optional ingredients include melted butter, lime juice, or chocolate for ganache topping. You might also need cocoa powder, eggs, and vanilla extract for certain variations. All are common pantry staples.
Can I customize my Marie cake?
Absolutely! Marie cake is highly customizable. You can add fruits like strawberries or bananas between layers, incorporate nuts for crunch, use coffee instead of milk for soaking, or add different flavorings to the cream. Some variations include chocolate ganache topping, fruity versions with fresh berries, or coffee-flavored adaptations.
Do I need special equipment to make Marie cake?
No special equipment is required. You’ll only need basic kitchen tools: a loaf tin or rectangular baking pan, mixing bowls, measuring cups and spoons, a whisk, and a sharp knife for serving. For chocolate versions, a double boiler or heat-proof bowl for melting chocolate is helpful. This accessibility makes it perfect for bakers of all experience levels.
What’s the origin of Marie cake?
Marie cake evolved from Marie biscuits, which originated in 19th-century England to commemorate a royal marriage. Despite popular belief, it has no connection to Marie Antoinette. The no-bake dessert became popular especially in warmer climates where avoiding oven use was preferred. Different regions have developed their own variations, showcasing its global appeal.
How do I serve Marie cake?
Serve Marie cake chilled for the best texture and flavor. Use a hot knife for clean slices and garnish with chocolate shavings, cocoa powder, or fresh fruit. Allow the cake to rest at room temperature for 10-15 minutes after refrigeration to enhance its flavor before serving. White plates provide an elegant presentation backdrop.
Can Marie cake be frozen?
Yes, Marie cake freezes well. Wrap individual slices or the entire cake tightly in plastic wrap, then aluminum foil or place in an airtight container. It can be frozen for up to 3 months. Thaw overnight in the refrigerator before serving. The texture remains excellent, though the cream may become slightly less fluffy.
Why is my Marie cake too soft or too firm?
If your Marie cake is too soft, you may have over-soaked the biscuits or used too much liquid in your cream mixture. If it’s too firm, the biscuits might need more moisture or longer chilling time. The perfect texture comes from balanced liquid absorption and proper refrigeration time (at least 4 hours, preferably overnight).