Gluten-free baking presents a delightful challenge that culminates in rich, flavorful results without the gluten.
My journey into gluten-free baking began when a close friend was diagnosed with celiac disease, prompting me to explore alternative baking methods.
The allure of creating baked goods that everyone can enjoy, regardless of dietary restrictions, has fueled my passion.
With the right ingredients and techniques, gluten-free baking can be just as satisfying as traditional methods.
Expect to discover bakes that are not only gluten-free but also deliciously moist and flavorful.
The History and Cultural Significance
• Gluten Free Baking traces its origins to ancient times, where it was originally created by societies that relied on naturally gluten-free grains.
• The dish evolved over decades as more gluten-free flour blends were developed, eventually becoming the beloved version we know today.
• In many cultures, this dish traditionally appears at gatherings where inclusivity is a priority, symbolizing togetherness.
• While many variations exist across different regions, the authentic version maintains a chewy texture that sets it apart from imitations.


Recipe Overview
Nutritional Information


Essential Equipment Guide
Stand Mixer: A stand mixer is crucial for achieving the right dough consistency in gluten-free baking, as it ensures thorough mixing. While a hand mixer can work, a stand mixer with a paddle attachment is preferred for its power and efficiency.Digital Scale: Accurate measurements are vital in gluten-free baking to ensure the proper balance of ingredients. A digital scale provides precision that measuring cups cannot, reducing the risk of errors.Oven Thermometer: Many home ovens are inaccurately calibrated. An oven thermometer ensures your bakes are cooked at the correct temperature, preventing underbaked or overbaked results.


Ingredients
For the Base
|
|
| Amount | Ingredient | Notes |
|---|---|---|
| 1 cup | gluten-free all-purpose flour | provides structure |
| 1/2 cup | almond flour | adds moisture and flavor |
| 1 teaspoon | baking powder | aids in rising |
| 1/2 teaspoon | baking soda | helps with leavening |
| 1/4 teaspoon | salt | enhances flavor |
Liquid Ingredients
| Amount | Ingredient | Notes |
|---|---|---|
| 1/2 cup | milk | room temperature, binds ingredients |
| 1/4 cup | vegetable oil | adds moisture |
| 2 large | eggs | room temperature, provides structure |
| 1 teaspoon | vanilla extract | adds flavor |
Sweetener
| Amount | Ingredient | Notes |
|---|---|---|
| 1/2 cup | sugar | adds sweetness |


Preparation Methods
Whisking Technique: In gluten-free baking, whisking dry ingredients thoroughly ensures even distribution of leavening agents, crucial for a consistent rise.Folding: Folding wet into dry ingredients gently helps maintain the airiness of the batter, which is important for light texture.Resting Batter: Allowing the batter to rest before baking helps the gluten-free flour absorb liquids fully, improving texture and flavor.


Step 1: Prepare Ingredients

Measure all dry ingredients precisely using a digital scale.
Ensure all liquid ingredients are at room temperature for even mixing.
Preheat your oven to 350°F (175°C) to ensure it's ready when you are.
Line a baking pan with parchment paper to prevent sticking.


Step 2: Mix Dry Ingredients

In a large bowl, whisk together the gluten-free flour, almond flour, baking powder, baking soda, and salt.
Whisk until the mixture is uniform, with no lumps remaining.
This ensures that the leavening agents are evenly distributed.
Set aside for later use.
Step 3: Combine Wet Ingredients

In a separate bowl, beat together the milk, vegetable oil, eggs, and vanilla extract.
Mix until the ingredients are fully combined and slightly frothy.
This step ensures the wet ingredients are homogenous before combining with the dry.
Use a whisk or a hand mixer for best results.


Step 4: Mix Batter

Slowly pour the wet ingredients into the dry ingredients.
Using a spatula, gently fold the mixture until just combined.
Be careful not to overmix, as this can deflate the batter.
The batter should be thick and slightly lumpy.
Step 5: Rest the Batter

Let the batter rest for 10 minutes to allow the flours to absorb the moisture.
This step helps improve the final texture of the bake.
During this time, ensure your oven is fully preheated.
Prepare your baking pan if not already done.


Step 6: Fill the Pan

Pour the batter into the prepared baking pan, spreading it evenly.
Use a spatula to smooth the top and ensure even distribution.
This ensures the bake cooks uniformly.
Tap the pan gently on the counter to remove air bubbles.
Step 7: Bake

Place the pan in the preheated oven.
Bake for 25-30 minutes until golden brown.
A toothpick inserted into the center should come out clean.
Rotate the pan halfway through for even baking.
Step 8: Cool and Serve

Remove from oven and let it cool in the pan for 10 minutes.
Transfer to a wire rack to cool completely.
Cooling ensures the bake sets properly and is easier to slice.
Once cool, cut into pieces and serve.


Critical Timing and Temperature Guide
Mixing: Mix wet and dry ingredients for no longer than necessary; overmixing can deflate the batter.
Baking: Bake at 350°F (175°C) for 25-30 minutes; a toothpick test for doneness is crucial.
Cooling: Allow cooling on a wire rack for at least 20 minutes to set the texture; rushing this can cause crumbling.
Pro Tips for Gluten Free Baking
• Ingredient Selection: Choose high-quality gluten-free flour blends that contain xanthan gum for better structure.
• Preparation Secret: Resting the batter allows the flour to fully hydrate, improving texture.
• Temperature Management: Use room temperature ingredients to ensure even mixing and baking.
• Texture Enhancement: Adding a small amount of almond flour can enhance moisture and flavor.
• Flavor Layering: Incorporate vanilla extract and almond flour for a deeper flavor profile.
• Make-Ahead Strategies: Prepare the batter a day in advance and refrigerate; it enhances flavor and structure.
• Restaurant-Quality Finishing Touches: Dust with powdered sugar or glaze with a simple sugar syrup for a professional finish.
• Equipment Optimization: Ensure your oven thermometer is accurate for consistent baking results.
Troubleshooting Common Issues
• Texture Too Dense: Caused by overmixing or insufficient leavening agents; check measurements and mix gently.
• Flavors Unbalanced: Measure ingredients precisely and taste the batter before baking to adjust.
• Bake Underbaked: Ensure oven is fully preheated and use a toothpick test to confirm doneness.
• Crumbly Texture: Rest the batter longer to allow proper hydration; ensure correct proportions of wet to dry ingredients.
• Uneven Baking: Rotate the pan halfway through baking and ensure the oven is calibrated properly.


Variations and Regional Differences
• Italian Style: Incorporates ricotta cheese for added moisture and richness, often flavored with lemon zest.
• French Variation: Uses a blend of almond and hazelnut flours for a nutty, sophisticated flavor.
• American Twist: Often includes chocolate chips or berries for added sweetness and texture.
• Asian Influence: Incorporates matcha or black sesame for a unique, earthy flavor profile.


Food Science Behind the Recipe
• Hydration of Flours: Understanding how gluten-free flours absorb liquid is key to achieving the right texture.
• Leavening Agents: Baking powder and soda are crucial for rise in the absence of gluten; knowing their roles helps optimize results.
• Emulsification: The role of eggs in emulsifying fats and liquids is vital for structure in gluten-free baking.
Frequently Asked Questions
What's the most common mistake people make when preparing gluten-free bakes? Overmixing the batter can lead to dense or gummy textures.
Can I substitute almond flour with another type? Yes, hazelnut or coconut flour can be used, but adjustments to liquid ratios may be necessary.
How do I store gluten-free bakes? Store in an airtight container at room temperature for up to 3 days or freeze for longer storage.
Why is my bake crumbling? Insufficient hydration or incorrect flour ratios can cause crumbling; ensure batter rests before baking.
How can I make my bake rise more? Ensure your leavening agents are fresh and measure them accurately.
Is it necessary to use xanthan gum? Xanthan gum provides structure; without it, the bake may lack cohesion.
Can I use regular sugar instead of the sweetener? Yes, but the texture and flavor might vary slightly.
Serving and Presentation Guide
• Traditional Presentation: Slice into squares and dust with powdered sugar for a classic look.
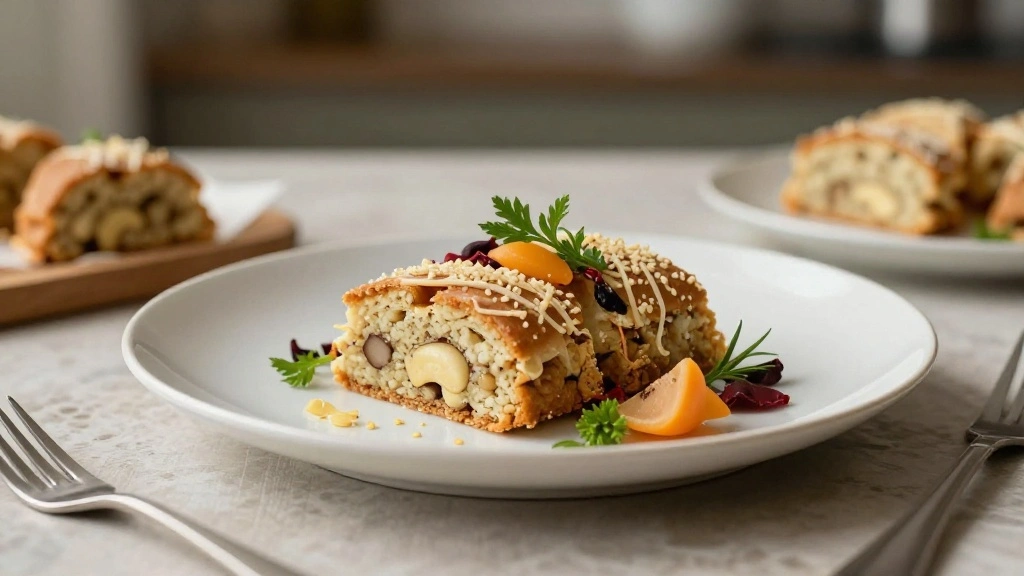
• Modern Approach: Serve with a dollop of whipped cream and fresh berries for a touch of elegance.
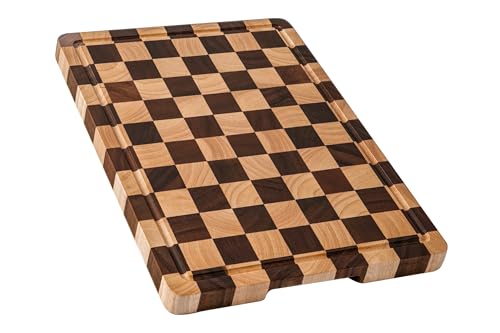
• Casual Presentation: Cut into bars and serve on a rustic wooden board for a homely feel.
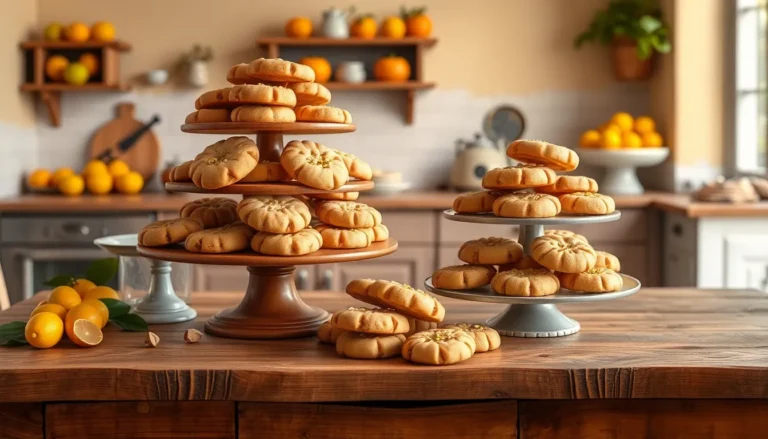
• Festive Display: Arrange on a tiered cake stand with edible flowers for a celebratory presentation.


Conclusion
Embarking on the journey of gluten-free baking opens up a world of delicious possibilities.
With this guide, you're equipped to create bakes that are both flavorful and inclusive.
Try this recipe today and experience the joy of gluten-free baking in your kitchen.